

DIY Lemon Oven Cleaner: Tired of harsh chemicals and lingering fumes every time you tackle oven cleaning? I know I am! There’s something incredibly satisfying about creating effective cleaning solutions right in your own kitchen, and this DIY lemon oven cleaner is a game-changer.
Using lemons for cleaning isn’t a new fad; it’s a practice steeped in history. For generations, people have harnessed the natural acidity and antibacterial properties of lemons to freshen and disinfect their homes. Think of your grandmother squeezing lemon juice to brighten her whites or remove stubborn stains – it’s a timeless tradition!
But why should you ditch the store-bought cleaners and embrace this DIY trick? Well, for starters, it’s incredibly cost-effective. Lemons are readily available and far cheaper than specialized oven cleaning products. More importantly, it’s a healthier alternative. You’ll avoid exposing yourself and your family to potentially harmful chemicals that can irritate your skin and respiratory system. Plus, the fresh, citrusy scent is a welcome change from the overpowering smell of commercial cleaners. I’m excited to share this simple, effective, and eco-friendly way to keep your oven sparkling clean with this DIY Lemon Oven Cleaner!
DIY Lemon Oven Cleaner: A Natural and Effective Solution
Okay, so you’re staring at a greasy, grimy oven and dreading the thought of harsh chemicals? I totally get it! I’ve been there. That’s why I’m sharing my favorite DIY lemon oven cleaner recipe. It’s surprisingly effective, smells amazing, and uses ingredients you probably already have in your kitchen. Let’s get that oven sparkling!
What You’ll Need
Before we dive in, let’s gather our supplies. This is a pretty simple recipe, so you won’t need much:
* Lemons (2-3, depending on the size of your oven)
* Baking soda
* Water
* Spray bottle
* Scrubbing sponge or brush
* Rubber gloves (optional, but recommended)
* Bowl
* Spatula or scraper
* Clean cloths or paper towels
Step-by-Step Instructions
Alright, let’s get started! I’ve broken it down into easy-to-follow steps.
1. Prepare the Oven: First things first, remove everything from your oven – racks, baking stones, thermometers, anything that’s not permanently attached. Give the racks a good soak in hot, soapy water while we work on the oven interior. This will loosen up the baked-on grime.
2. Lemon Infusion: This is where the magic begins! Cut your lemons in half. Squeeze the juice from the lemons into a bowl. Don’t throw away the lemon halves! We’ll need those later.
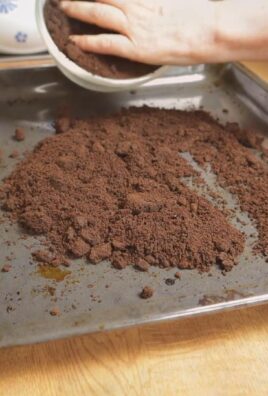
3. Baking Soda Paste: In the same bowl with the lemon juice, gradually add baking soda, mixing as you go, until you form a thick paste. The mixture will fizz a bit – that’s normal! You want a consistency that’s spreadable but not too runny. I usually start with about half a cup of baking soda and add more until I get the right consistency.
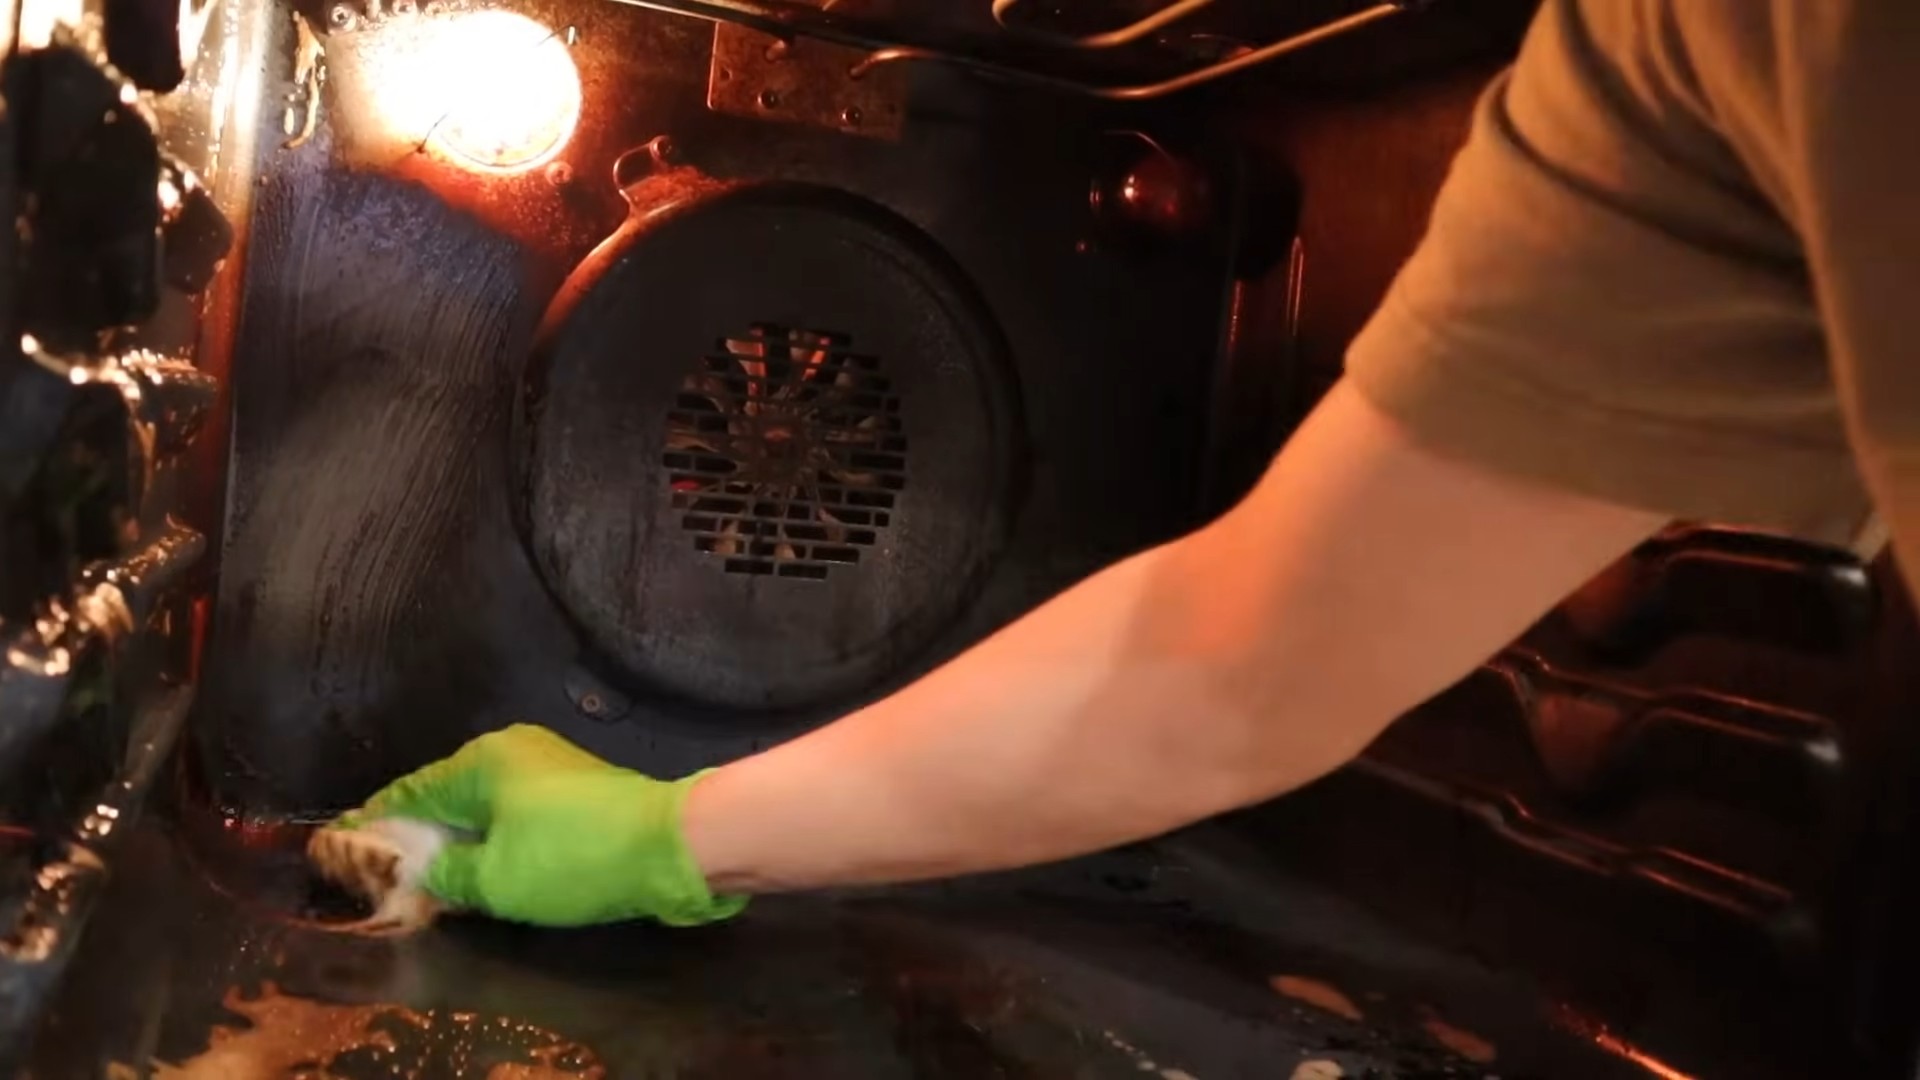
4. Apply the Paste: Now, put on your rubber gloves (if you’re using them) and get ready to get your hands dirty! Using your spatula or scraper, generously apply the lemon-baking soda paste to the interior surfaces of your oven. Focus on the areas with the most baked-on grease and grime. Don’t forget the top, bottom, sides, and door. I usually leave a slightly thicker layer on the really stubborn spots.
5. Lemon Power Scrub: Take those lemon halves we saved earlier and use them to scrub the paste into the oven surfaces. The lemon peel has natural oils that help to break down grease, and the texture of the peel provides a gentle abrasive action. Plus, it smells amazing! Really focus on those tough spots, using a circular motion.
6. Let it Sit: This is the most important part! Once you’ve covered the entire oven interior with the paste and scrubbed it in, let it sit for at least 3 hours, or even better, overnight. The longer it sits, the more time the lemon and baking soda have to work their magic, loosening the grime. I usually do this before I go to bed so it can work its magic overnight.
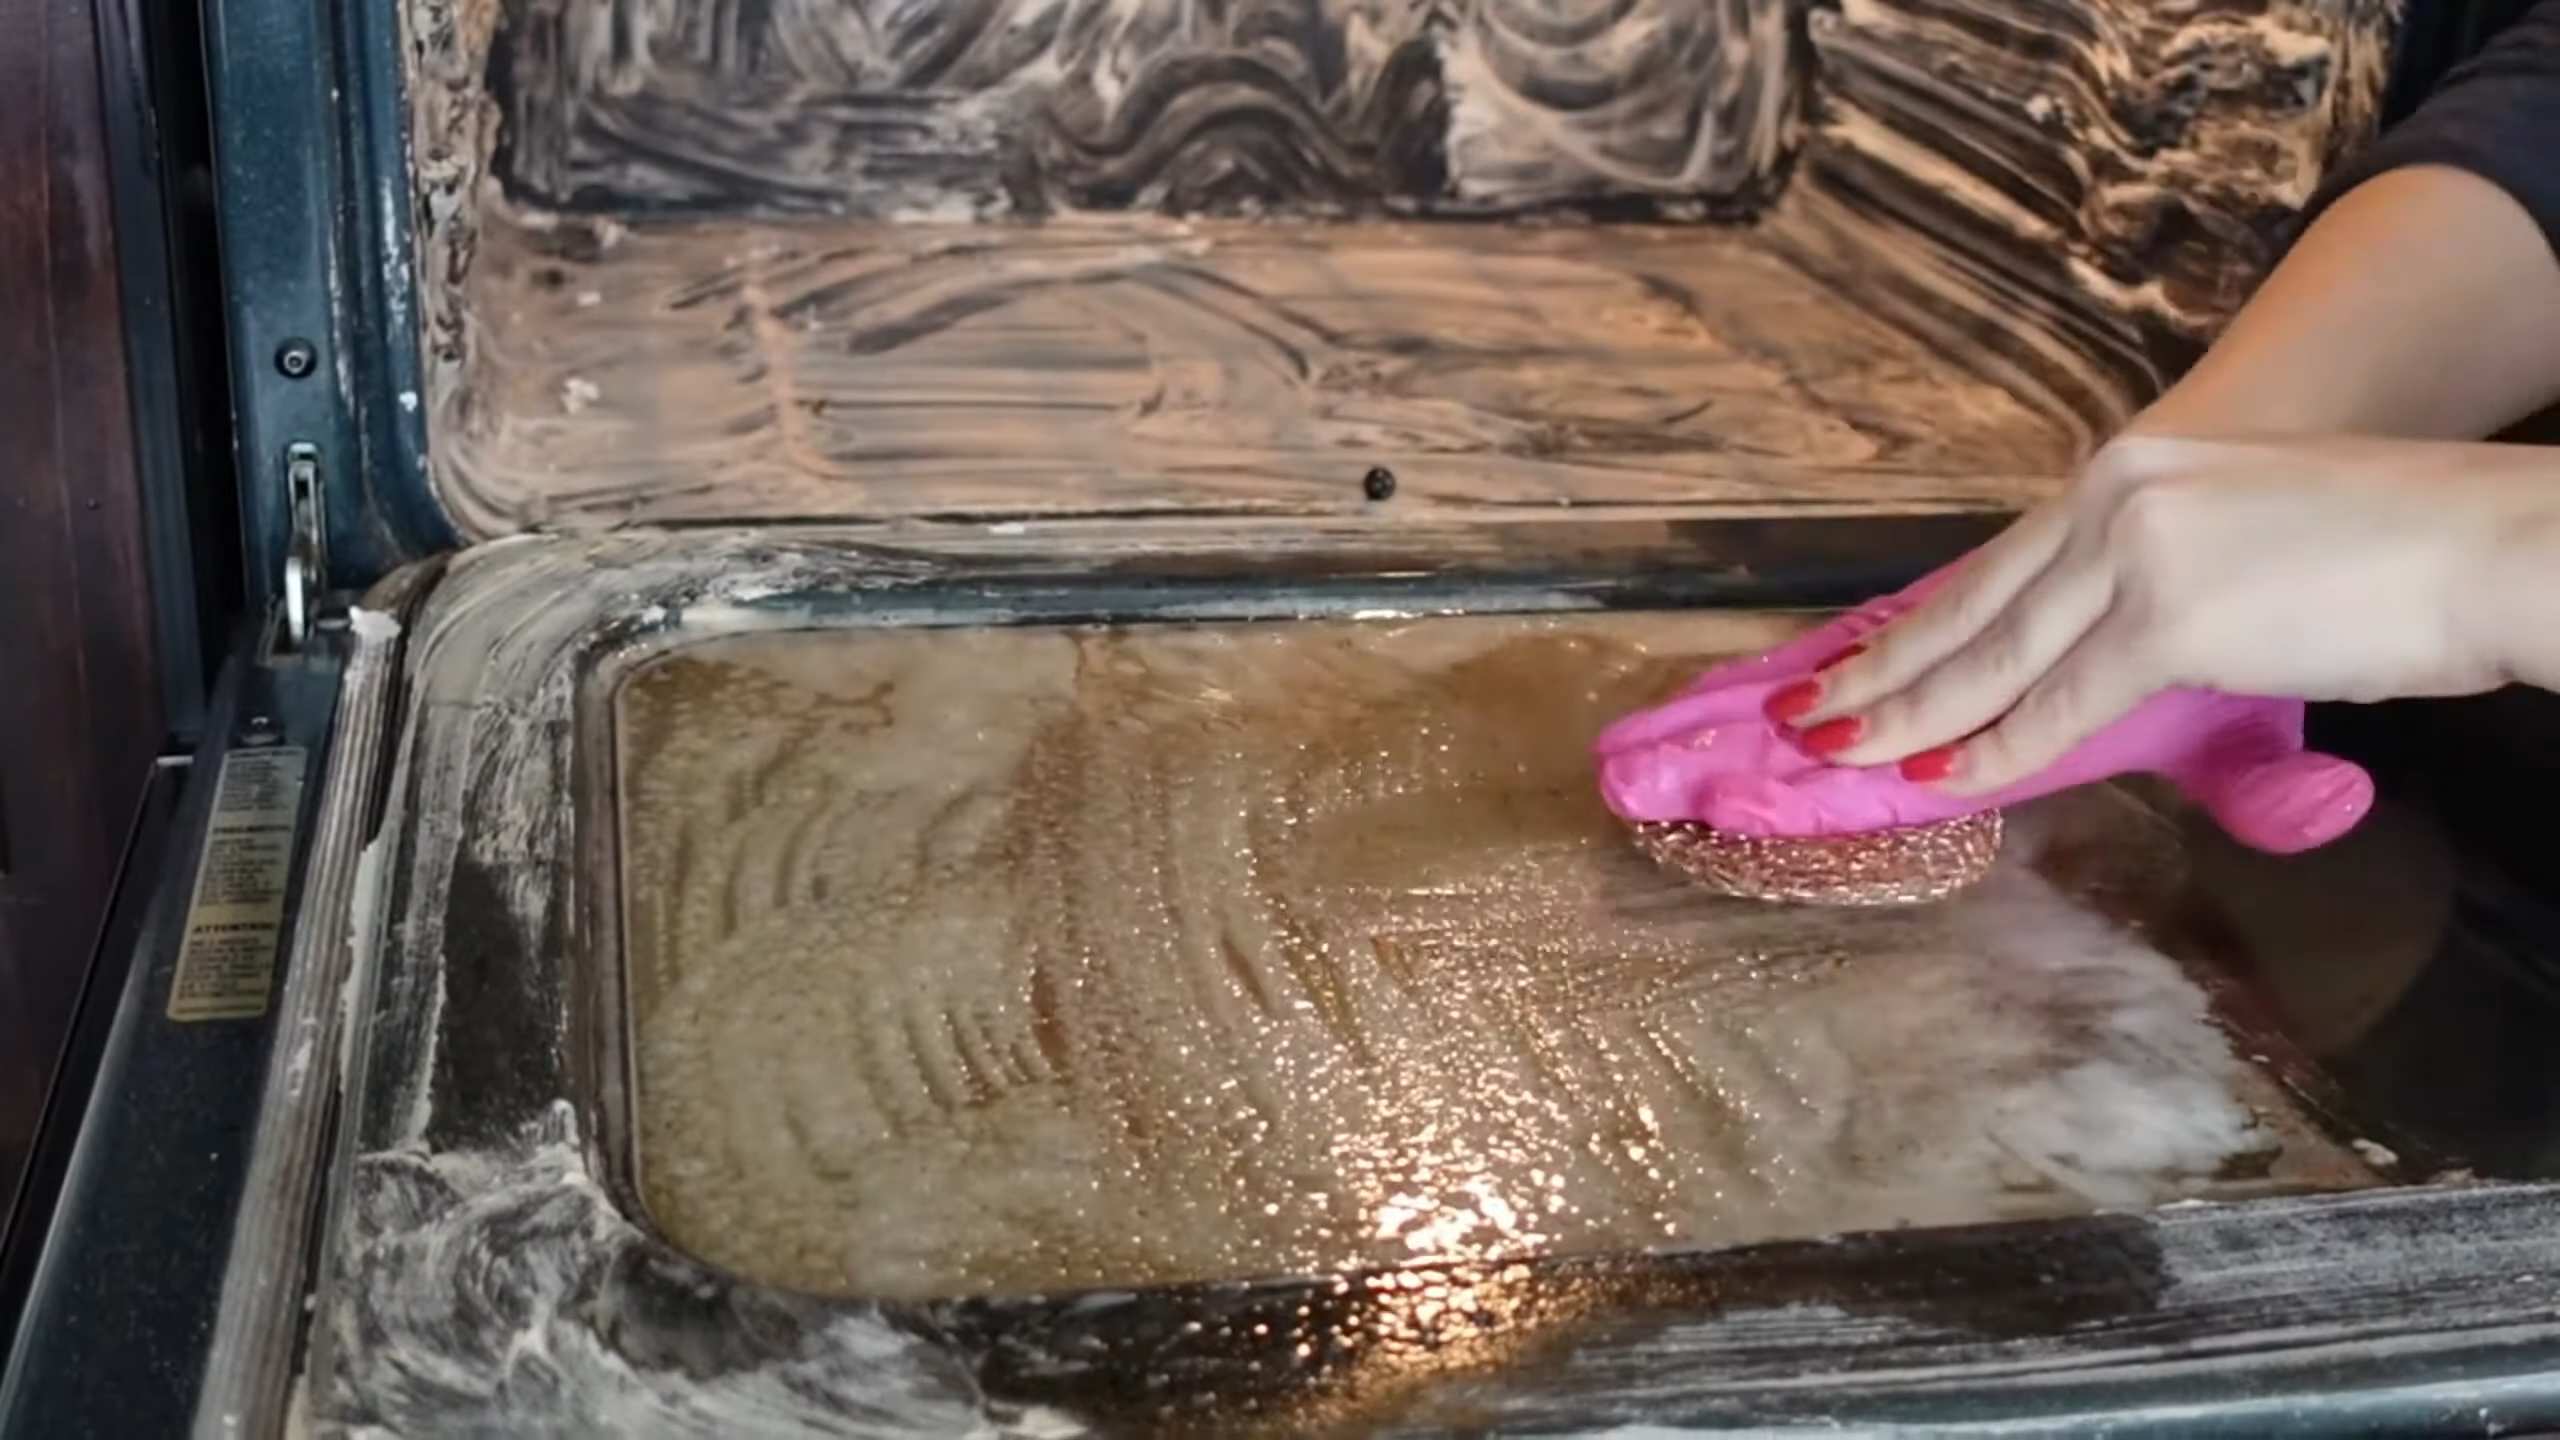
7. Wipe Away the Grime: After the waiting period, it’s time to wipe away the paste. Use a damp sponge or cloth to remove as much of the paste as possible. You’ll probably need to rinse your sponge frequently as it gets coated with the grime.
8. Stubborn Spots: If you encounter any stubborn spots that are still clinging on, don’t despair! Make a fresh batch of lemon-baking soda paste and apply it directly to those areas. Let it sit for another 30 minutes to an hour, then scrub again with a lemon half or your scrubbing brush.
9. Rinse and Repeat: Once you’ve removed as much of the paste as possible, rinse the oven thoroughly with a clean, damp cloth. You may need to rinse several times to remove all traces of the baking soda. Make sure you get into all the corners and crevices.
10. Lemon Steam Clean (Optional, but Recommended): For an extra boost of cleaning power and a fresh scent, try this lemon steam clean. Fill an oven-safe dish with water and add the leftover lemon rinds. Place the dish in the oven and turn the oven on to 250°F (120°C) for about 30 minutes. The steam will help to loosen any remaining grime and leave your oven smelling lemony fresh.
11. Final Wipe Down: After the steam clean (if you did it), turn off the oven and let it cool down completely. Then, give the interior one final wipe down with a clean, dry cloth or paper towels.
12. Clean the Racks: Remember those racks we soaked earlier? Now it’s time to give them a good scrub with a sponge or brush. Rinse them thoroughly and dry them completely before putting them back in the oven.
13. Reassemble and Enjoy: Finally, put the oven racks and any other items you removed back into the oven. Step back and admire your sparkling clean oven!
Tips and Tricks for a Super Clean Oven
Here are a few extra tips and tricks I’ve learned over the years to make this process even easier and more effective:
* Preheat the Oven Slightly: If your oven is particularly greasy, you can preheat it to a low temperature (around 150°F or 65°C) for about 15 minutes before applying the paste. The warmth will help to soften the grease and make it easier to remove. Just be sure to let the oven cool down slightly before applying the paste, so you don’t burn yourself.
* Use a Toothbrush for Tight Spots: An old toothbrush is perfect for getting into those hard-to-reach corners and crevices. Dip it in the lemon-baking soda paste and scrub away!
* Vinegar Power: For extra cleaning power, you can add a splash of white vinegar to the lemon-baking soda paste. The vinegar will help to break down grease and grime even further.
* Preventative Measures: To keep your oven cleaner for longer, try to wipe up spills as soon as they happen. You can also place a baking sheet on the bottom rack to catch drips and splatters.
* Regular Cleaning: The more often you clean your oven, the easier it will be to keep it clean. I try to give mine a quick cleaning every few months to prevent the buildup of baked-on grime.
* Dealing with Burnt Food Smells: If your oven has a lingering burnt food smell, try placing a bowl of baking soda in the oven overnight. The baking soda will absorb the odors. You can also try simmering a pot of water with lemon slices and cinnamon sticks on the stovetop to freshen up the air.
* Don’t Forget the Oven Door: The oven door can often be overlooked, but it’s just as important to clean as the rest of the oven. Use the lemon-baking soda paste to clean the inside and outside of the door, paying special attention to any greasy fingerprints or splatters.
* Safety First: Always unplug your oven before cleaning it to prevent electric shock. And be sure to wear rubber gloves to protect your hands from the baking soda and lemon juice.
* Adjust the Paste Consistency: If your paste is too thick, add a little more lemon juice. If it’s too runny, add a little more baking soda. You want a consistency that’s easy to spread but not too drippy.
* Consider a Pumice Stone: For really stubborn baked-on messes, a pumice stone (the kind used for cleaning grills) can be helpful. Wet the pumice stone and gently rub it over the affected area. Be careful not to scratch the oven surface.
I hope you found this guide helpful! Cleaning your oven with lemons and baking soda is a simple, natural, and effective way to get rid of grease and grime. Plus, it’s a lot better for the environment (and your lungs!) than using harsh chemical cleaners. Happy cleaning!
Conclusion
So, there you have it! Ditching those harsh chemicals and embracing the power of nature with this DIY lemon oven cleaner is more than just a cleaning hack; it’s a step towards a healthier home and a happier planet. We’ve shown you how simple it is to transform a humble lemon into a potent cleaning agent, capable of tackling even the most stubborn baked-on grime.
Why is this a must-try? Because it’s effective, economical, and eco-friendly. You’re not just cleaning your oven; you’re reducing your exposure to harmful chemicals, saving money on expensive commercial cleaners, and minimizing your environmental footprint. The fresh, citrusy scent that lingers after cleaning is an added bonus, leaving your kitchen smelling bright and inviting.
But the beauty of this DIY trick lies in its versatility. Feel free to experiment with variations to suit your specific needs and preferences. For instance, if you’re dealing with particularly tough stains, try adding a tablespoon of baking soda to the water in the baking dish. The baking soda acts as a gentle abrasive, helping to loosen stubborn residue. You could also add a few drops of your favorite essential oil, like lavender or tea tree, for an extra boost of fragrance and antibacterial properties. Just be sure to use essential oils that are safe for oven use and won’t leave a sticky residue.
Another variation involves using lemon juice directly on problem areas. After the initial steaming process, squeeze the juice from the baked lemons onto any remaining stubborn spots and let it sit for a few minutes before scrubbing. The concentrated citric acid will help to break down the grime.
Remember, patience is key. While this DIY method is effective, it may require a bit more elbow grease than commercial cleaners. Don’t be afraid to repeat the steaming process or use a good scrubbing pad to remove stubborn residue.
We are confident that once you try this DIY lemon oven cleaner, you’ll be amazed by the results. It’s a simple, effective, and sustainable way to keep your oven sparkling clean. So, ditch the chemicals, grab a lemon, and get ready to experience the power of natural cleaning!
We encourage you to give this DIY trick a try and share your experience with us. Let us know how it worked for you, what variations you tried, and any tips or tricks you discovered along the way. Your feedback will help us refine this method and make it even better for everyone. Share your before-and-after photos on social media using #LemonOvenCleanerDIY and inspire others to embrace natural cleaning solutions. We can’t wait to see your sparkling ovens!
Frequently Asked Questions (FAQ)
1. Is this DIY lemon oven cleaner safe for all types of ovens?
Generally, yes, this method is safe for most ovens, including electric and gas ovens. However, it’s always a good idea to consult your oven’s manual before trying any new cleaning method. Pay particular attention to any warnings about cleaning the oven’s heating elements or self-cleaning features. If you have a self-cleaning oven, it’s generally recommended to use the self-cleaning function as the primary cleaning method and reserve this DIY lemon cleaner for light maintenance in between self-cleaning cycles. For convection ovens, ensure the fan is off and cool before starting the cleaning process.
2. How often should I use this DIY lemon oven cleaner?
The frequency depends on how often you use your oven and how much it gets soiled. For ovens that are used frequently, a monthly cleaning with this DIY method is a good idea. If you only use your oven occasionally, you can clean it every few months. Regular cleaning will prevent grime from building up and make the cleaning process easier each time. You can also use this method for spot cleaning as needed.
3. What if I don’t have lemons? Can I use lemon juice instead?
While using whole lemons is recommended for the best results, you can use lemon juice as a substitute. Use about 1/2 cup of lemon juice mixed with 1/2 cup of water in the baking dish. The whole lemons release their oils and acids more gradually during the baking process, providing a more thorough cleaning. However, lemon juice will still work in a pinch. You can also add the lemon peels to the baking dish along with the lemon juice for added cleaning power.
4. My oven is really dirty. Will this DIY method be effective?
For heavily soiled ovens, this DIY method may require more effort and potentially multiple applications. You may need to repeat the steaming process several times and use a good scrubbing pad to remove stubborn residue. Consider letting the steam sit in the oven for a longer period, perhaps an hour or more, to loosen the grime. As mentioned earlier, adding baking soda to the water can also help. For extremely dirty ovens, you might need to combine this method with some manual scraping using a plastic scraper to avoid damaging the oven’s surface.
5. What type of scrubbing pad should I use?
Avoid using abrasive steel wool, as it can scratch the oven’s surface. Opt for a non-scratch scrubbing pad or a sponge with a scrubbing side. You can also use a microfiber cloth for wiping down the oven after scrubbing. For particularly stubborn spots, a plastic scraper can be helpful.
6. How do I clean the oven racks?
While the lemon steam will help loosen grime on the oven racks, you’ll likely need to clean them separately. You can soak the racks in a solution of hot water and dish soap in your bathtub or a large sink. Let them soak for several hours or overnight, then scrub them with a brush or scrubbing pad. For tough stains, you can also sprinkle baking soda on the racks before scrubbing. Rinse thoroughly and dry before placing them back in the oven.
7. Can I use this method on a self-cleaning oven?
As mentioned earlier, it’s generally recommended to use the self-cleaning function as the primary cleaning method for self-cleaning ovens. This DIY lemon cleaner can be used for light maintenance in between self-cleaning cycles. However, avoid using it immediately after running the self-cleaning cycle, as the oven will be very hot. Always consult your oven’s manual for specific instructions and warnings.
8. What if I don’t like the smell of lemon?
While most people find the scent of lemon refreshing, you can customize the fragrance by adding a few drops of your favorite essential oil to the water in the baking dish. Lavender, tea tree, and orange are all good options. Just be sure to use essential oils that are safe for oven use and won’t leave a sticky residue. You can also simply open a window or turn on the exhaust fan to ventilate the kitchen while cleaning.
9. How do I prevent my oven from getting so dirty in the first place?
Prevention is key to keeping your oven clean. Use oven liners or baking sheets to catch spills and drips. Clean up spills immediately to prevent them from baking onto the oven’s surface. Avoid overfilling dishes, as this can lead to spills. Regularly wipe down the oven’s interior with a damp cloth to remove any loose debris.
10. Is there any risk of the lemon juice damaging my oven?
The citric acid in lemon juice is generally safe for oven surfaces. However, prolonged exposure to concentrated lemon juice could potentially damage certain finishes. Therefore, it’s important to wipe down the oven thoroughly after cleaning to remove any remaining lemon residue. Avoid using lemon juice on delicate or unsealed surfaces.


Leave a Comment