

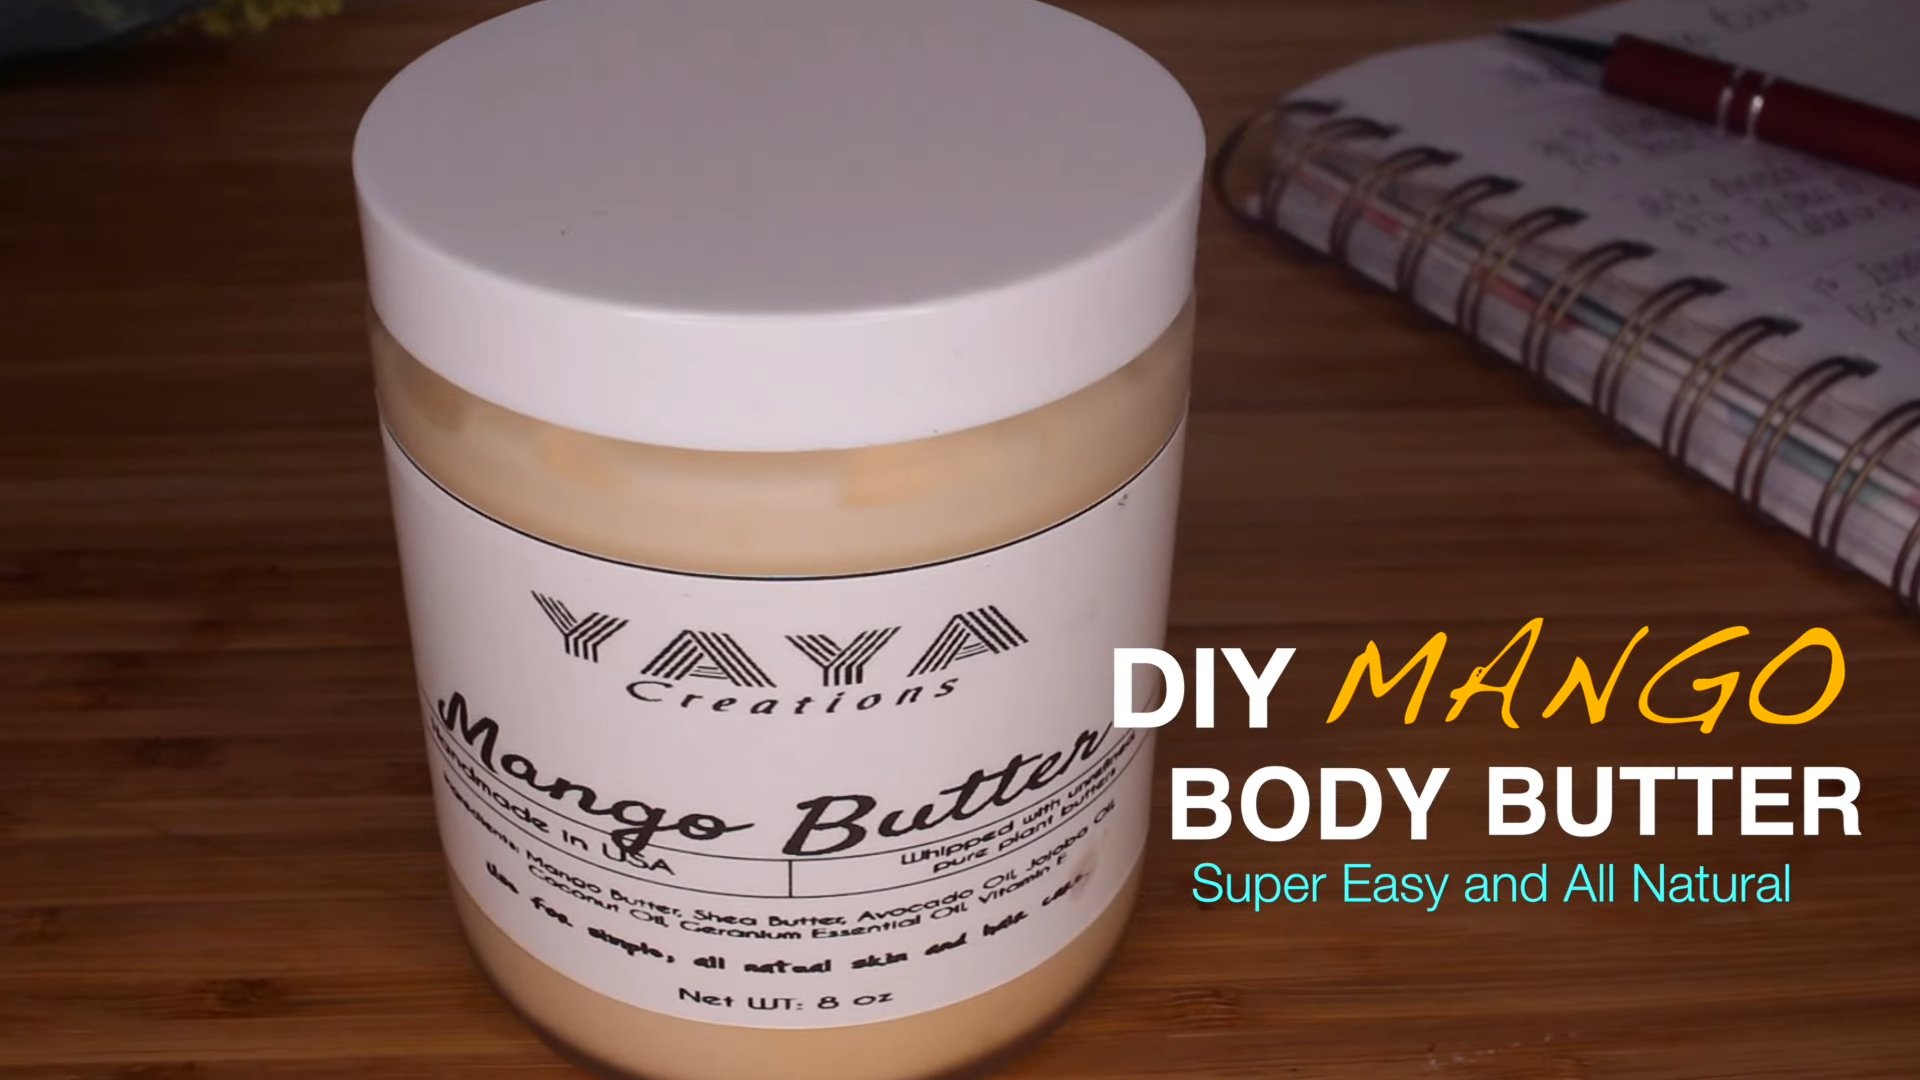
DIY Mango Body Butter: Imagine sinking your fingers into a jar of luxuriously smooth, tropical-scented body butter that you made yourself! Forget those expensive store-bought lotions filled with questionable ingredients. We’re diving headfirst into the world of homemade skincare with a recipe that’s not only incredibly easy but also deeply nourishing for your skin.
The tradition of using natural butters and oils for skincare stretches back centuries, with cultures around the globe harnessing the power of plants for beauty and healing. Mango butter, derived from the kernel of the mango fruit, has been used in traditional medicine and skincare practices in tropical regions for generations. Its rich emollient properties make it a fantastic moisturizer, helping to soothe dry skin and improve elasticity.
Why should you try this DIY mango body butter trick? Well, for starters, you get complete control over what goes onto your skin. No hidden chemicals, no artificial fragrances – just pure, natural goodness. Plus, it’s a fantastic way to save money and reduce your environmental impact by avoiding plastic packaging. I’m excited to show you how to whip up this decadent treat in your own kitchen. Get ready to pamper yourself with a body butter that’s as good for your skin as it is for your soul!
DIY Luxurious Mango Body Butter: A Step-by-Step Guide
Hey there, fellow DIY enthusiasts! Today, I’m going to share my absolute favorite recipe for homemade mango body butter. This stuff is seriously amazing – it’s incredibly moisturizing, smells divine, and is packed with skin-loving ingredients. Plus, you know exactly what’s going into it, which is a huge win in my book. Get ready to pamper yourself with this easy-to-make, all-natural treat!
What You’ll Need: The Ingredients
Before we dive in, let’s gather all the necessary ingredients. I’ve tried different variations, and this combination is, in my humble opinion, the perfect blend for a rich, creamy, and effective body butter.
* 1/2 cup (4 oz) Mango Butter: This is the star of the show! Mango butter is incredibly nourishing and helps to improve skin elasticity. It’s also non-greasy and absorbs quickly.
* 1/4 cup (2 oz) Shea Butter: Shea butter adds extra moisturizing power and helps to soothe dry, irritated skin. Make sure you get unrefined shea butter for the most benefits.
* 1/4 cup (2 oz) Coconut Oil: Coconut oil contributes to the body butter’s creamy texture and provides additional hydration. It also has antibacterial properties.
* 1/4 cup (2 oz) Sweet Almond Oil (or Jojoba Oil): This lightweight oil helps to balance the richness of the butters and makes the body butter easier to apply. Jojoba oil is a great alternative if you have sensitive skin.
* 1 tablespoon Arrowroot Powder (or Cornstarch): This helps to absorb any excess oil and prevents the body butter from feeling greasy.
* 10-20 drops Essential Oil (Optional): I love using a combination of mango essential oil (if you can find it!), sweet orange, and vanilla for a truly tropical scent. But feel free to experiment with your favorite essential oils! Lavender, chamomile, or rose are also great options.
* Vitamin E Oil (Optional): A few drops of vitamin E oil will help to extend the shelf life of your body butter and provide additional antioxidant benefits for your skin.
What You’ll Need: The Equipment
Having the right tools will make the process much smoother and more enjoyable. Here’s what I recommend:
* Double Boiler (or Heat-Safe Bowl and Saucepan): This is essential for melting the butters and oils gently and evenly.
* Electric Mixer (Handheld or Stand Mixer): This is crucial for whipping the body butter to a light and fluffy consistency. A whisk will work, but it will take a lot of elbow grease!
* Spatula: For scraping down the sides of the bowl and ensuring everything is well combined.
* Measuring Cups and Spoons: For accurate measurements.
* Clean Jars or Containers: For storing your finished body butter. Make sure they are clean and dry to prevent contamination. I prefer using glass jars with airtight lids.
* Scale (Optional): While measuring cups work fine, a kitchen scale will give you the most accurate results.
Step-by-Step Instructions: Making Your Mango Body Butter
Alright, let’s get started! Follow these steps carefully, and you’ll have a batch of luxurious mango body butter in no time.
Phase 1: Melting the Butters and Oils
1. Combine the Butters and Oils: In your double boiler or heat-safe bowl, combine the mango butter, shea butter, coconut oil, and sweet almond oil (or jojoba oil).
2. Melt Over Low Heat: Place the double boiler over low heat (or the heat-safe bowl over a simmering pot of water). Stir occasionally with your spatula until all the butters and oils are completely melted and smooth. Be patient – this may take a few minutes. Don’t let the mixture get too hot, as this can damage the beneficial properties of the butters and oils.
3. Remove from Heat: Once everything is melted, remove the mixture from the heat and let it cool slightly for about 5-10 minutes.
Phase 2: Cooling and Solidifying
1. Add Arrowroot Powder (or Cornstarch): Stir in the arrowroot powder (or cornstarch) until it’s fully incorporated. This will help prevent a greasy feel.
2. Refrigerate: Place the mixture in the refrigerator for about 1-2 hours, or until it’s partially solidified but not completely hard. You want it to be firm enough to hold its shape but still soft enough to whip. This is a crucial step for achieving the perfect fluffy texture. Check it periodically to make sure it doesn’t get too hard.
Phase 3: Whipping to Perfection
1. Whip the Mixture: Remove the partially solidified mixture from the refrigerator. Using your electric mixer (handheld or stand mixer), whip the mixture on medium speed for about 5-10 minutes, or until it becomes light, fluffy, and almost double in volume. This is where the magic happens! Scrape down the sides of the bowl occasionally to ensure everything is evenly whipped.
2. Add Essential Oils and Vitamin E (Optional): Once the body butter is whipped to your desired consistency, add your essential oils and vitamin E oil (if using). Gently fold them in with a spatula until they are evenly distributed.
3. Whip Again (Optional): If you want an even lighter and fluffier texture, you can whip the body butter for another minute or two after adding the essential oils.
Phase 4: Storing Your Homemade Goodness
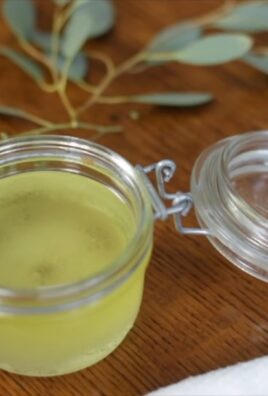
1. Transfer to Jars: Carefully transfer the whipped body butter to your clean jars or containers.
2. Store in a Cool, Dark Place: Store your mango body butter in a cool, dark place away from direct sunlight and heat. This will help to preserve its texture and prevent it from melting.
3. Enjoy! Your homemade mango body butter is now ready to use! Apply it liberally to your skin after showering or bathing for maximum hydration.
Tips and Tricks for the Best Body Butter
* Adjust the Consistency: If your body butter is too hard, let it sit at room temperature for a few minutes before whipping. If it’s too soft, refrigerate it for a bit longer.
* Customize the Scent: Don’t be afraid to experiment with different essential oil combinations to create your own signature scent.
* Use High-Quality Ingredients: The quality of your ingredients will directly impact the quality of your body butter. Opt for organic and unrefined butters and oils whenever possible.
* Avoid Overheating: Overheating the butters and oils can damage their beneficial properties. Use a double boiler and low heat to melt them gently.
* Be Patient: The cooling and whipping process can take some time, so be patient and don’t rush it. The end result is well worth the wait!
* Shelf Life: Your homemade mango body butter should last for about 6-12 months when stored properly. Keep an eye out for any changes in smell or texture, which could indicate spoilage.
Troubleshooting: Common Issues and Solutions
* Grainy Texture: If your body butter has a grainy texture, it’s likely due to the shea butter solidifying unevenly. To fix this, you can remelt the body butter and cool it down more slowly in the refrigerator, stirring it occasionally as it solidifies.
* Too Oily: If your body butter feels too oily, try adding more arrowroot powder (or cornstarch) next time. You can also reduce the amount of liquid oil (sweet almond oil or jojoba oil) in the recipe.
* Melting in Warm Weather: If your body butter melts easily in warm weather, try storing it in the refrigerator. You can also add a small amount of beeswax to the recipe to help it stay solid at higher temperatures.
Why I Love This Recipe
I’ve been making my own body butter for years, and this mango version is by far my favorite. The combination of mango butter, shea butter, and coconut oil creates a truly luxurious and moisturizing experience. Plus, the tropical scent is absolutely divine! I love knowing that I’m using all-natural ingredients on my skin, and I can customize the recipe to suit my own preferences. I hope you enjoy making and using this body butter as much as I do! Happy crafting!

Conclusion
So, there you have it! This DIY mango body butter recipe isn’t just another skincare project; it’s a gateway to luxuriously soft, deeply nourished skin, all crafted with your own two hands. We’ve walked you through the simple steps to create a product that rivals, and often surpasses, the quality of expensive store-bought alternatives. The beauty of this recipe lies not only in its simplicity but also in its adaptability. You’re not just following instructions; you’re embarking on a personalized skincare journey.
Why is this DIY trick a must-try? Because it empowers you to take control of what you put on your skin. You know exactly what ingredients are going in, avoiding harsh chemicals, artificial fragrances, and unnecessary additives that can often irritate sensitive skin. The star of the show, mango butter, is a powerhouse of vitamins and antioxidants, working wonders to hydrate, protect, and rejuvenate your skin. Plus, the satisfaction of creating something so beneficial from scratch is incredibly rewarding.
But the fun doesn’t stop there! Feel free to experiment with variations to tailor this body butter to your specific needs and preferences. For an extra boost of hydration, consider adding a teaspoon of hyaluronic acid serum to the melted mixture. If you’re looking for a calming effect, a few drops of lavender essential oil can transform your body butter into a soothing nighttime treat. For a more invigorating scent, try adding citrus essential oils like grapefruit or sweet orange. You can also infuse your carrier oil with dried herbs like calendula or chamomile for added skin-soothing benefits. Remember to always use high-quality, skin-safe essential oils and test a small amount on your skin before applying liberally.
Consider adding other butters like shea butter or cocoa butter for different consistencies and benefits. Shea butter adds extra creaminess and is known for its healing properties, while cocoa butter provides a richer, more decadent feel and a subtle chocolate aroma. You can adjust the ratios of butters and oils to achieve your desired texture – more butter for a firmer consistency, more oil for a softer one.
This DIY mango body butter is more than just a moisturizer; it’s a self-care ritual. It’s a moment to connect with yourself, to nurture your skin, and to appreciate the simple pleasures of creating something beautiful and beneficial.
We wholeheartedly encourage you to try this DIY mango body butter recipe. It’s a simple, affordable, and incredibly rewarding way to elevate your skincare routine. Once you’ve whipped up your own batch, we’d love to hear about your experience! Share your photos, tips, and variations in the comments below. Let’s create a community of DIY skincare enthusiasts, sharing our knowledge and inspiring each other to embrace the power of homemade beauty. Your skin will thank you, and you’ll feel amazing knowing you created something so wonderful with your own hands. Don’t forget to share this recipe with your friends and family so they can experience the joy of DIY skincare too!
FAQ
What exactly is mango butter and why is it good for my skin?
Mango butter is a natural fat extracted from the kernel of the mango fruit. It’s rich in vitamins A, C, and E, as well as antioxidants and essential fatty acids. These nutrients make it incredibly beneficial for the skin. It’s deeply moisturizing, helping to hydrate and soften dry skin. It also helps to protect the skin from environmental damage, reduce inflammation, and promote collagen production, leading to a more youthful and radiant complexion. Mango butter is also non-comedogenic, meaning it won’t clog pores, making it suitable for most skin types.
Can I use a different type of butter if I don’t have mango butter?
Yes, you can substitute mango butter with other natural butters like shea butter, cocoa butter, or kokum butter. Each butter has slightly different properties, so the final product will vary slightly in texture and benefits. Shea butter is known for its healing and anti-inflammatory properties, while cocoa butter adds a rich, chocolatey scent and a firmer consistency. Kokum butter is a harder butter that provides excellent moisturizing benefits without being greasy. Experiment with different combinations to find what works best for your skin.
What kind of carrier oil should I use?
The best carrier oil depends on your skin type and preferences. Popular choices include:
* **Jojoba oil:** Mimics the skin’s natural sebum, making it suitable for all skin types, including oily and acne-prone skin.
* **Sweet almond oil:** A lightweight and versatile oil that’s easily absorbed and provides excellent hydration.
* **Coconut oil:** A rich and moisturizing oil that’s great for dry skin, but can be comedogenic for some. Fractionated coconut oil is a good alternative as it’s less likely to clog pores.
* **Avocado oil:** A nutrient-rich oil that’s particularly beneficial for dry and mature skin.
* **Grapeseed oil:** A light and non-greasy oil that’s rich in antioxidants.
Consider your skin’s needs and choose an oil that complements the benefits of the mango butter.
How long will this DIY mango body butter last?
The shelf life of your DIY mango body butter depends on the ingredients you use and how you store it. Generally, it should last for 6-12 months if stored properly. To maximize its shelf life, use fresh, high-quality ingredients and store the body butter in an airtight container in a cool, dark place. Avoid exposing it to direct sunlight or extreme temperatures, as this can cause it to melt or go rancid. If you notice any changes in smell, texture, or color, it’s best to discard it.
Can I add essential oils to this recipe? If so, which ones are best?
Yes, adding essential oils can enhance the benefits and scent of your DIY mango body butter. However, it’s crucial to use high-quality, skin-safe essential oils and to dilute them properly. A general guideline is to use a 1-2% dilution rate, which translates to about 6-12 drops of essential oil per ounce of body butter. Some popular and beneficial essential oils for skincare include:
* **Lavender:** Calming, soothing, and promotes relaxation.
* **Tea tree:** Antibacterial and anti-inflammatory, beneficial for acne-prone skin.
* **Frankincense:** Anti-aging, promotes skin regeneration, and reduces the appearance of scars.
* **Geranium:** Balances oil production, reduces inflammation, and promotes skin healing.
* **Chamomile:** Soothing, calming, and reduces redness and irritation.
* **Rose:** Hydrating, anti-aging, and promotes a youthful complexion.
Always perform a patch test on a small area of skin before applying the body butter liberally to ensure you don’t have any allergic reactions.
My body butter turned out greasy. What did I do wrong?
If your body butter feels greasy, it could be due to a few factors:
* **Too much oil:** You may have used too much carrier oil in relation to the butter. Try reducing the amount of oil in your next batch.
* **Incorrect oil choice:** Some oils are naturally greasier than others. Consider switching to a lighter oil like jojoba or grapeseed oil.
* **Over-whipping:** Over-whipping can break down the emulsion and cause the oil to separate. Whip the mixture until it’s light and fluffy, but avoid overdoing it.
* **Climate:** In warmer climates, the body butter may melt slightly and feel greasier. Store it in a cooler place to help it solidify.
My body butter is too hard. How can I soften it?
If your body butter is too hard, it could be due to:
* **Too much butter:** You may have used too much butter in relation to the oil. Try increasing the amount of oil in your next batch.
* **Cold temperature:** The body butter may harden in cold temperatures. Allow it to warm up slightly at room temperature before using.
* **Butter type:** Some butters, like cocoa butter, are naturally harder than others. Consider using a softer butter like shea or mango butter.
You can also try re-whipping the body butter with a small amount of additional carrier oil to soften it.
Can I use this DIY mango body butter on my face?
While this DIY mango body butter is generally safe for use on the face, it’s important to consider your skin type. If you have oily or acne-prone skin, it may be too heavy and could potentially clog pores. If you have dry or mature skin, it may be beneficial. Always test a small amount on a small area of your face first to see how your skin reacts. You may also want to adjust the recipe by using lighter oils and avoiding comedogenic ingredients like coconut oil.
Is this recipe safe for children and babies?
While the ingredients in this recipe are generally considered safe, it’s always best to consult with a pediatrician before using any homemade skincare products on children or babies. Avoid using essential oils on babies under 6 months old, and use caution when using them on older children. Always use a very low dilution rate (0.5% or less) and choose essential oils that are known to be safe for children, such as lavender and chamomile.
Leave a Comment