

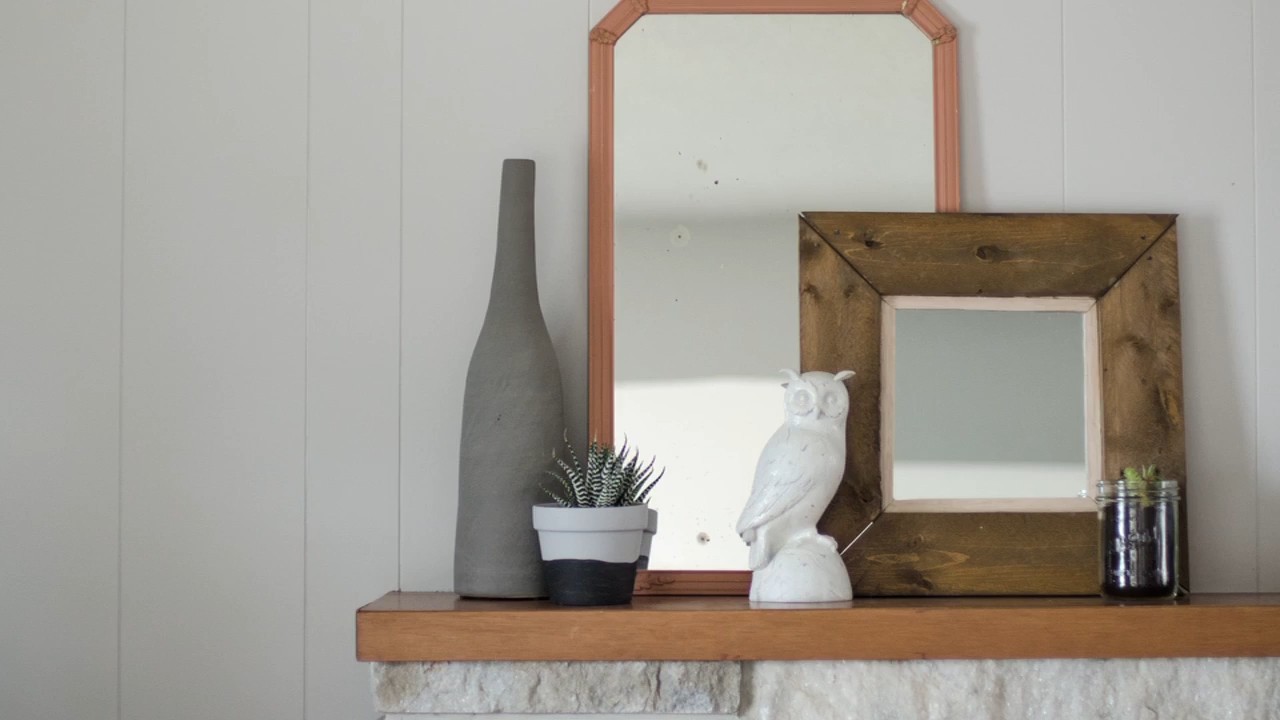
DIY Rustic Pallet Mirror: Ever feel like your home could use a touch of rustic charm and a whole lot of personality? I know I do! There’s something incredibly satisfying about creating something beautiful and functional with your own two hands, especially when it involves upcycling materials. That’s why I’m so excited to share this fantastic DIY project with you: crafting a stunning rustic pallet mirror.
Pallets, those humble wooden structures that carry goods across the globe, have a surprisingly rich history. They’ve been essential to trade and transportation for decades, and now, they’re finding new life as incredible pieces of home decor. Think about it – you’re not just building a mirror; you’re giving a discarded piece of wood a second chance to shine!
But why a DIY Rustic Pallet Mirror, you ask? Well, store-bought mirrors can be expensive and often lack that unique, handcrafted feel. Plus, let’s be honest, who doesn’t love a good DIY project that saves money and adds character to their space? This project is perfect for adding a touch of warmth and texture to any room, from your entryway to your bedroom. It’s also a fantastic way to express your creativity and create a truly one-of-a-kind piece that reflects your personal style. So, grab your tools, and let’s get started on this fun and rewarding project!
“`html
DIY Rustic Pallet Mirror: A Step-by-Step Guide
Hey there, fellow DIY enthusiasts! Today, I’m super excited to share a project that’s close to my heart: creating a stunning rustic mirror using reclaimed pallet wood. This project is not only budget-friendly but also adds a unique, personalized touch to your home decor. Get ready to transform a humble pallet into a beautiful statement piece!
Materials You’ll Need
Before we dive in, let’s gather all the necessary materials. Trust me, having everything organized beforehand will make the process much smoother.
* A Pallet: Look for a pallet in good condition. Avoid those that have been chemically treated (look for an “HT” stamp, which means heat-treated, a safer option).
* Mirror: Choose a mirror size that complements your pallet. You can find these at most hardware stores or online. I recommend measuring your pallet first to determine the ideal mirror dimensions.
* Safety Glasses: Safety first! Protect your eyes from flying debris.
* Work Gloves: These will protect your hands from splinters and rough edges.
* Crowbar or Pallet Buster: For disassembling the pallet. A pallet buster is specifically designed for this task and makes it much easier.
* Hammer: For any stubborn nails.
* Pry Bar: Helpful for removing nails and prying apart boards.
* Circular Saw or Hand Saw: For cutting the pallet wood to size. A circular saw will make quicker work of it, but a hand saw will do the trick too.
* Measuring Tape: Essential for accurate measurements.
* Pencil: For marking your cuts.
* Sander or Sandpaper (Various Grits): To smooth out the rough edges of the pallet wood. I usually start with a coarse grit (80) and work my way up to a finer grit (220).
* Wood Stain (Optional): To enhance the rustic look or match your existing decor. Choose a stain color you love!
* Paint Brush or Rags: For applying the stain.
* Wood Glue: For securing the mirror to the pallet frame.
* Construction Adhesive (Optional): For extra strong adhesion of the mirror.
* Clamps: To hold the frame pieces together while the glue dries.
* D-Rings or Picture Hanging Hardware: For hanging the mirror on the wall.
* Screws: For attaching the D-rings.
* Drill: For pre-drilling holes for the screws.
* Wood Filler (Optional): To fill any gaps or imperfections in the wood.
* Lint-Free Cloth: For wiping away excess stain or glue.
* Polyurethane or Varnish (Optional): To seal and protect the wood.
Disassembling the Pallet
This is probably the most physically demanding part of the project, but don’t worry, you can do it!
1. Safety First: Put on your safety glasses and work gloves.
2. Assess the Pallet: Examine the pallet to identify the best points to pry apart the boards. Look for areas where the nails are visible.
3. Use the Crowbar or Pallet Buster: Position the crowbar or pallet buster between the boards and the support beams. Apply steady pressure to pry the boards apart. Work slowly and carefully to avoid splitting the wood.
4. Remove Nails: Once you’ve separated the boards, use a hammer and pry bar to remove any remaining nails. Be sure to remove all nails to prevent injury later on.
5. Sort the Boards: Sort the boards by size and condition. Discard any boards that are severely damaged or warped.
Preparing the Wood
Now that we have our individual boards, it’s time to clean them up and get them ready for assembly.
1. Clean the Wood: Use a brush or cloth to remove any dirt, dust, or debris from the boards.
2. Sanding: This is crucial for a smooth finish. Start with a coarse grit sandpaper (80) to remove any rough edges or splinters. Then, gradually work your way up to a finer grit (120-220) for a smoother surface. Sand along the grain of the wood.
3. Wood Filler (Optional): If you want to fill any gaps or imperfections in the wood, apply wood filler and let it dry completely according to the manufacturer’s instructions. Then, sand the filled areas smooth.
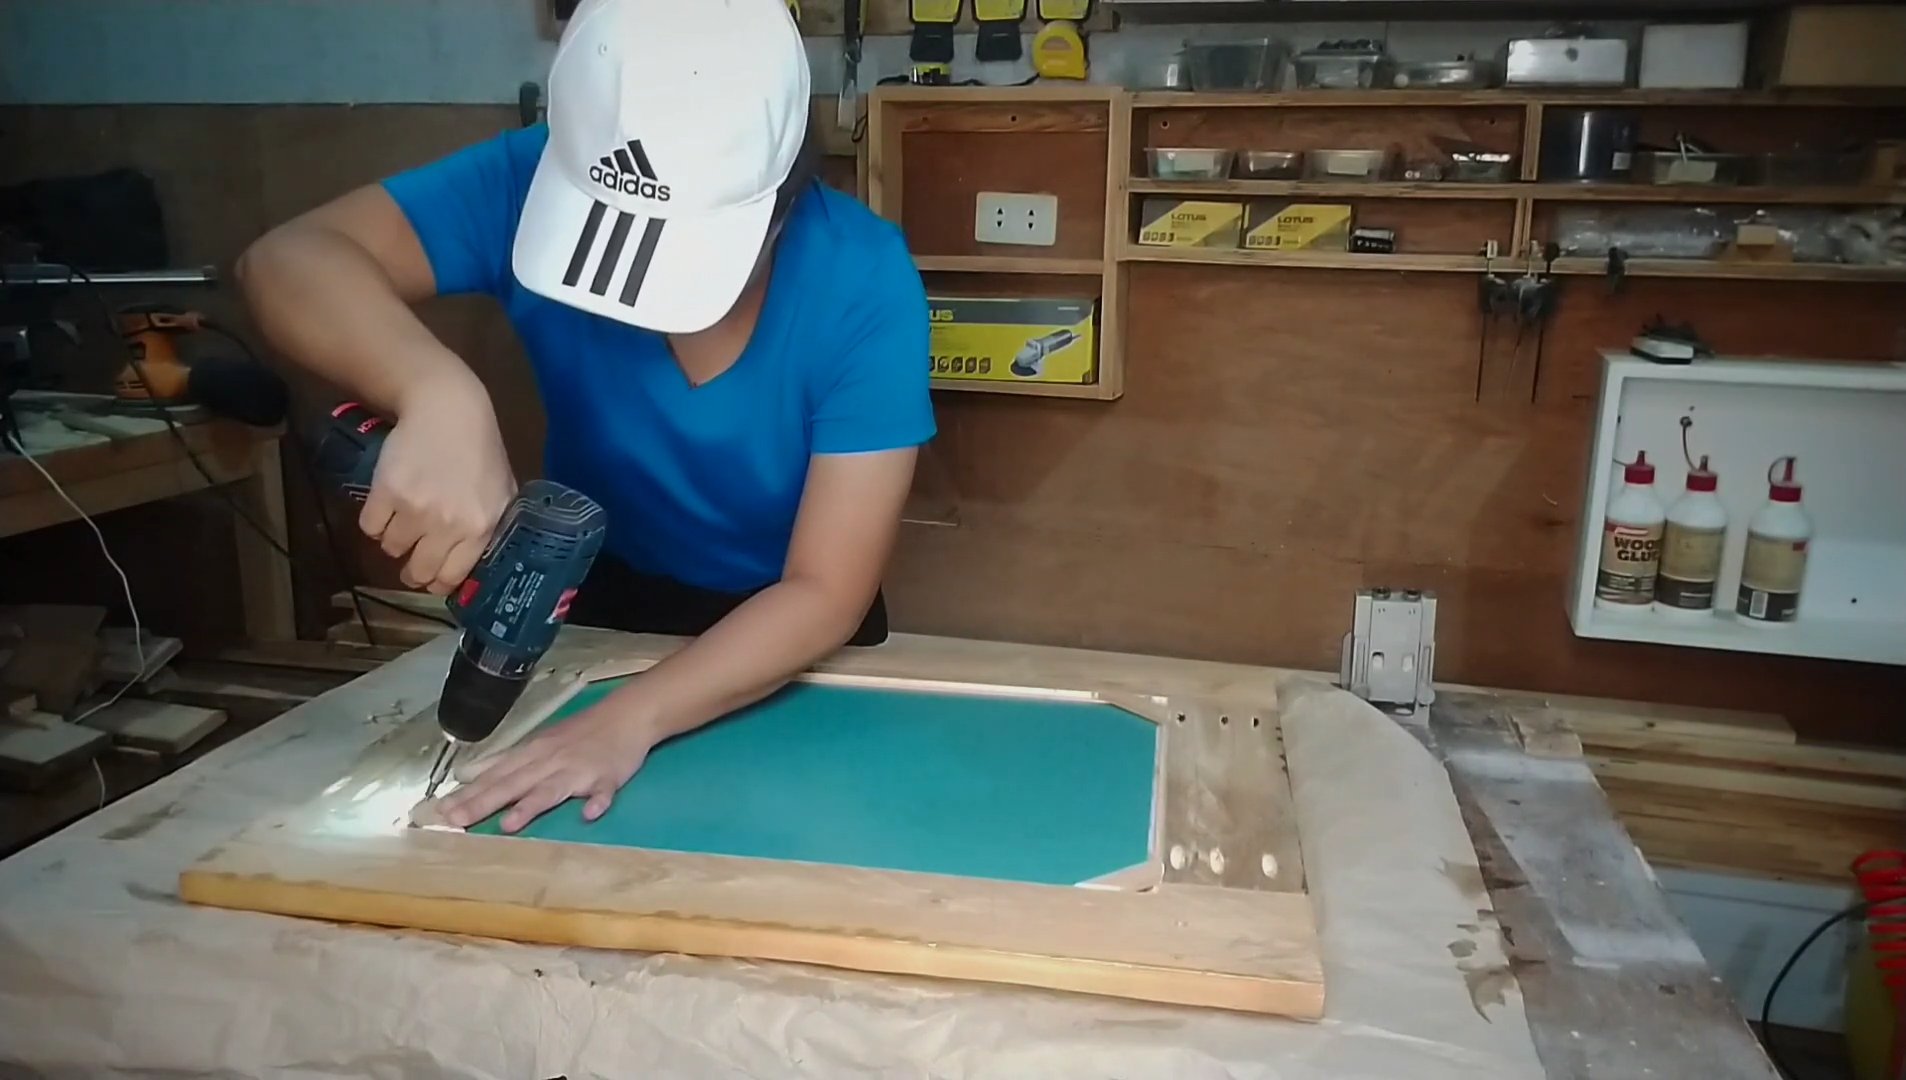
Building the Frame
This is where the magic happens! We’ll be transforming the individual boards into a beautiful frame for our mirror.
1. Measure the Mirror: Carefully measure the dimensions of your mirror.
2. Cut the Pallet Wood: Cut the pallet wood to the desired lengths for the frame. You’ll need four pieces: two for the top and bottom, and two for the sides. Make sure the inside dimensions of the frame are slightly larger than the mirror to allow for easy insertion. I usually add about 1/4 inch on each side.
3. Assemble the Frame: Apply wood glue to the edges of the frame pieces. Clamp the pieces together to form a rectangle. Make sure the corners are square. Let the glue dry completely according to the manufacturer’s instructions. I usually leave it clamped overnight.
4. Reinforce the Corners (Optional): For extra strength, you can reinforce the corners of the frame with screws or nails. Pre-drill holes to prevent the wood from splitting.
Staining or Painting (Optional)
If you want to add some color or enhance the rustic look, now’s the time to stain or paint the frame.
1. Prepare the Surface: Make sure the frame is clean and dry.
2. Apply Stain or Paint: Apply the stain or paint evenly using a brush or rags. Follow the manufacturer’s instructions for application and drying time. For a more rustic look, you can apply multiple thin coats of stain, wiping off the excess after each coat.
3. Let it Dry: Allow the stain or paint to dry completely before proceeding to the next step.
Attaching the Mirror
This is a crucial step, so take your time and be careful.
1. Apply Adhesive: Apply a generous amount of wood glue or construction adhesive to the back of the mirror. Be sure to apply it evenly to ensure a strong bond.
2. Position the Mirror: Carefully position the mirror inside the frame. Center it and press it firmly against the frame.
3. Secure the Mirror: Use clamps or weights to hold the mirror in place while the adhesive dries. Let it dry completely according to the manufacturer’s instructions. I usually leave it clamped for at least 24 hours.
Adding Hanging Hardware
Now, let’s get this beauty ready to hang on the wall!
1. Determine Placement: Decide where you want to position the D-rings or picture hanging hardware on the back of the frame.
2. Pre-Drill Holes: Pre-drill holes for the screws to prevent the wood from splitting.
3. Attach the Hardware: Attach the D-rings or picture hanging hardware using screws. Make sure they are securely fastened.
Finishing Touches
Almost there! Let’s add some final touches to make our mirror truly shine.
1. Clean the Mirror: Clean the mirror with a glass cleaner to remove any fingerprints or smudges.
2. Apply a Sealant (Optional): If you want to protect the wood from moisture and wear, apply a coat of polyurethane or varnish. Follow the manufacturer’s instructions for application and drying time.
3. Admire Your Work: Step back and admire your beautiful, handcrafted rustic pallet mirror! You did it!
Hanging Your Mirror
1. Choose a Location: Select a suitable location on your wall to hang the mirror.
2. Use Appropriate Hardware: Use appropriate wall anchors and screws to support the weight of the mirror.
3. Hang and Enjoy: Carefully hang the mirror on the wall and enjoy your new rustic masterpiece!
I hope you enjoyed this DIY project as much as I did! Remember, the beauty of DIY is that you can customize it to your own taste and style. So, get creative and have fun! Happy crafting!
“`
Conclusion
So, there you have it! Transforming discarded pallet wood into a stunning, DIY rustic pallet mirror is not just a craft project; it’s an act of creative recycling that breathes new life into something old and forgotten. This project offers a unique opportunity to add a touch of personalized, rustic charm to your home decor without breaking the bank. The beauty of this DIY lies in its inherent imperfections – the knots, the grain, the slight variations in color – all contribute to its authentic, handcrafted appeal. It’s a statement piece that tells a story, a conversation starter that reflects your commitment to sustainability and your eye for unique design.
Why is this DIY trick a must-try? Because it’s more than just making a mirror; it’s about creating something truly special and personal. It’s about taking pride in your handiwork and adding a touch of warmth and character to your living space. It’s about embracing the beauty of imperfection and celebrating the unique qualities of reclaimed materials. Plus, let’s be honest, the satisfaction of transforming something destined for the landfill into a beautiful and functional piece of art is incredibly rewarding.
But the fun doesn’t stop there! The possibilities for customization are endless. Consider staining the pallet wood in a variety of colors to match your existing decor. A whitewashed finish can create a chic, farmhouse vibe, while a darker stain can add a touch of sophistication. You could even experiment with different distressing techniques to enhance the rustic appeal. Think about adding decorative elements like metal accents, rope detailing, or even small succulents planted in the crevices of the wood. For a more modern twist, try incorporating geometric patterns or painting the pallet wood in bold, contrasting colors. Another variation is to use different sizes and shapes of mirrors within the pallet frame, creating a mosaic effect. You could even add LED strip lights behind the mirror for a soft, ambient glow.
Don’t be intimidated by the thought of working with pallet wood. With a few basic tools and a little bit of patience, you can easily create a stunning DIY rustic pallet mirror that will be the envy of all your friends. The process is surprisingly straightforward, and the results are truly remarkable.
We wholeheartedly encourage you to give this DIY project a try. It’s a fantastic way to unleash your creativity, add a personal touch to your home, and contribute to a more sustainable lifestyle. Once you’ve completed your masterpiece, we would absolutely love to see it! Share your creations with us on social media using #RusticPalletMirrorDIY. We can’t wait to see the unique and inspiring ways you transform discarded pallet wood into beautiful works of art. Let your creativity shine, and happy crafting!
Frequently Asked Questions (FAQ)
What kind of pallet wood should I use?
The best type of pallet wood to use for your DIY rustic pallet mirror is heat-treated (HT) pallet wood. This means the wood has been treated with heat to kill any pests or bacteria, making it safe to use indoors. Avoid using pallets marked with “MB,” which indicates they have been treated with methyl bromide, a toxic fumigant. Look for pallets that are clean, dry, and free from any signs of mold or rot. Hardwood pallets, such as oak or maple, will be more durable and resistant to wear and tear than softwood pallets like pine. However, softwood pallets are generally easier to work with and can still create a beautiful rustic look. Ultimately, the choice of pallet wood depends on your personal preference and the availability of materials.
How do I safely disassemble a pallet?
Disassembling a pallet can be tricky, but with the right tools and techniques, it can be done safely and efficiently. The most common method is to use a reciprocating saw or a pallet buster tool. A reciprocating saw allows you to cut through the nails or screws holding the pallet together, while a pallet buster tool uses leverage to pry the boards apart. When using a reciprocating saw, always wear safety glasses and gloves to protect yourself from flying debris. Start by cutting through the nails or screws that attach the deck boards to the stringers (the vertical supports). Be careful not to damage the wood as you cut. Once the deck boards are loose, you can use a pry bar to gently remove any remaining nails or staples. If you’re using a pallet buster tool, position the tool under the deck board and apply pressure to pry it away from the stringer. Work your way along the board, gradually loosening it until it comes free. Remember to always work in a well-ventilated area and take breaks as needed to avoid fatigue.
How do I clean and prepare the pallet wood?
Before you start building your DIY rustic pallet mirror, it’s essential to clean and prepare the pallet wood properly. Start by removing any loose dirt, debris, or splinters with a stiff brush or scraper. If the wood is particularly dirty, you can wash it with soap and water. Use a mild detergent and a scrub brush to clean the surface of the wood. Rinse thoroughly with clean water and allow the wood to dry completely before proceeding. Once the wood is dry, inspect it for any signs of mold or mildew. If you find any, treat the affected areas with a solution of bleach and water (1 part bleach to 10 parts water). Apply the solution to the moldy areas and let it sit for about 15 minutes. Then, scrub the areas with a brush and rinse thoroughly with clean water. Allow the wood to dry completely before moving on to the next step. Finally, sand the pallet wood to smooth out any rough edges or splinters. Use a medium-grit sandpaper (120-150 grit) to sand the surface of the wood, followed by a fine-grit sandpaper (220 grit) to create a smooth finish.
What type of finish should I use on my pallet mirror?
The type of finish you use on your DIY rustic pallet mirror will depend on the desired look and the intended use of the mirror. For a rustic, natural look, consider using a clear sealant or varnish. This will protect the wood from moisture and wear while allowing the natural grain and texture to shine through. You can also use a stain to add color to the wood. Choose a stain that complements your existing decor and apply it according to the manufacturer’s instructions. For a more durable finish, consider using a polyurethane coating. Polyurethane is a tough, water-resistant finish that will protect the wood from scratches and stains. It’s available in a variety of sheens, from matte to glossy, so you can choose the one that best suits your style. If you want to create a distressed or aged look, you can use a milk paint or chalk paint. These paints are easy to apply and can be sanded or distressed to create a unique, vintage finish.
How do I hang my pallet mirror securely?
Hanging your DIY rustic pallet mirror securely is crucial to prevent it from falling and causing damage or injury. The best way to hang your mirror will depend on its size and weight, as well as the type of wall you’re hanging it on. For smaller, lighter mirrors, you can use heavy-duty picture hooks or D-rings attached to the back of the mirror frame. Make sure the hooks or D-rings are rated to support the weight of the mirror. For larger, heavier mirrors, it’s best to use a French cleat system. A French cleat consists of two interlocking pieces of wood, one attached to the back of the mirror and the other attached to the wall. The cleat on the mirror slides down onto the cleat on the wall, creating a secure and stable connection. When attaching the cleat to the wall, be sure to use screws that are long enough to penetrate the wall studs. If you’re hanging the mirror on drywall, use drywall anchors to provide additional support. Always use a level to ensure the mirror is hanging straight.

Leave a Comment