

DIY Shower Cleaner Recipe: Tired of battling stubborn soap scum and mildew in your shower? I know I am! Let’s face it, cleaning the shower is nobody’s favorite chore. But what if I told you there’s a way to make it easier, cheaper, and even a little bit fun?
For generations, resourceful homemakers have relied on simple, homemade solutions to keep their homes sparkling. Before the age of commercial cleaners, ingredients like vinegar and baking soda were the go-to for tackling tough messes. This tradition of resourcefulness is something I truly admire, and it’s what inspired me to create this DIY shower cleaner recipe.
Why spend a fortune on harsh chemicals when you can whip up an effective cleaner with ingredients you probably already have in your pantry? Not only is this recipe budget-friendly, but it’s also a more eco-conscious choice. Many commercial cleaners contain harmful chemicals that can pollute our waterways and irritate our skin. My DIY recipe is gentle on the environment and on you! Plus, I’ll show you how to customize it with your favorite essential oils for a fresh, invigorating scent. Get ready to say goodbye to shower grime and hello to a sparkling clean, naturally fresh bathroom!
DIY Shower Cleaner: Sparkling Clean Without the Harsh Chemicals!
Hey everyone! I’m so excited to share my go-to DIY shower cleaner recipe with you. I’ve been using this for years, and it’s seriously a game-changer. Not only is it super effective at cutting through soap scum and grime, but it’s also made with ingredients you probably already have in your pantry! Plus, it’s way better for the environment (and your lungs!) than those harsh chemical cleaners. Let’s get started!
What You’ll Need
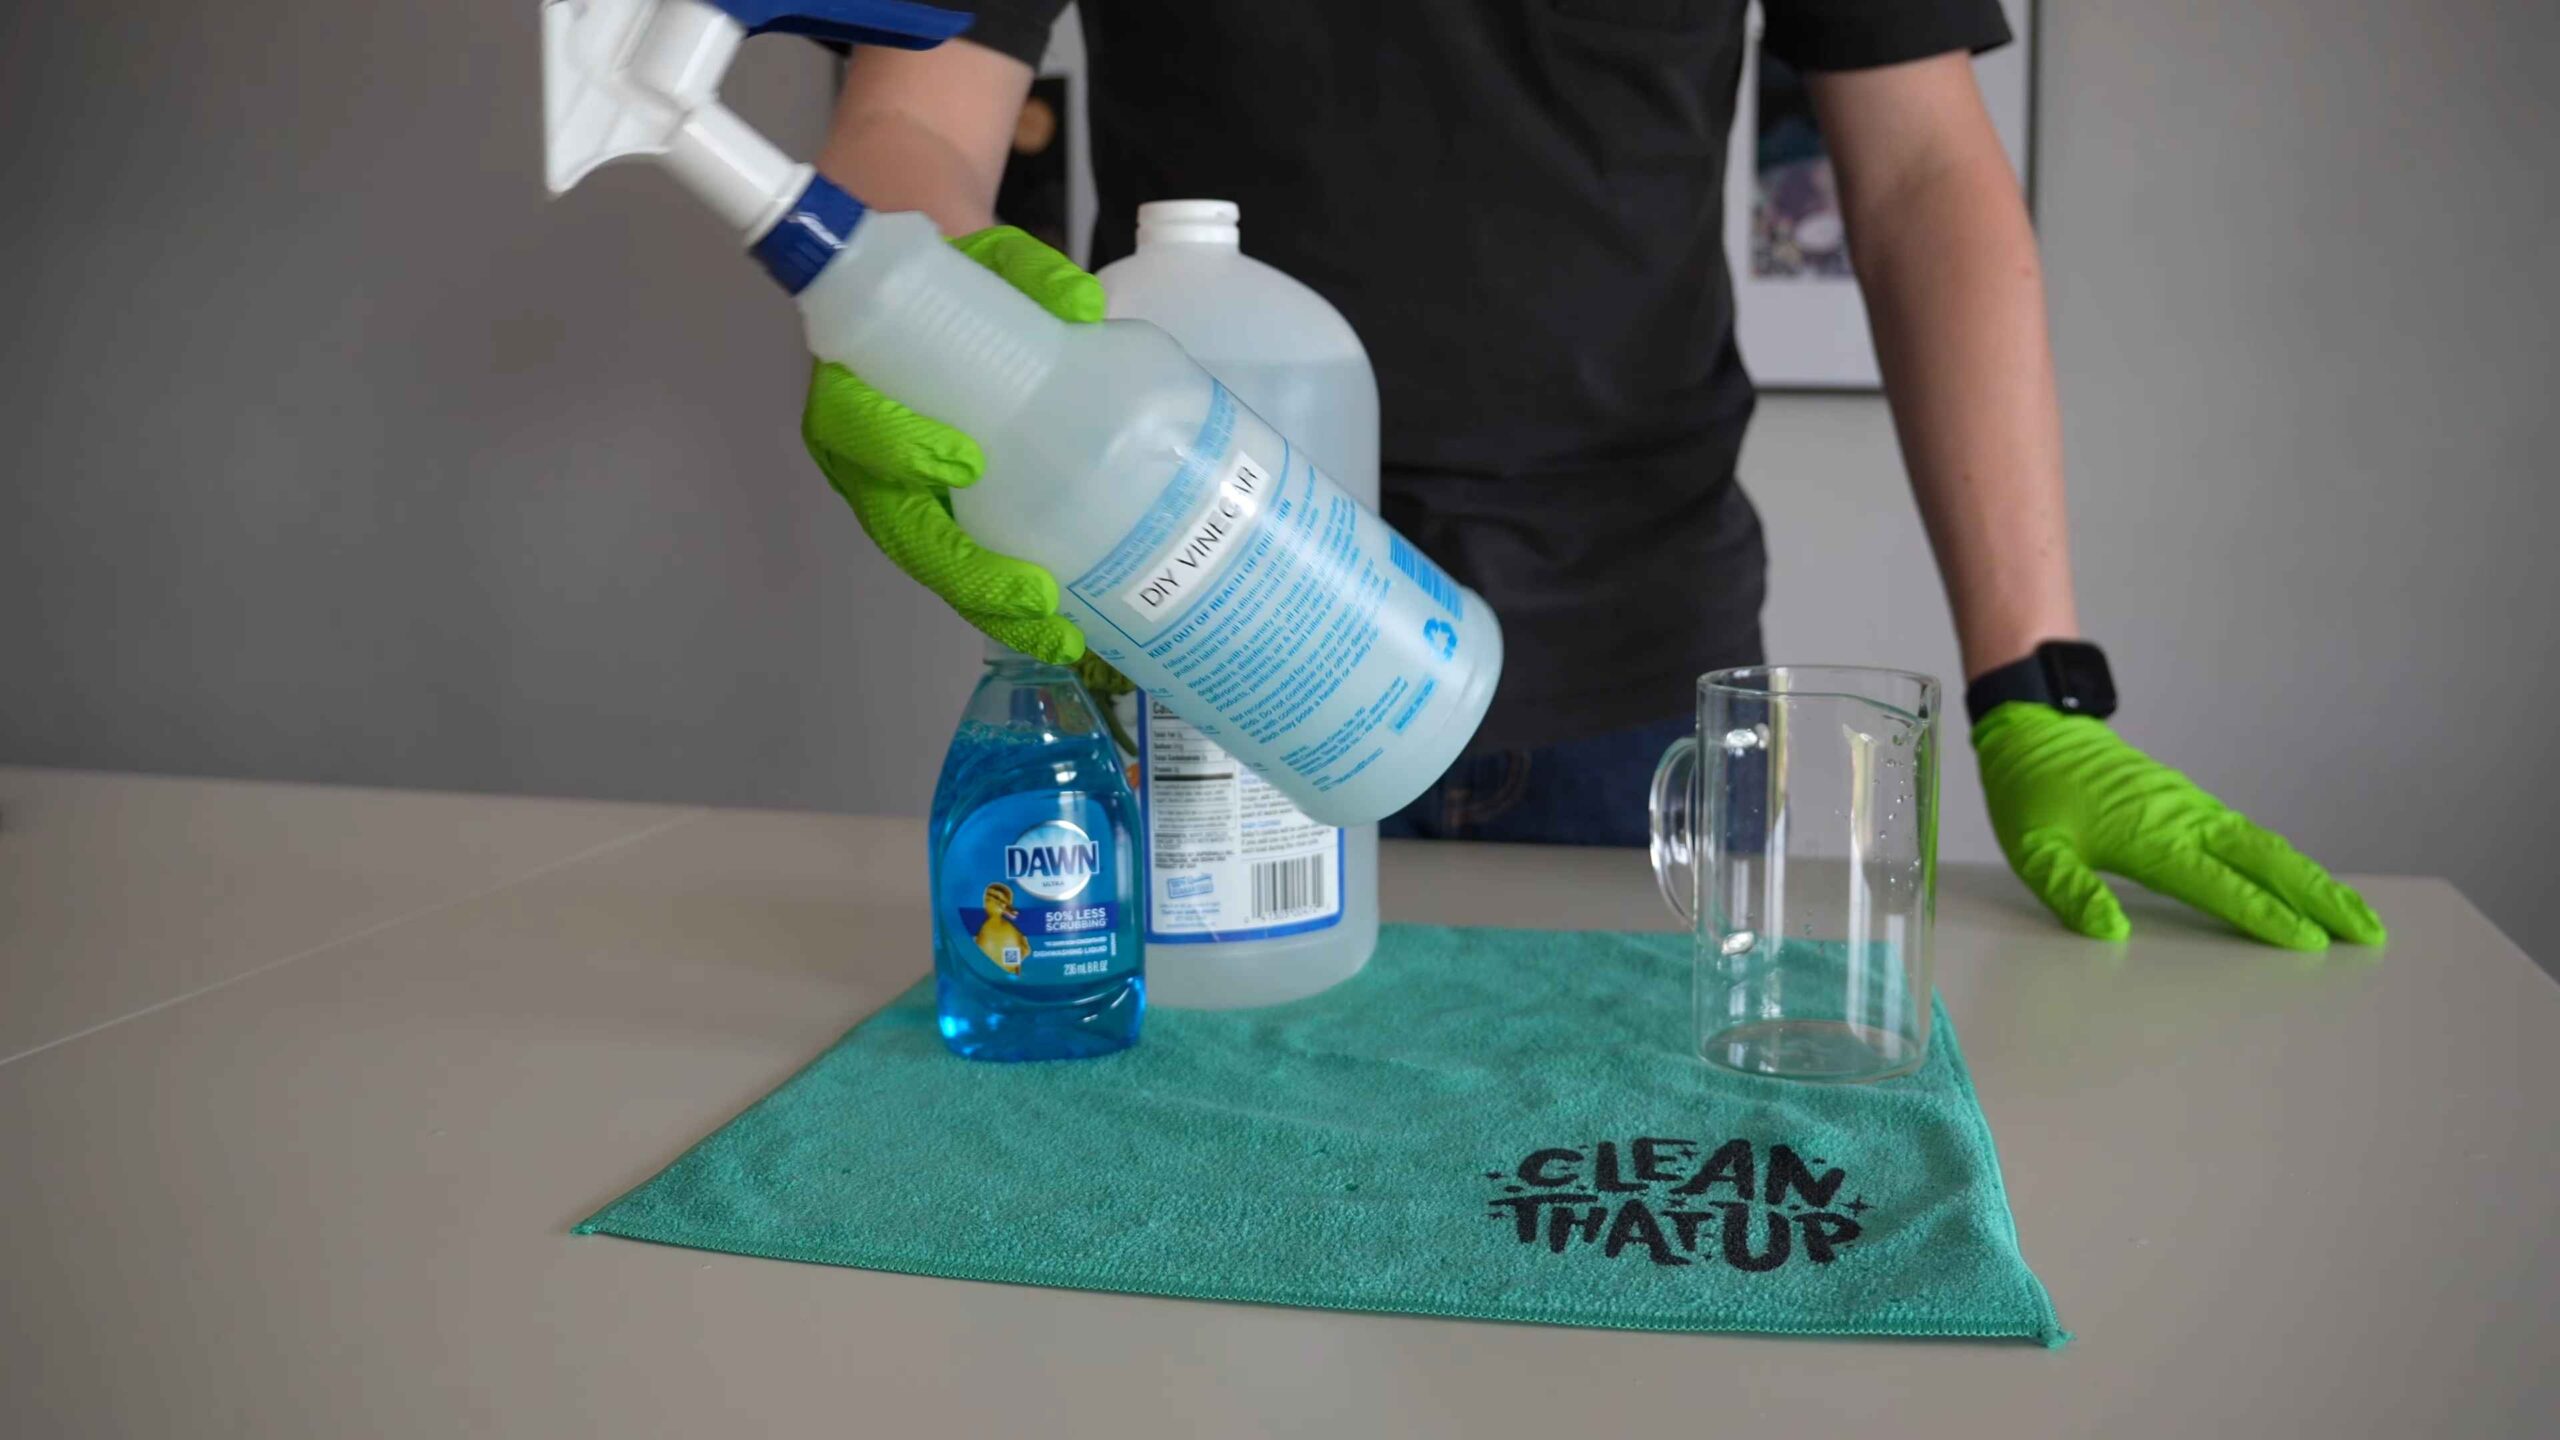
Before we dive into the recipe, let’s gather all the necessary supplies. Trust me, having everything ready beforehand will make the whole process much smoother.
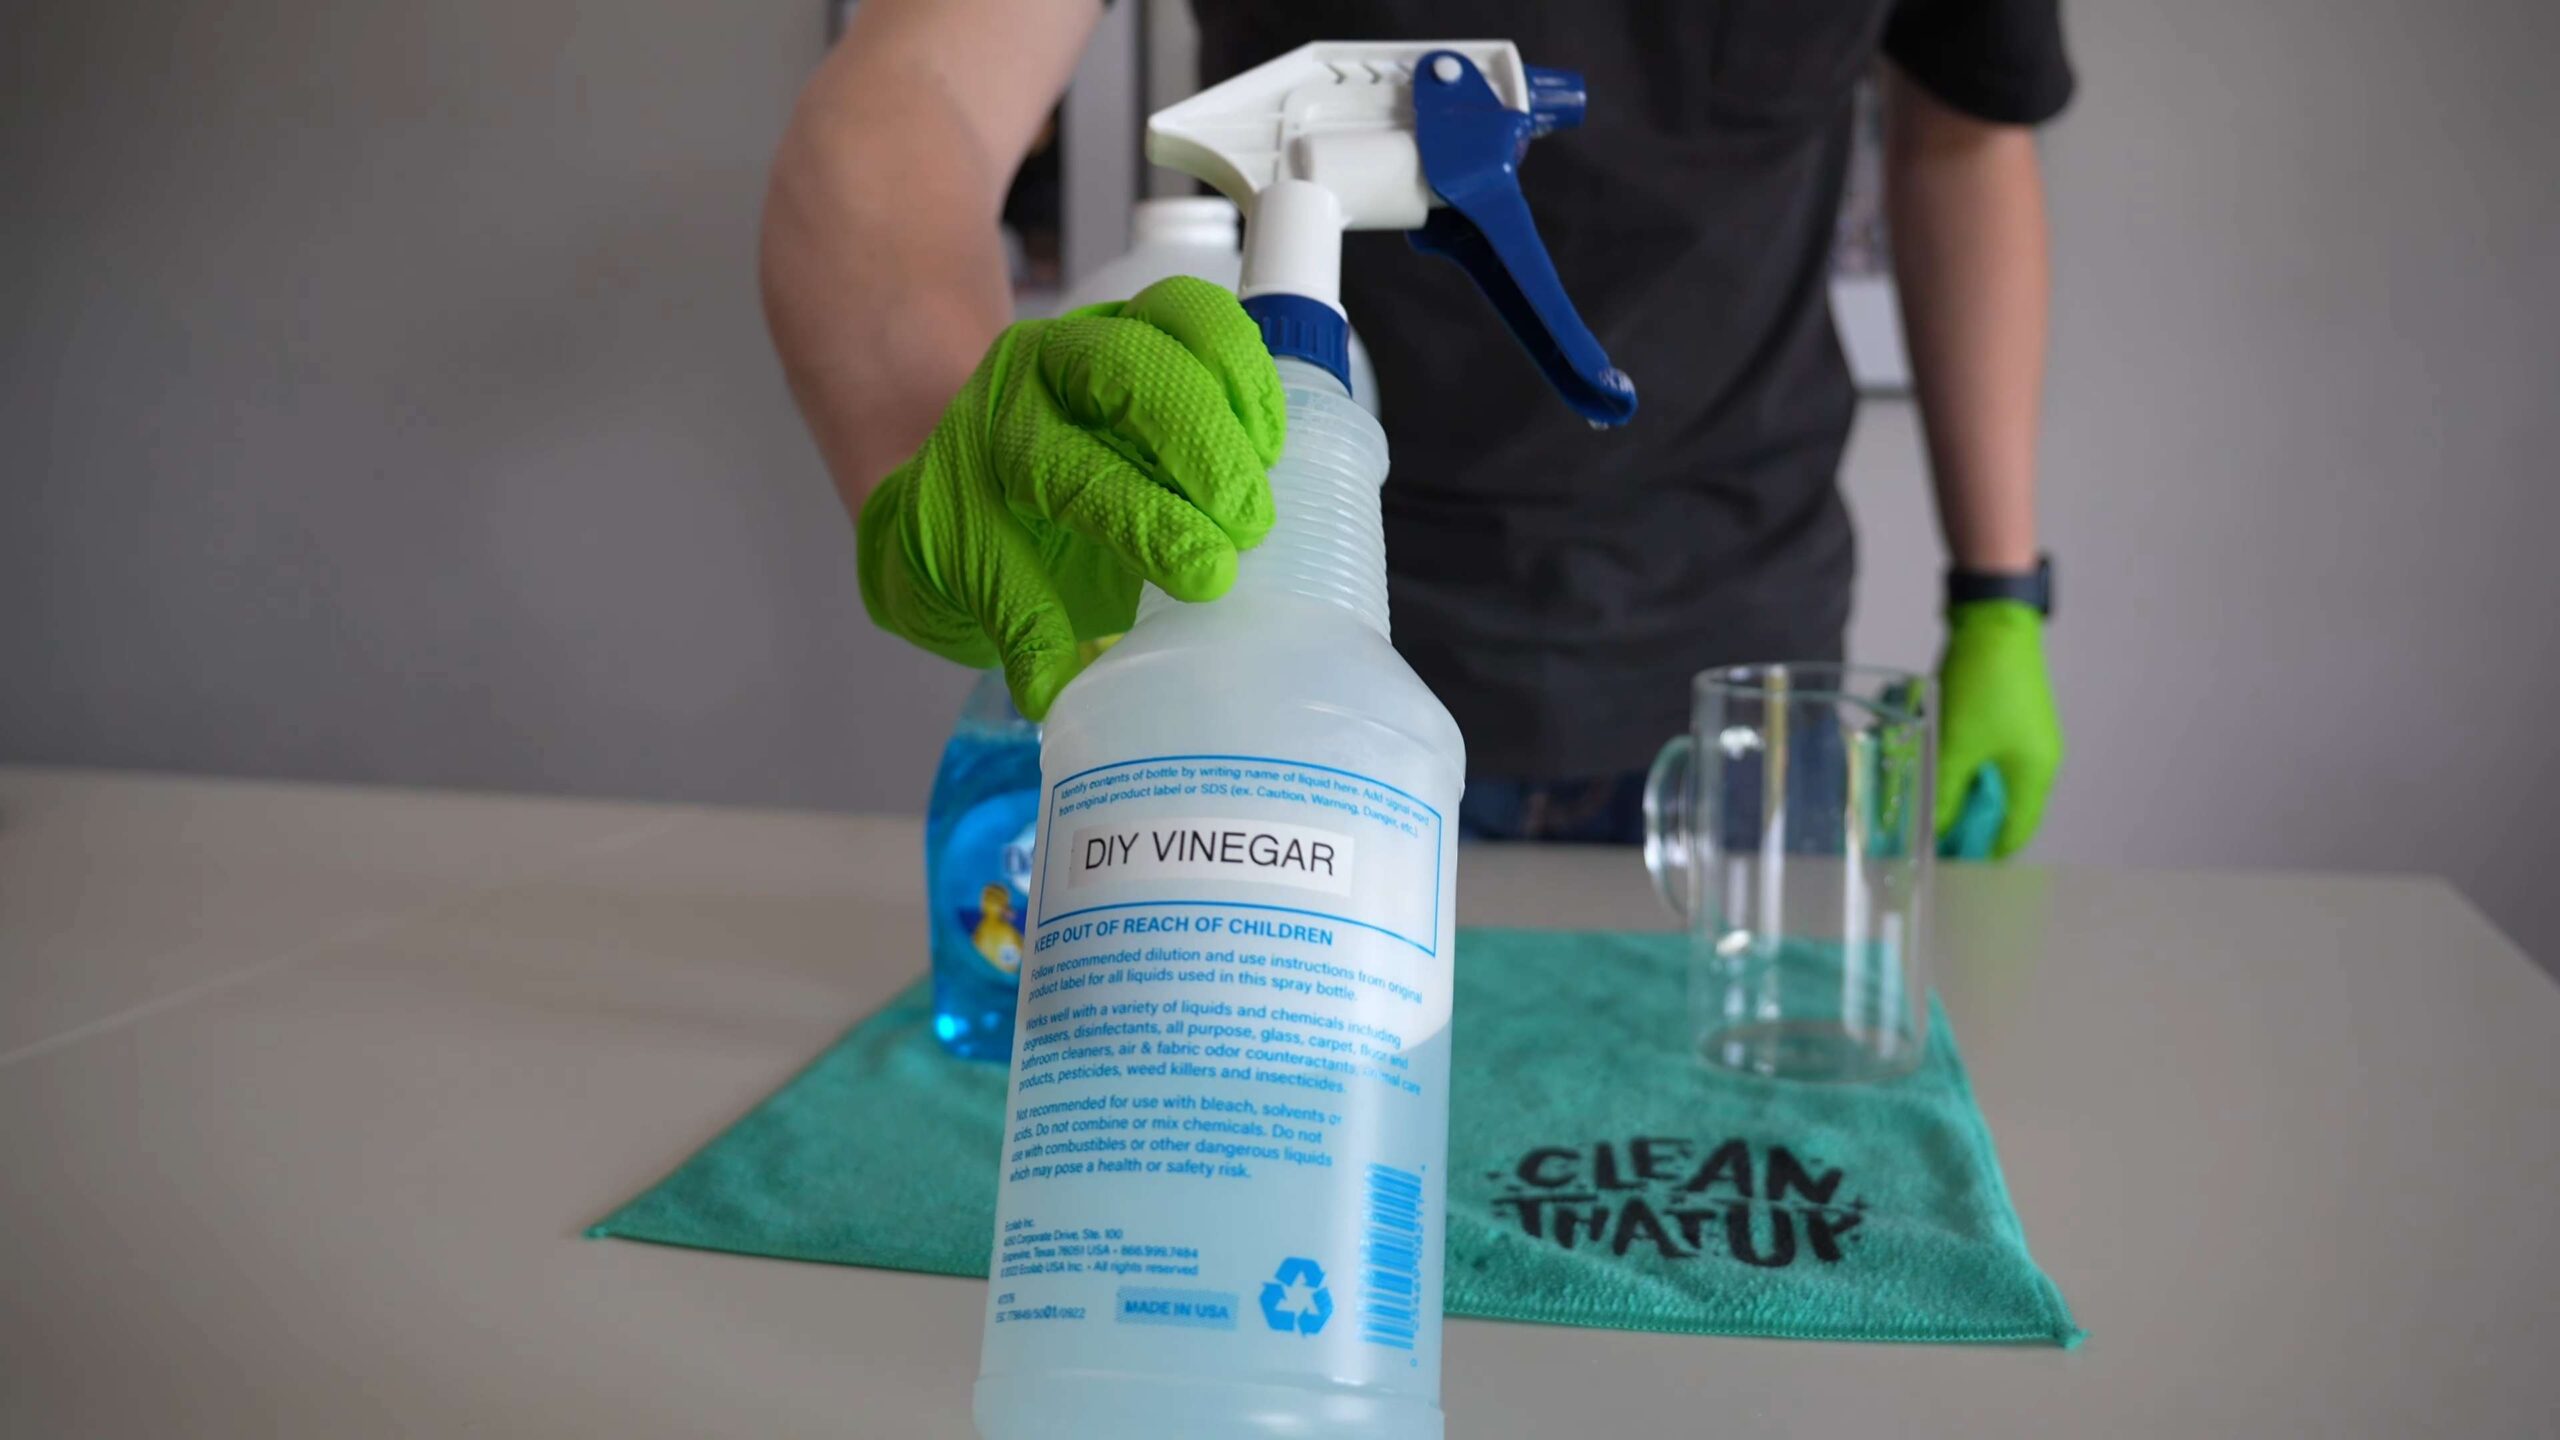
* **Spray Bottle:** A clean, empty spray bottle is essential for applying the cleaner. I prefer a sturdy one that can handle a bit of wear and tear.
* **White Vinegar:** This is the star of the show! White vinegar is a natural disinfectant and a powerful cleaner. Its acidity helps break down soap scum and hard water stains.
* **Dish Soap:** A good quality dish soap will help to lift dirt and grease. I usually opt for a natural or eco-friendly option.
* **Essential Oil (Optional):** While vinegar is a fantastic cleaner, it does have a distinct smell. Adding a few drops of your favorite essential oil can help to mask the vinegar scent and leave your shower smelling fresh. Lavender, tea tree, eucalyptus, and lemon are all great choices.
* **Measuring Cup or Spoons:** For accurate measurements.
* **Funnel (Optional):** This makes pouring the ingredients into the spray bottle much easier and prevents spills.
* **Microfiber Cloth or Sponge:** For wiping down the shower surfaces.
* **Gloves (Optional):** If you have sensitive skin, you might want to wear gloves while cleaning.
The Recipe: It’s Easier Than You Think!
Okay, now for the fun part! This recipe is incredibly simple, and you can easily adjust the quantities to suit your needs.
Ingredients:
* 1 cup White Vinegar
* 1 cup Dish Soap
* 10-20 drops Essential Oil (Optional)
Step-by-Step Instructions: Let’s Get Cleaning!
Follow these simple steps, and you’ll have a sparkling clean shower in no time!
1. **Heat the Vinegar (Important!):** This is a crucial step. Heating the vinegar makes it even more effective at cutting through grime. Pour the 1 cup of white vinegar into a microwave-safe bowl or measuring cup. Microwave for about 1-2 minutes, or until it’s hot but not boiling. Be careful when handling hot vinegar!
2. **Combine the Ingredients:** Carefully pour the hot vinegar into your spray bottle. Then, add the 1 cup of dish soap. If you’re using essential oils, add 10-20 drops at this point.
3. Gently Mix:** Close the spray bottle tightly and gently swirl the mixture to combine the ingredients. Avoid shaking vigorously, as this can create excessive bubbles.
4. **Spray the Shower:** Now it’s time to apply the cleaner! Spray the entire shower area, focusing on areas with soap scum, mildew, or hard water stains. Make sure to get the walls, floor, shower door or curtain, and any fixtures.
5. **Let it Sit:** This is where the magic happens. Allow the cleaner to sit on the surfaces for at least 15-30 minutes. This gives the vinegar and dish soap time to break down the grime. For stubborn stains, you can let it sit for even longer, up to an hour.
6. **Scrub (If Needed):** After letting the cleaner sit, use a microfiber cloth or sponge to scrub any remaining grime. You might need to put in a little elbow grease for particularly tough spots. A scrub brush can also be helpful for grout lines.
7. **Rinse Thoroughly:** Rinse the entire shower area with clean water. Make sure to remove all traces of the cleaner.
8. **Dry the Surfaces:** Finally, dry the shower surfaces with a clean towel or microfiber cloth. This will help to prevent water spots and keep your shower looking sparkling clean.
Tips and Tricks for a Super Clean Shower
I’ve learned a few extra tips and tricks over the years that can really boost the effectiveness of this DIY shower cleaner.
* **Preventative Cleaning:** The best way to keep your shower clean is to prevent buildup in the first place. I try to spray my shower with this cleaner once a week to keep soap scum at bay.
* **Squeegee After Each Shower:** This is a simple habit that can make a huge difference. Use a squeegee to remove excess water from the shower walls and door after each shower. This will help to prevent water spots and mildew growth.
* **Ventilation is Key:** Make sure your bathroom is well-ventilated. Open a window or turn on the exhaust fan while showering and for at least 30 minutes afterward. This will help to reduce moisture and prevent mildew.
* **Tackle Grout:** Grout can be a real pain to clean. For stubborn grout stains, you can make a paste of baking soda and water and apply it to the grout lines. Let it sit for a few minutes, then scrub with a grout brush and rinse.
* **Hard Water Stains:** If you have hard water, you might notice stubborn white stains on your shower surfaces. For these stains, you can try using undiluted white vinegar. Apply the vinegar to the stains, let it sit for a few minutes, then scrub and rinse.
* **Adjust the Recipe:** Feel free to adjust the recipe to suit your needs. If you find that the cleaner is too strong, you can dilute it with water. If it’s not strong enough, you can add more vinegar.
* **Test in an Inconspicuous Area:** Before applying the cleaner to the entire shower, test it in an inconspicuous area to make sure it doesn’t damage the surface.
* **Different Essential Oils:** Experiment with different essential oils to find your favorite scent. Lemon, orange, grapefruit, and lime are all great choices for a fresh, clean smell. Tea tree oil is a natural antiseptic and can help to kill mold and mildew. Eucalyptus oil is great for clearing congestion and can leave your shower smelling invigorating.
* **Vinegar Smell:** If you’re really sensitive to the smell of vinegar, you can try adding a bit more essential oil or leaving a small bowl of baking soda in the shower overnight to absorb the odor. The vinegar smell dissipates quickly, though.
* Don’t Mix with Bleach: Never, ever mix vinegar with bleach. This creates toxic fumes that can be very dangerous.
* Clean Shower Head: Don’t forget to clean your shower head! Mineral buildup can reduce water pressure and affect the spray pattern. To clean your shower head, fill a plastic bag with white vinegar and secure it around the shower head with a rubber band. Make sure the shower head is submerged in the vinegar. Let it soak for several hours or overnight, then remove the bag and rinse the shower head thoroughly.
* Glass Shower Doors: For glass shower doors, you can use a squeegee after each shower to prevent water spots. You can also apply a water repellent product to the glass to help water bead up and roll off.
* Consider a Magic Eraser: For really stubborn spots, a magic eraser can work wonders. Just be careful not to scrub too hard, as it can scratch some surfaces.
* Regular Cleaning is Key: The more often you clean your shower, the easier it will be to keep it clean. A quick spray and wipe down once a week can prevent buildup and save you time in the long run.
Why This DIY Cleaner is Awesome
I truly believe this DIY shower cleaner is the best! Here’s why:
* **It’s Natural:** No harsh chemicals or toxic fumes!
* **It’s Effective:** It cuts through soap scum, grime, and hard water stains like a champ.
* **It’s Affordable:** You probably already have the ingredients in your pantry.
* **It’s Customizable:** You can adjust the recipe to suit your needs and preferences.
* **It’s Environmentally Friendly:** You’re reducing your reliance on plastic bottles and harsh chemicals.
So there you have it! My super simple and effective DIY shower cleaner recipe. I hope you give it a try and see for yourself how amazing it is. Happy cleaning!
Conclusion
So, there you have it! This DIY shower cleaner recipe isn’t just another cleaning hack; it’s a game-changer for anyone looking to ditch harsh chemicals and embrace a more natural and effective way to keep their shower sparkling. We’ve walked you through a simple, cost-effective method that utilizes ingredients you likely already have in your pantry. Forget those expensive, store-bought cleaners filled with questionable chemicals that leave behind a lingering, artificial scent. This homemade solution is not only better for your health and the environment, but it’s also incredibly powerful at tackling soap scum, mildew, and hard water stains.
Why is this DIY shower cleaner a must-try? Because it works! The combination of vinegar’s acidity and baking soda’s mild abrasive properties creates a dynamic duo that cuts through grime with ease. Plus, the addition of essential oils not only adds a pleasant fragrance but also provides extra antibacterial and antifungal benefits. Think of it as aromatherapy while you clean!
But the beauty of this recipe lies in its versatility. Feel free to experiment with different essential oil combinations to find your perfect scent. Lavender and tea tree oil offer a calming and antiseptic blend, while lemon and eucalyptus create an invigorating and refreshing aroma. You can also adjust the ratio of vinegar to water depending on the severity of your shower’s grime. For particularly stubborn stains, try pre-treating the area with a paste of baking soda and water before spraying with the cleaner.
Consider adding a small amount of dish soap (a few drops will do) to the spray bottle for extra cleaning power. This is especially helpful if you have a lot of greasy residue in your shower. Another variation is to infuse your vinegar with citrus peels for a few weeks before making the cleaner. This adds a natural citrus scent and boosts the cleaning power of the vinegar. Simply place citrus peels (lemon, orange, grapefruit, etc.) in a jar, cover with white vinegar, and let it sit in a cool, dark place for 2-3 weeks. Strain the vinegar before using it in the recipe.
We’re confident that once you try this DIY shower cleaner, you’ll never go back to store-bought alternatives. It’s a simple, effective, and eco-friendly solution that will leave your shower sparkling clean and smelling fresh.
Don’t just take our word for it – give it a try! We encourage you to whip up a batch of this amazing cleaner and experience the difference for yourself. And most importantly, we want to hear about your results! Share your experiences, tips, and variations in the comments below. Let us know what essential oil combinations you loved, any modifications you made to the recipe, and how well it worked on your shower. Your feedback will not only help other readers but also inspire us to continue creating and sharing valuable DIY solutions. Let’s create a community of clean, healthy, and happy homes, one sparkling shower at a time!
Frequently Asked Questions (FAQ)
What type of vinegar should I use?
White distilled vinegar is the best choice for this DIY shower cleaner. It’s inexpensive, readily available, and has a high acidity level, making it effective at cutting through soap scum and hard water stains. Avoid using other types of vinegar, such as apple cider vinegar or balsamic vinegar, as they may leave behind a residue or stain.
Is it safe to use vinegar on all shower surfaces?
While vinegar is generally safe for most shower surfaces, it’s best to avoid using it on natural stone surfaces like marble, granite, and travertine. The acidity of vinegar can etch and damage these materials. For natural stone showers, use a pH-neutral cleaner specifically designed for stone. Always test the cleaner in an inconspicuous area first to ensure it doesn’t cause any discoloration or damage.
Can I use this cleaner on glass shower doors?
Yes, this DIY shower cleaner is excellent for cleaning glass shower doors. It effectively removes soap scum and water spots, leaving the glass sparkling clean. For best results, spray the cleaner on the glass, let it sit for a few minutes, and then wipe it clean with a microfiber cloth or squeegee.
How often should I use this DIY shower cleaner?
The frequency of cleaning depends on how often you use your shower and how quickly it accumulates soap scum and mildew. As a general guideline, aim to clean your shower at least once a week. For showers that are used more frequently, you may need to clean them more often. Regular cleaning will prevent buildup and make it easier to maintain a sparkling clean shower.
What if I don’t have essential oils? Can I still make the cleaner?
Yes, you can still make the DIY shower cleaner without essential oils. The vinegar and baking soda combination is effective on its own. However, essential oils add a pleasant fragrance and provide extra antibacterial and antifungal benefits. If you don’t have essential oils, you can simply omit them from the recipe. You can also try adding a few drops of your favorite fragrance oil or extract for a pleasant scent.
How long will the DIY shower cleaner last?
This DIY shower cleaner doesn’t contain any preservatives, so it’s best to use it within a few weeks. Over time, the essential oils may lose their potency, and the baking soda may settle at the bottom of the bottle. To ensure the cleaner remains effective, make a fresh batch every few weeks. Store the cleaner in a cool, dark place away from direct sunlight.
My shower has a lot of mildew. Will this cleaner work?
Yes, this DIY shower cleaner can help remove mildew. The vinegar has antifungal properties that can kill mildew spores. For best results, spray the cleaner directly on the mildewed areas, let it sit for at least 30 minutes, and then scrub with a brush or sponge. You may need to repeat the process a few times for stubborn mildew. For severe mildew infestations, you may need to use a stronger solution, such as bleach, but always use caution and follow safety guidelines when working with bleach.
The cleaner smells strongly of vinegar. How can I reduce the vinegar smell?
The vinegar smell will dissipate as the cleaner dries. Adding essential oils can also help mask the vinegar smell. Choose essential oils with strong, pleasant scents, such as lemon, lavender, or eucalyptus. You can also try infusing your vinegar with citrus peels before making the cleaner, as mentioned earlier. Another tip is to ensure proper ventilation in your bathroom while cleaning. Open a window or turn on the exhaust fan to help dissipate the vinegar smell.
Can I use this cleaner on colored grout?
Yes, this DIY shower cleaner is generally safe to use on colored grout. However, it’s always a good idea to test the cleaner in an inconspicuous area first to ensure it doesn’t cause any discoloration. If you’re concerned about the color fading, you can dilute the cleaner with more water or use a pH-neutral grout cleaner.
What kind of spray bottle should I use?
A plastic spray bottle is suitable for this DIY shower cleaner. Make sure the bottle is clean and empty before adding the ingredients. You can reuse an old spray bottle or purchase a new one from a store. Avoid using metal spray bottles, as the vinegar can react with the metal and cause corrosion.
Is it safe to mix vinegar and baking soda?
Yes, it is safe to mix vinegar and baking soda in this recipe. The reaction between vinegar and baking soda creates carbon dioxide gas, which can cause fizzing. However, the amount of baking soda used in this recipe is small enough that it won’t create excessive pressure. To prevent any potential issues, add the baking soda slowly and gradually to the spray bottle.
Can I use this cleaner on acrylic or fiberglass shower surfaces?
Yes, this DIY shower cleaner is generally safe to use on acrylic and fiberglass shower surfaces. However, it’s always a good idea to test the cleaner in an inconspicuous area first to ensure it doesn’t cause any damage or discoloration. Avoid using abrasive scrub brushes or sponges on these surfaces, as they can scratch the finish. Use a soft cloth or sponge instead.
Leave a Comment