

DIY sink cleaning hack – sounds like something straight out of a superhero movie, right? Well, maybe not quite, but trust me, it can feel pretty heroic when you conquer that stubborn grime and restore your sink to its sparkling glory! Let’s be honest, we’ve all been there. You look down at your kitchen or bathroom sink and cringe at the sight of soap scum, water stains, and who-knows-what-else lurking in the corners. It’s a common problem, and for centuries, people have been searching for the perfect solution to keep their sinks clean and fresh.
From using simple vinegar and baking soda concoctions passed down through generations to experimenting with the latest cleaning products, the quest for a spotless sink is a timeless one. But why is it so important? Beyond the obvious aesthetic appeal, a clean sink is crucial for hygiene. It prevents the build-up of bacteria and keeps your home a healthier place. Plus, let’s face it, a sparkling sink just makes you feel good!
That’s why I’m so excited to share this amazing DIY sink cleaning hack with you. It’s easy, affordable, and uses ingredients you probably already have in your pantry. Say goodbye to harsh chemicals and hello to a naturally clean and gleaming sink. Get ready to transform your sink from drab to fab with this simple yet effective trick!
“`html
DIY Sink Cleaning Hack: Sparkling Clean in Minutes!
Hey everyone! I’m so excited to share my go-to sink cleaning hack with you. I’ve tried countless commercial cleaners, and honestly, nothing beats this simple, effective, and budget-friendly method. It’s perfect for tackling stubborn stains, eliminating odors, and leaving your sink looking brand new. Plus, it uses ingredients you probably already have in your pantry!
What You’ll Need
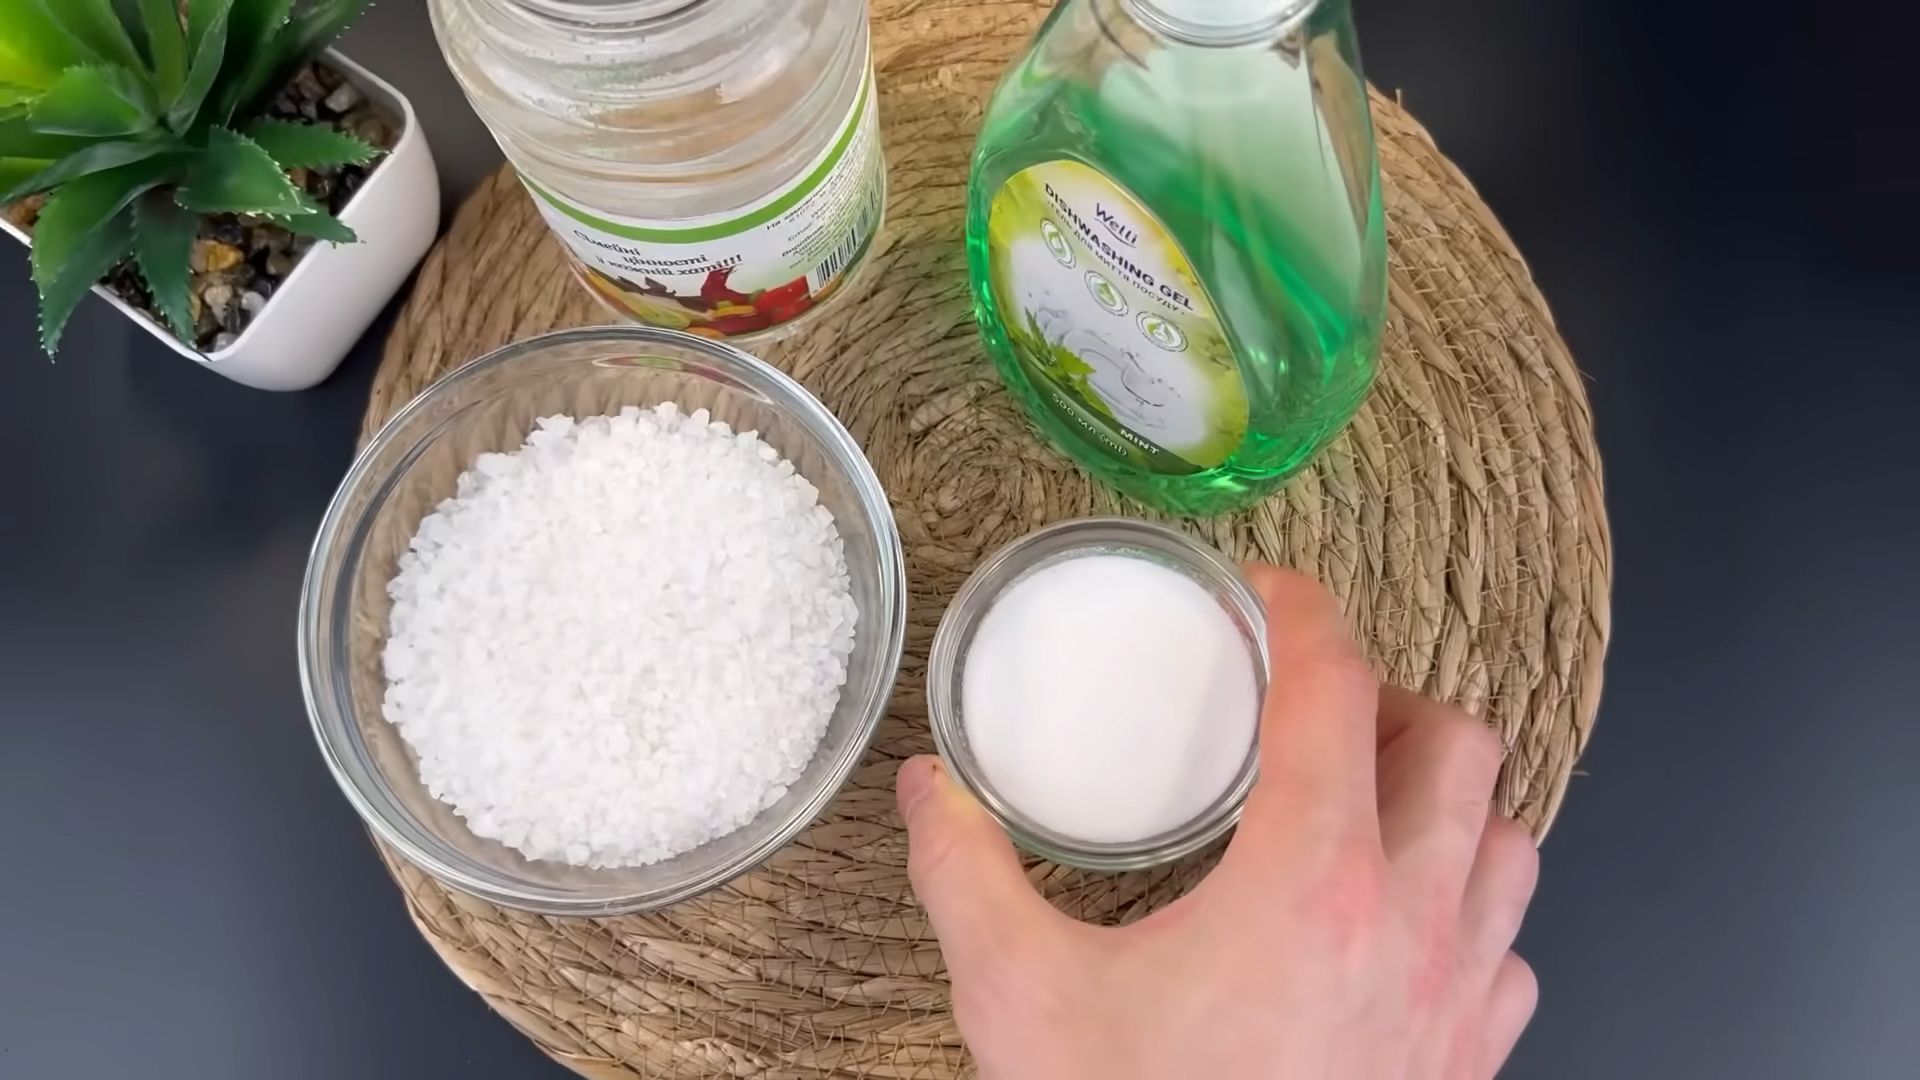
Before we dive in, let’s gather our supplies. This is a super simple list, I promise!
- Baking soda
- White vinegar
- Dish soap (I prefer a grease-cutting one)
- Lemon (optional, but adds a lovely fresh scent!)
- Old toothbrush or small scrub brush
- Microfiber cloth or sponge
- Boiling water (careful!)
- Rubber gloves (optional, but recommended for sensitive skin)
Step-by-Step Instructions: The Cleaning Process
Alright, let’s get this sink sparkling! Follow these steps, and you’ll be amazed at the results.
- Clear the Sink: First things first, remove everything from your sink – dishes, sponges, soap dispensers, everything! We need a clean slate to work with.
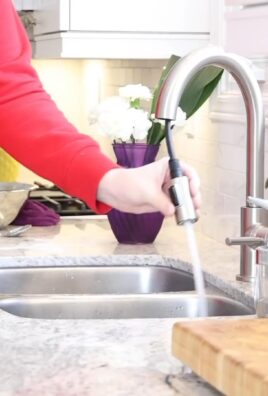
- Rinse the Sink: Give the sink a good rinse with warm water. This will loosen any loose debris and prepare the surface for cleaning.
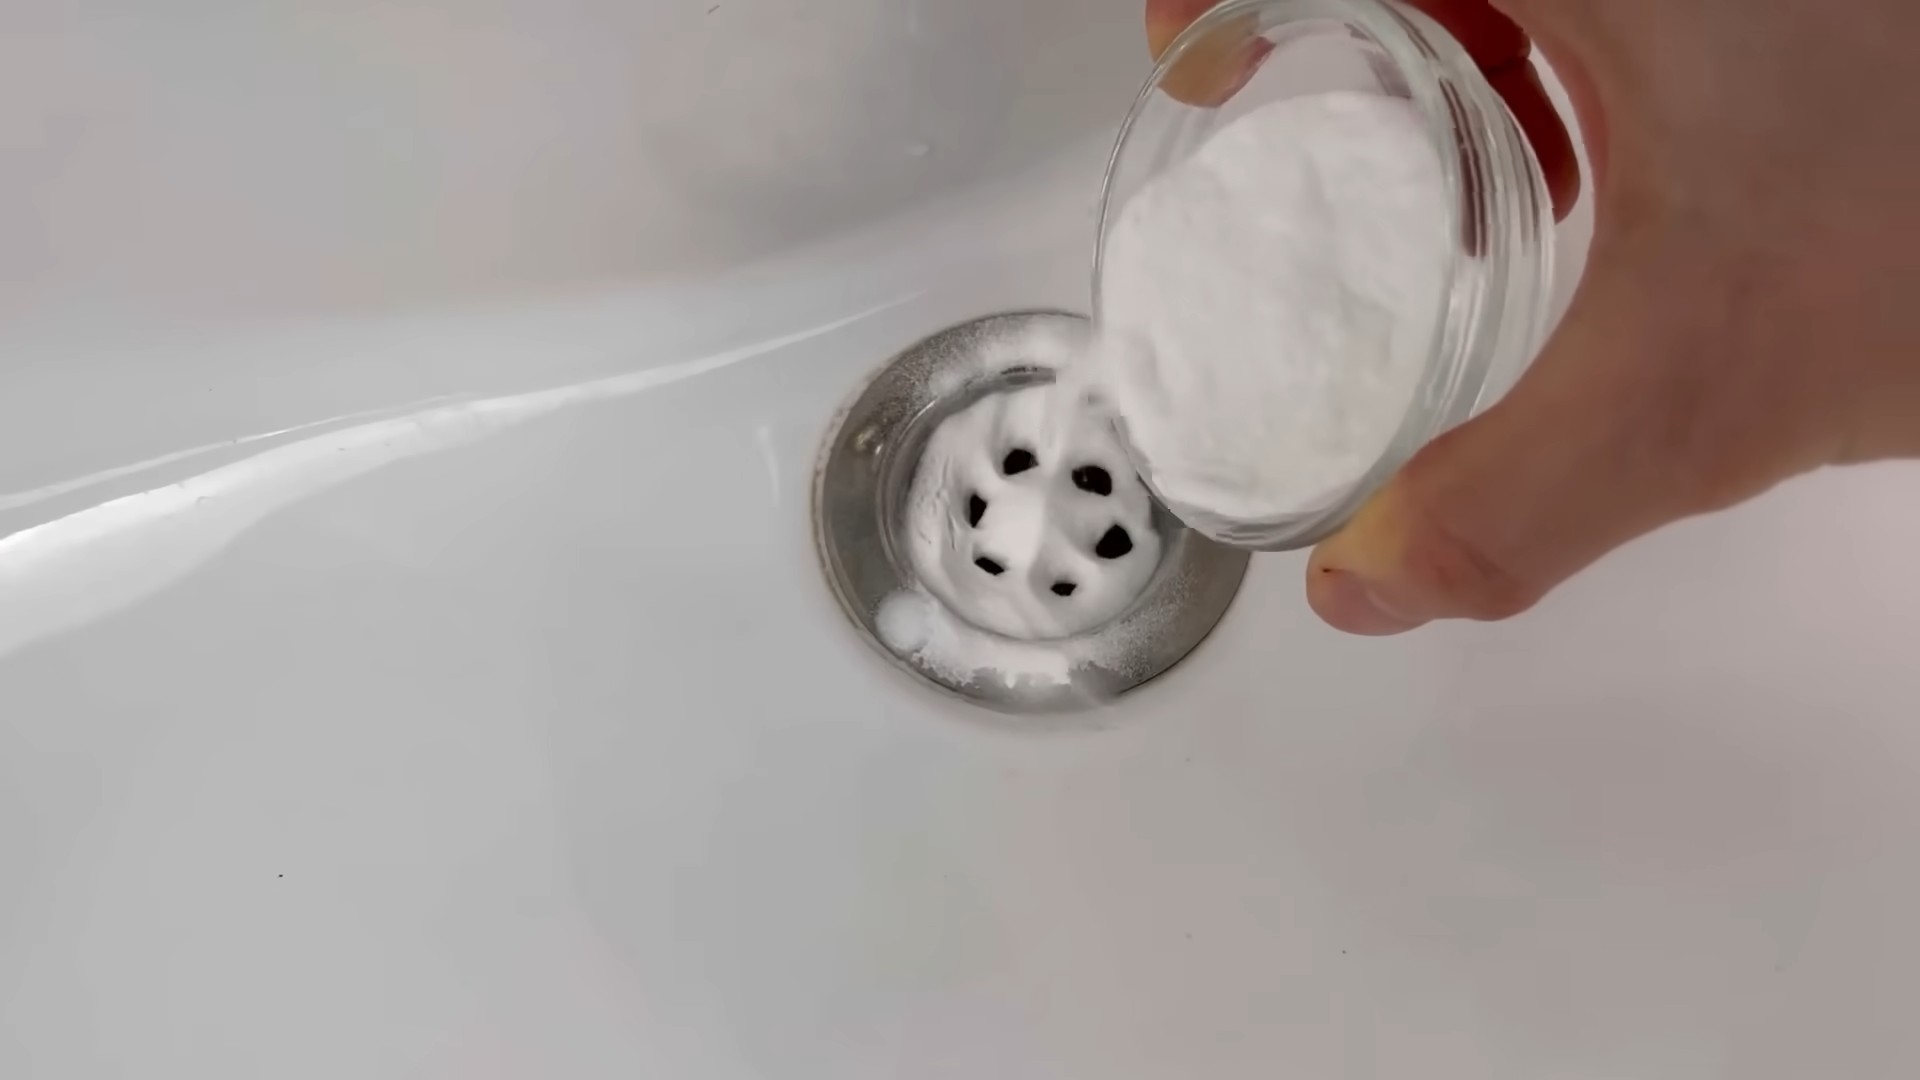
- Baking Soda Power: Generously sprinkle baking soda all over the sink surface. Don’t be shy! Focus on areas with stains or buildup. Baking soda acts as a gentle abrasive, helping to scrub away grime without scratching. I usually use about half a cup, but adjust based on the size of your sink.
- Vinegar Fizz: Now for the fun part! Slowly pour white vinegar over the baking soda. You’ll see it start to fizz – that’s the chemical reaction working its magic! The vinegar helps to dissolve hard water stains and mineral deposits. I usually use about a cup of vinegar, pouring it gradually to maximize the fizzing action.
- Let it Sit: Let the baking soda and vinegar mixture sit for about 10-15 minutes. This allows the solution to penetrate and loosen the grime. You’ll probably hear it fizzing and bubbling – that’s a good sign! I sometimes use this time to tackle other small cleaning tasks in the kitchen.
- Scrub-a-dub-dub: Grab your old toothbrush or scrub brush and start scrubbing! Pay close attention to the drain, faucet base, and any areas with stubborn stains. The baking soda and vinegar should have loosened the grime, making it easier to scrub away. I find that a circular motion works best for removing stubborn stains.
- Rinse Thoroughly: Once you’ve scrubbed the entire sink, rinse it thoroughly with warm water. Make sure to remove all traces of baking soda and vinegar. You might need to rinse it a few times to get everything off.
- Dish Soap Wash: Now, add a squirt of dish soap to your sponge or microfiber cloth and wash the entire sink again. This will remove any remaining residue and leave your sink smelling fresh and clean. I like to use a grease-cutting dish soap for extra cleaning power.
- Final Rinse: Give the sink one last rinse with warm water to remove all traces of dish soap.
- Dry and Shine: Use a clean microfiber cloth to dry the sink completely. This will prevent water spots and leave your sink looking shiny and new. I find that microfiber cloths are the best for drying because they don’t leave any lint behind.
- Lemon Freshness (Optional): If you want to add a little extra freshness, cut a lemon in half and rub it all over the sink surface. The lemon juice will help to deodorize and leave a pleasant citrus scent. Rinse the sink again after applying the lemon juice.
Tackling Stubborn Stains
Sometimes, you might encounter some really stubborn stains that just won’t budge with the basic cleaning method. Don’t worry, I’ve got a few tricks up my sleeve!
For Hard Water Stains:
If you have hard water, you might notice white, chalky stains around your faucet and drain. These are mineral deposits that can be tough to remove. Here’s what I do:
- Vinegar Soak: Soak a paper towel or cloth in white vinegar and place it directly on the hard water stain.
- Let it Sit: Let the vinegar-soaked cloth sit for at least 30 minutes, or even longer for really stubborn stains.
- Scrub and Rinse: After soaking, scrub the area with a scrub brush and rinse thoroughly with warm water.
- Repeat if Necessary: You might need to repeat this process a few times to completely remove the hard water stains.
For Rust Stains:
Rust stains can be unsightly and difficult to remove. Here’s a method I’ve found effective:
- Lemon Juice and Salt: Mix lemon juice with salt to form a paste.
- Apply to Stain: Apply the paste to the rust stain and let it sit for about 30 minutes.
- Scrub and Rinse: Scrub the area with a scrub brush and rinse thoroughly with warm water.
- Baking Soda Alternative: If lemon juice and salt don’t work, try using baking soda and water to create a paste. Apply the paste to the stain, let it sit, and then scrub and rinse.
For Food Stains:
Food stains can often be removed with a simple paste of baking soda and water.
- Baking Soda Paste: Mix baking soda with a little water to form a thick paste.
- Apply to Stain: Apply the paste to the food stain and let it sit for about 15 minutes.
- Scrub and Rinse: Scrub the area with a scrub brush and rinse thoroughly with warm water.
Maintaining a Sparkling Sink: Tips and Tricks
Now that your sink is sparkling clean, let’s talk about how to keep it that way! Here are a few tips and tricks I’ve learned over the years:
- Daily Rinse: Rinse your sink after each use to prevent food particles and grime from building up.
- Wipe Down: Wipe down your sink with a clean cloth or sponge after each use to remove water spots and prevent stains.
- Weekly Deep Clean: Perform a deep clean using the baking soda and vinegar method at least once a week to keep your sink looking its best.
- Avoid Harsh Chemicals: Avoid using harsh chemicals or abrasive cleaners, as they can damage the sink’s surface.
- Protect the Drain: Use a drain strainer to prevent food particles and other debris from clogging the drain.
- Lemon Power: Once a week, cut a lemon in half and rub it all over the sink surface to deodorize and freshen the sink.
Safety First!
While this cleaning hack is relatively safe, it’s always important to take precautions:
- Wear Gloves: If you have sensitive skin, wear rubber gloves to protect your hands from the baking soda and vinegar.
- Ventilation: Make sure your kitchen is well-ventilated when using vinegar, as it can have a strong odor.
- Boiling Water Caution: Be extremely careful when using boiling water. Pour it slowly and avoid splashing.
- Avoid Mixing Chemicals: Never mix vinegar with bleach, as this can create toxic fumes.
I hope you found this DIY sink cleaning hack helpful! It’s a simple, effective, and affordable way to keep your sink sparkling clean. Give it a try, and let me know what you think! Happy cleaning!
“`
Conclusion
So, there you have it! This simple, yet incredibly effective DIY sink cleaning hack is more than just a quick fix; it’s a game-changer for maintaining a sparkling clean and odor-free sink. Forget those expensive, chemical-laden cleaners that promise the world but often fall short. This method utilizes ingredients you likely already have in your pantry, making it not only budget-friendly but also environmentally conscious.
Why is this a must-try? Because it works! The combination of baking soda, vinegar, and boiling water creates a powerful fizzing action that loosens grime, breaks down grease, and eliminates unpleasant odors. It’s a trifecta of cleaning power that tackles even the most stubborn sink build-up. Plus, it’s incredibly easy to do, taking just a few minutes of your time.
But the beauty of this DIY sink cleaning hack lies in its versatility. Feel free to experiment with variations to suit your specific needs and preferences. For instance, if you’re dealing with a particularly stubborn clog, try adding a cup of salt to the baking soda before pouring in the vinegar. The salt acts as an abrasive, helping to scrub away the blockage.
Another variation involves adding a few drops of your favorite essential oil to the baking soda. This will not only enhance the cleaning power but also leave your sink smelling fresh and clean. Lavender, lemon, and tea tree oil are all excellent choices for their antibacterial and deodorizing properties.
For stainless steel sinks, you can follow up the cleaning process with a quick polish using a microfiber cloth and a small amount of olive oil. This will help to restore the shine and prevent water spots. Remember to always wipe in the direction of the grain to avoid scratching the surface.
If you have a garbage disposal, this DIY sink cleaning hack is even more beneficial. The fizzing action helps to clean the disposal blades and eliminate any lingering food particles that may be causing odors. Simply pour the baking soda and vinegar mixture down the drain and let it sit for a few minutes before flushing with boiling water.
This isn’t just about cleaning; it’s about creating a healthier and more pleasant home environment. By using natural ingredients, you’re reducing your exposure to harmful chemicals and contributing to a more sustainable lifestyle.
We are confident that once you try this DIY sink cleaning hack, you’ll be amazed by the results. It’s a simple, effective, and affordable way to keep your sink clean, fresh, and free of clogs.
So, what are you waiting for? Gather your ingredients, follow the steps, and prepare to be amazed. And most importantly, we want to hear about your experience! Share your before-and-after photos, your favorite variations, and any tips or tricks you’ve discovered along the way. Let’s create a community of clean sink enthusiasts! Your feedback will not only help others but also inspire us to continue sharing valuable DIY solutions. Let us know if this DIY sink cleaning hack worked for you!
Frequently Asked Questions (FAQ)
Q: How often should I use this DIY sink cleaning hack?
A: The frequency depends on how often you use your sink and how prone it is to clogs and odors. As a general guideline, we recommend using this DIY sink cleaning hack once a week to maintain a clean and fresh sink. If you notice that your sink is starting to drain slowly or develop an odor, you can use it more frequently, such as every few days. Regular maintenance will prevent build-up and keep your sink in top condition.
Q: Can I use this DIY sink cleaning hack on all types of sinks?
A: This DIY sink cleaning hack is generally safe for most types of sinks, including stainless steel, porcelain, and ceramic. However, it’s always a good idea to test it in an inconspicuous area first, especially if you have a more delicate or antique sink. Avoid using abrasive scrub brushes or harsh chemicals, as these can damage the surface. For sensitive materials like enamel, dilute the vinegar with water before using.
Q: What if I don’t have vinegar? Can I use something else?
A: While vinegar is a key ingredient in this DIY sink cleaning hack due to its acidic properties, you can try using lemon juice as a substitute. Lemon juice also has antibacterial and deodorizing properties, making it a good alternative. However, vinegar is generally more effective at breaking down grease and grime. If you don’t have either vinegar or lemon juice, you can try using baking soda and boiling water alone, but the results may not be as dramatic.
Q: The baking soda and vinegar mixture didn’t unclog my sink. What should I do?
A: If the baking soda and vinegar mixture doesn’t completely unclog your sink, there are a few things you can try. First, make sure you’re using enough baking soda and vinegar. A cup of each is usually sufficient, but you may need to use more for a particularly stubborn clog. Second, let the mixture sit for a longer period of time, such as 30 minutes to an hour, before flushing with boiling water. This will give the ingredients more time to break down the blockage. If the clog persists, you can try using a plunger or a drain snake to manually remove the obstruction. As a last resort, you may need to call a professional plumber.
Q: Is it safe to use this DIY sink cleaning hack if I have a septic system?
A: Yes, this DIY sink cleaning hack is generally safe to use if you have a septic system. The ingredients, baking soda and vinegar, are natural and biodegradable, and they won’t harm the beneficial bacteria in your septic tank. However, it’s important to avoid using harsh chemicals or excessive amounts of water, as these can disrupt the balance of your septic system.
Q: Can I use this DIY sink cleaning hack to clean other drains in my house?
A: Absolutely! This DIY sink cleaning hack is not just for sinks; it can also be used to clean other drains in your house, such as shower drains and bathtub drains. The process is the same: pour baking soda down the drain, followed by vinegar, let it fizz, and then flush with boiling water. This will help to remove hair, soap scum, and other debris that can cause clogs and odors.
Q: What are some other ways to prevent sink clogs?
A: Preventing sink clogs is always better than having to deal with them. Here are a few tips to help you keep your sink drain clear:
* Avoid pouring grease down the drain. Grease solidifies as it cools, causing clogs.
* Use a drain strainer to catch hair, food particles, and other debris.
* Flush your drain with hot water after each use.
* Periodically pour boiling water down the drain to dissolve any build-up.
* Avoid using harsh chemicals, as these can damage your pipes.
Q: Can I add essential oils to the baking soda and vinegar mixture?
A: Yes, adding essential oils to the baking soda and vinegar mixture is a great way to enhance the cleaning power and leave your sink smelling fresh. Some popular essential oils for cleaning include lavender, lemon, tea tree, and eucalyptus. Simply add a few drops of your favorite essential oil to the baking soda before pouring in the vinegar.
Q: My sink smells like rotten eggs. Will this DIY sink cleaning hack help?
A: A rotten egg smell coming from your sink is often caused by a build-up of bacteria and sulfur compounds in the drain. This DIY sink cleaning hack can definitely help to eliminate the odor. The baking soda and vinegar mixture will kill the bacteria and break down the sulfur compounds. You can also try adding a few drops of tea tree oil to the mixture, as tea tree oil has strong antibacterial properties. If the odor persists, you may need to call a professional plumber to inspect your drain for more serious issues.


Leave a Comment