

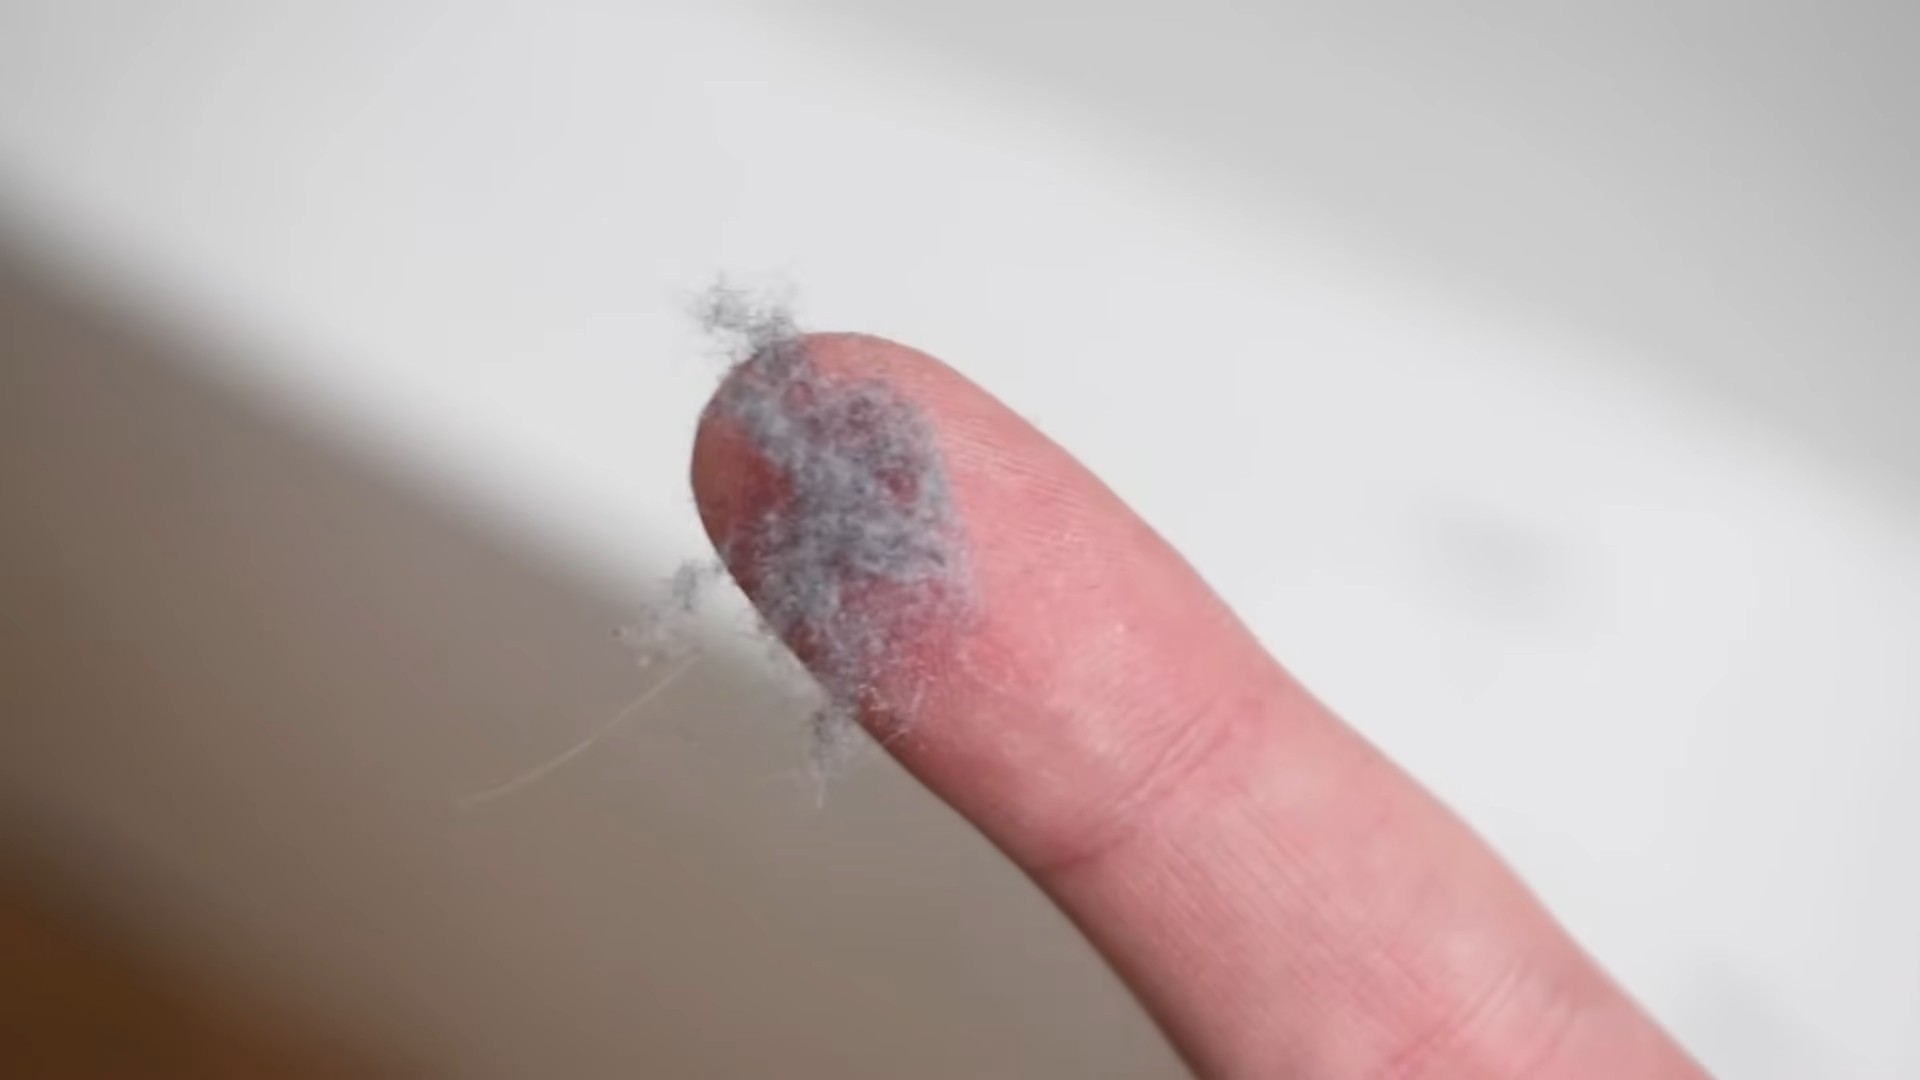
Dusting hacks for home – are you tired of the endless battle against dust bunnies? I know I am! It feels like the moment you finish dusting, another layer settles right back down. But don’t despair, fellow clean-freaks! This isn’t just a modern annoyance; keeping our homes free from dust has been a concern for centuries. In ancient civilizations, dust was often associated with neglect and even disease, making cleanliness a sign of prosperity and good health. While we’ve come a long way since then, the struggle remains real.
Let’s face it, nobody enjoys dusting. It’s time-consuming, often ineffective with traditional methods, and can even trigger allergies. That’s why I’ve compiled a collection of game-changing dusting hacks for home that will not only save you time and energy but also leave your living space sparkling. From DIY dusting sprays using ingredients you probably already have, to clever techniques for reaching those hard-to-clean spots, this article is packed with tips and tricks to make dusting less of a chore and more of a breeze. Get ready to say goodbye to dust and hello to a cleaner, healthier, and happier home!
DIY Dusting Hacks for a Sparkling Home
Okay, let’s face it, dusting is nobody’s favorite chore. But a dust-free home is a happy home, right? I’m going to share some of my favorite DIY dusting hacks that will make the process quicker, easier, and maybe even a little bit…dare I say…fun? (Okay, maybe not fun, but definitely less painful!). These tips use common household items and will leave your surfaces gleaming.
The Ultimate Microfiber Cloth Hack
Microfiber cloths are your best friend when it comes to dusting. They grab dust like magnets and are washable and reusable. But here’s how to make them even MORE effective:
* Slightly Dampen: A slightly damp microfiber cloth works wonders. The moisture helps trap dust particles instead of just pushing them around.
* Fold and Conquer: Fold your cloth into quarters. This gives you eight clean surfaces to work with before needing to wash it.
* Spray with DIY Dusting Spray (Recipe Below): A light spritz of homemade dusting spray will add extra cleaning power and leave a pleasant scent.
DIY Dusting Spray Recipes
Forget those expensive store-bought dusting sprays! You can easily whip up your own using ingredients you probably already have. Here are a couple of my go-to recipes:
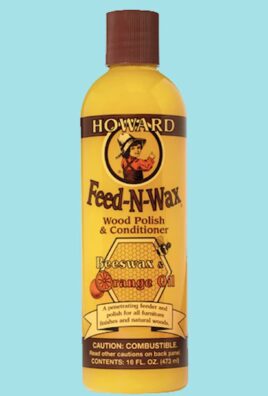
Recipe 1: The Lemon & Olive Oil Shine Booster
This recipe is fantastic for wood furniture, adding a beautiful shine while removing dust.
Ingredients:
* 1/4 cup olive oil
* 1/4 cup white vinegar
* 2 cups water
* 10-15 drops lemon essential oil (optional, for scent)
* Spray bottle
Instructions:
1. Combine Ingredients: In a spray bottle, combine the olive oil, white vinegar, water, and lemon essential oil (if using).
2. Shake Well: Shake the bottle vigorously to ensure the ingredients are well mixed. Olive oil and water don’t naturally mix, so you’ll need to shake before each use.
3. Test Patch: Before spraying on the entire surface, test a small, inconspicuous area to ensure the spray doesn’t damage the finish.
4. Spray Lightly: Lightly spray the dusting spray onto your microfiber cloth.
5. Wipe Down Surfaces: Wipe down your wood furniture, following the grain of the wood.
6. Buff (Optional): For an extra shine, buff the surface with a clean, dry microfiber cloth.
Recipe 2: The All-Purpose Dust Buster
This recipe is great for most surfaces, including glass, mirrors, and electronics (use caution and spray onto the cloth, not directly onto the device).
Ingredients:
* 1 cup water
* 1/4 cup white vinegar
* 2-3 drops dish soap (gentle, like Dawn)
* 5-10 drops essential oil (lavender, tea tree, or eucalyptus are good choices)
* Spray bottle
Instructions:
1. Combine Ingredients: In a spray bottle, combine the water, white vinegar, dish soap, and essential oil (if using).
2. Shake Gently: Gently shake the bottle to mix the ingredients. Avoid creating too many bubbles from the dish soap.
3. Spray Lightly: Lightly spray the dusting spray onto your microfiber cloth.
4. Wipe Down Surfaces: Wipe down your surfaces, making sure to get into corners and crevices.
5. Dry (If Needed): If the surface is streaky, wipe it down with a clean, dry microfiber cloth.
Dusting Hard-to-Reach Places
Those high shelves, ceiling fans, and window blinds can be a real pain to dust. But don’t worry, I’ve got you covered!
Dusting Ceiling Fans
* The Pillowcase Trick: This is my absolute favorite! Take an old pillowcase and carefully slide it over one of the fan blades. Press the pillowcase against the blade and slowly pull it off. The dust will be trapped inside the pillowcase, preventing it from falling all over you and the room. Repeat for each blade. Wash the pillowcase afterward.
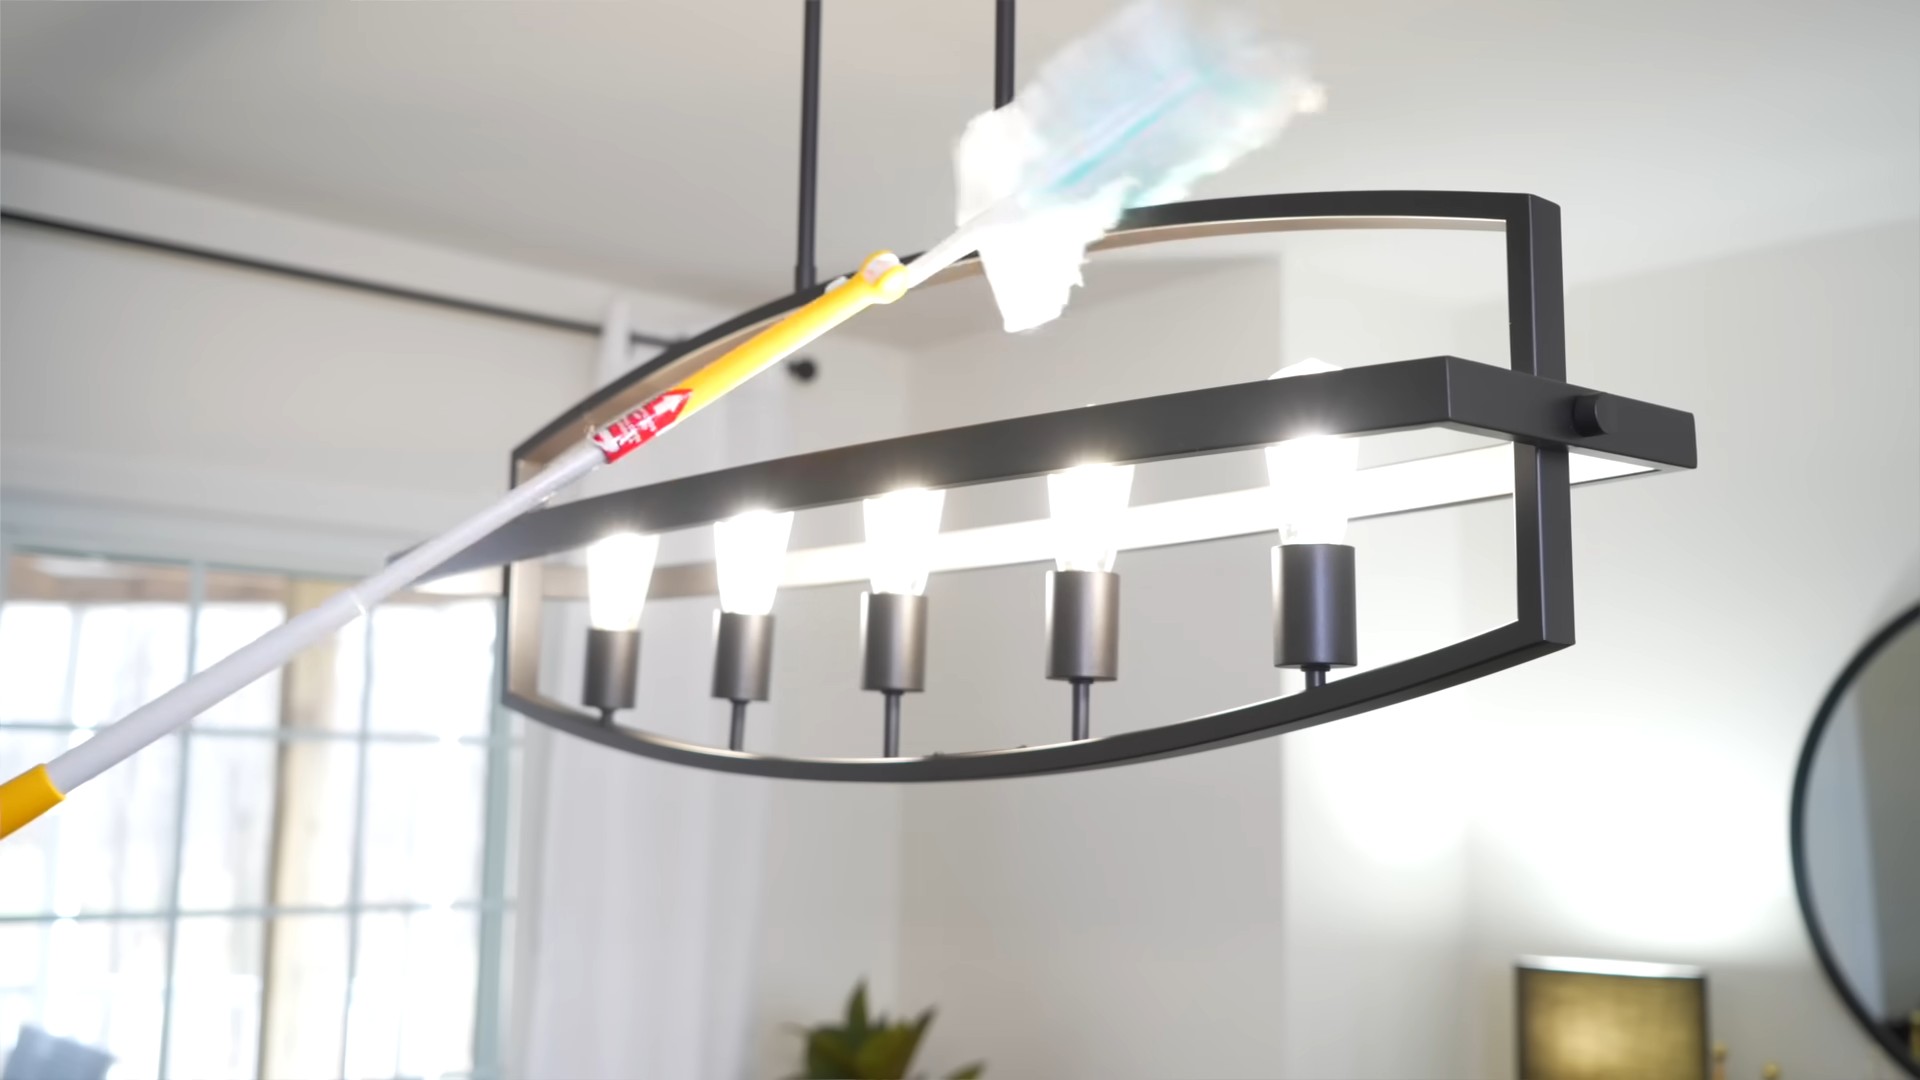
* Extension Duster: Invest in a good quality extension duster with a microfiber head. This will allow you to reach high places without having to climb on a ladder.
Dusting Window Blinds
* Sock Puppets for Dusting: Grab an old sock (clean, of course!) and put it on your hand like a puppet. Lightly dampen the sock with your dusting spray. Now, use your sock-covered hand to wipe down each slat of the blinds. The sock will conform to the shape of the slats, making it easy to remove dust.
* Tongs and Microfiber Cloth: Wrap a microfiber cloth around a pair of tongs and secure it with rubber bands. Now you have a handy tool for cleaning multiple slats at once.
Dusting Bookshelves
* Vacuum with Brush Attachment: Use your vacuum cleaner with the brush attachment to gently vacuum the dust off your books. Be careful not to damage the book covers.
* Dryer Sheet Dusting: Rub a dryer sheet over your bookshelves and book covers. The dryer sheet will help repel dust and leave a fresh scent.
Dusting Electronics
Electronics are dust magnets! But you need to be extra careful when cleaning them.
* Turn Off and Unplug: Always turn off and unplug your electronic devices before dusting them.
* Compressed Air: Use compressed air to blow dust out of keyboards, vents, and other hard-to-reach areas.
* Microfiber Cloth (Dry): Use a dry microfiber cloth to gently wipe down screens and other surfaces. Avoid using any liquids directly on electronic devices.
* Cotton Swabs: Use cotton swabs to clean around buttons and other small crevices.
Preventing Dust Buildup
The best way to deal with dust is to prevent it from accumulating in the first place. Here are a few tips:
* Change Air Filters Regularly: Your HVAC system’s air filter traps dust and other particles. Change it every 1-3 months, depending on the type of filter and the air quality in your area.
* Vacuum Regularly: Vacuum your floors and carpets at least once a week to remove dust and dirt.
* Dust Regularly: Dust your surfaces at least once a week to prevent dust from building up.
* Use Doormats: Place doormats at all entrances to your home to trap dirt and dust before it gets inside.
* Wash Bedding Regularly: Wash your bedding at least once a week to remove dust mites and allergens.
* Declutter: The less stuff you have, the less dust will accumulate. Consider decluttering your home to make dusting easier.
* Control Humidity: High humidity can promote dust mite growth. Use a dehumidifier to keep the humidity level in your home below 50%.
Specific Area Dusting Tips
Let’s break down some specific areas of the house and how to tackle them:
Bedroom Dusting
* Under the Bed: This is a dust bunny haven! Use a long-handled duster or vacuum with an extension to reach under the bed.
* Headboard: Don’t forget to dust your headboard! Use a microfiber cloth or a vacuum with a brush attachment.
* Nightstands: Clear off your nightstands and dust them thoroughly.
* Curtains/Blinds: Regularly dust or vacuum your curtains and blinds.
Living Room Dusting
* Upholstery: Vacuum your upholstery regularly to remove dust and pet hair.
* Coffee Table: Dust your coffee table and other furniture.
* Shelves: Dust your shelves and decorative items.
* Electronics: Dust your TV, stereo, and other electronic devices.
Kitchen Dusting
* Countertops: Wipe down your countertops regularly to remove dust and spills.
* Cabinets: Dust your cabinets and drawers.
* Appliances: Dust your appliances, including the refrigerator, stove, and microwave.
* Light Fixtures: Dust your light fixtures.
Bathroom Dusting
* Countertops: Wipe down your countertops regularly to remove dust and spills.
* Mirror: Clean your mirror with a glass cleaner and a microfiber cloth.
* Shelves: Dust your shelves and decorative items.
* Light Fixtures: Dust your light fixtures.
Extra Tips and Tricks
* Dust from Top to Bottom: Always dust from top to bottom so that any dust that falls will land on the floor, which you can then vacuum.
* Use a Lint Roller: A lint roller is great for removing dust and pet hair from lampshades and other fabric surfaces.
* Essential Oils: Add a few drops of your favorite essential oil to your dusting spray for a pleasant scent. Lavender,
Conclusion
So, there you have it! These dusting hacks for home are more than just quick fixes; they’re a pathway to a cleaner, healthier, and more enjoyable living space. We’ve explored simple yet effective methods that utilize everyday items and natural ingredients, proving that you don’t need harsh chemicals or expensive gadgets to achieve a dust-free haven.
The beauty of these DIY dusting solutions lies in their adaptability. Feel free to experiment with different essential oil combinations in your dusting spray to create a scent that truly resonates with you. Lavender and lemon offer a calming and refreshing aroma, while tea tree oil adds an extra layer of antibacterial protection. If you’re dealing with particularly stubborn dust buildup on delicate surfaces, consider using a microfiber cloth dampened with a solution of distilled water and a tiny drop of mild dish soap. Remember to always test any cleaning solution on an inconspicuous area first to ensure it doesn’t damage the surface.
Beyond the immediate aesthetic benefits, regular dusting contributes significantly to your overall well-being. By removing dust mites, allergens, and other irritants, you’re creating a healthier environment for yourself and your family, especially those with allergies or respiratory sensitivities. Think of it as an investment in your health and happiness.
These dusting hacks for home are not just about cleaning; they’re about creating a more comfortable and inviting atmosphere. Imagine walking into a room where the sunlight streams through sparkling clean windows, illuminating dust-free surfaces and filling the air with a subtle, pleasant fragrance. That’s the power of effective dusting!
We wholeheartedly encourage you to try these DIY dusting tricks and experience the difference for yourself. Don’t be afraid to get creative and adapt them to suit your specific needs and preferences. And most importantly, we want to hear about your experiences! Share your successes, your challenges, and any variations you’ve discovered in the comments below. Let’s build a community of dust-busting experts and inspire each other to create cleaner, healthier homes. Your insights could be invaluable to someone else who’s struggling with dust.
Remember, a little effort goes a long way when it comes to dusting. Incorporate these hacks into your regular cleaning routine, and you’ll be amazed at the positive impact they have on your home and your well-being. So, grab your microfiber cloths, mix up your favorite dusting spray, and get ready to say goodbye to dust and hello to a sparkling clean home!
Frequently Asked Questions (FAQ)
Q: How often should I be dusting my home?
A: The frequency of dusting depends on several factors, including the size of your home, the number of occupants (including pets!), and your personal sensitivity to dust. As a general guideline, aim to dust high-traffic areas like living rooms and bedrooms at least once a week. Less frequently used rooms can be dusted every two weeks. If you have pets, allergies, or live in a dusty environment, you may need to dust more frequently, perhaps even two to three times a week. Pay attention to areas where dust tends to accumulate quickly, such as shelves, furniture surfaces, and electronics. Regular dusting prevents dust buildup and makes the task easier in the long run.
Q: What are the best tools for dusting?
A: The best tools for dusting depend on the surface you’re cleaning. Microfiber cloths are excellent all-purpose dusters because they trap dust effectively without scratching surfaces. For hard-to-reach areas like ceiling fans and blinds, consider using a duster with an extendable handle. A vacuum cleaner with a brush attachment is ideal for dusting upholstery, curtains, and carpets. For delicate items like artwork or antiques, use a soft brush or a can of compressed air to gently remove dust. Avoid using feather dusters, as they tend to spread dust around rather than trapping it.
Q: Are DIY dusting sprays as effective as commercial products?
A: Yes, DIY dusting sprays can be just as effective as commercial products, and often they are a healthier and more environmentally friendly option. Many commercial dusting sprays contain harsh chemicals that can irritate your skin and respiratory system. DIY dusting sprays, on the other hand, typically use natural ingredients like vinegar, lemon juice, and essential oils, which are safe and effective for cleaning. The key is to use the right proportions of ingredients and to test the spray on an inconspicuous area before applying it to the entire surface.
Q: How can I prevent dust from accumulating in my home?
A: Preventing dust accumulation is an ongoing process, but there are several steps you can take to minimize dust buildup. Regularly vacuum or sweep your floors, especially in high-traffic areas. Use doormats at all entrances to trap dirt and dust before it enters your home. Wash bedding frequently in hot water to kill dust mites. Consider using air purifiers with HEPA filters to remove dust and allergens from the air. Declutter your home to reduce the number of surfaces where dust can accumulate. Finally, regularly dust your home using the techniques described in this article to keep dust at bay.
Q: Can I use these dusting hacks on all surfaces?
A: While most of these dusting hacks are safe for a variety of surfaces, it’s always a good idea to test any cleaning solution on an inconspicuous area first to ensure it doesn’t damage the surface. Avoid using abrasive cleaners or harsh chemicals on delicate surfaces like wood furniture, antiques, or electronics. For these items, use a soft cloth or brush to gently remove dust. If you’re unsure about the best way to clean a particular surface, consult the manufacturer’s instructions or seek professional advice.
Q: What essential oils are best for dusting sprays?
A: The best essential oils for dusting sprays are those with antibacterial, antiviral, and antifungal properties, as well as pleasant scents. Some popular choices include lavender, lemon, tea tree, eucalyptus, and peppermint. Lavender has a calming and relaxing aroma, while lemon is refreshing and uplifting. Tea tree oil is a powerful antibacterial agent, and eucalyptus can help to clear congestion. Peppermint has a refreshing scent and can also help to repel insects. When using essential oils, be sure to dilute them properly with water or vinegar, as they can be irritating to the skin and respiratory system in concentrated form.
Q: My allergies get worse when I dust. What can I do?
A: If your allergies flare up when you dust, there are several precautions you can take to minimize your exposure to allergens. Wear a dust mask to prevent inhaling dust and allergens. Use a vacuum cleaner with a HEPA filter to trap dust mites and other allergens. Dampen your dusting cloths to prevent dust from becoming airborne. Open windows to ventilate the room while you’re dusting. If possible, ask someone else to do the dusting for you. After dusting, take a shower and change your clothes to remove any allergens that may have settled on your skin or clothing. You might also consider consulting with an allergist to identify specific allergens and develop a treatment plan.
Leave a Comment