

Essential healing herbs to grow right in your backyard? Absolutely! Imagine stepping outside and having a natural pharmacy at your fingertips. Forget those expensive trips to the health food store; with a little know-how, you can cultivate your own source of wellness.
For centuries, cultures around the globe have relied on the power of herbs for healing. From ancient Egyptians using aloe vera to soothe burns to Native Americans employing echinacea to boost immunity, the knowledge of herbal remedies has been passed down through generations. It’s a tradition we can all participate in!
But why should you start growing essential healing herbs? Well, in today’s fast-paced world, we’re constantly seeking natural ways to support our health and well-being. These herbs offer a gentle, effective alternative to conventional medicine for minor ailments. Plus, there’s something incredibly satisfying about nurturing a plant from seed to harvest and then using it to create your own teas, tinctures, and salves.
This DIY guide will walk you through everything you need to know to get started, from choosing the right herbs for your needs to simple propagation techniques and easy recipes. Get ready to unlock the power of nature and transform your garden into a haven of healing!
Grow Your Own Healing Garden: Essential Herbs for Natural Remedies
Hey there, fellow plant enthusiasts! I’m so excited to share my passion for growing medicinal herbs with you. There’s something incredibly empowering about nurturing plants that can also nurture your well-being. Forget running to the pharmacy for every little ailment; with a little planning and effort, you can have a natural pharmacy right in your backyard (or even on your windowsill!).
This guide will walk you through the essentials of growing some of my favorite healing herbs. We’ll cover everything from choosing the right plants to harvesting and using them. Let’s get our hands dirty!
Choosing Your Herbs: A Healing Herb Hit List
Before we dive into the nitty-gritty of growing, let’s talk about which herbs are worth cultivating. These are some of my go-to choices, known for their versatility and ease of growth:
* Chamomile: Known for its calming and sleep-inducing properties. Perfect for teas and tinctures.
* Lavender: A fragrant herb with relaxing and antiseptic qualities. Great for aromatherapy, teas, and skin care.
* Mint: Refreshing and digestive aid. Excellent for teas, infused water, and culinary uses.
* Lemon Balm: Uplifting and antiviral. Wonderful for teas, tinctures, and soothing skin irritations.
* Calendula: A skin-healing powerhouse. Ideal for salves, creams, and wound care.
* Echinacea: Immune-boosting and antiviral. Best used in teas, tinctures, and capsules.
* Rosemary: Memory-boosting and antioxidant-rich. Fantastic for culinary uses, hair rinses, and aromatherapy.
* Thyme: Antiseptic and expectorant. Great for teas, cough syrups, and culinary applications.
* Sage: Anti-inflammatory and memory-enhancing. Perfect for teas, smudging, and culinary uses.
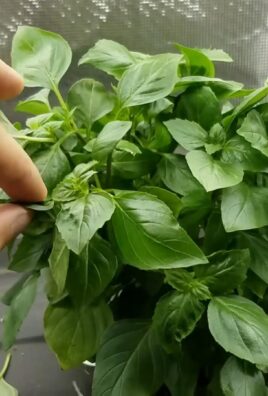
* Basil: Anti-inflammatory and antioxidant-rich. Delicious in pesto, salads, and teas.
Getting Started: Seeds vs. Seedlings
You have two main options when starting your herb garden: seeds or seedlings.
* Seeds: Starting from seed is more economical and offers a wider variety of choices. However, it requires more patience and attention, as some herbs can be slow to germinate.
* Seedlings: Buying seedlings from a nursery gives you a head start and is generally easier for beginners. Just make sure to choose healthy-looking plants with vibrant green leaves.
I personally love the satisfaction of watching a tiny seed sprout into a thriving plant, so I usually opt for seeds. But if you’re short on time or new to gardening, seedlings are a great option.
Preparing Your Growing Space: Location, Location, Location!
Most herbs thrive in sunny locations with well-drained soil. Aim for at least 6 hours of sunlight per day.
* Outdoor Garden: Choose a spot with good drainage. Amend the soil with compost or other organic matter to improve fertility and drainage.
* Container Garden: Use pots with drainage holes and a high-quality potting mix. Container gardening is perfect for small spaces and allows you to move your herbs around to follow the sun.
* Indoor Garden: Place your herbs near a sunny window or use grow lights. Ensure good air circulation to prevent fungal diseases.
Planting Your Herbs: A Step-by-Step Guide
Now for the fun part: planting! Here’s a general guide, but always check the specific requirements for each herb you’re growing.
Planting from Seeds:
1. Start Indoors (Optional): Some herbs, like basil and chamomile, benefit from being started indoors 6-8 weeks before the last frost. Sow seeds in seed trays or small pots filled with seed-starting mix. Keep the soil moist and warm.
2. Direct Sowing: Once the danger of frost has passed, you can sow seeds directly into your garden bed or containers. Prepare the soil by loosening it and removing any weeds.
3. Sowing Depth: Follow the instructions on the seed packet for the correct sowing depth. Generally, small seeds should be sown shallowly, while larger seeds can be planted a bit deeper.
4. Watering: Gently water the seeds after planting. Keep the soil consistently moist but not waterlogged until the seeds germinate.
5. Thinning: Once the seedlings emerge, thin them out to provide adequate spacing. This will allow them to grow strong and healthy.
Planting Seedlings:
1. Prepare the Planting Hole: Dig a hole that is slightly larger than the root ball of the seedling.
2. Remove the Seedling: Gently remove the seedling from its container, being careful not to damage the roots.
3. Loosen the Roots: If the roots are tightly bound, gently loosen them with your fingers.
4. Plant the Seedling: Place the seedling in the hole and backfill with soil. Make sure the top of the root ball is level with the surrounding soil.
5. Water Thoroughly: Water the seedling thoroughly after planting.
Caring for Your Herbs: Watering, Fertilizing, and Pruning
Proper care is essential for healthy and productive herbs.
Watering:
* Water deeply but infrequently: Allow the soil to dry out slightly between waterings. Overwatering can lead to root rot.
* Water in the morning: This allows the foliage to dry before nightfall, reducing the risk of fungal diseases.
* Use a watering can or hose with a gentle spray: Avoid splashing water on the leaves, as this can spread diseases.
Fertilizing:
* Herbs generally don’t need a lot of fertilizer: Over-fertilizing can reduce the potency of their essential oils.
* Use a balanced organic fertilizer: Apply fertilizer sparingly in the spring and summer.
* Compost tea is a great natural fertilizer: It provides essential nutrients and beneficial microbes.
Pruning:
* Regular pruning encourages bushier growth: Pinch back the tips of the stems to promote branching.
* Remove flowers to encourage leaf production: Unless you’re growing herbs for their flowers (like chamomile or lavender), remove the flower buds to encourage the plant to focus its energy on leaf growth.
* Harvest regularly: Harvesting your herbs regularly is a form of pruning and will keep them healthy and productive.
Dealing with Pests and Diseases: Natural Solutions
Fortunately, herbs are generally resistant to pests and diseases. However, it’s still important to be vigilant and take action if problems arise.
* Inspect your plants regularly: Look for signs of pests or diseases, such as yellowing leaves, spots, or holes.
* Use organic pest control methods: Insecticidal soap, neem oil, and diatomaceous earth are effective against many common pests.
* Ensure good air circulation: This helps prevent fungal diseases.
* Remove diseased leaves or plants: This will prevent the spread of disease.
* Attract beneficial insects: Plant flowers that attract ladybugs, lacewings, and other beneficial insects that prey on pests.
Harvesting Your Herbs: Timing is Everything
The timing of your harvest is crucial for maximizing the flavor and potency of your herbs.
* Harvest in the morning: This is when the essential oils are most concentrated.
* Harvest before flowering: Once the plant starts to flower, the leaves may become bitter.
* Use sharp scissors or pruning shears: This will prevent damage to the plant.
* Harvest regularly: Regular harvesting encourages new growth.
Specific Harvesting Tips:
* Chamomile: Harvest the flowers when they are fully open.
* Lavender: Harvest the flower stalks when the buds are just starting to open.
* Mint: Harvest the leaves as needed.
* Lemon Balm: Harvest the leaves before flowering.
* Calendula: Harvest the flowers when they are fully open.
* Echinacea: Harvest the roots in the fall after the plant has flowered for at least three years. You can also harvest the leaves and flowers.
* Rosemary: Harvest the leaves as needed.
* Thyme: Harvest the leaves as needed.
* Sage: Harvest the leaves before flowering.
* Basil: Harvest the leaves as needed. Pinch off the flower buds to encourage leaf production.
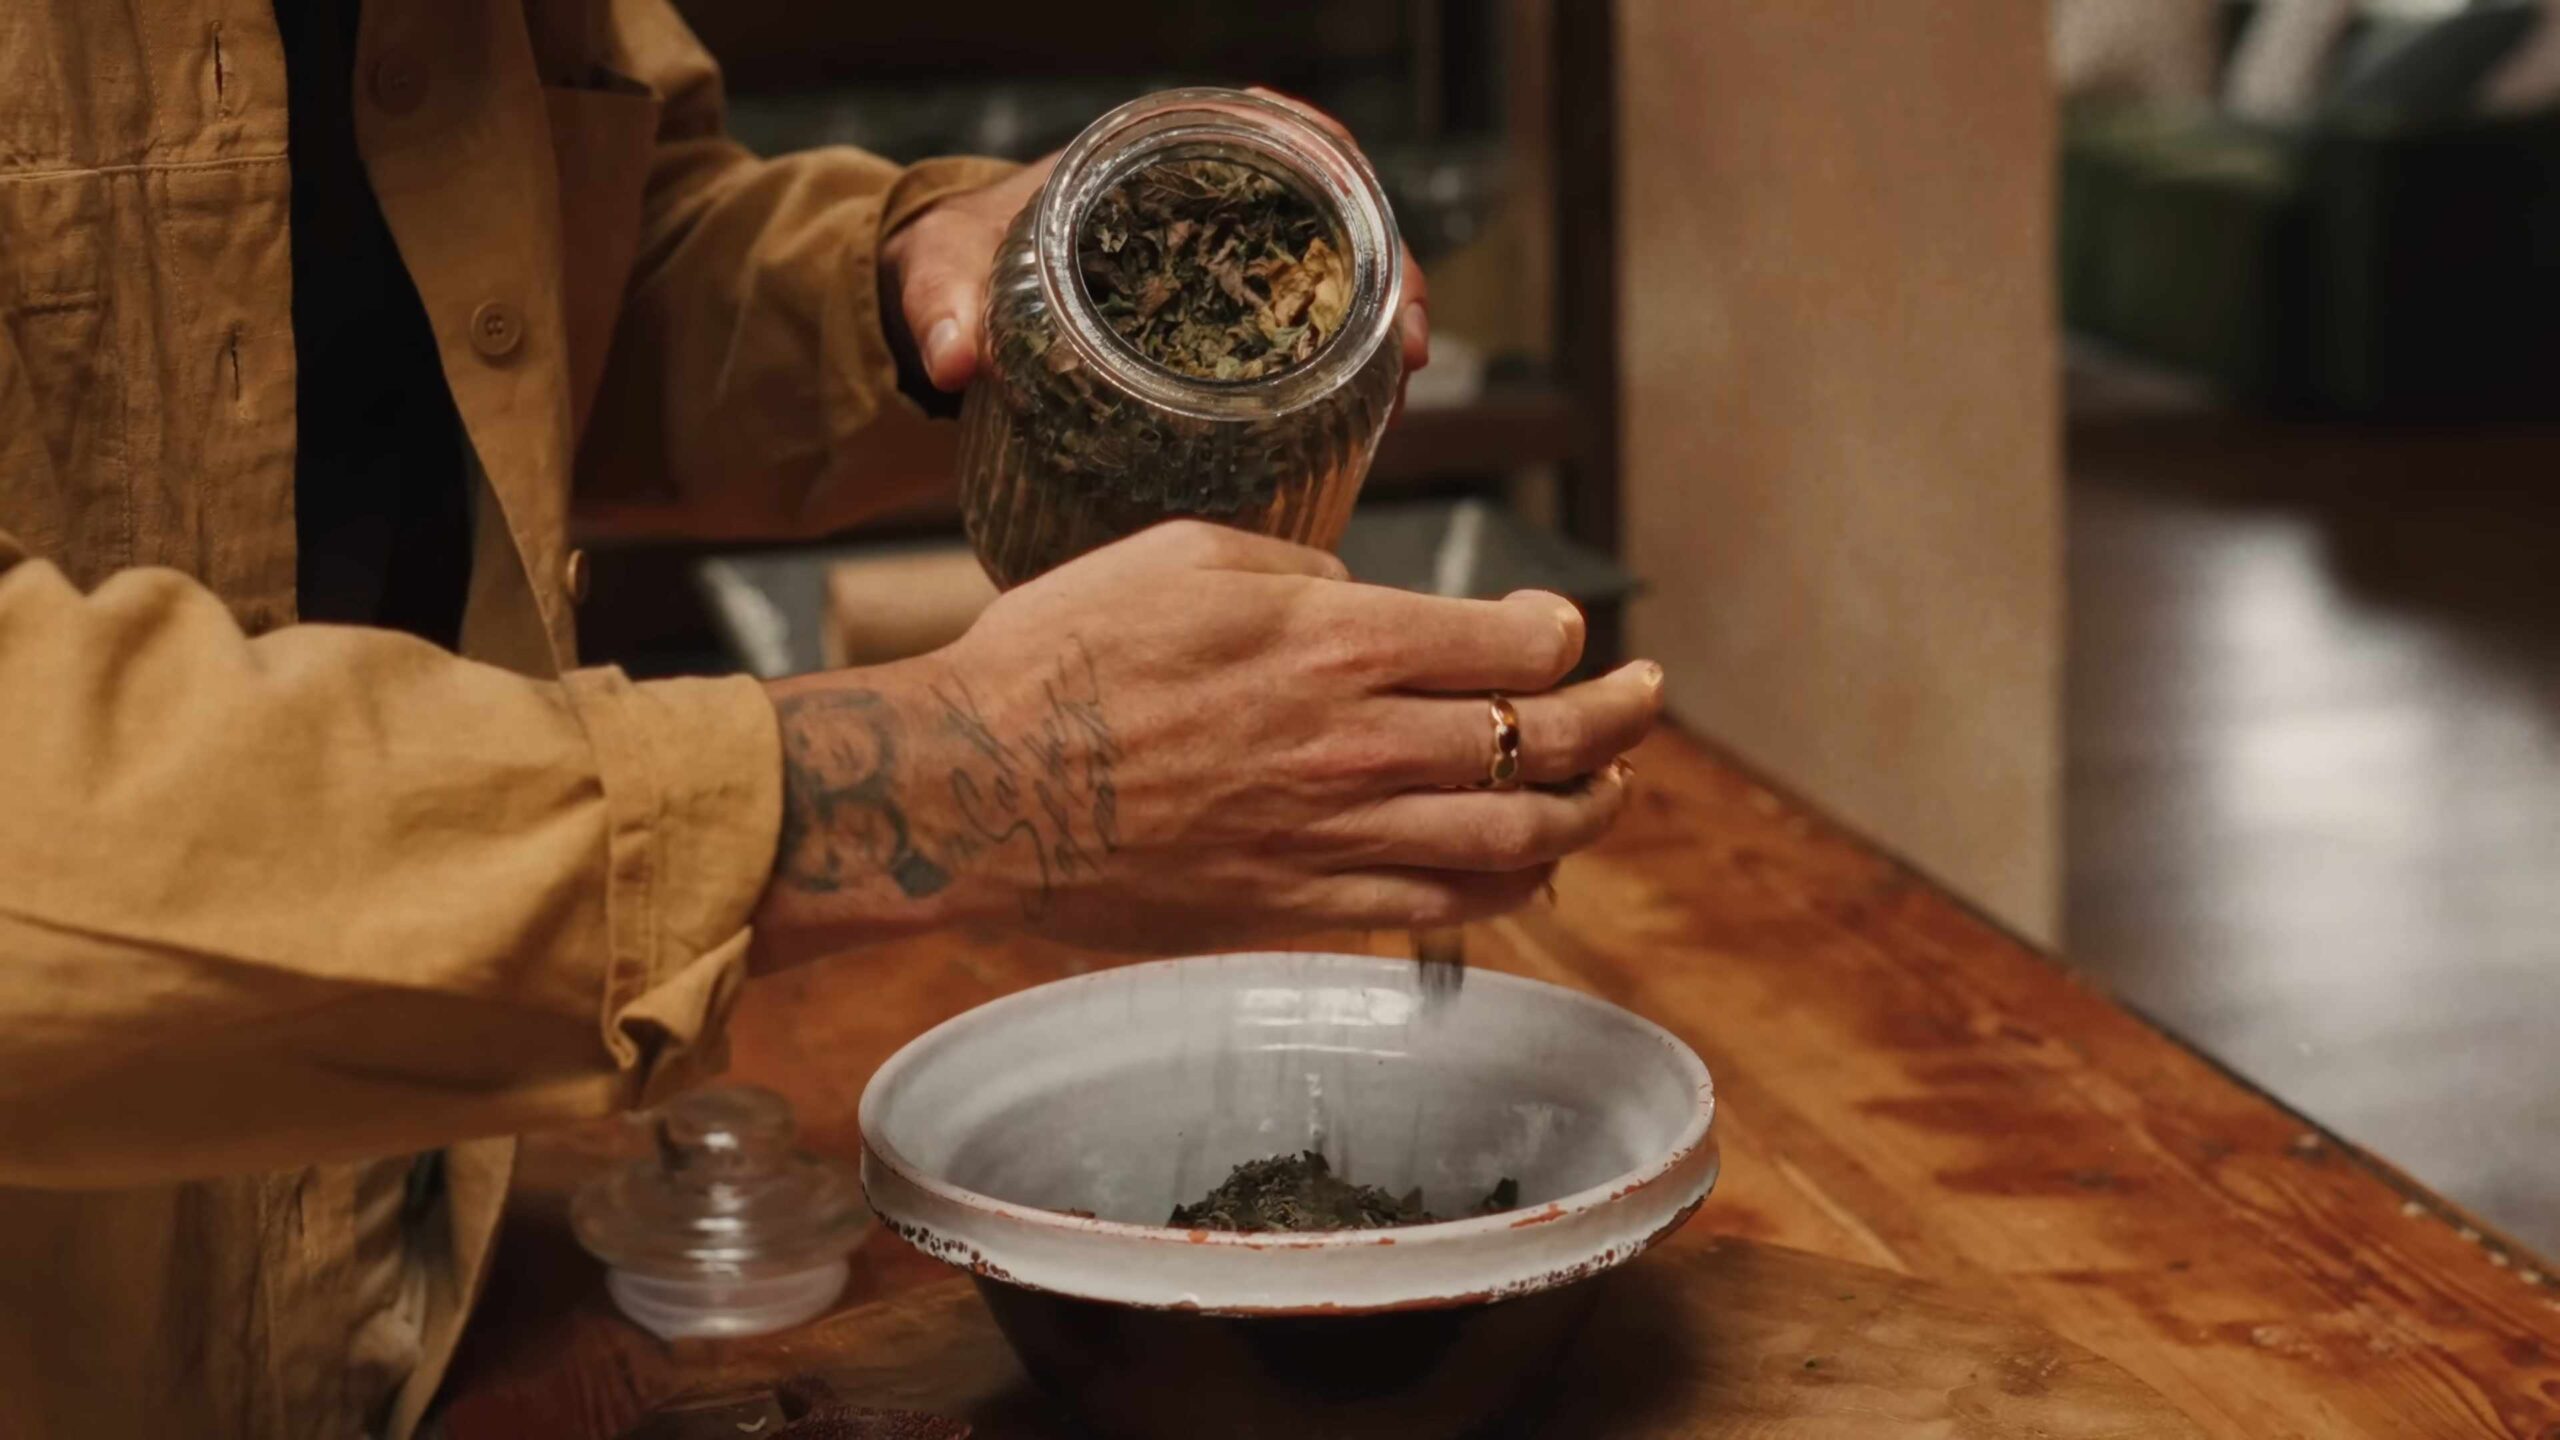
Preserving Your Herbs: Drying, Freezing, and Infusing
Once you’ve harvested your herbs, you’ll want to preserve them so you can enjoy them year-round. Here are a few common methods:
Drying:
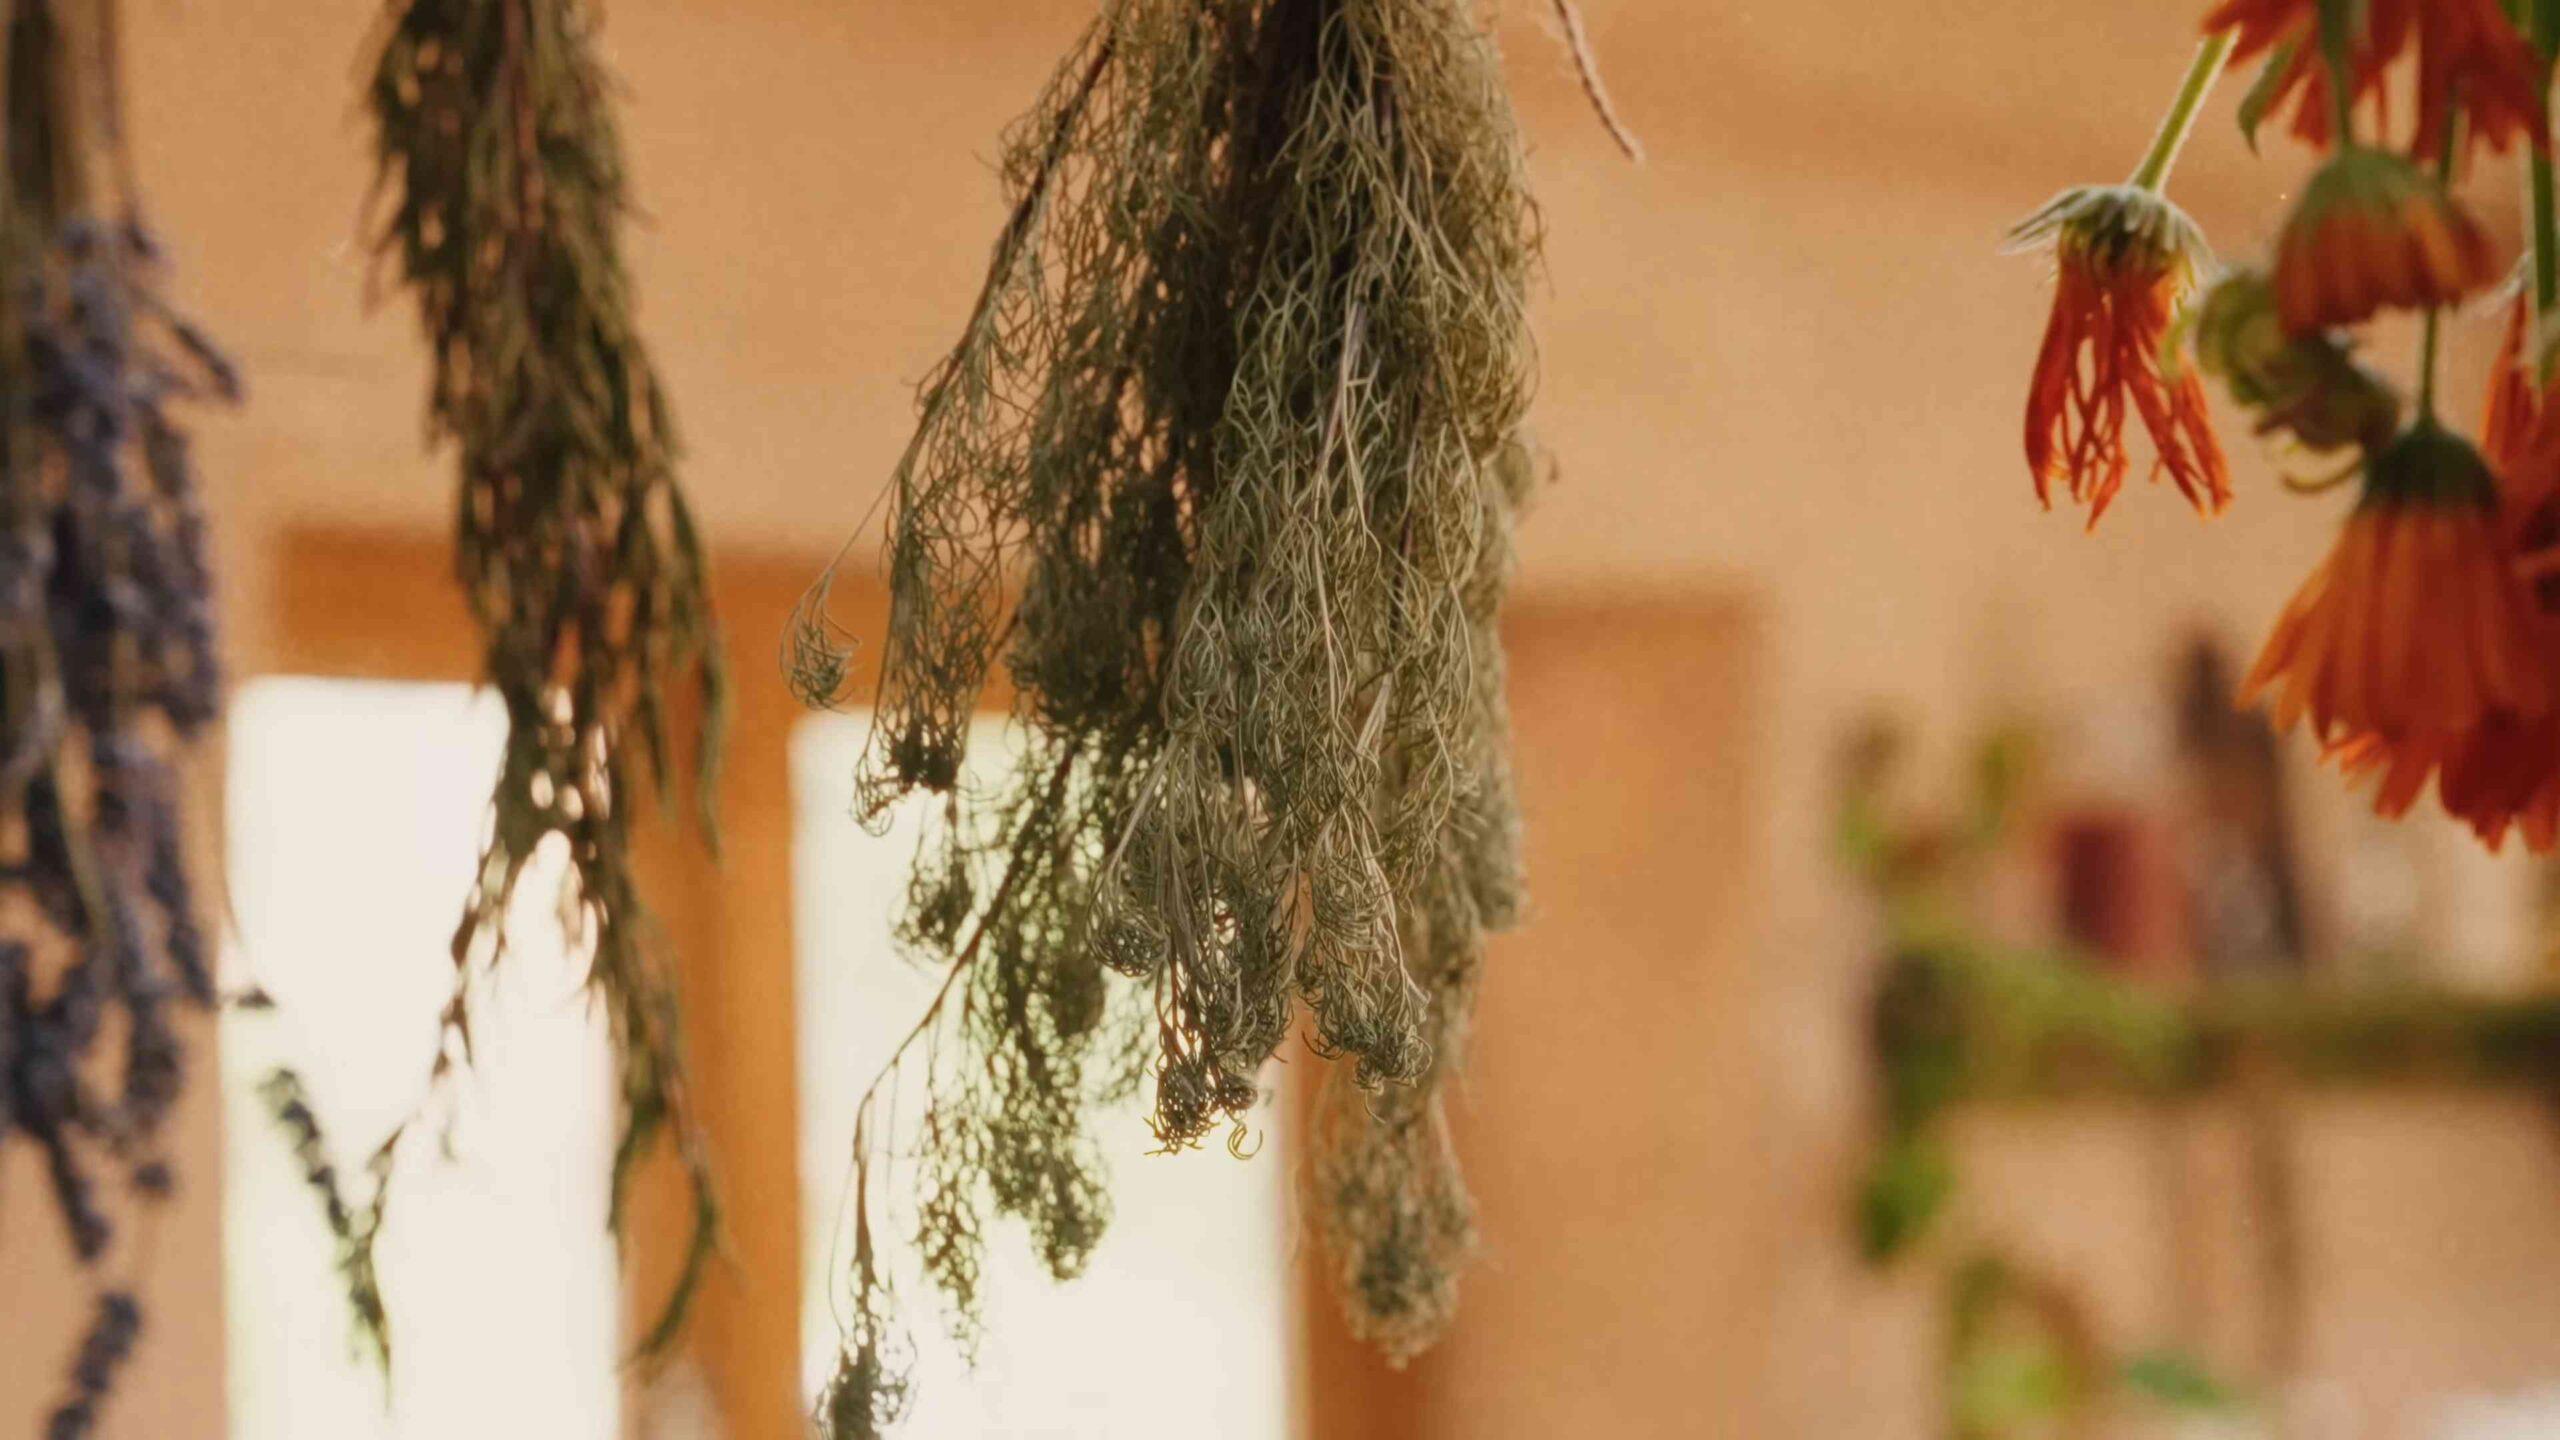
1. Hang Drying: Tie small bunches of herbs together and hang them upside down in a cool, dark, and well-ventilated place.
2. Oven Drying: Spread the herbs in a single layer on a baking sheet and dry them in a low oven (170°
Conclusion
So, there you have it! Cultivating your own essential healing herbs is more than just a gardening project; it’s an investment in your well-being, a connection to nature, and a pathway to creating potent, natural remedies right in your own backyard. We’ve explored a selection of herbs known for their therapeutic properties, each offering unique benefits and relatively easy to grow, even for novice gardeners.
Why is this DIY approach a must-try? Because it puts you in control. You know exactly what goes into your herbs – no pesticides, no hidden chemicals, just pure, unadulterated goodness. The freshness and potency of homegrown herbs far surpass anything you can buy in a store, ensuring you’re getting the maximum therapeutic benefit. Plus, the act of gardening itself is incredibly therapeutic, reducing stress and promoting a sense of calm.
Beyond the herbs we’ve highlighted, the possibilities are endless. Consider experimenting with different varieties of mint, such as chocolate mint or orange mint, for unique flavor profiles and added health benefits. Explore the world of adaptogenic herbs like Ashwagandha or Holy Basil (Tulsi), known for their stress-reducing properties. You can even create your own custom herbal tea blends, tailored to your specific needs and preferences. Think chamomile and lavender for relaxation, or peppermint and ginger for digestive support.
Don’t be afraid to get creative with how you use your homegrown herbs. Infuse them in oils for massage, create soothing salves for skin irritations, or simply add them fresh to your favorite recipes for a burst of flavor and nutrition. The possibilities are truly limitless.
We understand that starting a garden can seem daunting, but remember, every expert was once a beginner. Start small, choose a few herbs that resonate with you, and gradually expand your garden as you gain confidence and experience. The rewards – both physical and mental – are well worth the effort.
We wholeheartedly encourage you to embark on this journey of growing your own essential healing herbs. It’s a rewarding experience that will connect you to nature, empower you to take control of your health, and provide you with a constant supply of fresh, potent remedies.
Now, it’s your turn! Plant those seeds, nurture those seedlings, and watch your garden flourish. And most importantly, share your experiences with us! We’d love to hear about your successes, your challenges, and your favorite ways to use your homegrown herbs. Let’s create a community of herbal enthusiasts, sharing knowledge and inspiring each other to live healthier, more connected lives. So, get your hands dirty and discover the magic of growing your own medicine!
Frequently Asked Questions (FAQs)
What are the easiest essential healing herbs to grow for beginners?
For beginners, some of the easiest and most rewarding essential healing herbs to grow include:
* **Mint:** Mint is incredibly easy to grow and thrives in containers. Be mindful that it can be invasive if planted directly in the ground, so container gardening is highly recommended. It’s great for teas, digestive support, and adding flavor to dishes.
* **Basil:** Basil is another easy-to-grow herb that prefers warm weather and plenty of sunlight. It’s perfect for adding to pasta sauces, salads, and pesto. Pinch off the flower heads to encourage leaf growth.
* **Chamomile:** Chamomile is a calming herb that’s easy to grow from seed. It prefers full sun and well-drained soil. The flowers can be dried and used to make a relaxing tea.
* **Rosemary:** Rosemary is a hardy perennial that thrives in sunny locations with well-drained soil. It’s drought-tolerant and can be used to flavor meats, vegetables, and breads.
* **Lavender:** Lavender is a fragrant herb that prefers full sun and well-drained soil. It’s drought-tolerant and can be used to make sachets, teas, and essential oils.
How much sunlight do essential healing herbs need?
Most essential healing herbs require at least 6 hours of direct sunlight per day to thrive. However, some herbs, like mint and parsley, can tolerate partial shade. When choosing a location for your herb garden, consider the amount of sunlight it receives throughout the day. If you’re growing herbs indoors, place them near a sunny window or use grow lights to supplement natural light.
What type of soil is best for growing essential healing herbs?
Essential healing herbs generally prefer well-drained soil that is rich in organic matter. A good potting mix or garden soil amended with compost or aged manure will provide the nutrients and drainage that herbs need to thrive. Avoid heavy clay soils, as they can retain too much moisture and lead to root rot.
How often should I water my essential healing herbs?
The watering frequency for essential healing herbs depends on the type of herb, the climate, and the soil conditions. Generally, herbs should be watered when the top inch of soil feels dry to the touch. Avoid overwatering, as this can lead to root rot. During hot, dry weather, you may need to water your herbs more frequently.
How do I harvest essential healing herbs?
The best time to harvest essential healing herbs is in the morning, after the dew has dried but before the sun gets too hot. Use sharp scissors or pruning shears to cut the stems or leaves. For leafy herbs like basil and mint, pinch off the top growth to encourage bushier growth. For flowering herbs like chamomile and lavender, harvest the flowers when they are fully open.
How do I dry and store essential healing herbs?
There are several ways to dry essential healing herbs:
* **Air drying:** Tie small bunches of herbs together and hang them upside down in a cool, dry, well-ventilated place.
* **Oven drying:** Spread the herbs in a single layer on a baking sheet and dry them in a low oven (around 170°F) for several hours, or until they are brittle.
* **Dehydrator:** Use a food dehydrator to dry the herbs according to the manufacturer’s instructions.
Once the herbs are completely dry, store them in airtight containers in a cool, dark, and dry place. Properly dried and stored herbs can last for up to a year.
Can I grow essential healing herbs indoors?
Yes, many essential healing herbs can be successfully grown indoors, provided they receive enough sunlight or artificial light. Choose a sunny window or use grow lights to provide at least 6 hours of light per day. Use a well-draining potting mix and water regularly, allowing the soil to dry slightly between waterings.
Are there any essential healing herbs that are toxic to pets?
Yes, some essential healing herbs can be toxic to pets if ingested. These include:
* **Pennyroyal:** Can cause liver damage and seizures.
* **Rue:** Can cause vomiting, diarrhea, and skin irritation.
* **Tansy:** Can cause seizures and liver damage.
Keep these herbs out of reach of pets or consider growing them in hanging baskets or containers that are inaccessible to animals. Always consult with your veterinarian if you have any concerns about the safety of herbs for your pets.
How can I use my homegrown essential healing herbs?
There are countless ways to use your homegrown essential healing herbs. Here are a few ideas:
* **Teas:** Steep fresh or dried herbs in hot water to make a soothing and therapeutic tea.
* **Infused oils:** Infuse herbs in oil to create massage oils, salves, and other topical remedies.
* **Culinary uses:** Add fresh herbs to your favorite recipes for a burst of flavor and nutrition.
* **Aromatherapy:** Use essential oils extracted from herbs for aromatherapy purposes.
* **Bath products:** Add herbs to bath salts, bath bombs, and other bath products for a relaxing and therapeutic experience.
* **Natural cleaning products:** Use herbs to create natural cleaning solutions for your home.
What are some resources for learning more about essential healing herbs?
There are many excellent resources available for learning more about essential healing herbs, including:
* **Books:** Look for books on herbal medicine, gardening, and aromatherapy.
* **Websites:** Explore reputable websites dedicated to herbalism and natural health.
* **Herbalists:** Consult with a qualified herbalist for personalized advice and guidance.
* **Gardening clubs:** Join a local gardening club to connect with other gardeners and learn from their experiences.
* **Workshops and classes:** Attend workshops and classes on herbal medicine and gardening to deepen your knowledge and skills.

Leave a Comment