

Forgotten Home Cleaning Spots – we all have them! Those little nooks and crannies that somehow escape our regular cleaning routine. Let’s be honest, who *really* enjoys scrubbing behind the toilet or dusting the top of the refrigerator? But neglecting these areas can lead to a build-up of grime, dust, and even mold, impacting not only the cleanliness of your home but also your health.
The concept of a truly clean home has been valued for centuries across various cultures. From ancient Roman bathhouses to the meticulous cleaning rituals of Japanese households, a tidy space has always been associated with well-being and prosperity. While our modern cleaning tools are far more advanced, the challenge of tackling those forgotten home cleaning spots remains!
That’s where this DIY guide comes in! I’m going to share some simple yet effective tricks and hacks to help you conquer those often-overlooked areas. We’ll explore easy-to-make cleaning solutions using ingredients you probably already have in your pantry, and I’ll show you how to reach those awkward spots without breaking a sweat. Think of it as a deep dive into the art of thorough cleaning, making your home not just look cleaner, but *feel* cleaner too. Get ready to say goodbye to hidden dust bunnies and hello to a sparkling, healthier home!
DIY Deep Clean: Conquering Those Forgotten Home Cleaning Spots
Okay, let’s be honest. We all have those spots in our homes that we conveniently “forget” to clean. You know, the ones that are out of sight, out of mind… until they’re not. Well, today, we’re tackling those neglected areas head-on! I’m going to walk you through a deep clean of those forgotten spots, leaving your home feeling fresher and cleaner than ever. Get ready to roll up your sleeves!
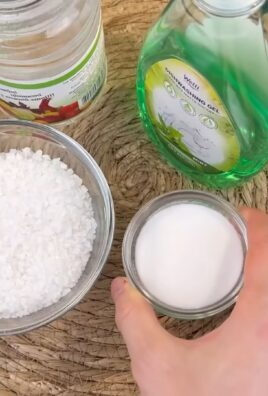
Gather Your Supplies
Before we dive in, let’s make sure we have everything we need. Trust me, having all your supplies ready will make the whole process much smoother.
* Microfiber cloths: These are my go-to for almost everything. They’re absorbent, reusable, and won’t scratch surfaces.
* All-purpose cleaner: Choose your favorite! I prefer a natural, eco-friendly option.
* White vinegar: A cleaning powerhouse! It’s great for disinfecting and removing hard water stains.
* Baking soda: Another natural cleaning superstar. It’s excellent for scrubbing and deodorizing.
* Dish soap: For greasy messes and general cleaning.
* Old toothbrush: Perfect for getting into those tight corners and crevices.
* Cotton swabs: Ideal for cleaning small, delicate areas.
* Vacuum cleaner with attachments: Especially the crevice tool and brush attachment.
* Spray bottles: For diluting cleaners and making your own solutions.
* Rubber gloves: To protect your hands, of course!
* Screwdriver: You might need this to remove vent covers or other fixtures.
* Ladder or step stool: For reaching high places.
* Bucket: For carrying water and cleaning solutions.
Phase 1: The Kitchen – Beyond the Countertops
The kitchen is a high-traffic area, and it’s easy for grime to build up in those overlooked spots. Let’s get to work!
1. Clean the Range Hood Filter: This is probably the most forgotten spot in the kitchen.
* Remove the filter: Most range hood filters are easy to remove. Check your appliance’s manual if you’re unsure how.
* Soak the filter: Fill your sink with hot, soapy water. Add a generous amount of dish soap and let the filter soak for at least 30 minutes. For really greasy filters, add 1/2 cup of baking soda to the water.
* Scrub the filter: Use a scrub brush or old toothbrush to scrub away the grease and grime. Rinse thoroughly with hot water.
* Dry the filter: Allow the filter to air dry completely before replacing it.
2. Clean the Dishwasher: Yes, your dishwasher needs cleaning too!
* Remove the filter: Locate the filter at the bottom of your dishwasher and remove it. Rinse it under hot water to remove any food particles.
* Clean the spray arms: Check the spray arms for any clogs. Use a toothpick or wire to clear any blockages.
* Run a cleaning cycle: Place a dishwasher-safe cup filled with white vinegar on the top rack. Run a normal cycle with no dishes. This will help to remove mineral buildup and freshen the dishwasher.
* Clean the door seals: Wipe down the door seals with a damp cloth to remove any food residue or mildew.
3. Clean the Microwave: Another often-overlooked appliance.
* Steam clean: Place a microwave-safe bowl filled with 1 cup of water and a few tablespoons of white vinegar in the microwave. Microwave on high for 5 minutes. Let it sit for a few minutes to allow the steam to loosen any stuck-on food.
* Wipe clean: Carefully remove the bowl (it will be hot!). Wipe down the inside of the microwave with a damp cloth. The grime should come off easily.
* Clean the turntable: Remove the turntable and wash it with soap and water.
4. Clean Underneath Appliances: This is where crumbs and dust bunnies love to hide.
* Pull out the appliance: Carefully pull out your refrigerator, stove, and dishwasher (if possible). Be careful not to damage any flooring or connections.
* Vacuum: Use your vacuum cleaner with the crevice tool to vacuum up any crumbs, dust, and debris.
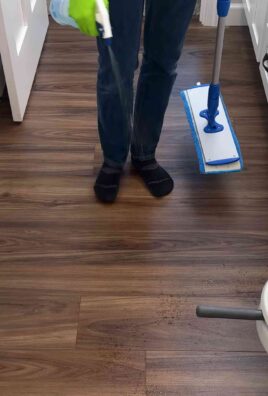
* Mop: Mop the floor underneath the appliance with your all-purpose cleaner.
5. Clean the Garbage Disposal: Keep it fresh and odor-free.
* Flush with hot water: Run hot water down the garbage disposal for a few minutes.
* Add baking soda and vinegar: Pour 1/2 cup of baking soda down the disposal, followed by 1 cup of white vinegar. Let it fizz for a few minutes.
* Flush again with hot water: Run hot water down the disposal for a few more minutes to rinse away the baking soda and vinegar.
* Citrus refresh: Throw in some citrus peels (lemon, lime, or orange) and run the disposal to freshen the scent.
Phase 2: The Bathroom – Beyond the Sink
The bathroom can be a breeding ground for mold and mildew. Let’s tackle those hidden areas.
1. Clean the Showerhead: Remove mineral buildup for better water pressure.
* Vinegar soak: Fill a plastic bag with white vinegar and secure it around the showerhead with a rubber band. Make sure the showerhead is completely submerged in the vinegar.
* Soak overnight: Let the showerhead soak overnight.
* Remove and rinse: Remove the bag and rinse the showerhead thoroughly with water.
* Scrub if needed: If there’s still some buildup, use an old toothbrush to scrub it away.
2. Clean the Toilet Base and Behind the Toilet: Often neglected, but important for hygiene.
* Dust and vacuum: Dust the base of the toilet and vacuum behind it to remove any dust and debris.
* Clean with disinfectant: Spray the base of the toilet and the area behind it with a disinfectant cleaner. Wipe clean with a microfiber cloth.
* Use a toilet bowl cleaner: Apply toilet bowl cleaner under the rim of the toilet bowl and let it sit for a few minutes before scrubbing and flushing.
3. Clean the Grout: Get rid of mold and mildew.
* Baking soda paste: Mix baking soda with a little water to form a paste.
* Apply to grout: Apply the paste to the grout lines.
* Scrub: Use an old toothbrush to scrub the grout lines.
* Rinse: Rinse the grout lines with water.
* Vinegar spray (optional): For stubborn stains, spray the grout lines with white vinegar after scrubbing and rinsing. Let it sit for a few minutes before rinsing again.
4. Clean the Bathroom Fan: Remove dust and improve ventilation.
* Turn off the power: Turn off the power to the bathroom fan at the circuit breaker.
* Remove the cover: Most bathroom fan covers are easy to remove. Check your fan’s manual if you’re unsure how.
* Vacuum: Use your vacuum cleaner with the brush attachment to vacuum the fan blades and the inside of the fan housing.
* Wipe clean: Wipe down the fan blades and the inside of the fan housing with a damp cloth.
* Replace the cover: Replace the fan cover.
* Turn the power back on: Turn the power back on at the circuit breaker.
5. Clean Under the Sink: Organize and clean this often-cluttered space.
* Remove everything: Take everything out from under the sink.
* Vacuum: Vacuum up any dust and debris.
* Wipe clean: Wipe down the inside of the cabinet with a damp cloth.
* Organize: Organize your cleaning supplies and other items before putting them back under the sink. Consider using storage containers to keep things tidy.
Phase 3: The Living Areas – Dusting and Detailing
Let’s move on to the living areas and tackle those dust-collecting spots.
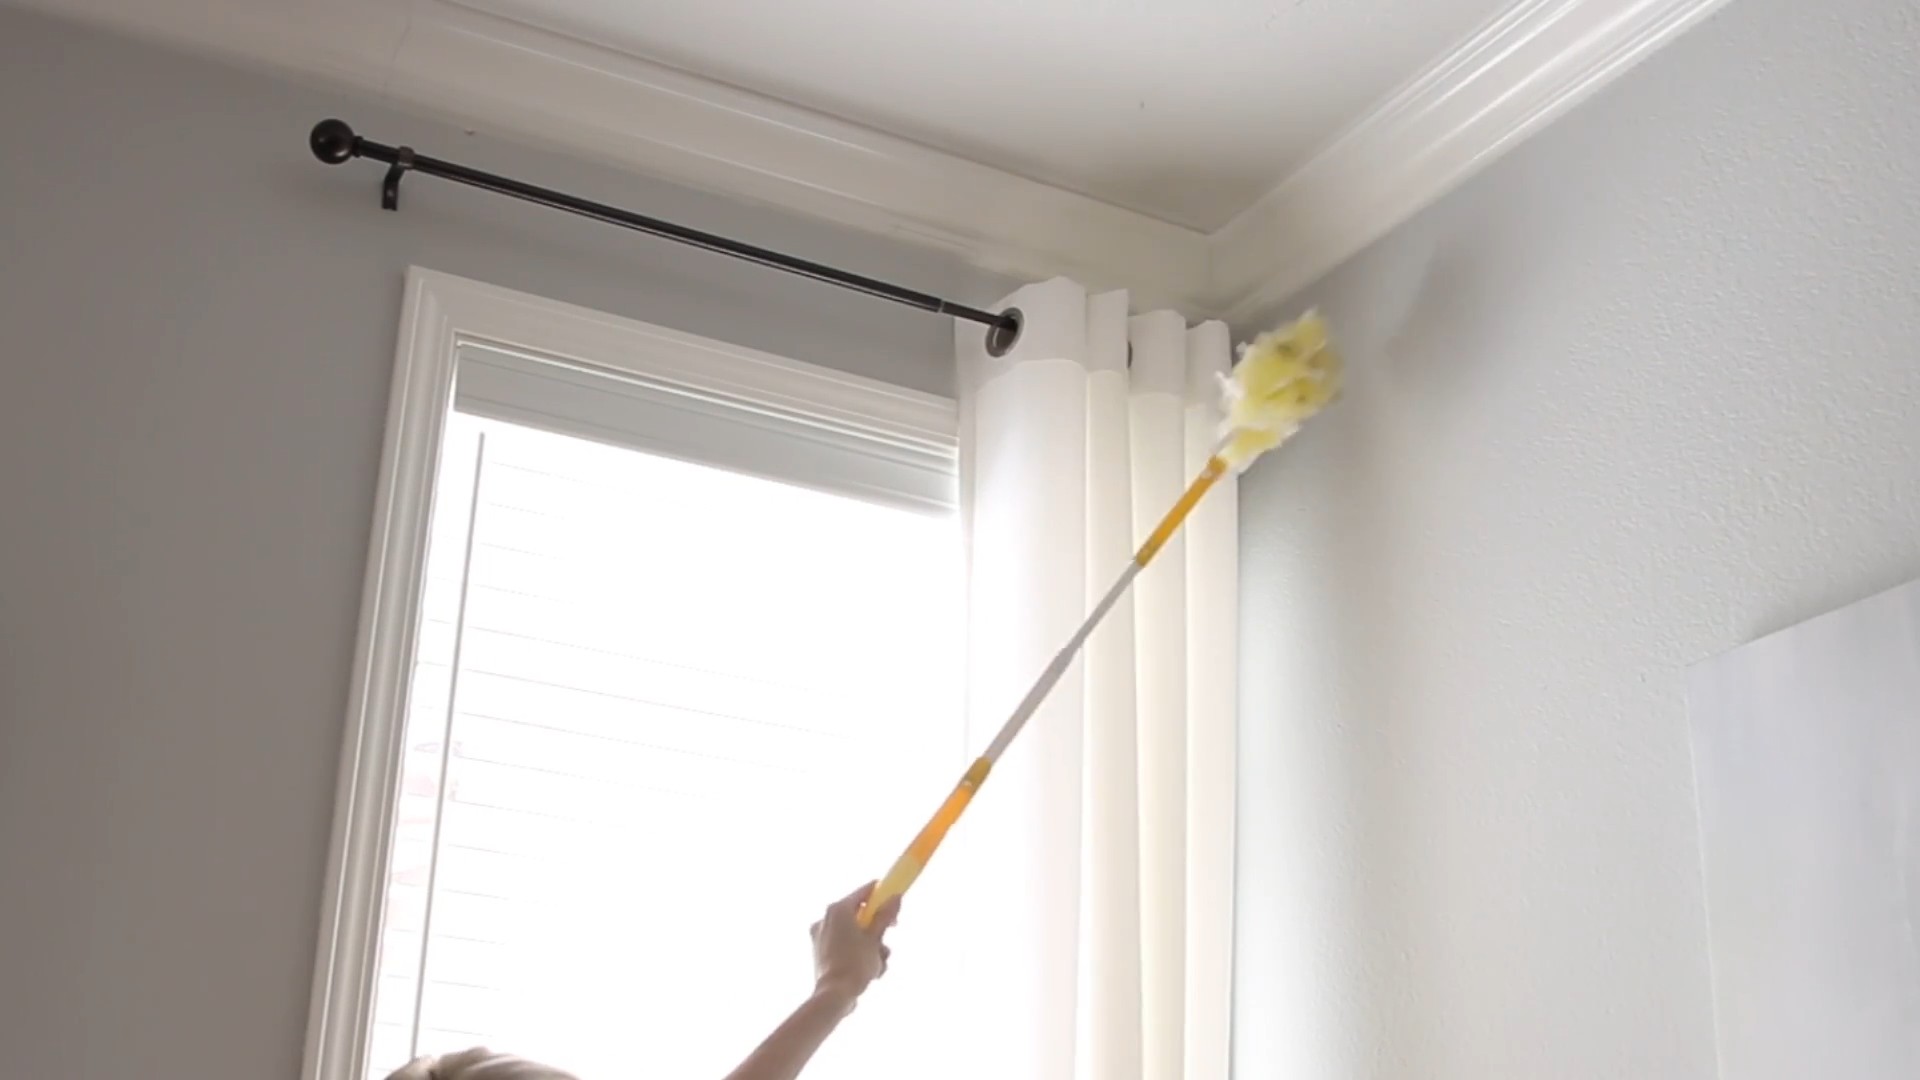
1. Clean Baseboards and Trim: Remove dust and scuff marks.
* Dust: Dust the baseboards and trim with a microfiber cloth or a duster.
* Wipe clean: Wipe down the baseboards and trim with a damp cloth and a mild cleaner.
* Magic eraser (optional): For stubborn scuff marks, use a magic eraser. Be careful not to damage the paint.
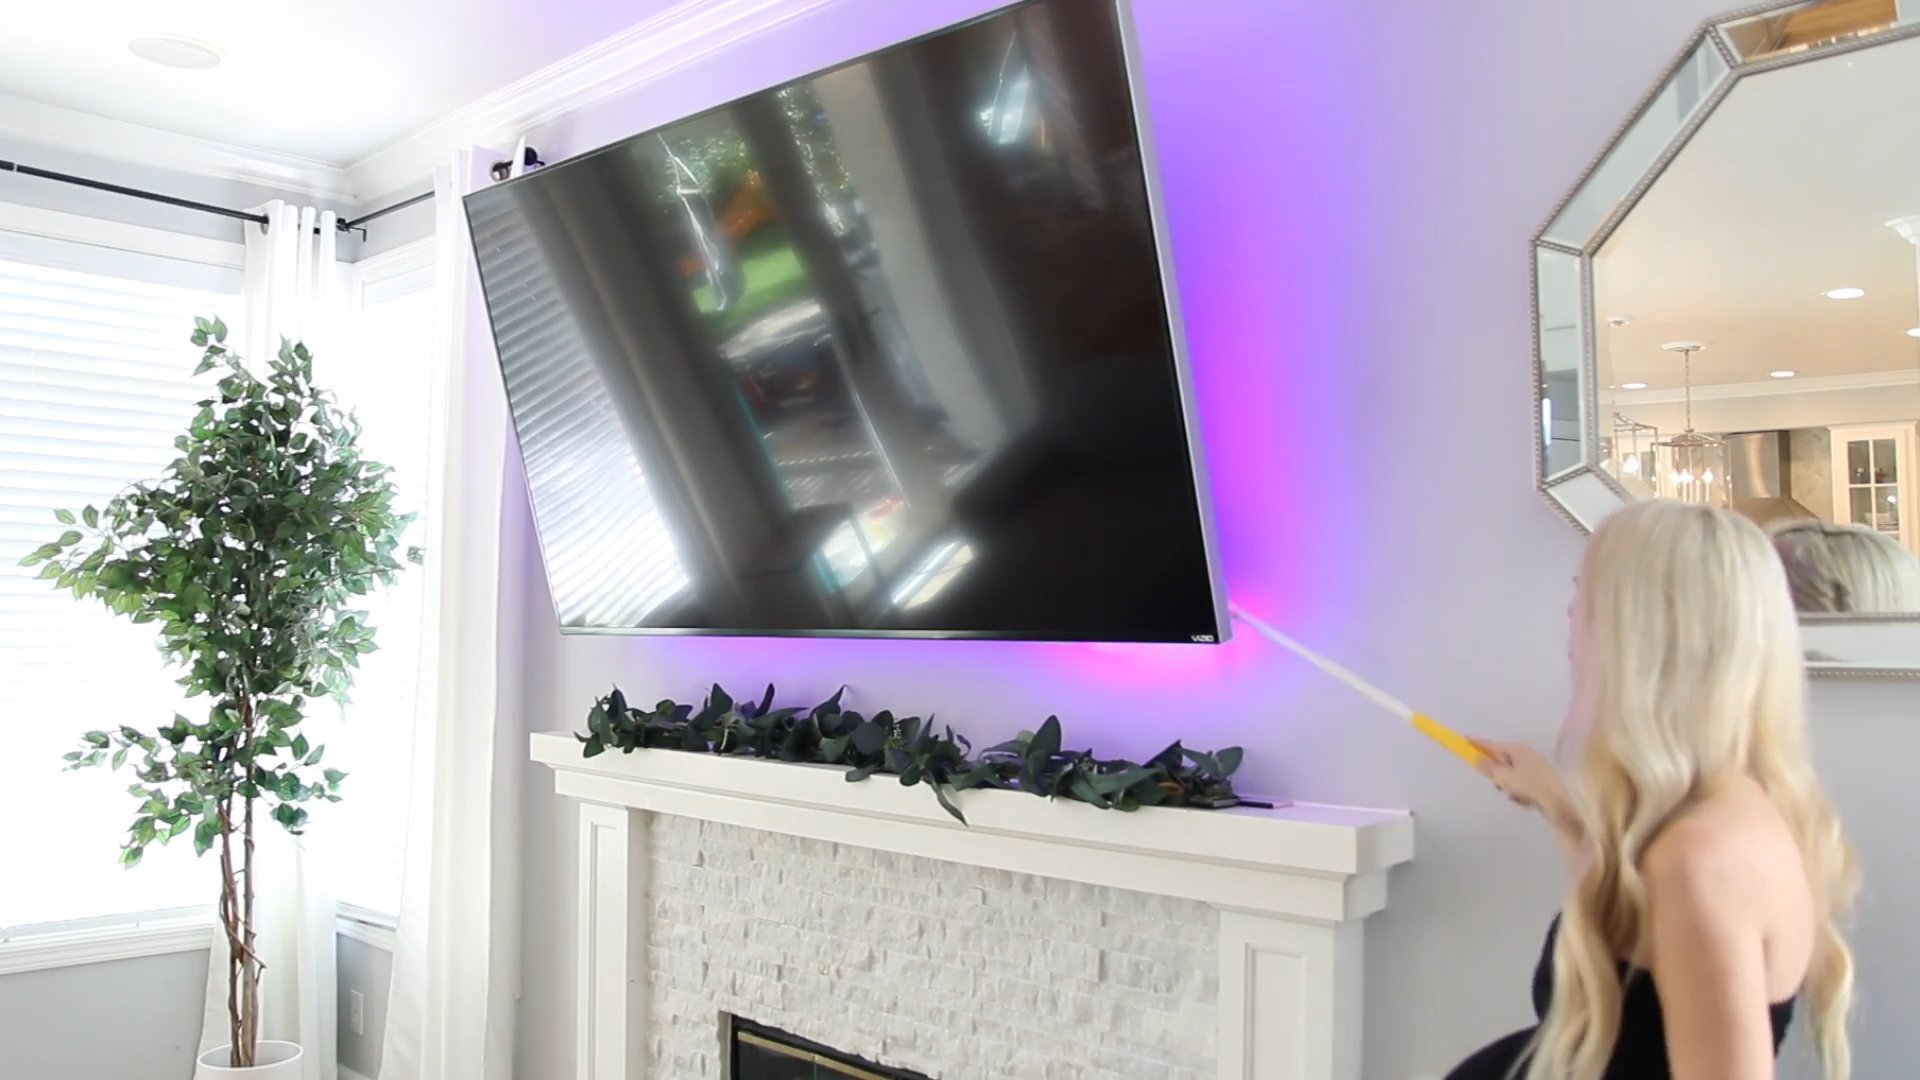
2. Clean Light Fixtures:
Conclusion
So, there you have it! Conquering those forgotten home cleaning spots doesn’t have to be a daunting task. By implementing these simple yet effective DIY tricks, you can transform your home into a sparkling sanctuary, free from hidden dust bunnies and lingering grime. We’ve shown you how to tackle those often-overlooked areas, from the depths of your dishwasher to the dusty tops of your door frames.
The beauty of these methods lies in their simplicity and affordability. You likely already have most of the necessary ingredients in your pantry or cleaning cabinet. No need for expensive, specialized cleaning products! This is about smart cleaning, not hard cleaning.
But why is this a must-try? Because a truly clean home isn’t just about what you see on the surface. It’s about the air you breathe, the allergens you eliminate, and the overall feeling of well-being that comes from knowing your space is truly clean and healthy. Neglecting these forgotten areas can lead to a build-up of dust, mold, and bacteria, which can negatively impact your health and the air quality in your home.
Consider these variations to personalize your cleaning routine:
* **Essential Oil Infusion:** Add a few drops of your favorite essential oil (like lavender, lemon, or eucalyptus) to your cleaning solutions for a refreshing scent and added antibacterial benefits.
* **Vinegar Power-Up:** For stubborn grime, increase the concentration of vinegar in your cleaning solutions. Just be mindful of surfaces that may be sensitive to acid, like marble or granite.
* **Baking Soda Boost:** Baking soda is a fantastic natural deodorizer and mild abrasive. Use it to scrub away stubborn stains in your sink or oven.
* **Lemon Zest Zest:** Infuse your cleaning vinegar with lemon zest for a citrusy boost. Let it sit for a week before using for a more potent cleaning solution.
Don’t underestimate the power of a consistent cleaning schedule. Even dedicating just 15-20 minutes a week to these forgotten spots can make a significant difference in the overall cleanliness and air quality of your home.
We’re confident that these DIY tricks will revolutionize your cleaning routine and help you achieve a level of cleanliness you never thought possible. So, grab your supplies, roll up your sleeves, and get ready to transform your home!
Now, we want to hear from you! Have you tried any of these DIY tricks for cleaning forgotten home cleaning spots? What were your results? Do you have any other tips or tricks to share? Leave a comment below and let us know! Your experiences can help others discover new and effective ways to keep their homes sparkling clean. We can’t wait to hear your success stories!
Frequently Asked Questions (FAQ)
What are the most common “forgotten home cleaning spots” that people tend to overlook?
The most frequently neglected areas include the inside of your dishwasher (especially the filter), the washing machine (particularly the rubber gasket), the tops of door frames and window sills, light fixtures, baseboards, under furniture, behind appliances (like the refrigerator and stove), showerheads, and garbage disposals. These areas often accumulate dust, grime, mold, and bacteria, contributing to poor air quality and potential health issues.
How often should I clean these forgotten areas?
The frequency depends on the specific area and your lifestyle. However, a general guideline is to clean these forgotten spots at least once a month. High-traffic areas or those prone to moisture (like bathrooms) may require more frequent attention. For example, the dishwasher filter should be cleaned weekly, while the tops of door frames can be cleaned monthly or bi-monthly. Deep cleaning behind appliances can be done quarterly or semi-annually. Establishing a cleaning schedule can help you stay on top of these tasks.
What are the best DIY cleaning solutions for these areas?
Many effective DIY cleaning solutions can be made with common household ingredients. A mixture of equal parts white vinegar and water is a versatile cleaner for most surfaces. Baking soda is excellent for scrubbing and deodorizing. Lemon juice can be used to disinfect and add a fresh scent. For mold and mildew, a solution of bleach and water (always use caution and proper ventilation) can be effective. Remember to always test any cleaning solution on a small, inconspicuous area first to ensure it doesn’t damage the surface.
Are there any specific tools that are helpful for cleaning these hard-to-reach spots?
Yes, several tools can make cleaning these areas easier. A microfiber cloth is excellent for dusting and wiping surfaces. An old toothbrush is perfect for scrubbing grout and tight spaces. A vacuum cleaner with a hose attachment and crevice tool can reach under furniture and behind appliances. A long-handled duster can help you reach high areas like door frames and light fixtures. A bottle brush is useful for cleaning the inside of vases and other narrow containers.
How can I prevent these areas from getting so dirty in the first place?
Preventative measures can significantly reduce the amount of cleaning required. Regularly dusting surfaces can prevent dust buildup. Using a doormat can trap dirt before it enters your home. Wiping up spills immediately can prevent stains from setting. Ensuring proper ventilation in bathrooms can prevent mold and mildew growth. Regularly cleaning your dishwasher and washing machine can prevent the buildup of grime and bacteria.
Is it safe to use bleach for cleaning these areas?
Bleach can be an effective disinfectant, but it should be used with caution. Always dilute bleach with water according to the manufacturer’s instructions. Never mix bleach with ammonia or other cleaning products, as this can create toxic fumes. Wear gloves and eye protection when using bleach. Ensure proper ventilation to avoid inhaling fumes. Bleach can damage certain surfaces, so test it on a small, inconspicuous area first. Consider using alternative disinfectants like vinegar or hydrogen peroxide if you are concerned about the safety of bleach.
How do I clean the inside of my dishwasher effectively?
To clean your dishwasher, start by removing and cleaning the filter. Rinse away any food particles and debris. Next, place a cup of white vinegar on the top rack of the dishwasher and run a normal cycle. This will help to remove grease and grime. You can also sprinkle baking soda on the bottom of the dishwasher and run a short cycle to deodorize it. Clean the door seals with a damp cloth to remove any buildup.
What’s the best way to clean the rubber gasket on my washing machine?
The rubber gasket on your washing machine is prone to mold and mildew growth. To clean it, mix equal parts white vinegar and water in a spray bottle. Spray the solution onto the gasket and let it sit for a few minutes. Then, use a damp cloth to wipe away any mold or mildew. For stubborn stains, you can use an old toothbrush to scrub the area. Leave the washing machine door open after each use to allow the gasket to dry and prevent mold growth.
How can I clean behind my refrigerator and stove without damaging the appliances?
Before cleaning behind your refrigerator and stove, unplug the appliances for safety. Use a vacuum cleaner with a hose attachment to remove dust and debris from the floor and walls behind the appliances. Be careful not to damage any cords or connections. You can also use a damp cloth to wipe down the walls and floors. Avoid using harsh chemicals or abrasive cleaners, as these can damage the appliances.
What if I’m allergic to certain cleaning products?
If you have allergies, it’s essential to choose cleaning products that are safe for you. Look for hypoallergenic or fragrance-free cleaning products. You can also make your own DIY cleaning solutions using natural ingredients like vinegar, baking soda, and lemon juice. Wear gloves and a mask when cleaning to protect yourself from allergens. Ensure proper ventilation to avoid inhaling fumes. If you experience any allergic reactions, stop cleaning immediately and consult a doctor.
Leave a Comment