

Grow apple tree from seed? Sounds like a fairytale, doesn’t it? Like something straight out of a childhood storybook where anything is possible with a little bit of magic. Well, I’m here to tell you that while it might not be *exactly* magic, growing your own apple tree from seed is absolutely achievable, and I’m going to show you how! For centuries, humans have cultivated apple trees, carefully grafting and selecting varieties for the perfect taste and yield. But there’s something incredibly rewarding about starting from scratch, nurturing a tiny seed into a fruit-bearing tree.
Why would you want to embark on this journey? Maybe you’re looking for a fun and educational project for the whole family. Perhaps you’re eager to connect with nature on a deeper level. Or maybe you’re simply curious to see if you can do it! Whatever your reason, this DIY guide will provide you with all the tips and tricks you need to successfully grow apple tree from seed. We’ll cover everything from seed selection and stratification to planting and ongoing care. Get ready to get your hands dirty and experience the joy of watching your very own apple tree blossom!
Growing Apple Trees From Seed: A Labor of Love (and Patience!)
Okay, so you want to grow an apple tree from seed? That’s awesome! It’s a rewarding project, but let me be upfront: it’s a marathon, not a sprint. You won’t be picking juicy apples next year, or even the year after that. But the journey is worth it, and you’ll have a unique tree that you grew from scratch. Plus, you’ll learn a ton about horticulture along the way.
Here’s the deal: growing an apple tree from seed is different from planting a sapling. When you plant a sapling, you’re essentially planting a clone of a specific apple variety. When you grow from seed, you’re creating a brand new apple variety! The apple that grows from your tree will likely be different from the apple you got the seed from. Think of it like kids – they inherit traits from their parents, but they’re their own individuals.
So, if you’re looking for a specific apple variety, buying a grafted sapling is the way to go. But if you’re up for an adventure and want to see what kind of apple your tree produces, then let’s get started!
What You’ll Need
Before we dive in, let’s gather our supplies. You’ll need:
* Apple seeds: From a ripe apple (organic is best, to avoid treated seeds).
* Paper towels: For stratification.
* Sealable plastic bag: Also for stratification.
* Small pots or seedling trays: For planting the sprouted seeds.
* Seed starting mix: A light, well-draining mix.
* Watering can or spray bottle: For gentle watering.
* A sunny windowsill or grow lights: For providing light to the seedlings.
* Larger pots (eventually): For transplanting the seedlings as they grow.
* Well-draining potting soil: For the larger pots.
* Patience: Seriously, you’ll need a lot of it!
Phase 1: Seed Extraction and Preparation
This is where we get our hands dirty (in a good way!).
1. Eat an apple! Okay, this is the fun part. Choose a ripe, healthy apple. Organic is preferable because you don’t want seeds that have been treated with chemicals.
2. Extract the seeds: Cut the apple open and carefully remove the seeds. You’ll probably find a few seeds in each apple.
3. Clean the seeds: Rinse the seeds thoroughly under cool water. Remove any pulp or debris clinging to them. This is important to prevent mold growth during stratification.
4. Dry the seeds: Spread the cleaned seeds on a paper towel and let them air dry for a few hours. Make sure they’re completely dry before moving on to the next step.
Phase 2: Stratification (The Cold Treatment)
Apple seeds need a period of cold, moist stratification to break their dormancy. This mimics winter conditions and tells the seed it’s time to wake up and grow.
1. Moisten the paper towel: Dampen a paper towel with water. It should be moist, but not soaking wet. You don’t want the seeds to rot.
2. Wrap the seeds: Place the dried apple seeds on the damp paper towel and fold it over to enclose them.
3. Seal in a plastic bag: Put the wrapped seeds in a sealable plastic bag. Label the bag with the date and “Apple Seeds” so you don’t forget what’s inside!
4. Refrigerate: Place the bag in the refrigerator. The ideal temperature is between 35°F and 45°F (2°C and 7°C).
5. Monitor moisture: Check the paper towel every week or two to make sure it’s still moist. If it’s drying out, lightly mist it with water.
6. Stratify for 60-90 days: This is the crucial part. The seeds need this cold period to properly germinate. Don’t rush it!
Phase 3: Planting the Seeds
After the stratification period, it’s time to plant those little guys!
1. Prepare your pots or trays: Fill your small pots or seedling trays with seed starting mix. Gently pat down the soil.
2. Plant the seeds: Remove the seeds from the refrigerator and carefully plant them about ½ inch deep in the soil. Place one or two seeds per pot or cell.
3. Water gently: Water the soil gently with a watering can or spray bottle. You want to moisten the soil without disturbing the seeds.
4. Provide light: Place the pots or trays in a sunny windowsill or under grow lights. Apple seedlings need plenty of light to thrive.
5. Keep the soil moist: Keep the soil consistently moist, but not waterlogged. Check the soil moisture daily and water as needed.
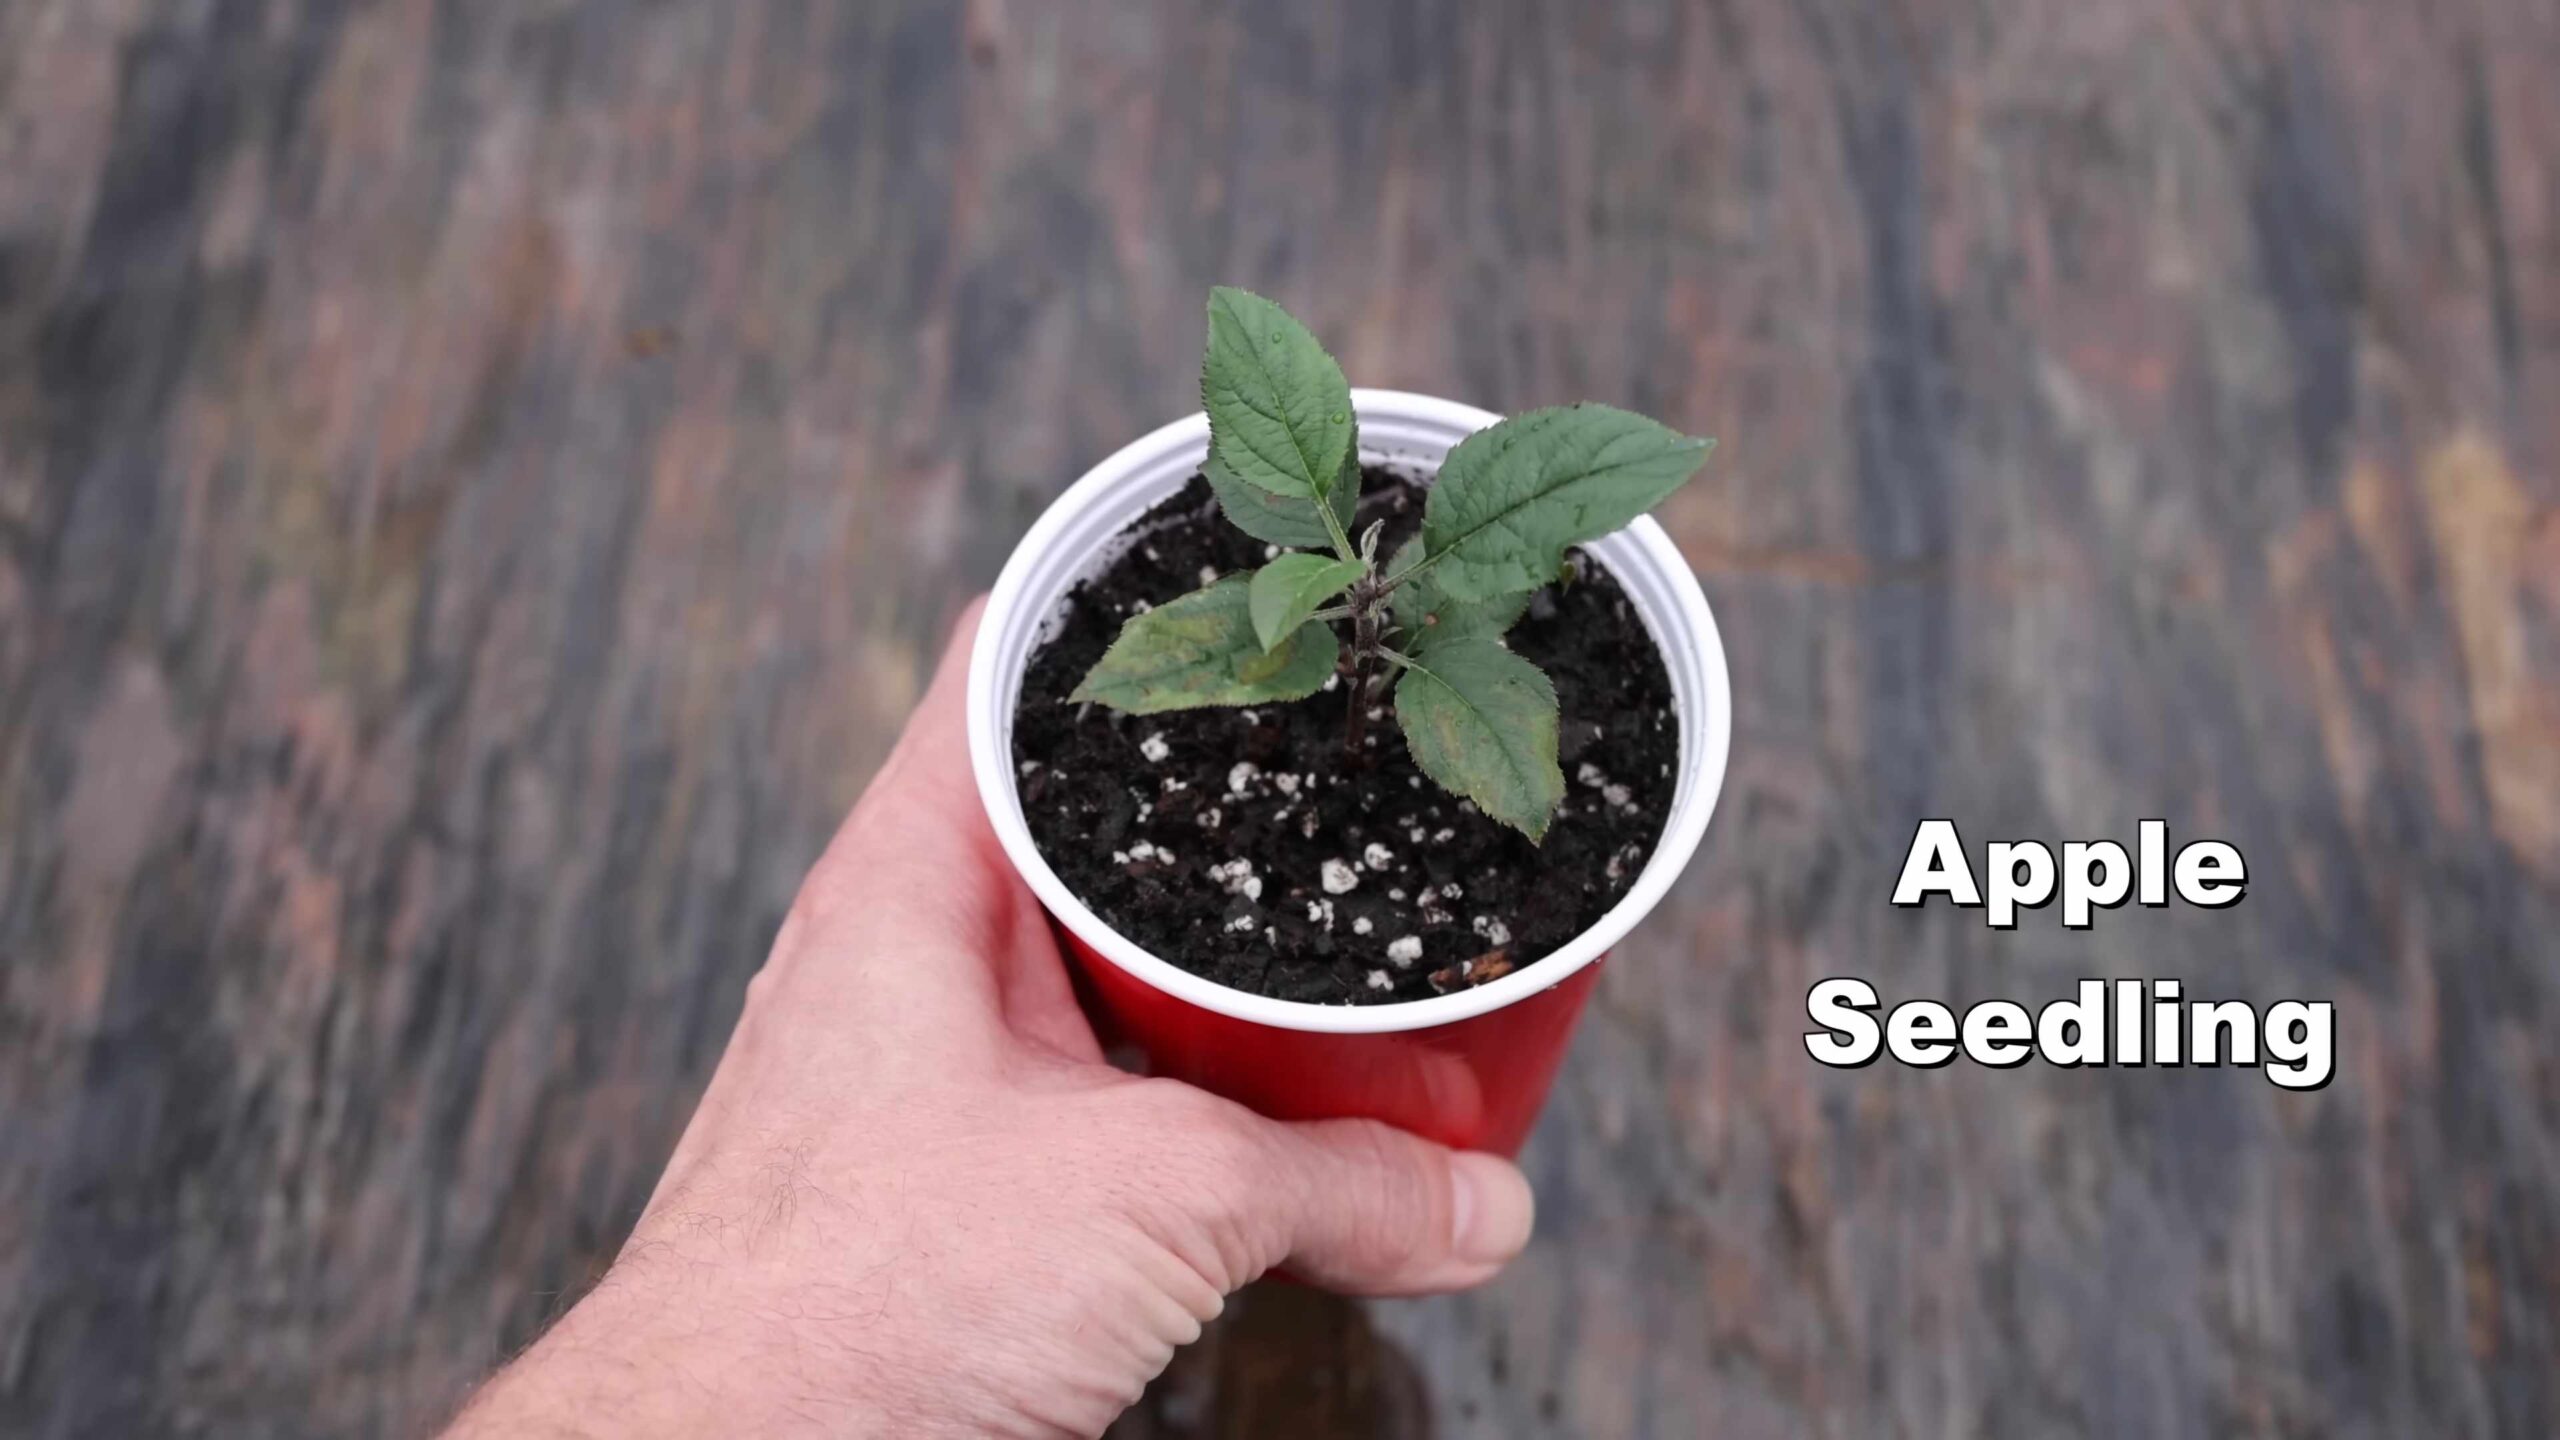
Phase 4: Caring for the Seedlings
Now comes the nurturing part. These little seedlings are delicate, so treat them with care.
1. Thinning (if necessary): If you planted two seeds per pot or cell and both germinate, you’ll need to thin them out. Choose the stronger seedling and gently snip off the weaker one at the soil line.
2. Watering: Continue to water the seedlings regularly, keeping the soil moist but not soggy.
3. Fertilizing: Once the seedlings have a few sets of true leaves (the leaves that look like miniature apple leaves), you can start fertilizing them with a diluted liquid fertilizer. Follow the instructions on the fertilizer label.
4. Transplanting: As the seedlings grow, they’ll need to be transplanted into larger pots. Choose pots that are a few inches larger in diameter than the current pots. Use a well-draining potting soil.
5. Hardening off: Before planting your apple tree seedling outdoors, you’ll need to “harden it off.” This means gradually acclimating it to outdoor conditions. Start by placing the pot outdoors in a sheltered location for a few hours each day, gradually increasing the amount of time it spends outdoors over a week or two.
Phase 5: Planting Outdoors (Eventually!)
This is the big moment! But remember, your seedling will need to be a decent size before you plant it in the ground. I’d recommend waiting until it’s at least a foot tall, and preferably two or three feet. This might take a year or two of growing in pots.
1. Choose a location: Select a sunny location with well-draining soil. Apple trees need at least 6-8 hours of sunlight per day.
2. Prepare the soil: Dig a hole that’s twice as wide and as deep as the root ball of your seedling. Amend the soil with compost or other organic matter.
3. Plant the seedling: Carefully remove the seedling from its pot and place it in the hole. Make sure the top of the root ball is level with the surrounding soil.
4. Backfill the hole: Fill the hole with the amended soil and gently pat it down.
5. Water thoroughly: Water the newly planted seedling thoroughly.
6. Mulch: Apply a layer of mulch around the base of the tree to help retain moisture and suppress weeds.
7. Protect from animals: Young apple trees are vulnerable to damage from deer, rabbits, and other animals. Consider protecting your tree with a tree guard or fencing.
Important Considerations
* Grafting: As I mentioned earlier, apple trees grown from seed don’t always produce the same type of apple as the parent tree. If you want a specific apple variety, you’ll need to graft a scion (a cutting from a known variety) onto your seedling. Grafting is a more advanced technique, but it’s worth learning if you’re serious about growing apples.
* Pollination: Most apple trees need to be pollinated by another apple tree to produce fruit. If you only have one apple tree, you may need to plant another one nearby or graft a branch from another variety onto your tree.
* Pest and disease control: Apple trees are susceptible to a variety of pests and diseases. Monitor your tree regularly and take appropriate action if you notice any problems.
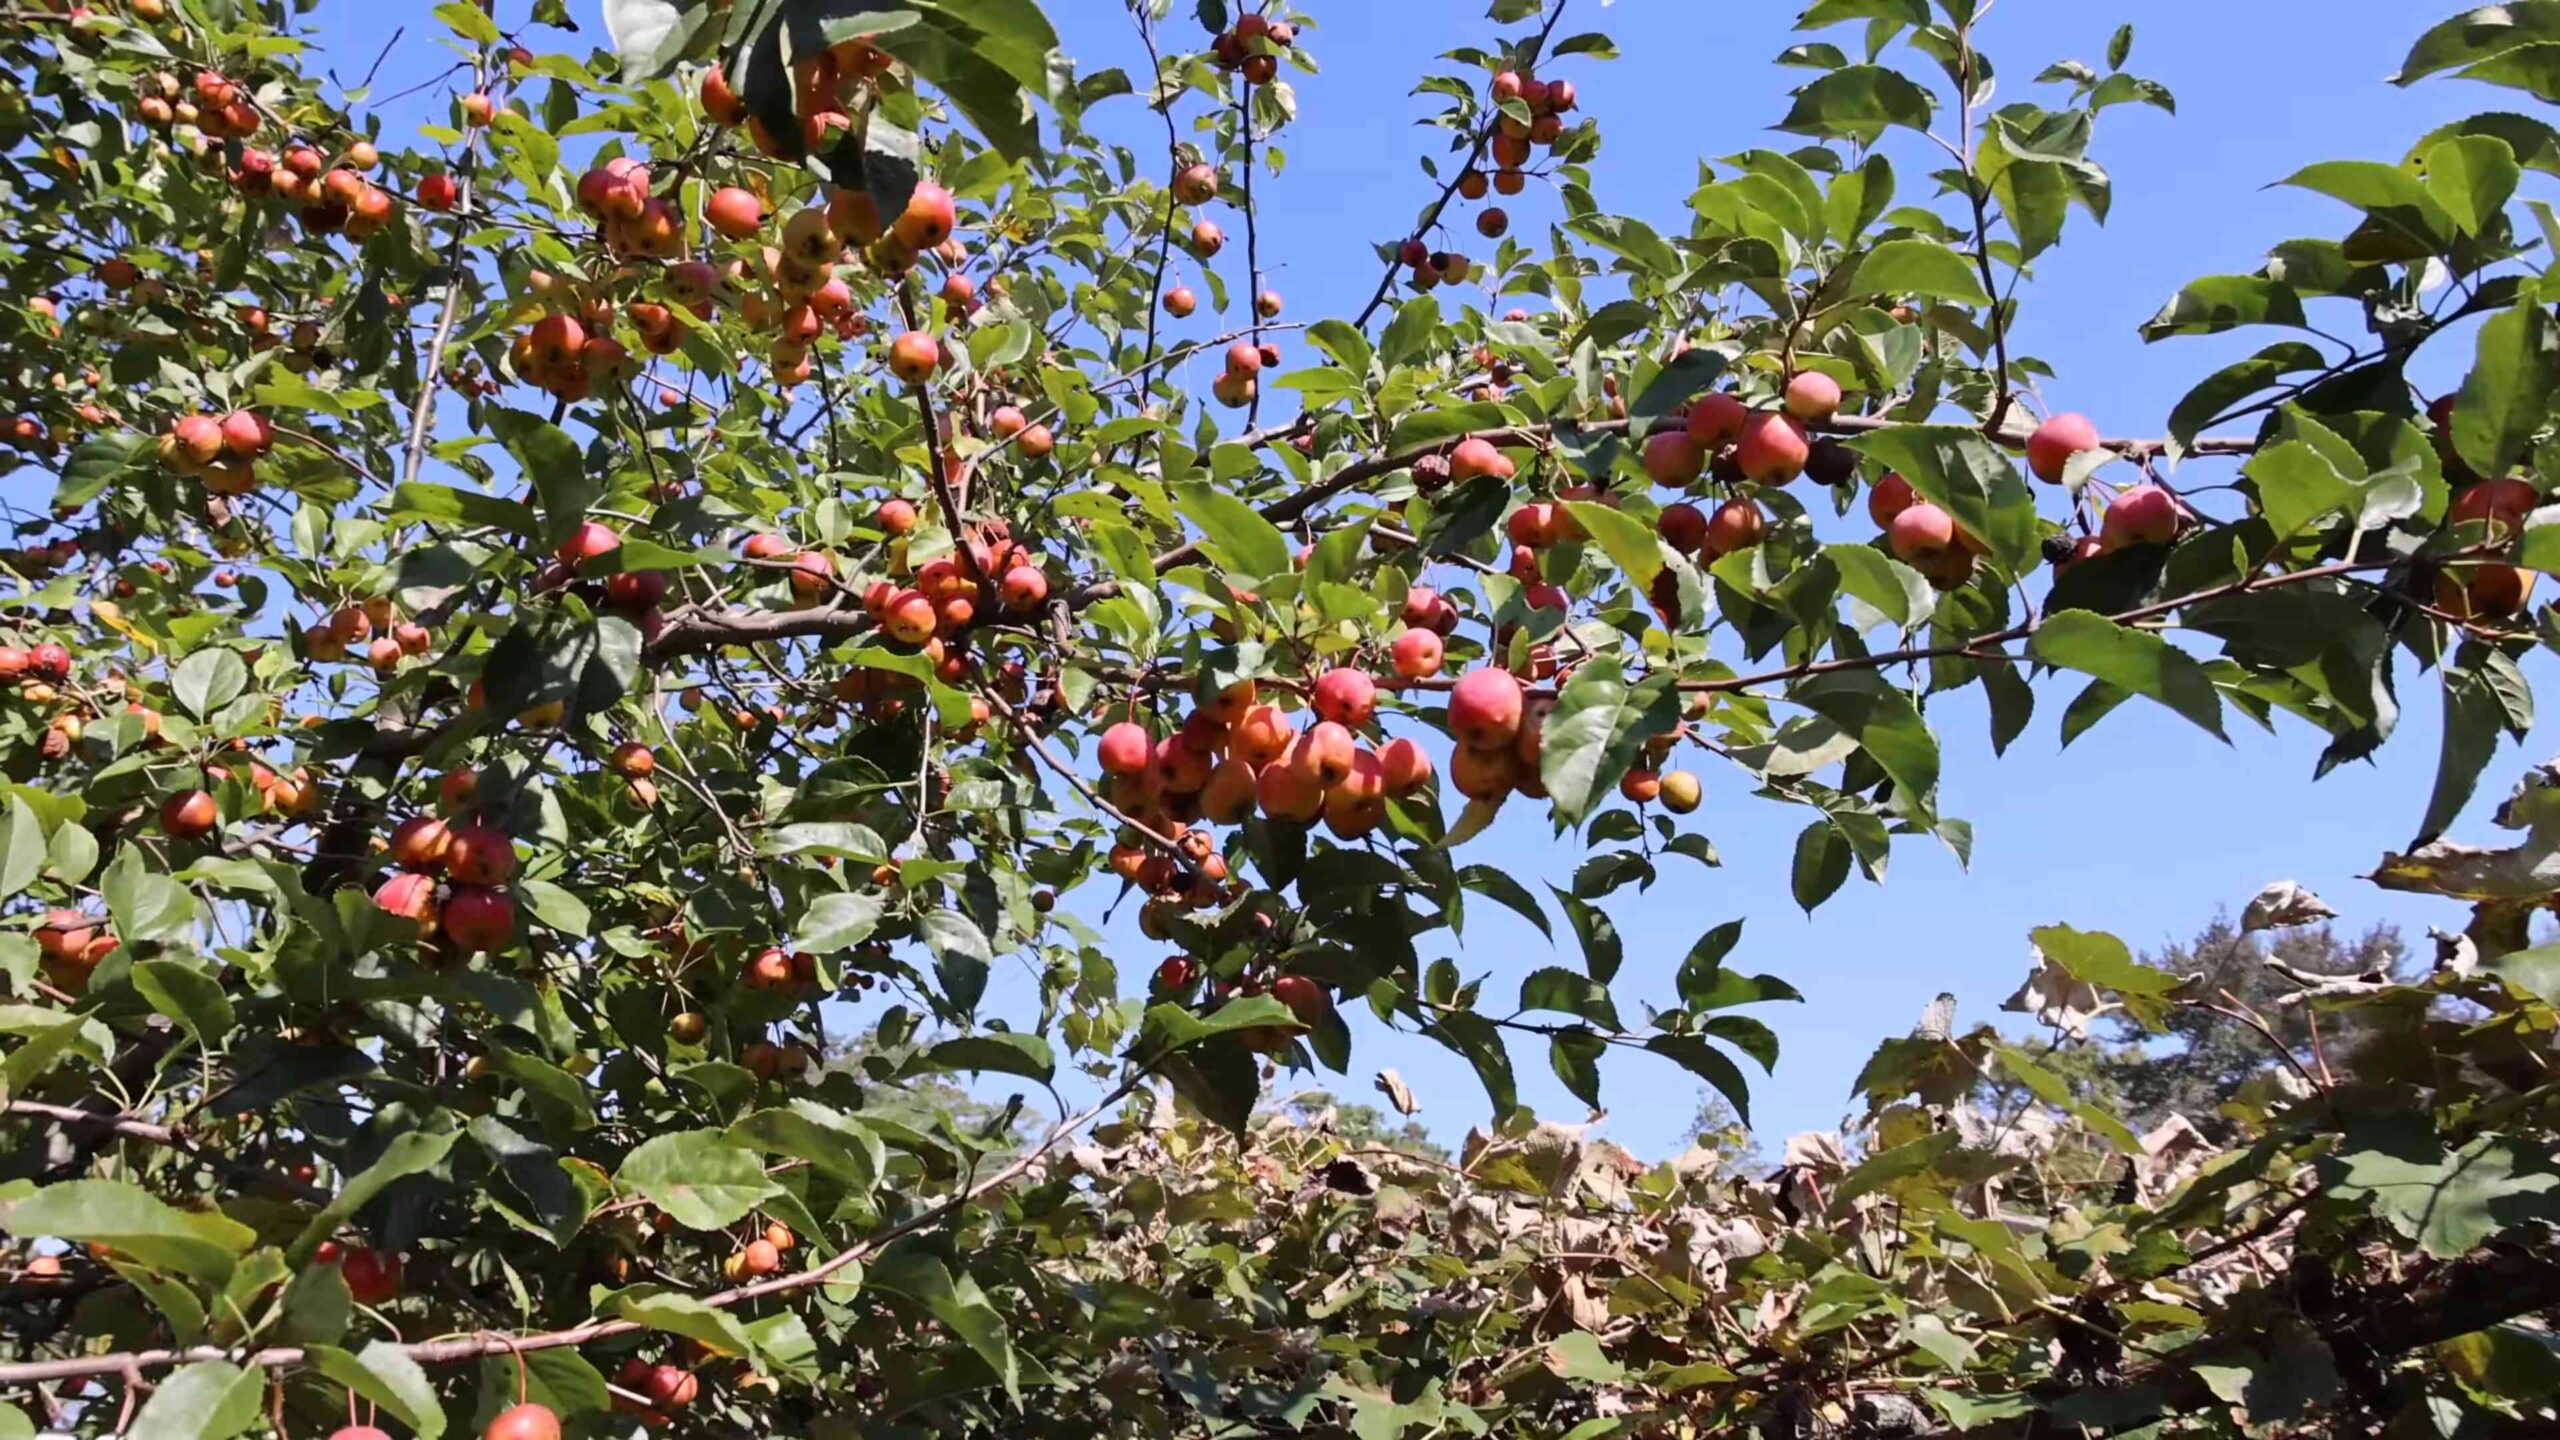
* Time to fruiting: Apple trees grown from seed can take 5-10 years to produce fruit. Be patient!
Final Thoughts
Growing an apple tree from seed is a long-term project, but it’s incredibly rewarding. You’ll learn a lot about horticulture, and you’ll have the satisfaction of knowing that you grew your own apple tree from scratch. Just remember to be patient, persistent, and enjoy the journey! Good luck, and happy growing!
Conclusion
So, there you have it! Growing an apple tree from seed might seem like a daunting task, but with a little patience and the right approach, you can cultivate your very own apple tree, right in your backyard. This DIY project isn’t just about getting apples; it’s about the journey, the connection to nature, and the satisfaction of nurturing something from its very beginning. It’s a testament to the power of propagation and a rewarding experience for any gardener, regardless of skill level.
Why is this a must-try? Because it offers a unique opportunity to understand the life cycle of a tree, to witness the miracle of germination, and to potentially create a unique apple variety tailored to your specific climate and preferences. Store-bought apples are fantastic, but there’s nothing quite like harvesting fruit from a tree you nurtured from a tiny seed. Plus, it’s a fantastic educational project for kids, teaching them about botany, responsibility, and the importance of sustainable practices.
Don’t be afraid to experiment! Consider trying different apple varieties to see which seeds germinate best in your area. You could even try grafting a known apple variety onto your seedling once it’s established to ensure you get the type of apple you desire. Another variation is to try different stratification methods. Some gardeners swear by burying the seeds in a pot of soil outdoors over winter, while others prefer the refrigerator method. Find what works best for you and your local climate.
Remember, growing an apple tree from seed is a long-term commitment. It will take several years before you see your first harvest. But the journey is just as rewarding as the destination. Imagine the pride you’ll feel when you finally bite into an apple grown from a tree you started from scratch!
We strongly encourage you to give this DIY trick a try. It’s a rewarding and educational experience that will connect you to nature in a profound way. And most importantly, don’t forget to share your experience with us! We’d love to hear about your successes, your challenges, and any tips you discover along the way. Post pictures of your seedlings, share your stratification methods, and let us know what apple varieties you’re trying. Together, we can create a community of apple tree enthusiasts, all learning and growing together. Embark on this exciting journey of growing an apple tree from seed and experience the magic for yourself!
Frequently Asked Questions (FAQ)
How long does it take to grow an apple tree from seed?
Growing an apple tree from seed is a long-term project. It typically takes anywhere from 5 to 10 years for a seedling apple tree to produce its first fruit. This is significantly longer than grafting a known variety onto rootstock, which can produce fruit in 2-3 years. The exact timeframe depends on several factors, including the apple variety, the climate, the soil conditions, and the overall care the tree receives. Patience is key!
Will the apple tree grown from seed produce the same type of apple as the parent apple?
This is a crucial point to understand. Apple trees grown from seed will not produce the same type of apple as the parent apple. This is because apple trees are typically hybrids, meaning they are the result of cross-pollination between two different apple varieties. When you plant an apple seed, you’re essentially creating a new, unique apple variety. The fruit it produces may have characteristics of both parent apples, or it may be entirely different. This is why grafting is the preferred method for propagating specific apple varieties.
What is stratification, and why is it necessary?
Stratification is the process of subjecting apple seeds to a period of cold, moist conditions to break their dormancy. Apple seeds have a natural dormancy mechanism that prevents them from germinating immediately after being released from the fruit. This dormancy ensures that the seeds don’t germinate during the winter months when conditions are unfavorable for growth. Stratification mimics the natural winter conditions that the seeds would experience in the wild. Without stratification, the seeds will likely not germinate.
What is the best way to stratify apple seeds?
There are several methods for stratifying apple seeds. One common method is to wrap the seeds in a moist paper towel, place them in a sealed plastic bag, and store them in the refrigerator for 60-90 days. The temperature should be around 35-45°F (2-7°C). Another method is to plant the seeds in a pot of soil and bury the pot outdoors over winter. The natural cold temperatures will stratify the seeds. Make sure the soil stays moist but not waterlogged.
What kind of soil is best for growing apple seedlings?
Apple seedlings thrive in well-draining soil that is rich in organic matter. A good potting mix for seedlings typically contains a blend of peat moss, perlite, and vermiculite. You can also amend your garden soil with compost or other organic matter to improve its drainage and fertility. Avoid heavy clay soils, as they can become waterlogged and suffocate the roots.
How much sunlight do apple seedlings need?
Apple seedlings need plenty of sunlight to grow and thrive. Aim for at least 6-8 hours of direct sunlight per day. If you’re growing your seedlings indoors, you may need to supplement with artificial grow lights.
How often should I water my apple seedlings?
Water your apple seedlings regularly, keeping the soil consistently moist but not waterlogged. Check the soil moisture level daily and water when the top inch of soil feels dry to the touch. Avoid overwatering, as this can lead to root rot.
When should I transplant my apple seedling into a larger pot or into the ground?
Transplant your apple seedling into a larger pot when it outgrows its current container. This is typically when the roots start to circle around the bottom of the pot. When transplanting into the ground, choose a sunny location with well-draining soil. The best time to transplant is in the spring or fall, when the weather is mild.
How can I protect my apple seedling from pests and diseases?
Monitor your apple seedling regularly for signs of pests or diseases. Common pests include aphids, spider mites, and caterpillars. Common diseases include apple scab and powdery mildew. Treat any infestations or infections promptly with appropriate organic or chemical controls. You can also protect your seedling by providing it with good air circulation and avoiding overcrowding.
Can I grow an apple tree from seed in a container?
Yes, you can grow an apple tree from seed in a container, at least for the first few years. Choose a large container with good drainage. As the tree grows, you may need to transplant it into an even larger container or eventually plant it in the ground. Container-grown apple trees may require more frequent watering and fertilization than those grown in the ground.
Is it possible to graft a known apple variety onto a seedling apple tree?
Yes, grafting is a common practice used to propagate specific apple varieties. Once your seedling apple tree is established, you can graft a scion (a cutting from a known apple variety) onto its rootstock. This will ensure that the tree produces the desired type of apple. Grafting is typically done in the spring or late winter.
What are the benefits of growing an apple tree from seed?
While it takes longer and doesn’t guarantee a specific apple variety, growing an apple tree from seed offers several benefits. It’s a rewarding and educational experience that connects you to nature. You have the potential to create a unique apple variety tailored to your specific climate and preferences. It’s also a great way to learn about botany and plant propagation.
Leave a Comment