

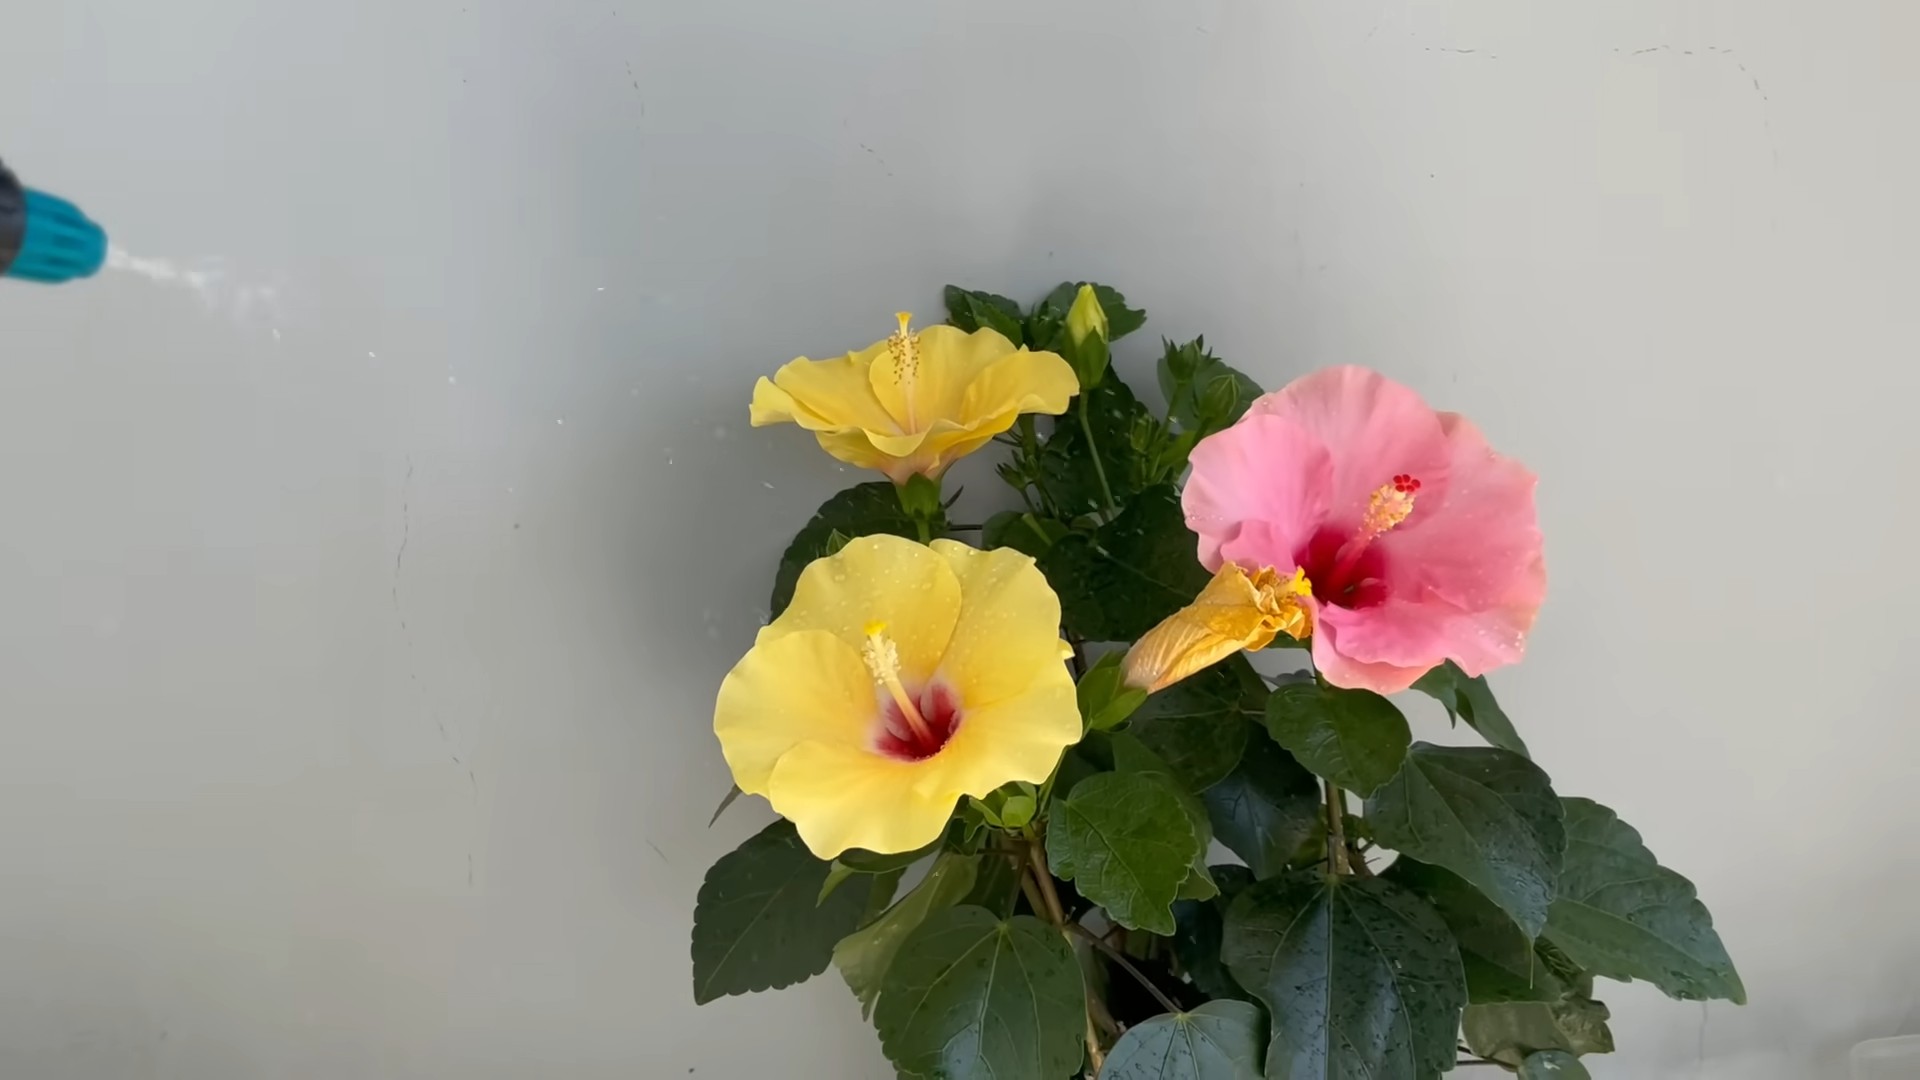
Grow Big Hibiscus Flowers – isn’t that the dream of every home gardener who adores these tropical beauties? I know it’s been mine! For centuries, hibiscus flowers have captivated cultures around the world, symbolizing beauty, love, and even royalty in some societies. From ancient China to the Polynesian Islands, these vibrant blooms have been cherished for their ornamental value and medicinal properties. But let’s be honest, sometimes getting those show-stopping, dinner-plate-sized hibiscus flowers can feel like a real challenge.
We’ve all been there, right? You nurture your hibiscus plant, providing it with sunlight and water, only to be rewarded with small, lackluster blooms. It’s frustrating! That’s why I’m so excited to share these simple yet effective DIY tricks and hacks that will help you grow big hibiscus flowers you’ll be proud to show off. These aren’t complicated techniques requiring a green thumb of expert level; they’re practical tips that anyone can implement, regardless of their gardening experience. Get ready to unlock the secrets to abundant, vibrant blooms and transform your garden into a tropical paradise!
DIY: Unlocking Giant Hibiscus Blooms – My Secret Garden Formula
Hey fellow plant lovers! I’m so excited to share my tried-and-true method for growing hibiscus flowers that are absolutely HUGE. Forget those small, demure blooms – we’re talking dinner-plate sized beauties that will be the envy of the neighborhood. This isn’t just about luck; it’s about understanding your hibiscus and giving it exactly what it needs. Get ready to roll up your sleeves and transform your hibiscus into a blooming powerhouse!
Understanding Hibiscus Needs: The Foundation for Success
Before we dive into the DIY magic, let’s quickly cover the basics. Hibiscus are tropical plants, which means they crave:
* Sunlight: At least 6 hours of direct sunlight per day is crucial. The more sun, the more blooms!
* Water: They love consistent moisture, but hate soggy roots. Think “well-drained” soil.
* Nutrients: Hibiscus are heavy feeders, meaning they need regular fertilization to support all that blooming.
* Warmth: They thrive in temperatures between 60-90°F (15-32°C). Protect them from frost!
* Pruning: Regular pruning encourages bushier growth and more flowers.
The Secret Sauce: My DIY Hibiscus Fertilizer Blend
Okay, here’s where the magic happens. I’ve experimented with countless fertilizers, and this homemade blend consistently produces the biggest, brightest blooms. It’s all about providing the right balance of nutrients.
What you’ll need:
* Epsom Salts (Magnesium Sulfate): Magnesium is essential for chlorophyll production, which is vital for photosynthesis and overall plant health. It also helps the plant absorb other nutrients more effectively.
* Bone Meal (Phosphorus): Phosphorus is crucial for root development and flower production. It’s the key to those abundant blooms.
* Potassium Sulfate (Potassium): Potassium strengthens the plant’s stems and improves its overall resilience. It also enhances flower color and size.
* Composted Manure or Worm Castings: This provides a slow-release source of nitrogen and beneficial microbes, improving soil health and nutrient availability.
* Water: For mixing and application.
Why these ingredients?
* Magnesium: Often overlooked, magnesium deficiency can lead to yellowing leaves and reduced flowering. Epsom salts provide a readily available source of this essential nutrient.
* Phosphorus: Hibiscus are heavy bloomers, and phosphorus is the fuel for flower production. Bone meal provides a slow-release source that won’t burn the roots.
* Potassium: Potassium helps the plant transport water and nutrients, leading to stronger stems and more vibrant flowers.
* Composted Manure/Worm Castings: These are the foundation of healthy soil. They improve drainage, aeration, and provide a slow-release source of nutrients.
Step-by-Step Guide: Mixing and Applying the Fertilizer
Now, let’s get down to business! Here’s how I mix and apply my DIY hibiscus fertilizer:
1. Gather your ingredients: Make sure you have all the ingredients listed above. I usually buy Epsom salts and potassium sulfate online or at my local garden center. Bone meal is also readily available. For composted manure or worm castings, I either make my own or purchase them from a reputable source.
2. Determine the right proportions: This is crucial! Too much of one nutrient can be harmful. Here’s my recommended ratio for mature hibiscus plants (adjust accordingly for smaller plants):
* 1 tablespoon Epsom Salts
* 2 tablespoons Bone Meal
* 1 tablespoon Potassium Sulfate
* 1 cup Composted Manure or Worm Castings
3. Mix the dry ingredients: In a clean bucket or container, thoroughly mix the Epsom salts, bone meal, and potassium sulfate. Make sure there are no clumps.
4. Incorporate the composted manure/worm castings: Gently mix the dry ingredients into the composted manure or worm castings. This helps to distribute the nutrients evenly.
5. Dilute the mixture: This is important to prevent burning the roots. I usually dilute the mixture in a watering can with about 1 gallon of water. Stir well to ensure everything is dissolved.
6. Apply the fertilizer: Water your hibiscus plant thoroughly with plain water first. This helps to moisten the soil and prevent fertilizer burn. Then, slowly pour the diluted fertilizer mixture around the base of the plant, avoiding direct contact with the stems and leaves.
7. Frequency: I fertilize my hibiscus plants every 2-3 weeks during the growing season (spring and summer). Reduce the frequency to once a month during the fall and winter.
Boosting Blooms: Additional Tips and Tricks
Fertilizer is just one piece of the puzzle. Here are some other things I do to encourage massive hibiscus blooms:
* Pruning: Prune your hibiscus regularly to encourage bushier growth and more flowering. I usually prune in late winter or early spring, before new growth begins. Remove any dead, damaged, or crossing branches. You can also pinch back the tips of new growth to encourage branching.
* Watering: Water deeply and regularly, especially during hot, dry weather. Allow the soil to dry out slightly between waterings to prevent root rot. I check the soil moisture by sticking my finger about an inch into the soil. If it feels dry, it’s time to water.
* Sunlight: Make sure your hibiscus is getting at least 6 hours of direct sunlight per day. If you’re growing your hibiscus indoors, place it near a sunny window or use a grow light.
* Pest Control: Keep an eye out for pests like aphids, spider mites, and whiteflies. Treat infestations promptly with insecticidal soap or neem oil. I regularly inspect my plants for any signs of pests.
* Deadheading: Remove spent flowers regularly to encourage the plant to produce more blooms. Simply pinch or cut off the faded flowers just below the flower head.
* Soil pH: Hibiscus prefer slightly acidic soil (pH 6.0-6.5). You can test your soil pH with a soil testing kit and amend it if necessary. I sometimes add a little bit of sulfur to the soil to lower the pH.
Troubleshooting: Common Hibiscus Problems and Solutions
Even with the best care, hibiscus can sometimes encounter problems. Here are some common issues and how to address them:
* Yellowing Leaves: This can be caused by a variety of factors, including overwatering, underwatering, nutrient deficiencies, or pest infestations. Check the soil moisture, fertilize regularly, and inspect for pests.
* Bud Drop: This is when the flower buds fall off before they open. It can be caused by sudden changes in temperature, overwatering, underwatering, or lack of sunlight. Provide consistent care and protect your plant from extreme temperature fluctuations.
* Lack of Blooms: This can be caused by insufficient sunlight, lack of fertilizer, or improper pruning. Make sure your hibiscus is getting enough sunlight, fertilize regularly, and prune as needed.
* Root Rot: This is caused by overwatering and poor drainage. Allow the soil to dry out slightly between waterings and make sure your pot has drainage holes.
Adapting the Formula: Considerations for Different Hibiscus Types
While this fertilizer blend works wonders for most hibiscus varieties, there are a few things to keep in mind depending on the type you’re growing:
* Tropical Hibiscus (Hibiscus rosa-sinensis): This is the most common type of hibiscus and generally responds well to this fertilizer blend.
* Hardy Hibiscus (Hibiscus moscheutos): These are more cold-tolerant and may not need as much fertilizer. Reduce the frequency of fertilization during the growing season.
* Double Hibiscus: These varieties tend to be heavier feeders and may benefit from slightly more phosphorus. Consider adding a small amount of superphosphate to the fertilizer blend.
My Personal Experience: Seeing the Results Firsthand
I started using this DIY fertilizer blend a few years ago, and the results have been incredible. My hibiscus plants are now covered in huge, vibrant blooms that last for days. I’ve even had neighbors ask me what my secret is! It’s so rewarding to see the fruits (or rather, flowers!) of my labor.
I encourage you to give this DIY fertilizer blend a try. With a little bit of effort and attention, you can transform your hibiscus into a blooming masterpiece. Happy gardening!

Conclusion
So, there you have it! Unlocking the secret to truly magnificent, show-stopping hibiscus blooms is within your reach. This DIY trick, focusing on a simple yet powerful nutrient boost, is a game-changer for anyone who’s ever dreamed of having hibiscus plants overflowing with vibrant color and impressive size. We’ve walked you through the process, highlighting the key ingredients and the easy steps to create this potent elixir.
Why is this a must-try? Because it works! Forget expensive, commercially produced fertilizers packed with synthetic chemicals. This homemade solution is not only cost-effective and environmentally friendly, but it’s also tailored to provide your hibiscus with precisely what it needs to thrive. You’ll witness a noticeable difference in the size, color intensity, and overall health of your hibiscus flowers. Imagine the envy of your neighbors as your garden becomes a tropical paradise, bursting with blooms that demand attention.
But don’t stop there! Feel free to experiment and adapt this recipe to suit your specific needs and preferences. For instance, if you’re dealing with particularly acidic soil, you might consider adding a small amount of agricultural lime to the mixture to help balance the pH. Alternatively, if you’re looking for an extra boost of potassium, incorporate banana peel tea into the solution. Simply soak banana peels in water for a few days, then strain and use the liquid as part of your fertilizer mix. Remember to always observe your plants closely and adjust the frequency and concentration of the fertilizer accordingly.
Another variation you might consider is adding a tablespoon of Epsom salts (magnesium sulfate) to the mixture. Magnesium is crucial for chlorophyll production, which directly impacts the vibrancy of your hibiscus flowers. A magnesium deficiency can lead to yellowing leaves and stunted growth, so a little Epsom salt can go a long way.
We are confident that this DIY trick will transform your hibiscus growing experience. It’s a simple, effective, and rewarding way to nurture your plants and witness the incredible results firsthand.
Now, it’s your turn! We wholeheartedly encourage you to try this DIY trick for growing big hibiscus flowers. Prepare the nutrient boost, apply it to your plants, and watch the magic unfold. Don’t forget to document your progress with photos and share your experiences with us in the comments below. We’re eager to hear your success stories, learn from your variations, and celebrate the beauty of your magnificent hibiscus blooms together. Let’s create a community of hibiscus enthusiasts, sharing tips and tricks to achieve the most stunning gardens imaginable! Your journey to growing big hibiscus flowers starts now!
Frequently Asked Questions (FAQ)
What exactly makes this DIY trick so effective for growing big hibiscus flowers?
This DIY trick is effective because it provides a balanced blend of essential nutrients that hibiscus plants need to produce large, vibrant blooms. The key ingredients, such as compost tea, bone meal, and Epsom salts, deliver nitrogen, phosphorus, potassium, and magnesium, all of which play crucial roles in plant growth and flower development. Nitrogen promotes healthy foliage, phosphorus supports root development and flower formation, potassium enhances overall plant vigor and disease resistance, and magnesium aids in chlorophyll production, leading to richer flower colors. Unlike some commercial fertilizers that may contain harsh chemicals or an imbalanced nutrient ratio, this homemade solution is gentle, sustainable, and tailored to meet the specific needs of hibiscus plants.
How often should I apply this DIY fertilizer to my hibiscus plants?
The frequency of application depends on several factors, including the age and size of your plant, the growing conditions, and the type of soil. As a general guideline, you can apply this DIY fertilizer every 2-4 weeks during the active growing season (spring and summer). During the dormant season (fall and winter), reduce the frequency to once every 6-8 weeks or even eliminate it altogether, depending on your climate. Always observe your plants closely for signs of nutrient deficiencies or over-fertilization. Yellowing leaves, stunted growth, or excessive salt buildup in the soil are indicators that you may need to adjust the frequency or concentration of the fertilizer.
Can I use this DIY fertilizer on other flowering plants besides hibiscus?
Yes, this DIY fertilizer can be beneficial for other flowering plants that have similar nutrient requirements to hibiscus. Plants like roses, bougainvillea, and geraniums can also benefit from the balanced blend of nutrients in this solution. However, it’s important to consider the specific needs of each plant and adjust the recipe accordingly. For example, some plants may prefer a higher or lower concentration of certain nutrients. Always research the specific needs of your plants before applying any fertilizer, and start with a diluted solution to avoid over-fertilization.
What if I don’t have access to all the ingredients listed in the recipe? Can I substitute them with something else?
While it’s ideal to use all the ingredients listed in the recipe for optimal results, you can make some substitutions if necessary. For example, if you don’t have bone meal, you can use rock phosphate or another source of phosphorus. If you don’t have Epsom salts, you can use magnesium sulfate from a garden supply store. If you don’t have compost tea, you can use well-rotted compost or worm castings. However, keep in mind that the nutrient content of these substitutes may vary, so you may need to adjust the amount accordingly. Always research the nutrient content of your substitutes and adjust the recipe to ensure that your plants are getting the right balance of nutrients.
My hibiscus leaves are turning yellow. Is this a sign of nutrient deficiency, and will this DIY fertilizer help?
Yellowing leaves (chlorosis) can be a sign of nutrient deficiency, particularly a lack of nitrogen, magnesium, or iron. This DIY fertilizer can help address these deficiencies by providing a balanced blend of essential nutrients. However, yellowing leaves can also be caused by other factors, such as overwatering, underwatering, poor drainage, or pest infestations. Before applying the fertilizer, make sure to rule out these other potential causes. Check the soil moisture, ensure that the plant has adequate drainage, and inspect the leaves for signs of pests. If you suspect a nutrient deficiency, apply the DIY fertilizer as directed and monitor the plant for improvement. If the yellowing persists, you may need to investigate other potential causes or consult with a local gardening expert.
How do I know if I’m over-fertilizing my hibiscus plants?
Over-fertilizing can be just as harmful as under-fertilizing. Signs of over-fertilization include leaf burn (browning or yellowing of leaf tips and edges), stunted growth, and a buildup of white crust on the soil surface. If you notice these signs, stop fertilizing immediately and flush the soil with plenty of water to remove excess salts. Allow the soil to dry out slightly before resuming fertilization, and reduce the frequency and concentration of the fertilizer. It’s always better to err on the side of under-fertilizing than over-fertilizing. Remember to observe your plants closely and adjust your fertilization practices accordingly.
Can I use this DIY fertilizer on hibiscus plants grown in containers?
Yes, this DIY fertilizer is suitable for hibiscus plants grown in containers. However, container-grown plants tend to dry out and deplete nutrients more quickly than plants grown in the ground, so you may need to fertilize them more frequently. Also, be sure to use a well-draining potting mix to prevent waterlogging and root rot. When fertilizing container-grown hibiscus, apply the solution evenly to the soil surface and avoid getting it on the leaves. Monitor the plants closely for signs of nutrient deficiencies or over-fertilization, and adjust the frequency and concentration of the fertilizer accordingly.
Is this DIY fertilizer safe for pets and children?
While this DIY fertilizer is made with natural ingredients, it’s still important to exercise caution when using it around pets and children. Some ingredients, such as bone meal and Epsom salts, can be harmful if ingested in large quantities. Keep the fertilizer out of reach of pets and children, and avoid applying it in areas where they frequently play or graze. If you have pets that tend to dig in the garden, consider using a physical barrier to prevent them from accessing the fertilized soil. As with any gardening product, it’s always best to err on the side of caution and take steps to minimize the risk of accidental ingestion or exposure.

Leave a Comment