

Grow Eucalyptus Leaves right in your backyard! Have you ever dreamed of having a constant supply of fresh, aromatic eucalyptus leaves for soothing teas, invigorating aromatherapy, or even stunning floral arrangements? I know I have! For centuries, eucalyptus has been revered for its medicinal properties and captivating fragrance, deeply rooted in Australian Aboriginal culture where it was used for healing and spiritual practices.
But let’s be honest, buying eucalyptus leaves can get expensive, and sometimes they just aren’t as fresh as you’d like. That’s where this DIY guide comes in! I’m going to share my favorite, tried-and-true tricks for successfully growing eucalyptus leaves at home, no matter your gardening experience.
Whether you’re a seasoned gardener or just starting out, this article will equip you with the knowledge and confidence to cultivate your own thriving eucalyptus plant. Imagine the satisfaction of harvesting your own fragrant leaves whenever you need them. Plus, you’ll be adding a touch of natural beauty and wellness to your home. Let’s get started and grow eucalyptus leaves together!
Propagating Eucalyptus from Cuttings: A DIY Guide
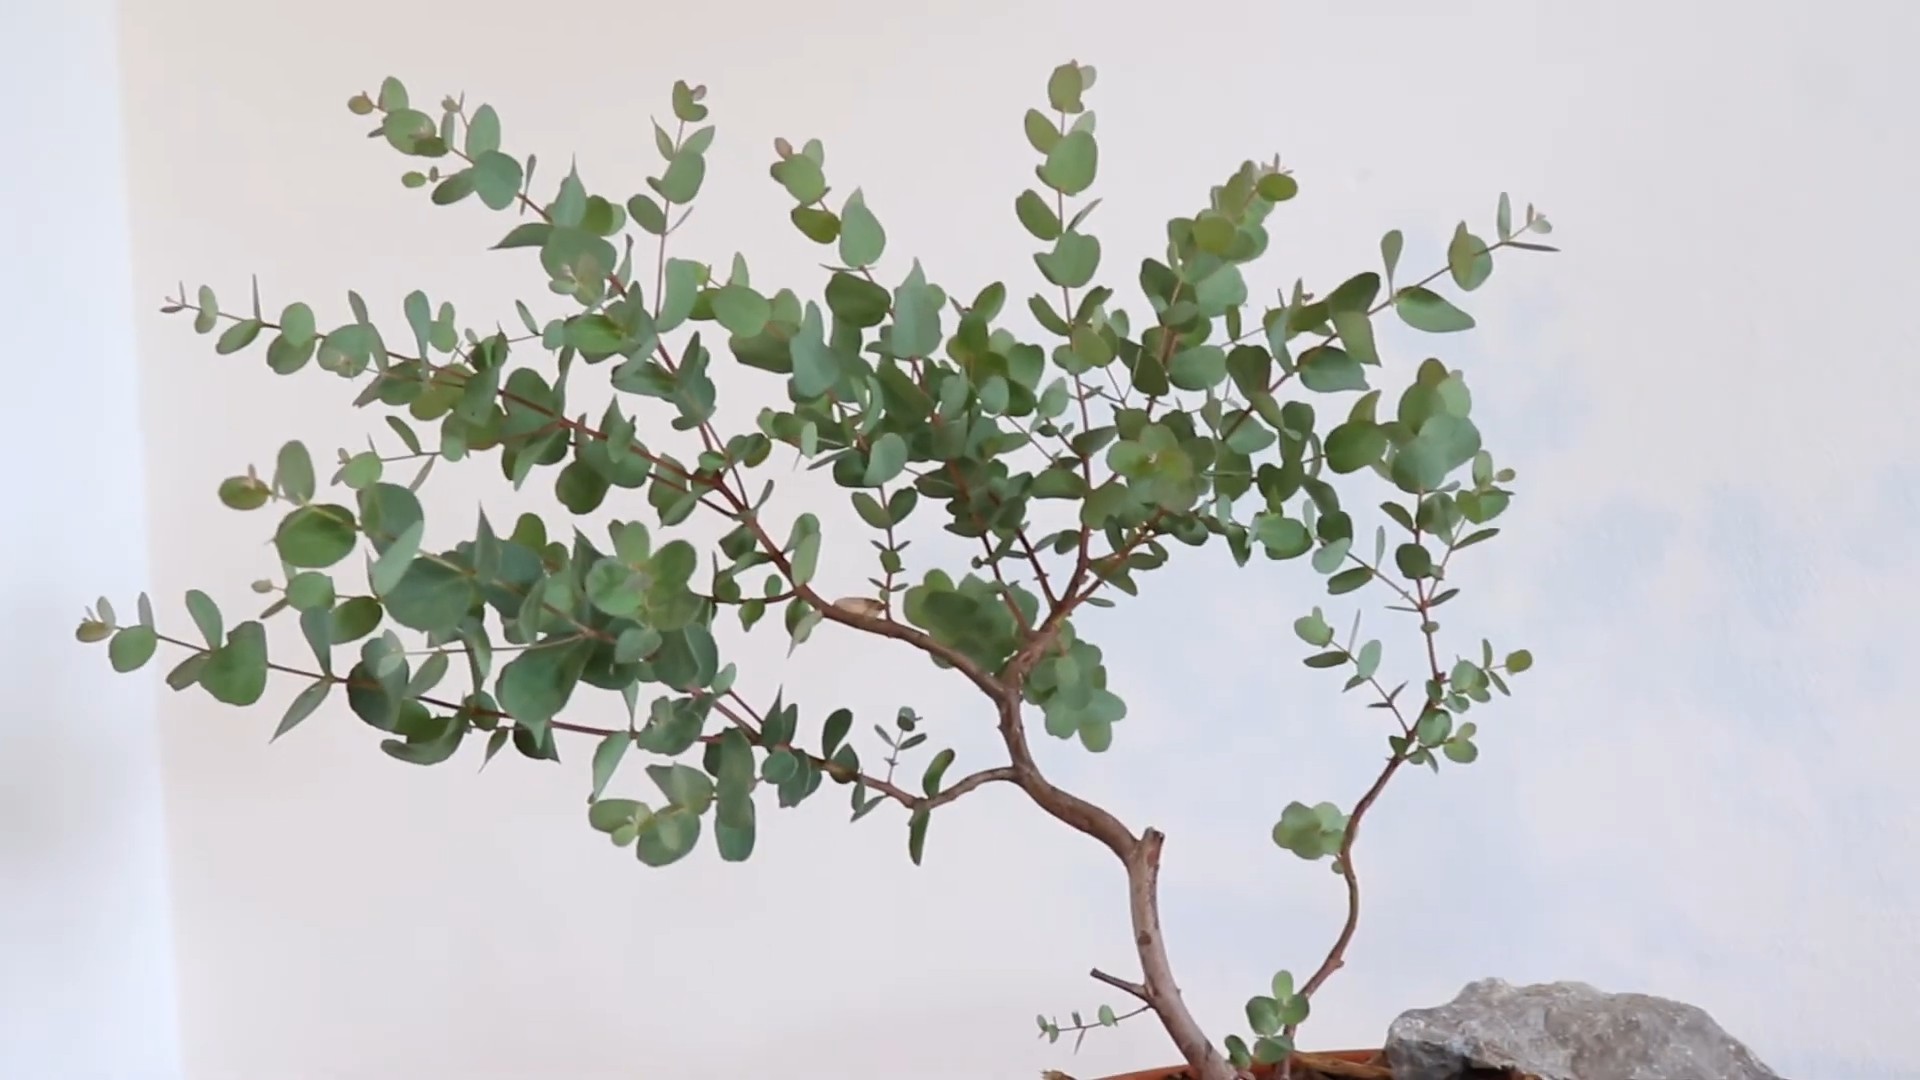
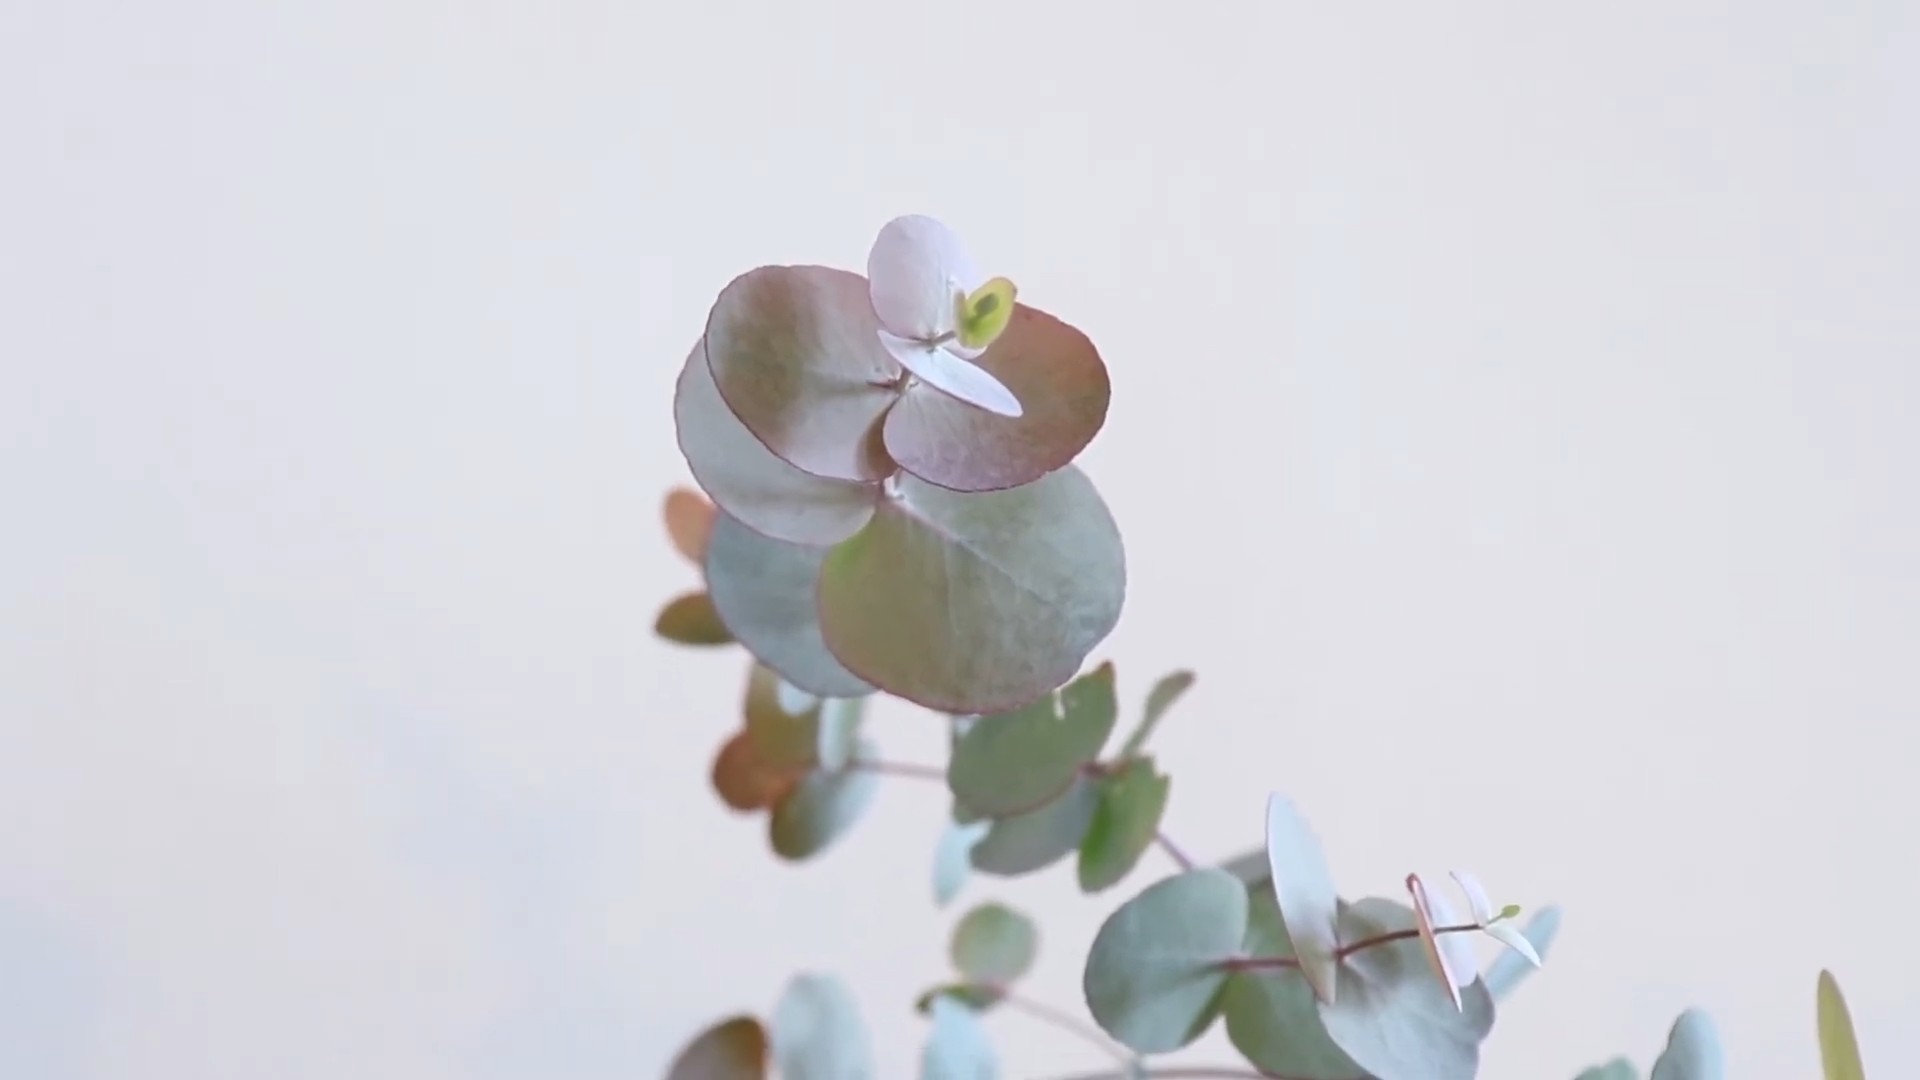
Hey there, fellow plant enthusiasts! Ever admired the silvery-blue foliage and invigorating scent of eucalyptus and wished you could have more of it without breaking the bank? Well, you’re in luck! Propagating eucalyptus from cuttings is totally doable, and I’m here to guide you through the process. It might seem a little intimidating at first, but trust me, with a little patience and the right steps, you’ll be well on your way to expanding your eucalyptus collection.
Choosing the Right Cuttings
Before we dive into the nitty-gritty, it’s crucial to select the right cuttings. This is where the magic begins, and choosing healthy, vigorous stems will significantly increase your chances of success.
* Look for Healthy Growth: Select stems that are actively growing and free from any signs of disease or pests. Avoid stems that are discolored, spotted, or have any visible damage.
* Semi-Hardwood Cuttings are Key: The best time to take cuttings is in late spring or early summer when the new growth has started to harden off a bit. These are called semi-hardwood cuttings. They’re not too soft and not too woody, striking the perfect balance for rooting.
* Stem Thickness Matters: Aim for stems that are about the thickness of a pencil. Thicker stems can be harder to root, and thinner stems might not have enough energy reserves.
* Length is Important: Cuttings should be about 4-6 inches long. This provides enough stem for rooting while also being manageable.
* Take Multiple Cuttings: Not all cuttings will root successfully, so it’s always a good idea to take several cuttings to increase your chances of success. I usually take at least 5-6 cuttings for each eucalyptus variety I’m propagating.
Preparing Your Cuttings
Okay, you’ve got your cuttings! Now, let’s get them prepped and ready for their rooting adventure. This step is all about creating the ideal environment for root development.
1. Gather Your Supplies: You’ll need:
* Sharp, clean pruning shears or a knife
* Rooting hormone (powder or liquid)
* Small pots or containers (2-3 inches in diameter)
* Well-draining potting mix (a mix of perlite and peat moss works well)
* Spray bottle filled with water
* Clear plastic bags or a humidity dome
2. Sanitize Your Tools: Before you start, sterilize your pruning shears or knife with rubbing alcohol to prevent the spread of any diseases.
3. Remove Lower Leaves: Carefully remove the leaves from the bottom 1-2 inches of each cutting. This will prevent the leaves from rotting when they’re buried in the potting mix and will also encourage root growth.
4. Wound the Stem (Optional but Recommended): Gently scrape the outer layer of the stem on one or two sides near the bottom. This will expose the cambium layer, which is where the roots will emerge.
5. Apply Rooting Hormone: Dip the bottom 1-2 inches of each cutting into rooting hormone. This will stimulate root development and increase your chances of success. Tap off any excess powder.
Planting Your Cuttings
Now for the exciting part – planting those cuttings! This is where you’ll create the perfect little nursery for your future eucalyptus trees.
1. Prepare Your Pots: Fill your small pots or containers with well-draining potting mix. Moisten the mix thoroughly, but don’t let it get soggy.
2. Make a Hole: Use a pencil or your finger to create a small hole in the center of each pot.
3. Insert the Cutting: Gently insert the cutting into the hole, making sure that the bottom 1-2 inches are buried in the potting mix.
4. Firm the Soil: Gently firm the soil around the cutting to provide support and ensure good contact between the stem and the potting mix.
5. Water Lightly: Water the cuttings lightly to settle the soil.
6. Create a Humid Environment: Place the pots inside clear plastic bags or under a humidity dome. This will help to maintain high humidity, which is essential for root development. If using plastic bags, make sure to poke a few small holes for ventilation.
Caring for Your Cuttings
This is where patience comes in! Rooting can take several weeks, so it’s important to provide the right care and resist the urge to constantly check for roots.
1. Provide Indirect Light: Place the cuttings in a location that receives bright, indirect light. Avoid direct sunlight, which can scorch the leaves.
2. Maintain Humidity: Keep the humidity high by misting the cuttings with water regularly. If you’re using plastic bags or a humidity dome, you may not need to mist as often.
3. Water Carefully: Keep the potting mix consistently moist, but not soggy. Water when the top inch of soil feels dry to the touch.
4. Ventilate Regularly: If you’re using plastic bags or a humidity dome, open them up for a few minutes each day to provide ventilation and prevent the growth of mold or fungus.
5. Be Patient: Rooting can take anywhere from 4 to 8 weeks, or even longer depending on the eucalyptus variety and environmental conditions. Don’t be discouraged if you don’t see roots right away.
Checking for Root Development
After a few weeks, you can start gently checking for root development.
1. Gently Tug: Gently tug on the cutting. If you feel resistance, it means that roots have started to form.
2. Look for New Growth: Another sign of successful rooting is the appearance of new growth on the cutting.
3. Transplant Carefully: Once the cuttings have developed a good root system, you can transplant them into larger pots or directly into the ground. Be very gentle when transplanting to avoid damaging the delicate roots.
Transplanting Your Rooted Cuttings
Congratulations! Your cuttings have rooted, and it’s time to give them a new home.
1. Choose the Right Location: Eucalyptus trees need plenty of sunlight and well-draining soil. Choose a location that receives at least 6 hours of direct sunlight per day.
2. Prepare the Soil: Amend the soil with compost or other organic matter to improve drainage and fertility.
3. Dig a Hole: Dig a hole that is twice as wide as the root ball and just as deep.
4. Remove the Cutting from the Pot: Gently remove the rooted cutting from its pot, being careful not to damage the roots.
5. Place the Cutting in the Hole: Place the cutting in the hole and backfill with soil.
6. Water Thoroughly: Water the newly transplanted eucalyptus tree thoroughly.
7. Mulch Around the Base: Apply a layer of mulch around the base of the tree to help retain moisture and suppress weeds.
Caring for Your New Eucalyptus Tree
Now that your eucalyptus tree is planted, it’s important to provide the right care to ensure its continued growth and health.
1. Water Regularly: Water your eucalyptus tree regularly, especially during dry periods.
2. Fertilize Sparingly: Eucalyptus trees don’t need a lot of fertilizer. Fertilize once or twice a year with a balanced fertilizer.
3. Prune as Needed: Prune your eucalyptus tree to maintain its shape and remove any dead or damaged branches.
4. Protect from Frost: Young eucalyptus trees are susceptible to frost damage. Protect them from frost by covering them with a blanket or burlap during cold snaps.
Troubleshooting
Sometimes, things don’t go as planned. Here are a few common problems you might encounter and how to fix them:
* Cuttings Rotting: This is usually caused by overwatering or poor drainage. Make sure your potting mix is well-draining and avoid overwatering.
* Cuttings Not Rooting: This could be due to a number of factors, including poor cutting selection, lack of humidity, or insufficient light. Make sure you’re using healthy cuttings, providing adequate humidity, and placing the cuttings in a location that receives bright, indirect light.
* Leaves Turning Yellow: This could be a sign of overwatering or nutrient deficiency. Adjust your watering schedule and fertilize with a balanced fertilizer.
Final Thoughts
Propagating eucalyptus from cuttings is a rewarding experience that allows you to expand your plant collection and enjoy the beauty and fragrance of these amazing trees. With a little patience and the right techniques, you can successfully propagate eucalyptus from cuttings and create your own eucalyptus forest! Good luck, and happy growing!
Conclusion
So, there you have it! Growing your own eucalyptus leaves isn’t just a fun gardening project; it’s a gateway to a world of aromatic possibilities and natural wellness. From the invigorating scent that fills your home to the potential health benefits packed within each leaf, cultivating your own eucalyptus offers a rewarding experience that store-bought options simply can’t match.
Why is this DIY trick a must-try? Because it puts you in control. You know exactly where your eucalyptus is coming from, how it’s being grown (organically, perhaps?), and that it’s harvested at its peak freshness. This translates to a more potent and flavorful product, whether you’re using it for aromatherapy, crafting, or even medicinal purposes (always consult with a healthcare professional before using eucalyptus for medicinal purposes). Plus, let’s be honest, there’s a certain satisfaction that comes from nurturing a plant from seedling to harvest.
But the beauty of growing your own eucalyptus doesn’t stop there. The possibilities for variation are endless! Experiment with different varieties of eucalyptus to discover your favorite scent profile. Some, like Eucalyptus globulus, offer that classic, strong camphor aroma, while others, like Eucalyptus citriodora (lemon eucalyptus), boast a refreshing citrusy fragrance. You can also play around with different growing methods, such as container gardening for smaller spaces or planting directly in the ground if you have the room. Consider adding companion plants like lavender or rosemary to create a fragrant and beneficial garden ecosystem.
Beyond the standard uses, think about incorporating your homegrown eucalyptus leaves into unique DIY projects. Infuse them in oils for massage or skincare, create natural cleaning solutions, or even use them to dye fabrics for a subtle, earthy hue. The only limit is your imagination!
Ultimately, learning how to grow eucalyptus leaves is an investment in your well-being and a step towards a more sustainable lifestyle. It’s a chance to connect with nature, learn new skills, and enjoy the countless benefits of this remarkable plant.
We wholeheartedly encourage you to give this DIY trick a try. Don’t be intimidated if you’re new to gardening; eucalyptus is surprisingly resilient and adaptable. Start small, do your research, and most importantly, have fun!
Once you’ve embarked on your eucalyptus-growing journey, we’d love to hear about your experience. Share your tips, successes, and even your challenges in the comments below. Let’s build a community of eucalyptus enthusiasts and learn from each other! What variety did you choose? What uses have you found for your homegrown leaves? Your insights could inspire others to take the plunge and discover the joys of growing their own eucalyptus. So, get your hands dirty, breathe in that invigorating aroma, and start growing your own eucalyptus leaves today!
Frequently Asked Questions (FAQ)
What is the best time of year to plant eucalyptus?
The ideal time to plant eucalyptus depends on your climate. In warmer regions with mild winters, you can plant eucalyptus in the fall or early spring. This allows the plant to establish its roots before the heat of summer or the cold of winter. In colder regions, it’s best to plant eucalyptus in the spring after the last frost. This gives the plant the entire growing season to establish itself before winter arrives. Regardless of your climate, avoid planting during periods of extreme heat or cold.
How much sunlight does eucalyptus need?
Eucalyptus thrives in full sun, requiring at least 6-8 hours of direct sunlight per day. Insufficient sunlight can lead to leggy growth, reduced leaf production, and a weaker aroma. When choosing a location for your eucalyptus, select a spot that receives ample sunlight throughout the day. If you’re growing eucalyptus indoors, place it near a south-facing window or supplement with grow lights.
What kind of soil is best for eucalyptus?
Eucalyptus prefers well-draining soil that is slightly acidic to neutral (pH 6.0-7.0). Heavy clay soils can be problematic, as they retain too much moisture and can lead to root rot. To improve drainage, amend heavy soils with organic matter such as compost, peat moss, or perlite. Sandy soils, on the other hand, may drain too quickly and require the addition of organic matter to improve water retention. A well-balanced potting mix is ideal for container-grown eucalyptus.
How often should I water my eucalyptus?
Water eucalyptus deeply but infrequently, allowing the soil to dry out slightly between waterings. Overwatering is a common mistake that can lead to root rot. The frequency of watering will depend on factors such as the climate, soil type, and size of the plant. During hot, dry weather, you may need to water more frequently. Check the soil moisture regularly by inserting your finger into the soil. If the top inch or two feels dry, it’s time to water.
How do I prune eucalyptus?
Pruning eucalyptus is important for maintaining its shape, promoting bushier growth, and removing dead or diseased branches. The best time to prune eucalyptus is in late winter or early spring, before new growth begins. Use sharp, clean pruning shears to make clean cuts. Remove any dead, damaged, or crossing branches. You can also prune to shape the plant and encourage branching. Be careful not to over-prune, as this can stress the plant.
Can I grow eucalyptus indoors?
Yes, you can grow eucalyptus indoors, but it requires specific conditions to thrive. Choose a variety that is well-suited for container growing, such as Eucalyptus globulus ‘Compacta’ or Eucalyptus gunnii ‘Silver Drop’. Provide ample sunlight, well-draining soil, and good air circulation. Water regularly, allowing the soil to dry out slightly between waterings. Fertilize occasionally with a balanced fertilizer. Be aware that indoor-grown eucalyptus may not grow as large or produce as many leaves as those grown outdoors.
How do I harvest eucalyptus leaves?
The best time to harvest eucalyptus leaves is in the morning, after the dew has dried. Use sharp scissors or pruning shears to cut the leaves from the branches. Choose mature leaves that are free from blemishes or damage. You can harvest leaves as needed throughout the growing season.
How do I dry eucalyptus leaves?
There are several ways to dry eucalyptus leaves. One common method is to hang the branches upside down in a cool, dark, and well-ventilated area. Tie the branches together with twine and hang them from a hook or rafter. Allow the leaves to dry for several weeks, or until they are brittle to the touch. Another method is to dry the leaves in a dehydrator at a low temperature. You can also dry the leaves in the oven on a very low setting, but be careful not to burn them.
What are the benefits of using eucalyptus leaves?
Eucalyptus leaves are known for their aromatic and medicinal properties. They contain compounds that can help to relieve congestion, soothe sore throats, and boost the immune system. Eucalyptus oil is often used in aromatherapy to promote relaxation and reduce stress. The leaves can also be used to make teas, tinctures, and other herbal remedies. Always consult with a healthcare professional before using eucalyptus for medicinal purposes.
Are there any precautions I should take when using eucalyptus?
Eucalyptus oil is highly concentrated and should be used with caution. It is not recommended for internal use and should be diluted before applying to the skin. Pregnant or breastfeeding women and young children should avoid using eucalyptus oil. Some people may be allergic to eucalyptus, so it’s important to test a small amount on the skin before using it more widely. If you experience any adverse reactions, discontinue use immediately.
Leave a Comment