

Grow Mint at Home with ease! Have you ever dreamed of stepping outside your door and snipping fresh, fragrant mint leaves for your mojito, tea, or culinary masterpiece? I know I have! It’s a simple pleasure that’s more attainable than you might think. For centuries, mint has been cherished not only for its refreshing flavor but also for its medicinal properties and aromatic charm. From ancient Rome, where it was used to freshen breath and flavor sauces, to traditional medicine practices around the globe, mint has a rich and fascinating history.
But let’s be honest, sometimes growing mint can feel like a battle. It’s notorious for its vigorous growth, often taking over entire gardens if left unchecked! That’s where these DIY tricks and hacks come in. I’m going to share some simple, effective methods to grow mint at home successfully, even if you have limited space or a less-than-green thumb. These tips will help you contain its spread, maximize your harvest, and enjoy the delightful benefits of fresh mint without the garden chaos. Get ready to unlock the secrets to a thriving mint patch – let’s get started!
Grow Your Own Mint: A Beginner’s Guide to a Thriving Herb Garden
Hey there, fellow plant enthusiasts! Ever dreamt of having fresh, fragrant mint readily available for your mojitos, teas, or culinary creations? Well, you’re in the right place! Growing mint at home is surprisingly easy, even if you don’t have a green thumb. I’m going to walk you through everything you need to know to cultivate a flourishing mint patch, whether you’re working with a spacious garden or a cozy windowsill. Let’s get started!
Choosing Your Mint Variety
First things first, let’s talk about the different types of mint. There’s a whole world of mint out there, each with its unique flavor and aroma. Here are a few popular choices:
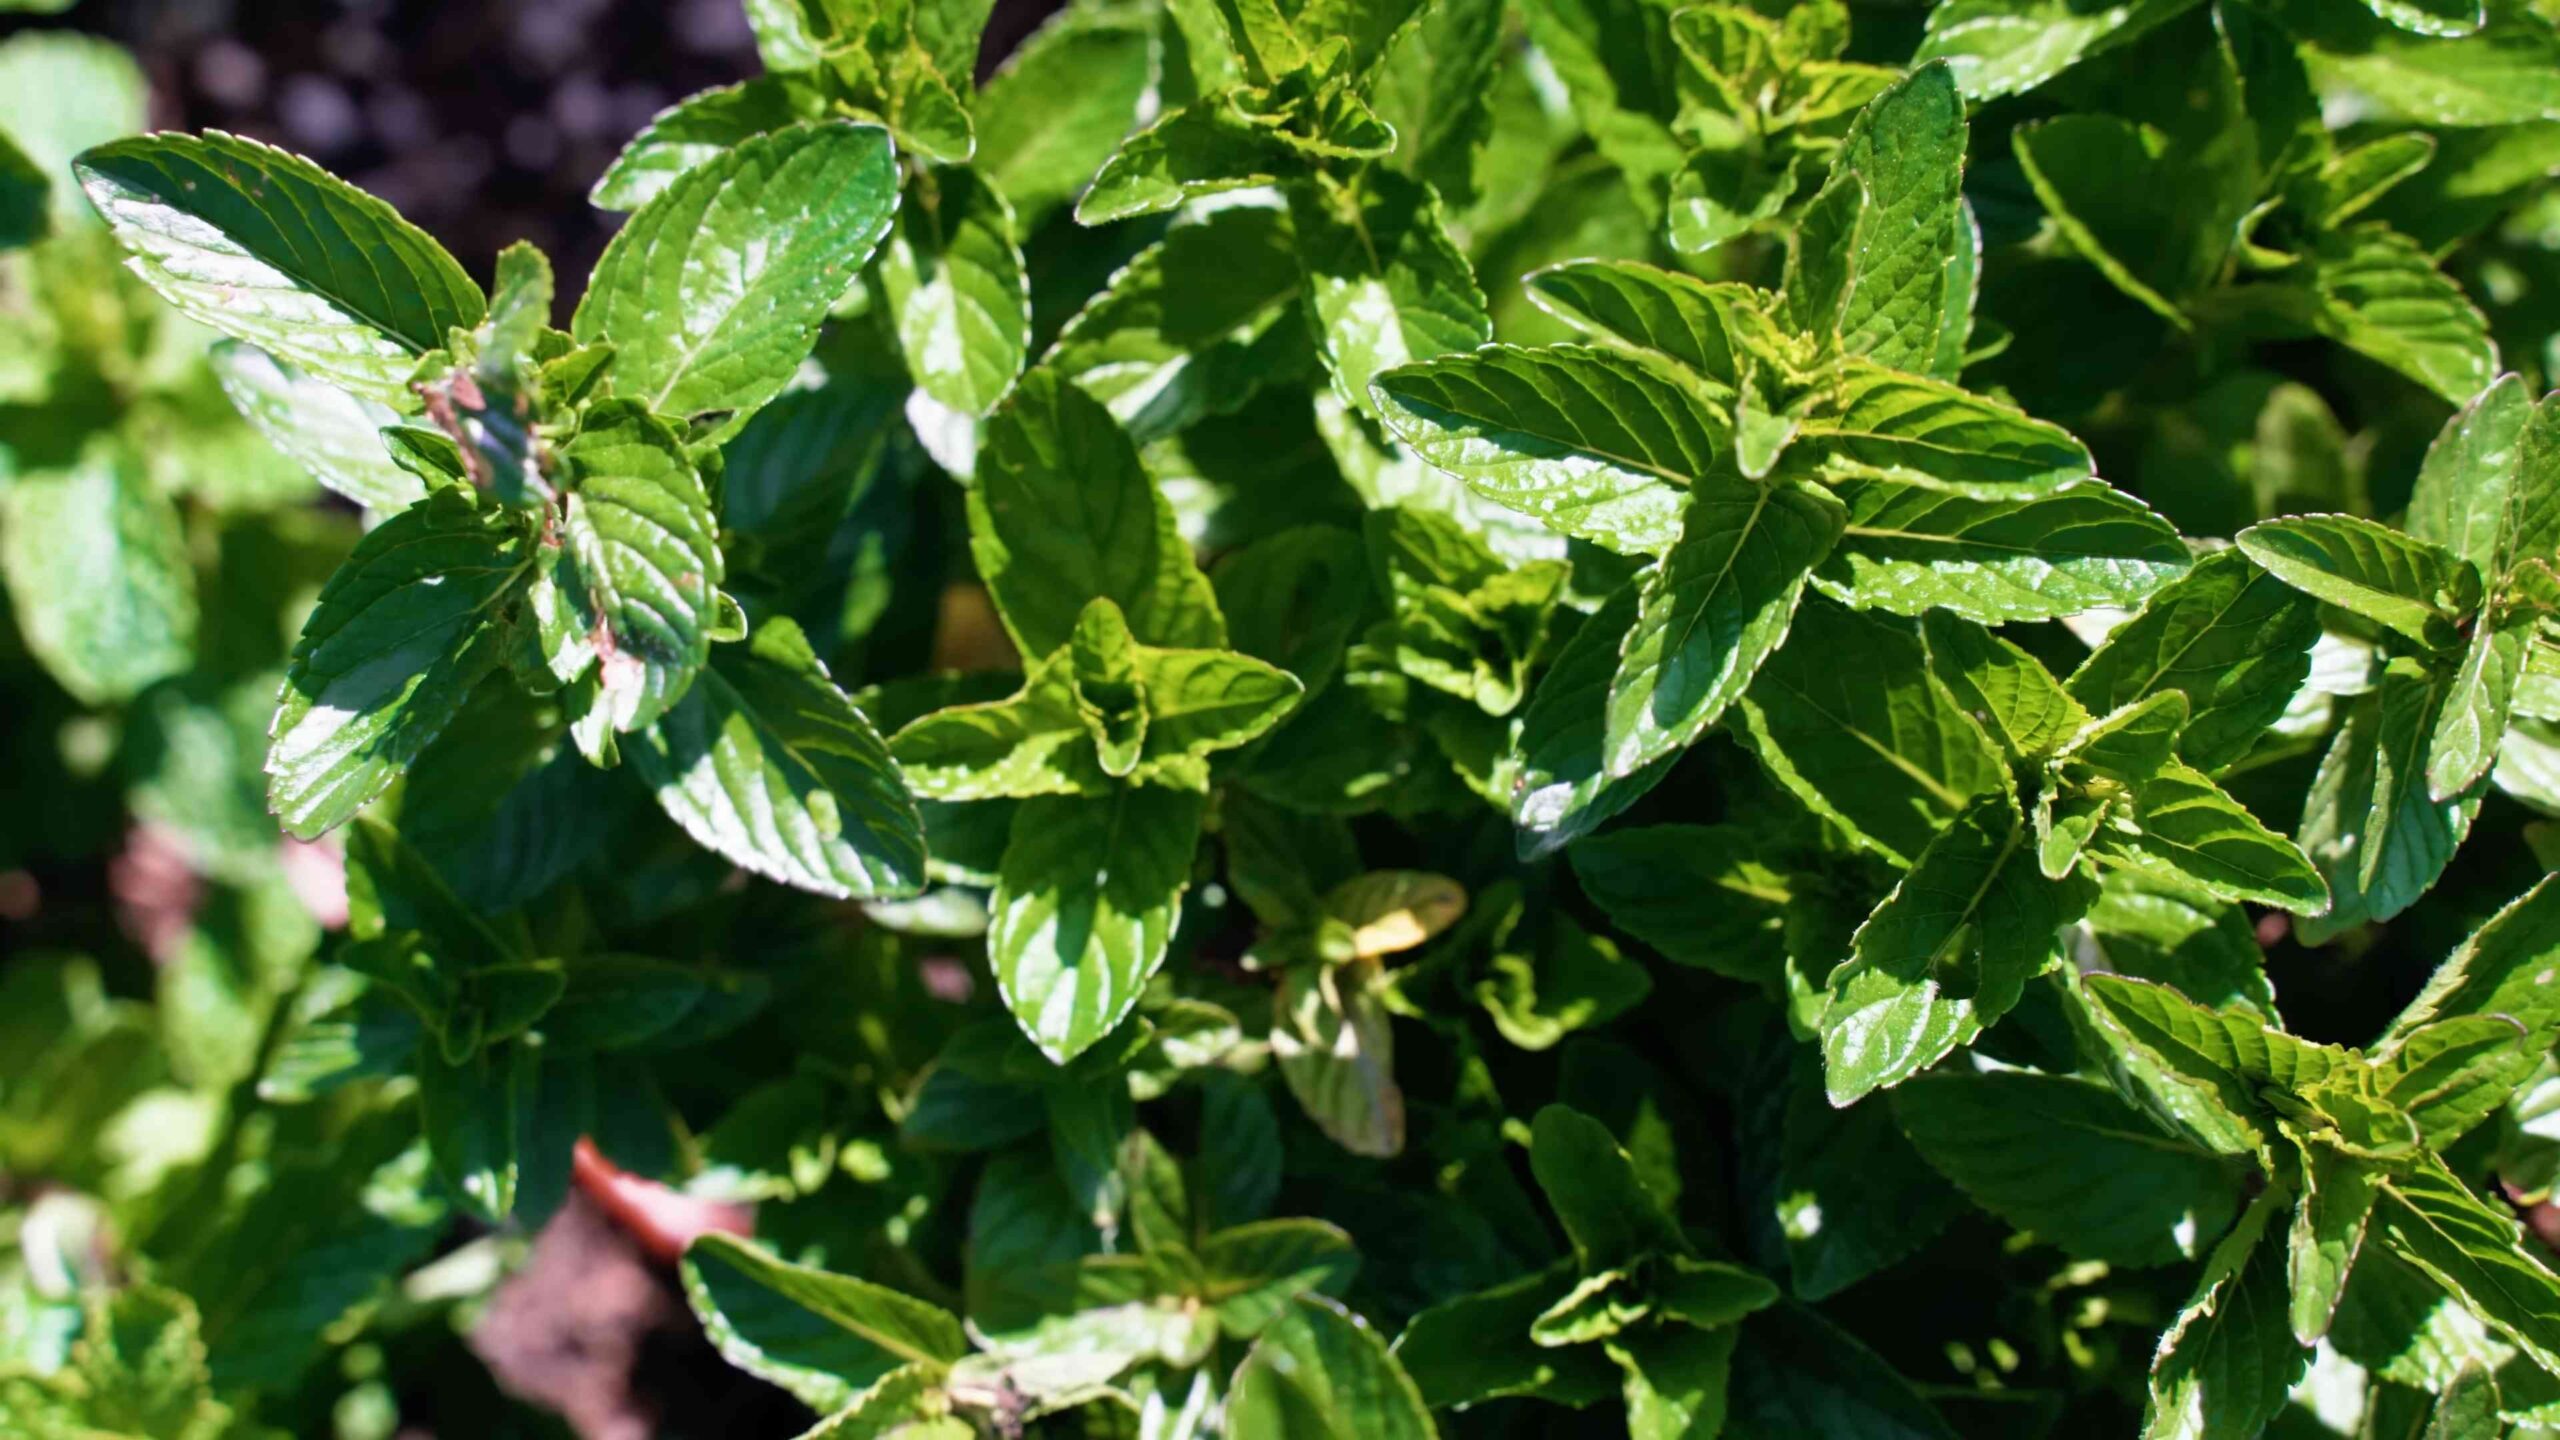
* Peppermint: This is your classic mint, with a strong, refreshing flavor. It’s perfect for teas, desserts, and even savory dishes.
* Spearmint: A milder, sweeter mint that’s commonly used in chewing gum and toothpaste. It’s also great for sauces and salads.
* Chocolate Mint: As the name suggests, this variety has a subtle chocolatey aroma and flavor. It’s delicious in desserts and drinks.
* Apple Mint: A fruity, slightly fuzzy mint with a gentle apple scent. It’s a lovely addition to fruit salads and teas.
* Pineapple Mint: Another fruity variety, this one boasts a distinct pineapple aroma. It’s a fun and flavorful addition to your herb garden.
I recommend starting with peppermint or spearmint, as they’re generally the easiest to grow. Once you’ve got the hang of it, you can experiment with other varieties.
Gathering Your Supplies
Before we dive into the planting process, let’s make sure you have everything you need. Here’s a checklist:
* Mint Seeds or Cuttings: You can start mint from seeds, but it’s much easier and faster to propagate it from cuttings. You can often find mint cuttings at your local nursery or even from a friend who already grows mint.
* Pot or Container: Choose a pot that’s at least 6 inches in diameter and has drainage holes. Mint spreads quickly, so it’s best to grow it in a container to prevent it from taking over your garden.
* Potting Soil: Use a well-draining potting mix. You can find this at any garden center.
* Watering Can or Hose: You’ll need a way to water your mint regularly.
* Optional: Fertilizer (a balanced liquid fertilizer is best)
Planting Your Mint
Now for the fun part! Let’s get your mint planted.
1. Prepare the Pot: Fill your pot with potting soil, leaving about an inch of space at the top.
2. Planting from Seeds: If you’re starting from seeds, sprinkle them evenly over the soil surface and gently press them in. Cover them with a very thin layer of soil.
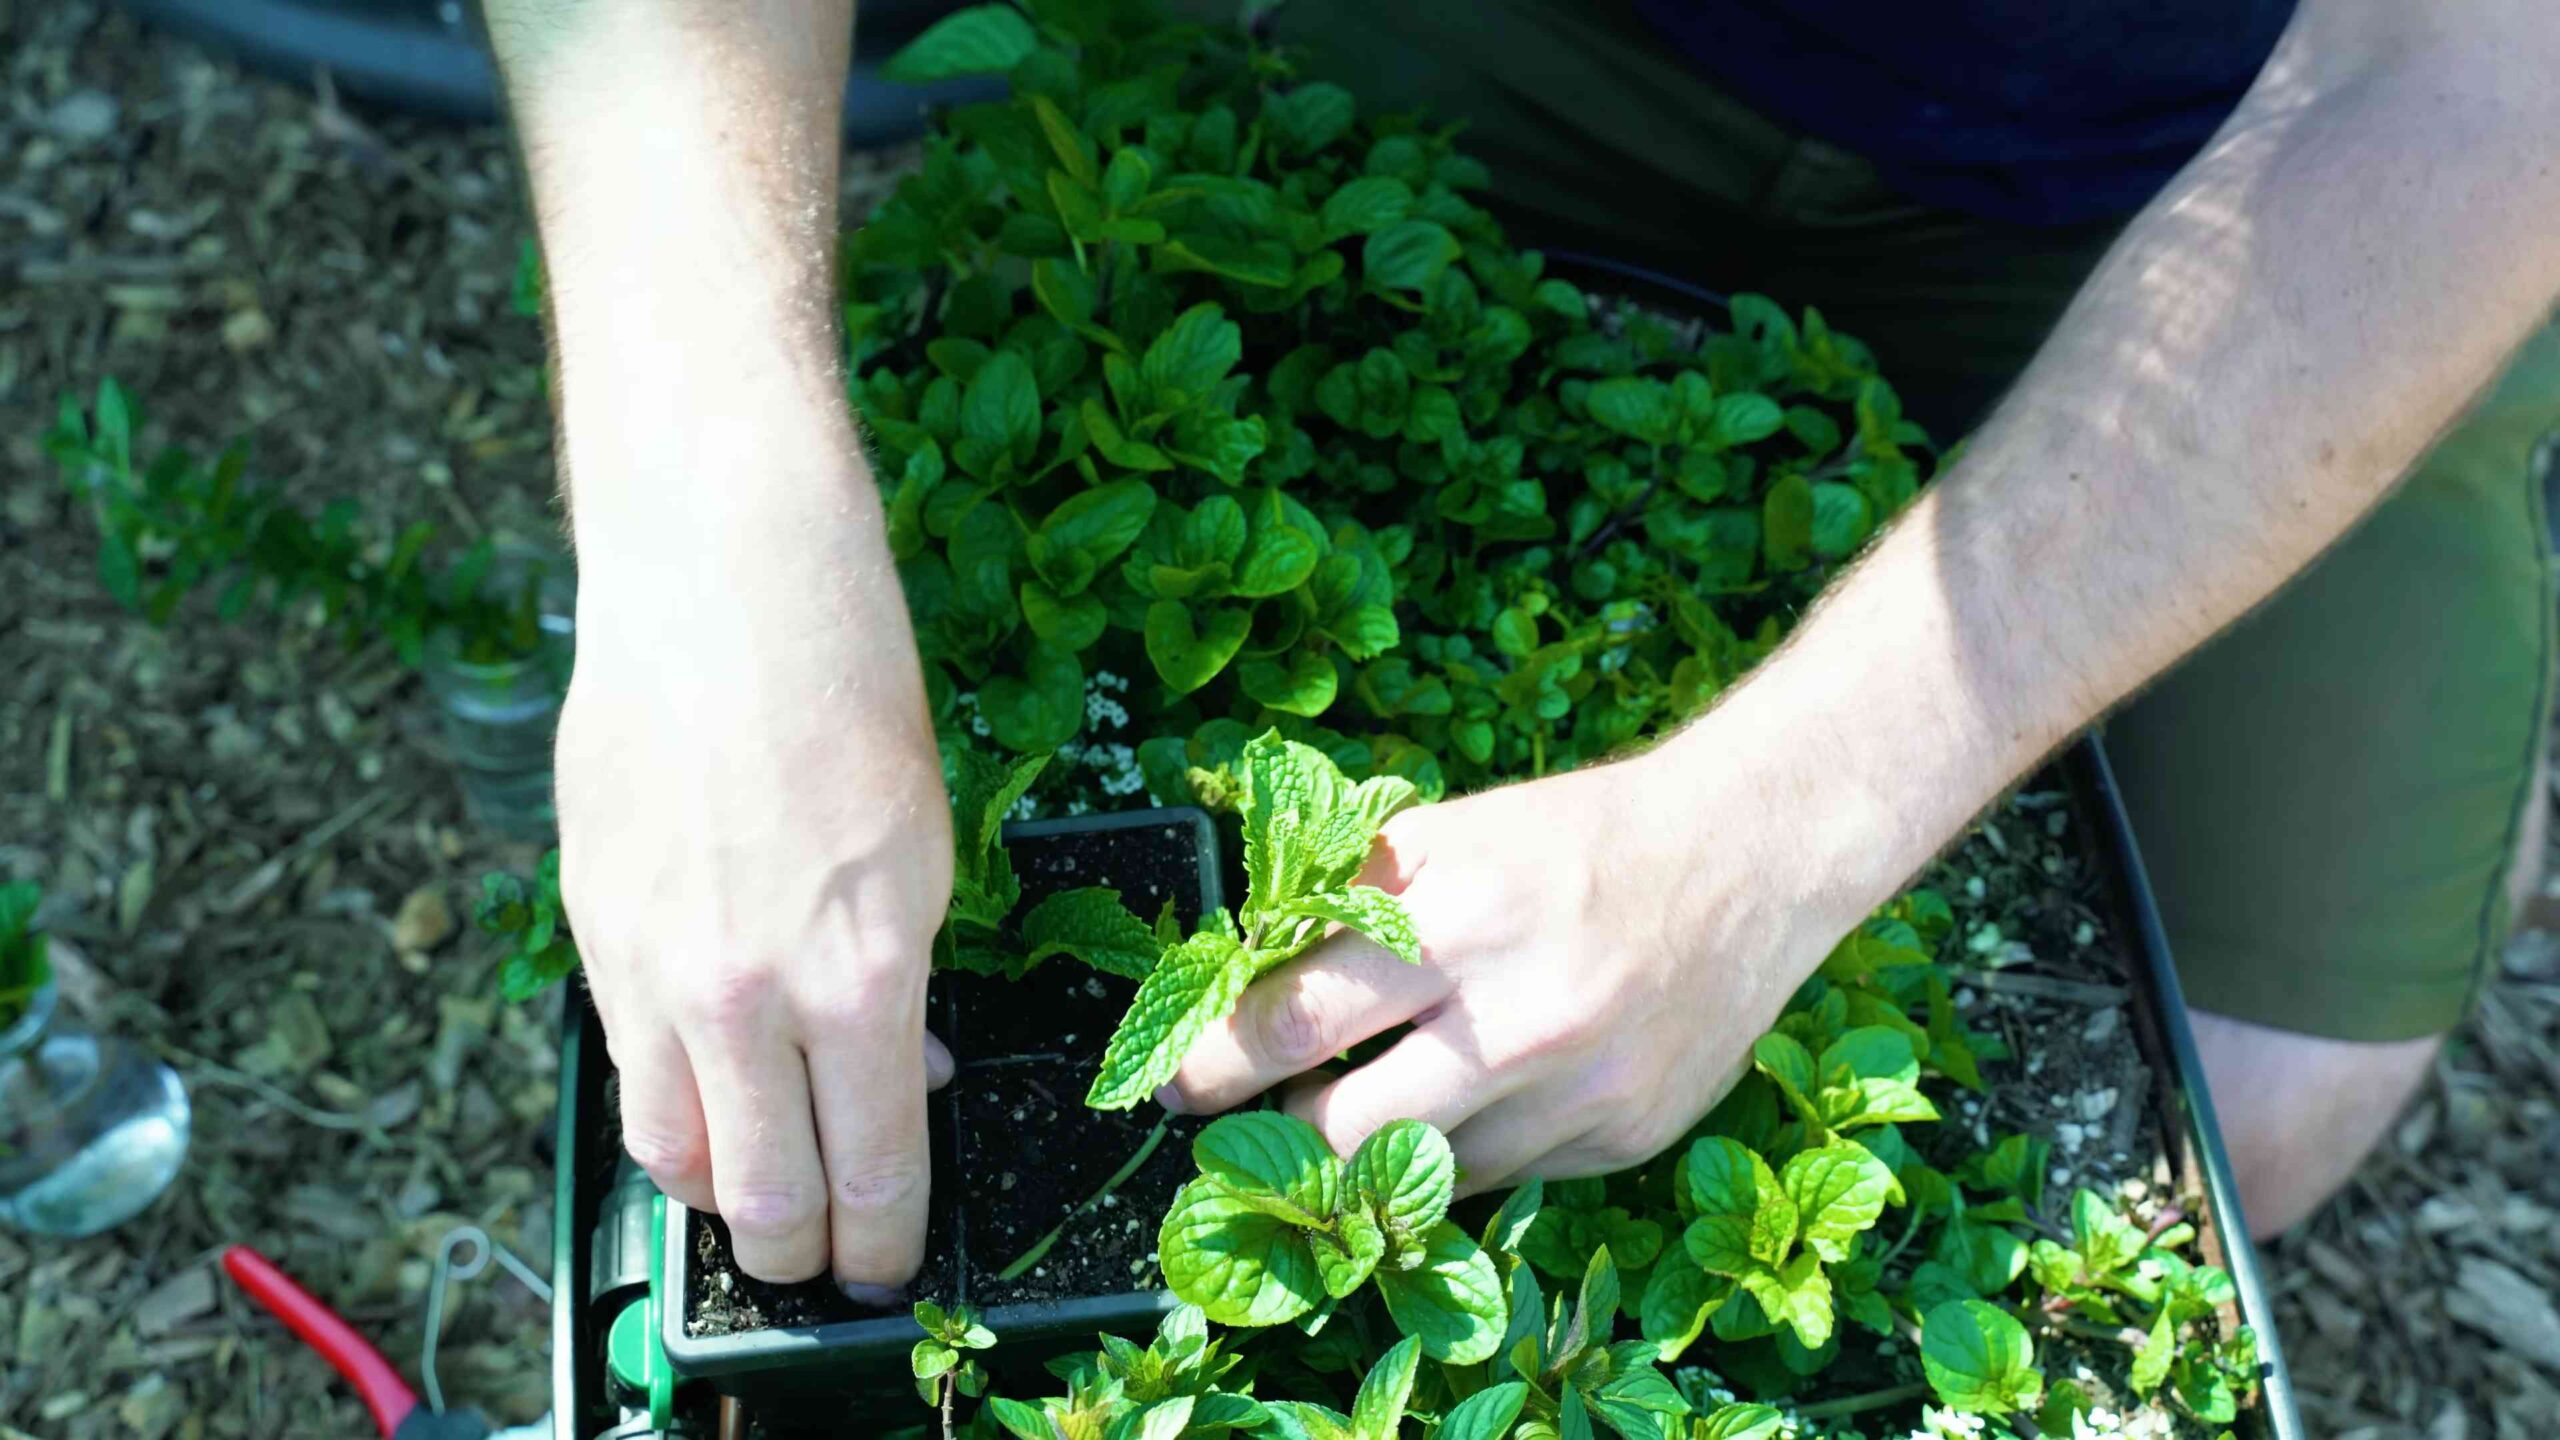
3. Planting from Cuttings: If you’re using cuttings, remove the leaves from the bottom inch of the stem. Then, make a small hole in the soil and insert the cutting. Gently firm the soil around the cutting. You can plant several cuttings in one pot.
4. Water Thoroughly: Water the soil until it’s evenly moist but not soggy.
5. Find a Sunny Spot: Place your pot in a location that receives at least 4-6 hours of sunlight per day. Mint can tolerate some shade, but it grows best in full sun.
Caring for Your Mint
Once your mint is planted, it’s important to provide it with the right care to ensure it thrives.
1. Watering: Mint likes consistently moist soil, but it doesn’t like to be waterlogged. Water your mint whenever the top inch of soil feels dry to the touch. During hot weather, you may need to water it more frequently.
2. Fertilizing: Feed your mint with a balanced liquid fertilizer every 2-4 weeks during the growing season (spring and summer). Follow the instructions on the fertilizer label.
3. Pruning: Regular pruning is essential for keeping your mint healthy and productive. Pinch off the top leaves of the stems to encourage bushier growth. You can also harvest leaves as needed for cooking or tea.
4. Preventing Spread: As I mentioned earlier, mint is a vigorous grower and can easily spread if planted directly in the ground. If you want to plant it in your garden, consider planting it in a container that’s buried in the ground. This will help contain its roots.
5. Overwintering: In colder climates, mint may die back in the winter. Don’t worry, it will usually come back in the spring. You can also bring your potted mint indoors during the winter to keep it growing. Place it in a sunny window and water it regularly.
Harvesting Your Mint
Harvesting mint is easy and rewarding! You can start harvesting leaves as soon as the plant is established, usually within a few weeks of planting.
1. Choose the Right Time: The best time to harvest mint is in the morning, after the dew has dried. This is when the leaves are at their most flavorful.
2. Harvesting Technique: Use scissors or your fingers to pinch off the leaves or stems. You can harvest individual leaves or cut entire stems.
3. Preserving Your Harvest: If you have more mint than you can use fresh, you can dry it for later use. To dry mint, tie the stems together and hang them upside down in a cool, dry place. Once the leaves are completely dry, crumble them and store them in an airtight container. You can also freeze mint leaves. Simply wash and dry the leaves, then place them in a freezer bag.
Troubleshooting Common Mint Problems
Even with the best care, you may encounter some problems when growing mint. Here are a few common issues and how to address them:
* Yellowing Leaves: This can be caused by overwatering, underwatering, or nutrient deficiencies. Check the soil moisture and adjust your watering accordingly. If the soil is dry, water more frequently. If the soil is soggy, allow it to dry out before watering again. You can also try fertilizing your mint with a balanced fertilizer.
* Powdery Mildew: This is a fungal disease that appears as a white, powdery coating on the leaves. To prevent powdery mildew, ensure good air circulation around your mint plants. You can also treat it with a fungicide.
* Pests: Mint can be susceptible to pests such as aphids and spider mites. Inspect your plants regularly for signs of infestation. If you find pests, you can try spraying them with insecticidal soap.
Mint in the Kitchen: Unleash the Flavor!
Now that you’ve got a thriving mint patch, it’s time to put it to good use! Mint is a versatile herb that can be used in a variety of dishes and drinks. Here are a few ideas:
* Mint Tea: Steep fresh mint leaves in hot water for a refreshing and soothing tea.
* Mojitos: Muddle mint leaves with lime juice, sugar, and rum for a classic mojito.
* Mint Sauce: Combine chopped mint leaves with vinegar, sugar, and water for a traditional mint sauce to serve with lamb.
* Salads: Add chopped mint leaves to salads for a burst of fresh flavor.
* Desserts: Use mint to flavor desserts such as ice cream, chocolate mousse, and fruit salads.
* Garnish: Use mint sprigs as a garnish for cocktails, desserts, and savory dishes.
Mint Propagation: Expanding Your Mint Empire
Once you’ve successfully grown mint, you can easily propagate it to create even more plants. Here’s how:
1. Take Cuttings: Cut a 4-6 inch stem from a healthy mint plant. Remove the leaves from the bottom inch of the stem.
2. Rooting in Water: Place the cutting in a glass of water, making sure that the bottom inch of the stem is submerged. Place the glass in a bright location, but out of direct sunlight.
3. Wait for Roots: Change the water every few days. Within a week or two, you should see roots starting to grow.
4. Planting: Once the roots are about an inch long, you can plant the cutting in a pot filled with potting soil.
5. Care: Water the newly planted cutting regularly and keep it in a sunny location.
And there you have it! You’re now equipped with all the knowledge you need to grow your own mint at home. With a little care and attention, you’ll be enjoying fresh, fragrant mint for years to come. Happy gardening!
Conclusion
So, there you have it! Growing your own mint at home isn’t just a fun project; it’s a game-changer for your culinary creations, your beverages, and even your home’s ambiance. We’ve walked you through the simple steps, from choosing the right container to harvesting your fragrant bounty. But why is this DIY trick a must-try?
Firstly, the flavor of homegrown mint is simply unparalleled. Forget the wilted, often lackluster mint you find at the grocery store. Freshly picked mint bursts with an intensity and vibrancy that will elevate your mojitos, teas, salads, and desserts to a whole new level. Imagine the satisfaction of adding a sprig of your own mint to a refreshing summer drink, knowing you nurtured it from a tiny seedling or cutting.
Secondly, growing mint at home is incredibly cost-effective. A single purchase of a mint plant or even a few cuttings can provide you with a continuous supply of fresh mint for months, even years, to come. Think of all the money you’ll save on those overpriced grocery store herbs! Plus, you’re reducing your environmental footprint by avoiding the plastic packaging and transportation associated with commercially grown mint.
Thirdly, it’s incredibly rewarding. There’s something deeply satisfying about nurturing a plant and watching it thrive. The simple act of tending to your mint, watering it, and harvesting its leaves can be a therapeutic and grounding experience. It’s a small way to connect with nature, even if you live in an urban environment.
But the benefits don’t stop there. Mint is also a natural pest repellent, so having a pot of mint near your windows or doors can help keep unwanted insects at bay. And let’s not forget the delightful fragrance that fills the air whenever you brush against the leaves.
Now, for some suggestions and variations to make your mint-growing experience even more exciting:
* Experiment with different varieties: Peppermint, spearmint, chocolate mint, orange mint – the possibilities are endless! Each variety offers a unique flavor profile, so try growing a few different types to discover your favorites.
* Get creative with your containers: Don’t limit yourself to traditional pots. Use repurposed containers like old teacups, mason jars, or even an old watering can for a touch of rustic charm.
* Try hydroponics: If you’re feeling adventurous, you can even grow mint hydroponically, without any soil at all. This is a great option for those with limited space or who want to try a more modern approach to gardening.
* Mint-infused creations: Beyond culinary uses, explore the world of mint-infused products. Make your own mint tea, mint-infused oil, or even mint-scented candles.
Ultimately, growing mint at home is a simple, rewarding, and incredibly versatile DIY trick that everyone should try. It’s a small investment that yields a wealth of benefits, from fresh, flavorful herbs to a touch of natural beauty in your home.
So, what are you waiting for? Grab a pot, some soil, and a mint plant or cutting, and get started today! We’re confident that you’ll be amazed at how easy and enjoyable it is to grow your own mint. And most importantly, don’t forget to share your experiences with us! We’d love to hear your tips, tricks, and favorite ways to use your homegrown mint. Share your photos and stories on social media using #HomegrownMintMagic. Let’s create a community of mint enthusiasts and inspire others to discover the joys of growing their own herbs. Happy growing!
Frequently Asked Questions (FAQs)
1. What is the best way to propagate mint?
Mint is incredibly easy to propagate, which is one of the reasons it’s such a great plant for beginners. The two most common methods are:
* Stem Cuttings: This is the easiest and fastest method. Simply cut a 4-6 inch stem from a healthy mint plant, remove the leaves from the bottom inch or two, and place the stem in a glass of water. Make sure the leaves are not submerged. Place the glass in a bright location, but not in direct sunlight. Change the water every few days. Within a week or two, you should see roots starting to grow. Once the roots are about an inch long, you can plant the cutting in a pot with well-draining soil.
* Root Division: If you already have a mature mint plant, you can divide the roots to create new plants. Carefully dig up the plant and gently separate the root ball into smaller sections, ensuring that each section has healthy roots and stems. Plant each section in its own pot.
2. What kind of soil is best for growing mint?
Mint prefers well-draining soil that is rich in organic matter. A good potting mix will work perfectly fine. You can also amend your soil with compost or other organic materials to improve its fertility and drainage. The ideal pH level for mint is between 6.0 and 7.0.
3. How much sunlight does mint need?
Mint thrives in partial shade to full sun. Ideally, it should receive at least 4-6 hours of sunlight per day. However, in hotter climates, it’s best to provide some afternoon shade to prevent the leaves from scorching. If you’re growing mint indoors, place it near a sunny window or use a grow light.
4. How often should I water my mint plant?
Mint likes to be kept consistently moist, but not waterlogged. Water your mint plant when the top inch of soil feels dry to the touch. Avoid overwatering, as this can lead to root rot. During hot weather, you may need to water your mint plant more frequently.
5. How do I harvest mint?
Harvesting mint is easy! Simply snip off the stems just above a leaf node (the point where leaves grow from the stem). This will encourage the plant to branch out and produce more leaves. You can harvest mint regularly throughout the growing season. For the best flavor, harvest mint in the morning, after the dew has dried.
6. How do I prevent mint from spreading too much?
Mint is known for its aggressive growth habit, so it’s important to contain it to prevent it from taking over your garden. The best way to do this is to grow mint in a container. This will prevent the roots from spreading and allow you to control its growth. If you want to plant mint in the ground, consider burying a container around the planting area to create a barrier.
7. What are some common pests and diseases that affect mint?
Mint is generally a hardy plant, but it can be susceptible to certain pests and diseases, including:
* Aphids: These small, sap-sucking insects can cause the leaves to become distorted and yellow. You can control aphids by spraying them with a strong stream of water or using insecticidal soap.
* Spider Mites: These tiny pests can cause the leaves to become speckled and webbed. You can control spider mites by increasing humidity and spraying them with insecticidal soap.
* Mint Rust: This fungal disease causes orange or brown spots to appear on the leaves. You can prevent mint rust by providing good air circulation and avoiding overhead watering. If your plant is infected, remove the affected leaves and spray with a fungicide.
8. Can I grow mint indoors?
Yes, you can absolutely grow mint indoors! Just make sure to provide it with plenty of sunlight or a grow light, and keep the soil consistently moist. Choose a pot with good drainage and use a well-draining potting mix.
9. How do I store fresh mint?
There are several ways to store fresh mint:
* In the refrigerator: Wrap the mint sprigs in a damp paper towel and place them in a plastic bag in the refrigerator. This will keep them fresh for up to a week.
* In water: Place the mint sprigs in a glass of water, like you would with flowers. Change the water every day or two. This will keep them fresh for several days.
* Freezing: You can freeze mint leaves for longer storage. Wash and dry the leaves, then spread them out on a baking sheet and freeze them for a few hours. Once frozen, transfer the leaves to a freezer bag or container.
* Drying: You can dry mint leaves by hanging them upside down in a cool, dark, and dry place. Once the leaves are completely dry, store them in an airtight container.
10. What are some creative ways to use my homegrown mint?
The possibilities are endless! Here are just a few ideas:
* Beverages: Add mint to mojitos, iced tea, lemonade, or water for a refreshing twist.
* Salads: Chop mint and add it to salads for a burst of flavor.
* Desserts: Use mint to garnish desserts like chocolate cake, ice cream, or fruit salad.
* Sauces: Make a mint sauce to serve with lamb or other meats.
* Jellies and Jams: Add mint to jellies and jams for a unique flavor.
* Teas: Brew your own fresh mint tea.
* Garnish: Use mint as a garnish for a variety of
Leave a Comment