

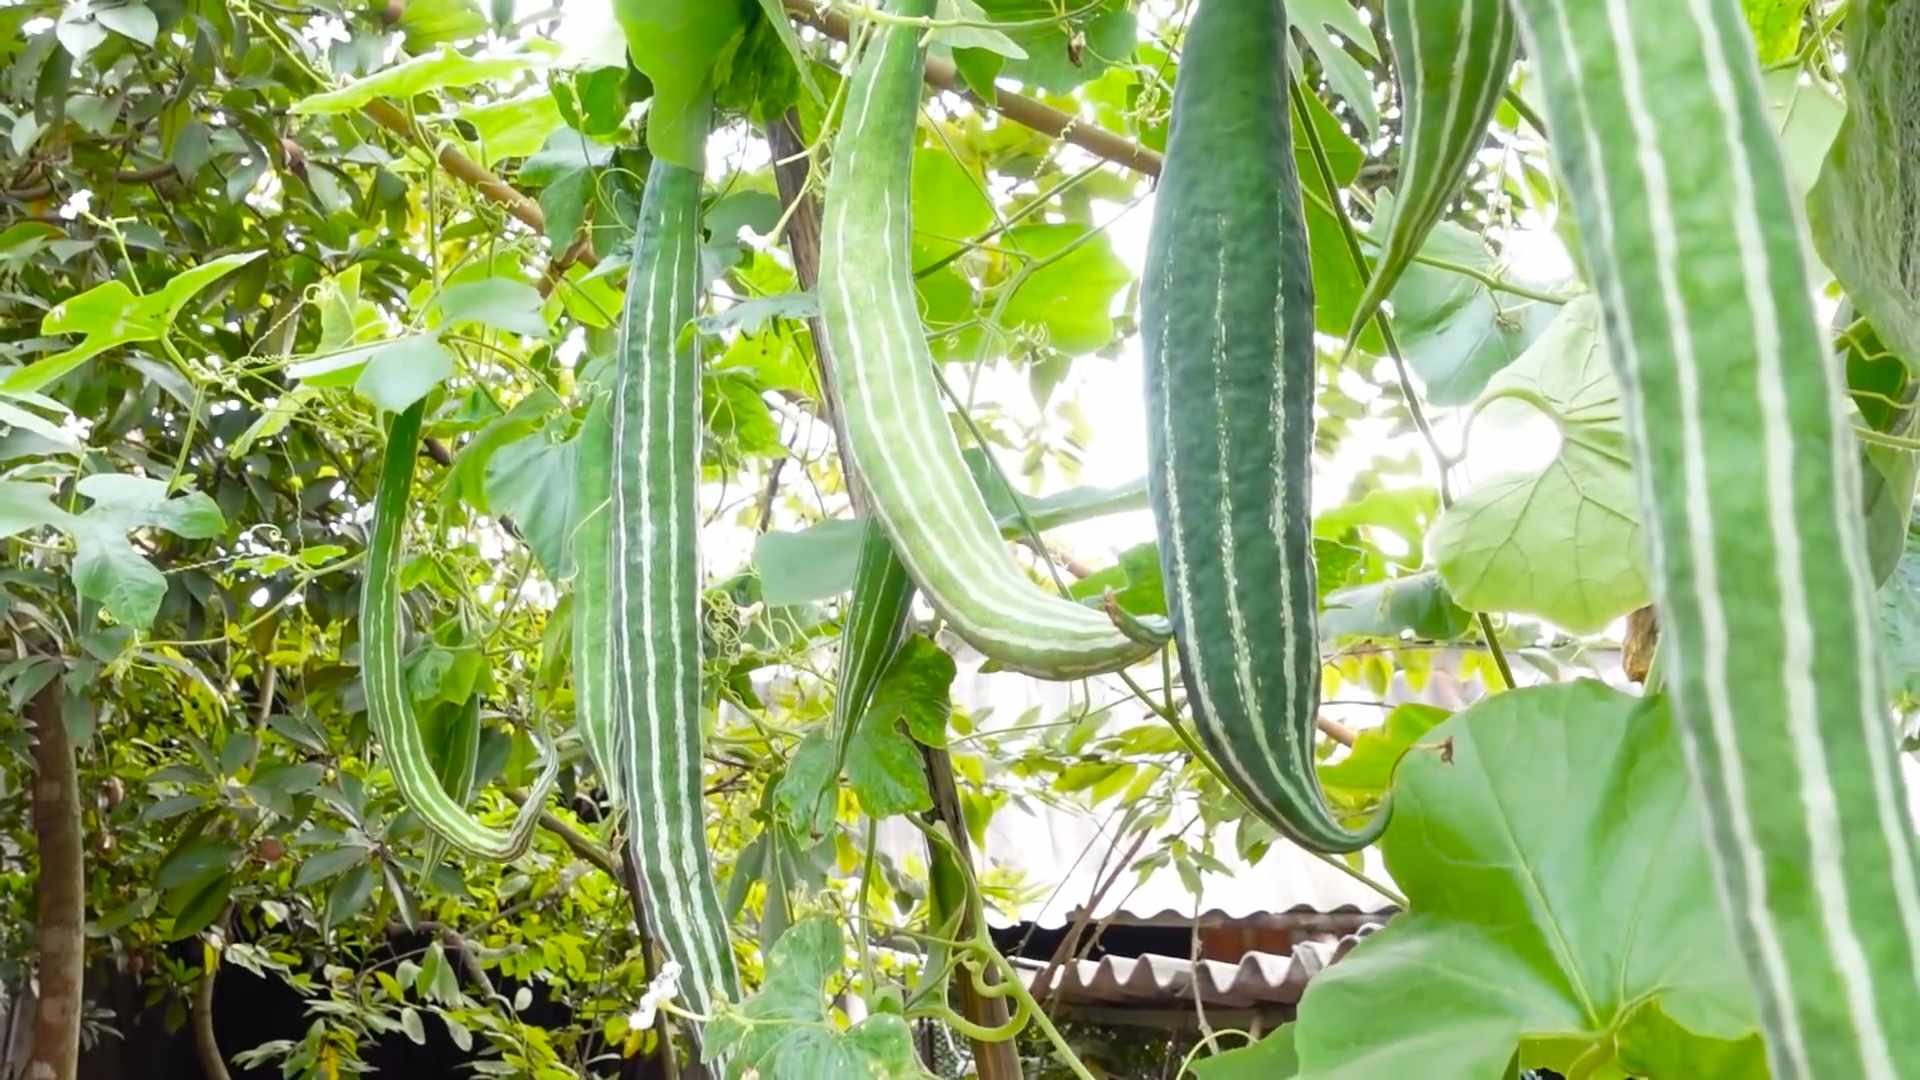
Grow More Melons this summer with these simple, yet effective, DIY tricks! Have you ever dreamed of a backyard overflowing with juicy, sweet melons? I know I have! There’s something incredibly satisfying about biting into a homegrown melon, knowing you nurtured it from a tiny seed to a delicious treat.
Melons have a rich history, dating back to ancient times, with evidence of cultivation found in Africa and Asia thousands of years ago. They were prized for their refreshing taste and nutritional value, and their cultivation spread across the globe. Today, growing your own melons is a fantastic way to connect with that history and enjoy the fruits (literally!) of your labor.
But let’s be honest, growing melons can sometimes feel like a challenge. They need the right conditions, plenty of sunshine, and a little bit of know-how to really thrive. That’s where these DIY tricks come in! I’m going to share some of my favorite hacks to help you grow more melons than you ever thought possible, even if you’re a beginner gardener. These tips will help you optimize your soil, manage pests, and ensure your melon vines are producing to their full potential. Get ready to impress your friends and family with your bountiful melon harvest!
DIY: Supercharge Your Melon Patch for a Bumper Crop!
Okay, melon lovers, let’s talk about getting serious about our melon game! I’m going to walk you through my favorite DIY tricks to help you grow bigger, sweeter, and more abundant melons than ever before. We’re talking watermelons, cantaloupes, honeydews – the whole delicious family! Get ready to roll up your sleeves and get your hands dirty.
Choosing the Right Varieties
Before we even think about soil amendments or watering schedules, let’s talk about variety. Not all melons are created equal, and some are better suited to certain climates and growing conditions than others.
* Consider your climate: Short growing season? Look for early-maturing varieties. Hot and humid? Choose disease-resistant options.
* Think about space: Bush varieties are great for smaller gardens, while vining types need plenty of room to sprawl.
* Read reviews: See what other gardeners in your area have had success with. Local nurseries are a goldmine of information!
Some of my personal favorites include:
* Watermelon: ‘Sugar Baby’ (early, compact), ‘Crimson Sweet’ (classic flavor), ‘Blacktail Mountain’ (cold-hardy).
* Cantaloupe: ‘Athena’ (disease-resistant), ‘Hales Best Jumbo’ (reliable producer), ‘Ambrosia’ (super sweet).
* Honeydew: ‘Honey Dew Green Flesh’ (classic), ‘Temptation’ (early maturing).
Preparing the Soil: The Foundation for Success
Melons are heavy feeders, meaning they need a lot of nutrients to thrive. Proper soil preparation is absolutely crucial.
* Sunlight is Key: Melons need at least 6-8 hours of direct sunlight per day. Choose a location that gets plenty of sun.
* Well-Draining Soil: Melons hate soggy feet! Make sure your soil drains well. If you have heavy clay soil, amend it with plenty of organic matter.
* Soil Testing: A soil test will tell you exactly what your soil is lacking. You can usually get a soil test done through your local agricultural extension office.
* Amend with Compost: Compost is your best friend! It adds nutrients, improves drainage, and helps retain moisture. Work in a generous amount of compost before planting.
* Add Fertilizer: Melons benefit from a fertilizer high in phosphorus and potassium. Bone meal and wood ash are great natural sources.
Step-by-Step Soil Preparation:
1. Clear the area: Remove any weeds, rocks, or debris from the planting area.
2. Till or dig: Loosen the soil to a depth of at least 12 inches. This will help the roots penetrate easily.
3. Amend with compost: Spread a 2-3 inch layer of compost over the soil and work it in thoroughly.
4. Add fertilizer: Follow the instructions on your fertilizer package for application rates. I usually use about 1/2 cup of bone meal per plant.
5. Rake smooth: Rake the soil smooth and level.
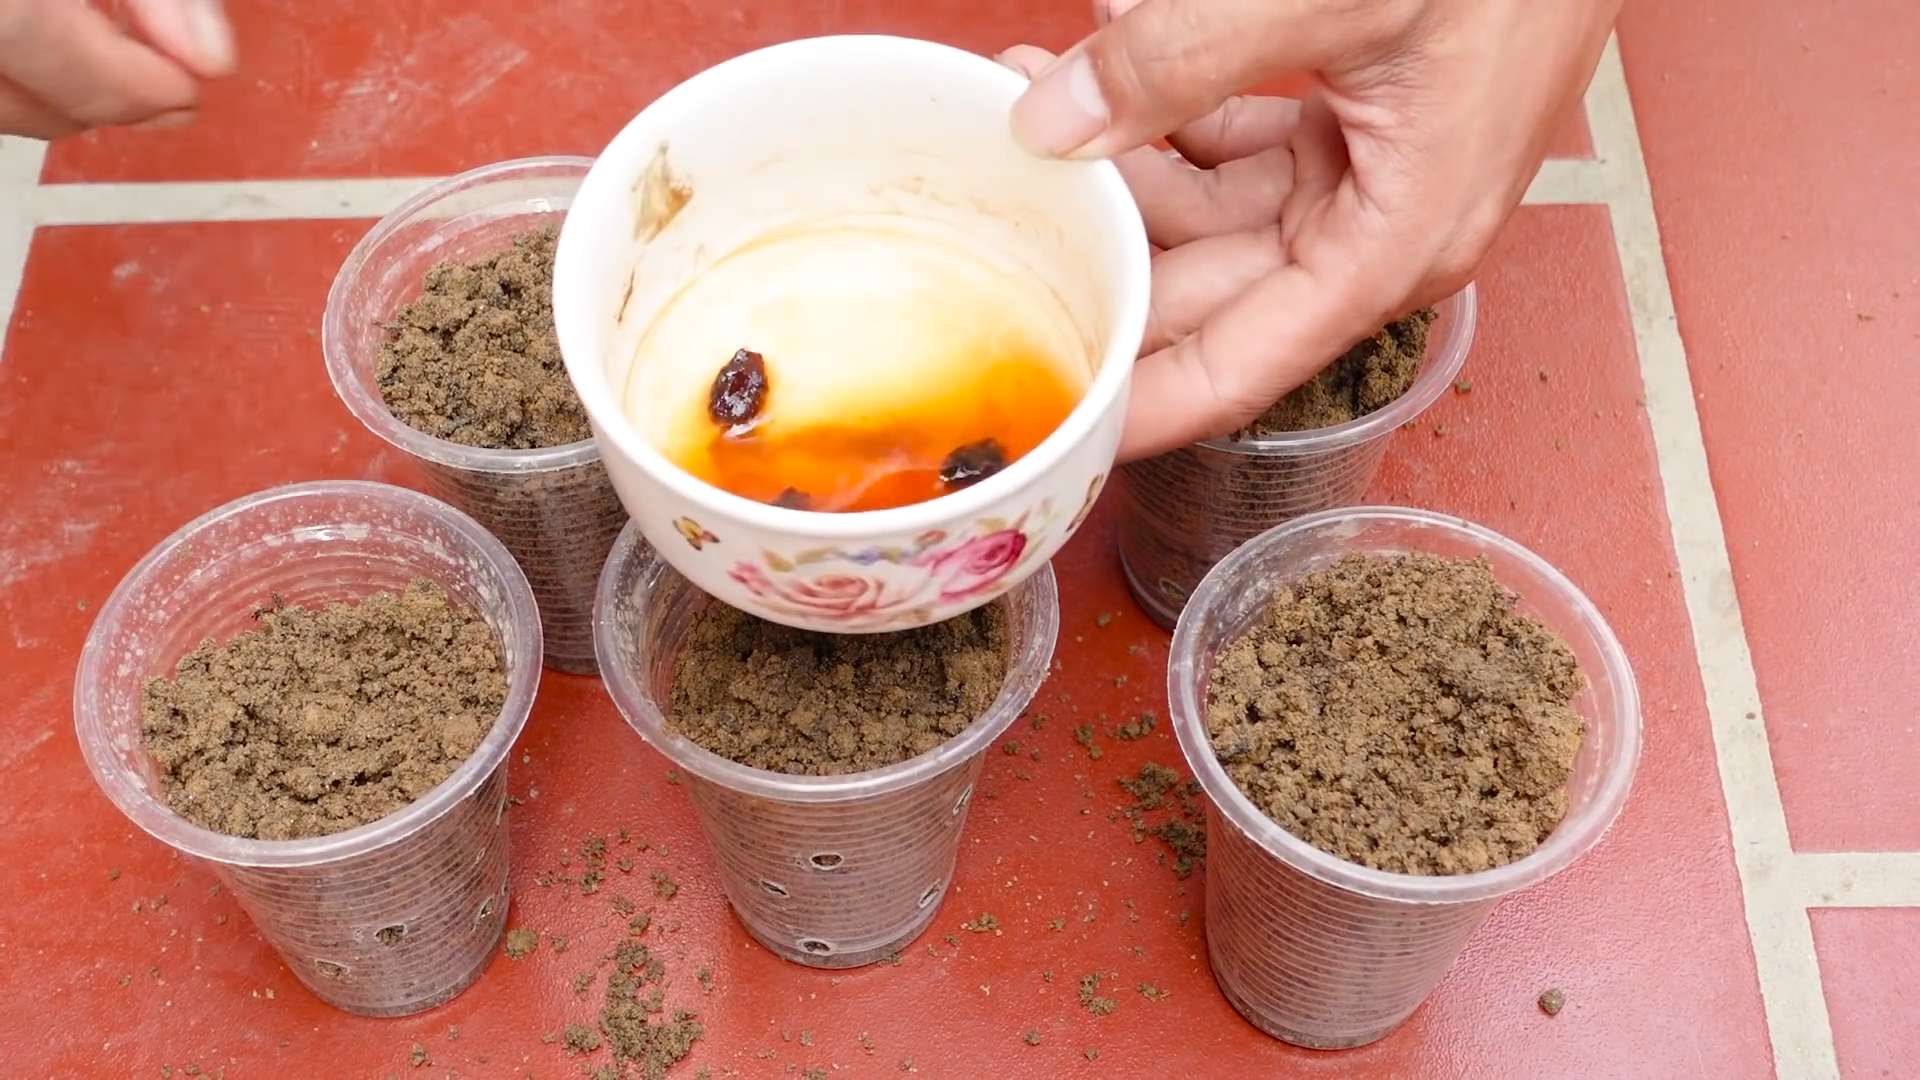
Starting Seeds Indoors (Optional but Recommended)
Starting your melon seeds indoors gives them a head start, especially in areas with short growing seasons.
* Timing is Everything: Start seeds 3-4 weeks before the last expected frost.
* Use Seed Starting Mix: Don’t use garden soil! Seed starting mix is sterile and provides the perfect environment for germination.
* Provide Warmth: Melons need warm soil to germinate. Use a heat mat to keep the soil temperature around 80-85°F.
* Give Them Light: Once the seeds germinate, provide plenty of light. A grow light is ideal, but a sunny windowsill can work in a pinch.
* Harden Off Seedlings: Before transplanting, gradually acclimate the seedlings to outdoor conditions.
Step-by-Step Seed Starting:
1. Fill seed trays or pots: Fill your chosen containers with seed starting mix.
2. Sow seeds: Plant 2-3 seeds per cell or pot, about 1/2 inch deep.
3. Water gently: Water the soil gently to moisten it.
4. Cover with a humidity dome: This will help keep the soil moist.
5. Place on a heat mat: Keep the soil temperature warm.
6. Once germinated, remove the dome and provide light: Give the seedlings plenty of light.
7. Thin seedlings: Once the seedlings have a few true leaves, thin them to one plant per cell or pot.
8. Harden off: Gradually expose the seedlings to outdoor conditions for a week before transplanting.
Transplanting Seedlings or Direct Sowing
Once the danger of frost has passed and the soil has warmed up, it’s time to get your melons in the ground!
* Wait for Warm Soil: Melons need warm soil to thrive. The soil temperature should be at least 60°F.
* Choose a Sunny Location: As mentioned before, melons need at least 6-8 hours of direct sunlight per day.
* Space Plants Properly: Give your melons plenty of room to grow. Watermelons need the most space (3-4 feet apart), while cantaloupes and honeydews can be spaced closer (2-3 feet apart).
* Water Thoroughly: Water the plants well after transplanting or sowing.
Step-by-Step Transplanting:
1. Dig a hole: Dig a hole that is slightly larger than the root ball of the seedling.
2. Gently remove the seedling from the pot: Be careful not to damage the roots.
3. Place the seedling in the hole: Make sure the top of the root ball is level with the surrounding soil.
4. Fill in the hole with soil: Gently firm the soil around the seedling.
5. Water thoroughly: Water the plant well.
6. Mulch around the plant: Mulch will help retain moisture and suppress weeds.
Step-by-Step Direct Sowing:
1. Sow seeds: Plant seeds about 1 inch deep.
2. Water gently: Water the soil gently to moisten it.
3. Thin seedlings: Once the seedlings have a few true leaves, thin them to the strongest plant.
Watering and Fertilizing: Keeping Your Melons Happy
Consistent watering and fertilization are essential for healthy melon growth and delicious fruit.
* Water Deeply and Regularly: Melons need consistent moisture, especially during fruit development. Water deeply and regularly, aiming for about 1-2 inches of water per week.
* Avoid Overhead Watering: Overhead watering can lead to fungal diseases. Use a soaker hose or drip irrigation to water at the base of the plants.
* Fertilize Regularly: Feed your melons every 2-3 weeks with a balanced fertilizer.
* Side-Dress with Compost: Side-dressing with compost is a great way to provide a slow-release source of nutrients.
My Watering and Fertilizing Schedule:
* Early Growth: Water deeply 2-3 times per week, depending on the weather. Fertilize with a balanced fertilizer (10-10-10) every 3 weeks.
* Flowering: Increase watering frequency. Switch to a fertilizer higher in phosphorus (e.g., 5-10-5) to promote flowering.
* Fruit Development: Water deeply and consistently. Fertilize with a fertilizer higher in potassium (e.g., 5-10-10) to promote fruit development. Side-dress with compost.
Supporting the Vines: Keeping Things Tidy
Melon vines can get quite long and unruly. Supporting them can help keep things tidy and prevent the fruit from rotting on the ground.
* Use Trellises: Trellises are a great way to support melon vines, especially for smaller varieties.
* Use Stakes: Stakes can be used to support individual vines.
* Elevate the Fruit: Place the fruit on straw or wood to prevent it from rotting on the ground.
Step-by-Step Trellising:
1. Choose a sturdy trellis: Make sure the trellis is strong enough to support the weight of the vines and fruit.
2. Install the trellis: Install the trellis near the plants.
3. Train the vines: Gently train the vines to grow up the trellis.
4. Tie the vines: Use twine or plant ties to secure the vines to the trellis.
Pollination: Ensuring Fruit Set
Melons need to be pollinated in order to produce fruit. If you’re not seeing any fruit set, it could be due to poor pollination
Conclusion
So, there you have it! This simple yet effective DIY trick to grow more melons is a game-changer for any gardener, regardless of experience level. We’ve walked you through the process, highlighting how easy it is to implement and the significant impact it can have on your melon harvest. Forget struggling with limited yields and disappointing results. This method empowers you to maximize your melon production, transforming your garden into a melon-lover’s paradise.
Why is this a must-try? Because it addresses the core needs of melon plants: optimized nutrient delivery and enhanced pollination. By focusing the plant’s energy on developing fewer, but larger and healthier fruits, you’re essentially giving your melons a VIP pass to growth and deliciousness. The improved pollination, whether naturally occurring or hand-assisted, ensures a higher fruit set, meaning more of those beautiful blossoms will actually turn into juicy melons.
But don’t stop there! Feel free to experiment and adapt this technique to suit your specific garden conditions and melon varieties. For example, if you’re growing smaller melon types like cantaloupe, you might choose to leave slightly more fruits per vine. If you live in an area with particularly poor soil, consider supplementing with a high-quality melon fertilizer specifically formulated to boost fruit production. You can also try different methods of supporting the developing melons, such as using slings made from old pantyhose or netting, especially for heavier varieties like watermelon.
Another variation to consider is the timing of the fruit thinning. Some gardeners prefer to wait until the melons are a bit larger before selecting the strongest ones, while others prefer to thin earlier to allow the remaining fruits to develop more quickly. Experiment to see what works best for you and your specific melon varieties.
The key takeaway is that gardening is all about learning and adapting. This DIY trick is a fantastic starting point, but don’t be afraid to tweak it and make it your own. The most rewarding part of gardening is the journey of discovery, and we encourage you to embrace that spirit of experimentation.
We are confident that by implementing this simple technique, you’ll be amazed at the difference it makes in your melon harvest. Imagine biting into a perfectly ripe, homegrown melon, knowing that you played a direct role in its deliciousness. That’s the magic of gardening, and we’re thrilled to share this trick with you.
Now it’s your turn! We urge you to try this DIY trick to grow more melons in your own garden. Document your progress, take pictures, and most importantly, share your experiences with us and the wider gardening community. Let us know what worked well for you, what challenges you faced, and any variations you tried. Your insights will help other gardeners learn and improve their own melon-growing success. Share your stories on social media using relevant gardening hashtags, or leave a comment below. Let’s create a community of melon-growing enthusiasts and learn from each other! Happy gardening, and may your melon harvest be bountiful!
Frequently Asked Questions (FAQ)
Q: What types of melons does this DIY trick work best for?
A: This trick is generally effective for most types of melons, including watermelons, cantaloupes, honeydew melons, and even smaller varieties like sugar baby watermelons. However, the specific number of fruits you leave on each vine may need to be adjusted depending on the size and vigor of the plant. For larger watermelon varieties, you might only want to leave one or two fruits per vine, while for smaller cantaloupes, you could potentially leave three or four. The key is to observe your plants and adjust accordingly.
Q: When is the best time to implement this DIY trick?
A: The ideal time to start thinning your melon fruits is when they are about the size of a tennis ball or slightly larger. This allows you to easily identify the strongest and healthiest fruits while still giving the remaining melons plenty of time to develop and ripen. It’s also important to ensure that the plants have been properly pollinated before thinning, as this will ensure that the remaining fruits have a good chance of developing.
Q: How do I know which melons to thin and which ones to keep?
A: When selecting which melons to thin, look for the fruits that are the most uniform in shape, have the fewest blemishes, and are located in the most favorable positions on the vine (i.e., not crowded or shaded). Also, consider the overall health and vigor of the plant. If a particular vine seems weak or stressed, it’s best to thin more aggressively to allow the plant to focus its energy on fewer fruits.
Q: What if I don’t have enough bees or other pollinators in my garden?
A: If you’re concerned about pollination, you can hand-pollinate your melon flowers. This involves using a small paintbrush or cotton swab to transfer pollen from the male flowers to the female flowers. The female flowers can be identified by the small melon-like swelling at the base of the flower. Hand-pollinating in the morning, when the pollen is most viable, is generally most effective. You can also attract more pollinators to your garden by planting pollinator-friendly flowers and avoiding the use of pesticides.
Q: Can I use this trick in a container garden?
A: Yes, this trick can be used in a container garden, but it’s even more important to carefully manage the number of fruits per plant. Container-grown melons have limited access to nutrients and water, so it’s crucial to ensure that they are not over-burdened. Choose a large container (at least 20 gallons) and use a high-quality potting mix. You may also need to fertilize more frequently to provide the plants with the nutrients they need.
Q: What kind of fertilizer should I use for melons?
A: Melons benefit from a fertilizer that is high in phosphorus and potassium, which are essential for fruit development. A balanced fertilizer with an NPK ratio of 5-10-10 or 6-12-12 is a good choice. You can also use a fertilizer specifically formulated for melons or other fruiting vegetables. Be sure to follow the instructions on the fertilizer package and avoid over-fertilizing, as this can damage the plants.
Q: How often should I water my melon plants?
A: Melon plants need consistent moisture, especially during fruit development. Water deeply and regularly, aiming to keep the soil consistently moist but not waterlogged. The frequency of watering will depend on the weather conditions and the type of soil you have. In hot, dry weather, you may need to water daily, while in cooler, wetter weather, you can water less frequently. Using a soaker hose or drip irrigation can help to deliver water directly to the roots and prevent water loss through evaporation.
Q: What are some common pests and diseases that affect melon plants, and how can I prevent them?
A: Common pests that affect melon plants include aphids, squash bugs, and cucumber beetles. Diseases include powdery mildew, fusarium wilt, and anthracnose. To prevent these problems, practice good garden hygiene, such as removing plant debris and weeds. You can also use insecticidal soap or neem oil to control pests, and fungicide to prevent or treat diseases. Choose disease-resistant varieties whenever possible. Crop rotation can also help to prevent soil-borne diseases.
Q: How long does it take for melons to ripen?
A: The time it takes for melons to ripen depends on the variety and the growing conditions. Generally, watermelons take about 70-90 days to ripen, cantaloupes take about 70-80 days, and honeydew melons take about 80-90 days. Look for signs of ripeness, such as a change in color, a softening of the rind, and a sweet aroma. The tendril closest to the fruit stem will often turn brown and dry when the melon is ripe. You can also thump the melon; a ripe melon will sound hollow.
Q: What if my melons crack or split?
A: Melon cracking or splitting is often caused by inconsistent watering, especially after a period of drought. To prevent this, try to maintain consistent soil moisture and avoid overwatering. You can also mulch around the plants to help retain moisture. If your melons do crack, harvest them immediately to prevent them from rotting. They may still be edible, but they won’t store as well.
Leave a Comment