

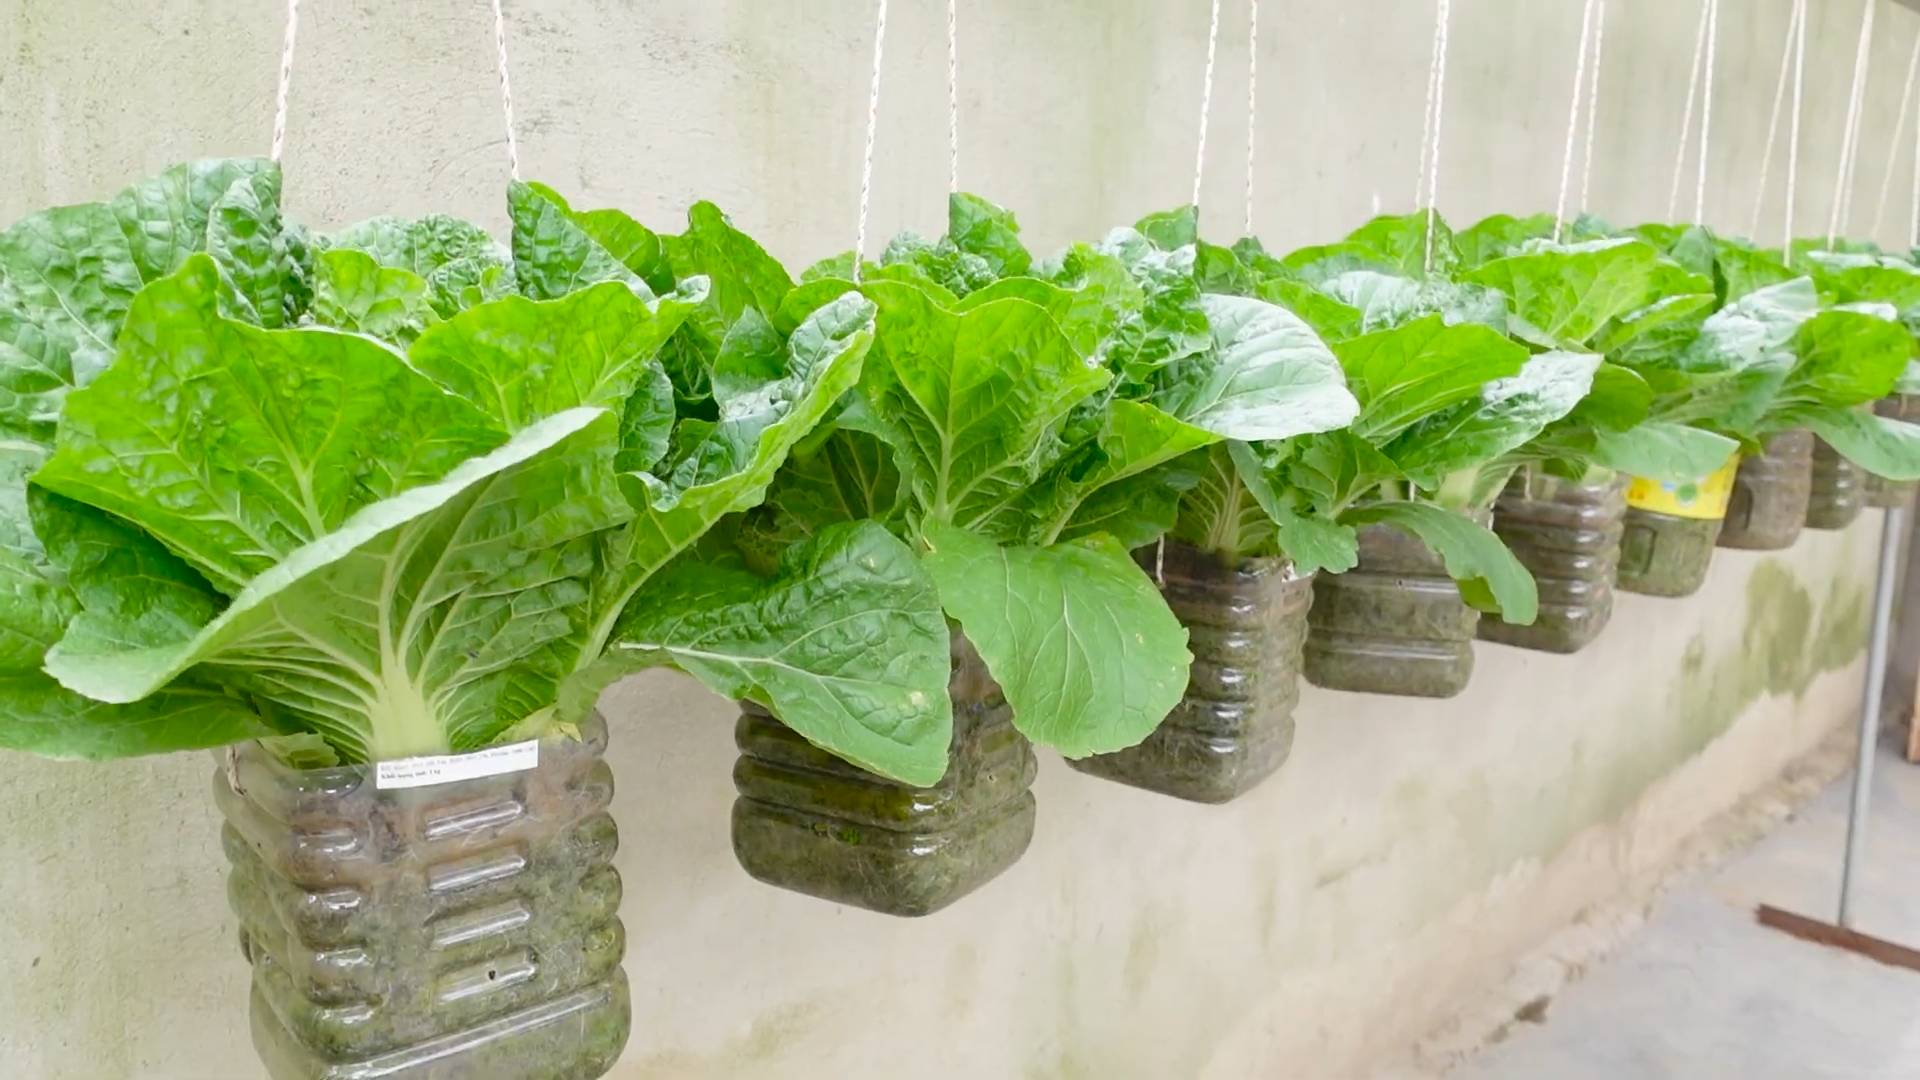
Grow Napa Cabbage at Home? Absolutely! Imagine stepping into your backyard and harvesting crisp, delicious Napa cabbage, ready to be transformed into kimchi, stir-fries, or slaws. It’s easier than you think, and this DIY guide will show you exactly how to do it, even if you’re a beginner gardener.
Napa cabbage, also known as Chinese cabbage, has a rich history deeply rooted in Asian cuisine. Cultivated for centuries, it’s a staple ingredient in many traditional dishes, prized for its mild flavor and versatility. But you don’t have to travel to a specialty market to enjoy its goodness.
Why should you learn to grow Napa Cabbage at Home? Well, store-bought produce can be expensive and sometimes lacks the freshness and flavor of homegrown vegetables. Plus, there’s something incredibly satisfying about nurturing a plant from seed to harvest. This DIY project not only saves you money but also provides you with fresh, healthy ingredients right at your fingertips. I’m excited to share these simple tricks and hacks that will help you cultivate a thriving Napa cabbage patch in your own backyard. Let’s get started!
Growing Napa Cabbage at Home: A DIY Guide
Okay, so you want to grow your own Napa cabbage? Awesome! It’s surprisingly easy, and nothing beats the taste of fresh, homegrown veggies. I’m going to walk you through everything you need to know, from seed to harvest. Let’s get started!
Choosing the Right Variety and Timing
Before we even think about soil, let’s talk about the kind of Napa cabbage you want and when to plant it.
* Variety Selection: There are a few different varieties of Napa cabbage out there. Some are more compact, others are larger. Look for varieties that are known to be heat-tolerant if you live in a warmer climate. ‘Blues’ and ‘Optiko’ are popular choices. Read the seed packet descriptions carefully to find one that suits your needs and climate.
* Timing is Key: Napa cabbage is a cool-season crop. This means it thrives in cooler temperatures and doesn’t like the heat of summer. Bolting (going to seed prematurely) is a real risk if it gets too hot.
* Spring Planting: Start seeds indoors 4-6 weeks before the last expected frost. Transplant seedlings outdoors 2-3 weeks before the last frost.
* Fall Planting: This is often the better option, especially in warmer climates. Direct sow seeds or transplant seedlings 6-8 weeks before the first expected frost. This gives them plenty of time to mature before winter sets in.
* Succession Planting: To extend your harvest, consider succession planting. Sow seeds every 2-3 weeks for a continuous supply of Napa cabbage.
Preparing the Soil
Napa cabbage needs nutrient-rich, well-draining soil. Here’s how I get my soil ready:
* Soil Testing: If you haven’t already, get your soil tested. This will tell you the pH level and nutrient content. Napa cabbage prefers a slightly acidic to neutral pH (6.0-7.5).
* Amending the Soil:
* Compost: Add plenty of compost to your soil. Compost improves drainage, adds nutrients, and helps retain moisture. I usually add a few inches of compost and work it into the top 6-8 inches of soil.
* Well-rotted Manure: If you have access to well-rotted manure, that’s another great amendment. Just make sure it’s well-rotted to avoid burning the plants.
* Fertilizer: A balanced fertilizer (like 10-10-10) can also be added. Follow the instructions on the fertilizer package.
* Drainage: Make sure your soil drains well. Napa cabbage doesn’t like to sit in soggy soil. If your soil is heavy clay, consider adding sand or perlite to improve drainage.
* Raised Beds: Growing in raised beds can be a great way to improve drainage and soil quality.
Starting Seeds Indoors (Optional)
If you’re starting seeds indoors, here’s what you’ll need:
* Seed Starting Trays or Pots: Use seed starting trays or small pots with drainage holes.
* Seed Starting Mix: Use a seed starting mix, not regular potting soil. Seed starting mix is lighter and provides better drainage.
* Seeds: Of course!
* Watering Can or Spray Bottle: For gentle watering.
* Grow Lights (Optional): Grow lights can help prevent leggy seedlings.
Here’s the process:
1. Fill the trays or pots with seed starting mix. Gently press the mix down.
2. Sow the seeds. Plant 2-3 seeds per cell or pot, about ¼ inch deep.
3. Water gently. Use a watering can or spray bottle to moisten the soil.
4. Cover the trays or pots. Cover them with a clear plastic dome or plastic wrap to create a humid environment.
5. Place in a warm location. Keep the trays or pots in a warm location (around 70-75°F) until the seeds germinate.
6. Remove the cover. Once the seeds germinate (usually in 5-10 days), remove the cover.
7. Provide light. Place the seedlings under grow lights or in a sunny window. If using a window, rotate the trays or pots regularly to prevent the seedlings from leaning towards the light.
8. Water regularly. Keep the soil moist, but not soggy.
9. Thin the seedlings. Once the seedlings have a few true leaves, thin them to one plant per cell or pot. Snip off the weaker seedlings at the soil line.
10. Harden off the seedlings. Before transplanting the seedlings outdoors, you need to harden them off. This means gradually exposing them to outdoor conditions. Start by placing them outdoors for a few hours each day, gradually increasing the amount of time they spend outdoors over the course of a week.
Direct Sowing Seeds Outdoors
If you’re direct sowing seeds outdoors, here’s what you’ll need:
* Prepared Soil: As described above.
* Seeds: Again, of course!
* Watering Can or Hose: For watering.
* Row Covers (Optional): To protect seedlings from pests and cold weather.
Here’s the process:
1. Prepare the soil. Make sure the soil is loose and free of weeds.
2. Sow the seeds. Plant the seeds about ¼ inch deep and 1-2 inches apart in rows.
3. Water gently. Water the soil gently after planting.
4. Thin the seedlings. Once the seedlings emerge, thin them to 12-18 inches apart.
5. Protect from pests. Use row covers to protect the seedlings from pests like flea beetles and cabbage moths.
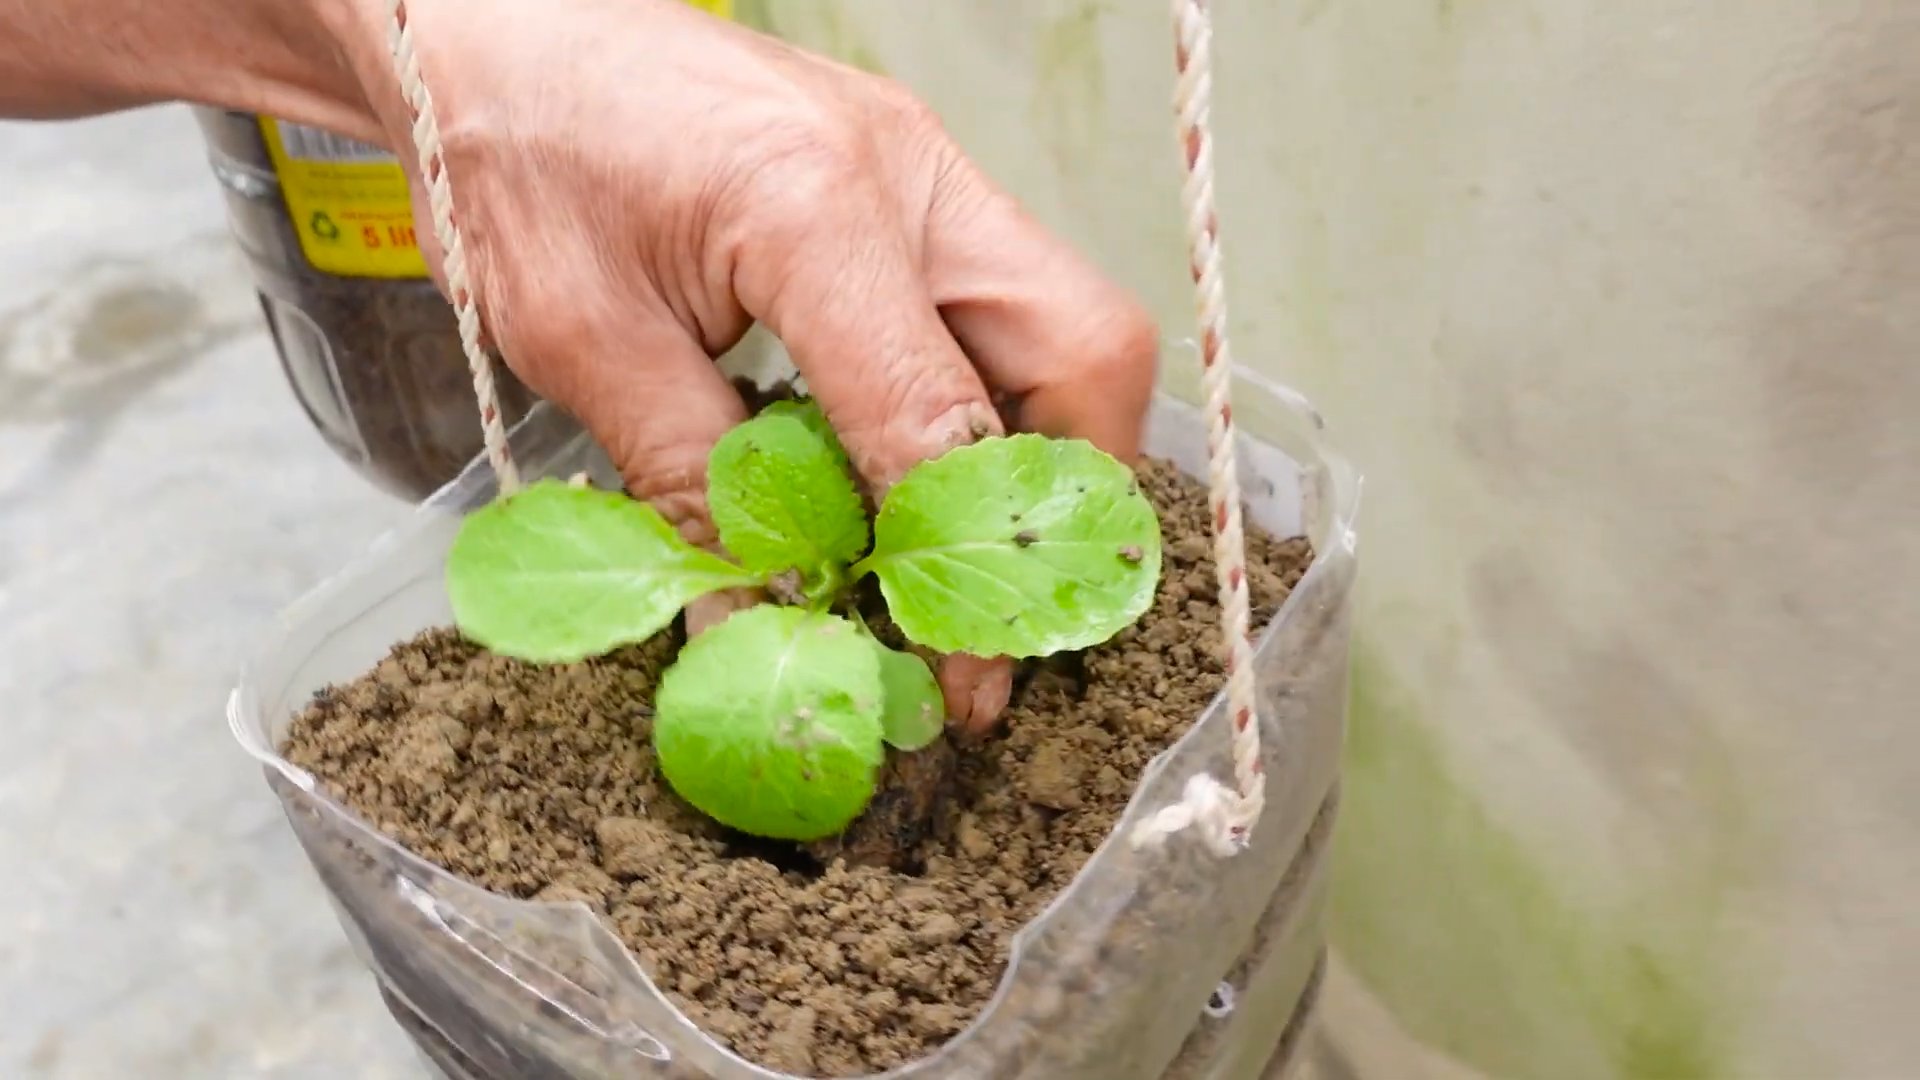
Transplanting Seedlings Outdoors
If you started your seeds indoors, here’s how to transplant them:
* Hardened Off Seedlings: Make sure your seedlings are properly hardened off.
* Prepared Soil: As described above.
* Trowel or Shovel: For digging holes.
* Watering Can or Hose: For watering.
* Row Covers (Optional): To protect seedlings from pests and cold weather.
Here’s the process:
1. Choose a cloudy day. Transplanting on a cloudy day will help reduce stress on the seedlings.
2. Dig holes. Dig holes that are slightly larger than the root balls of the seedlings. Space the holes 12-18 inches apart.
3. Remove the seedlings from their containers. Gently remove the seedlings from their containers, being careful not to damage the roots.
4. Place the seedlings in the holes. Place the seedlings in the holes and backfill with soil.
5. Water thoroughly. Water the seedlings thoroughly after transplanting.
6. Protect from pests. Use row covers to protect the seedlings from pests.
Caring for Your Napa Cabbage
Once your Napa cabbage is planted, here’s how to care for it:
* Watering: Water regularly, especially during dry periods. Napa cabbage needs consistent moisture to thrive. Aim for about 1 inch of water per week.
* Fertilizing: Side-dress with a balanced fertilizer every 2-3 weeks. Follow the instructions on the fertilizer package. You can also use compost tea as a foliar feed.
* Weeding: Keep the area around your Napa cabbage free of weeds. Weeds compete with the cabbage for nutrients and water.
* Pest Control:
* Cabbage Moths: These are a common pest of Napa cabbage. The larvae (cabbage worms) can eat the leaves. Use row covers to prevent cabbage moths from laying eggs on your plants. You can also handpick the worms off the plants or use Bacillus thuringiensis (Bt), a natural insecticide.
* Flea Beetles: These small beetles can chew holes in the leaves of your Napa cabbage. Use row covers to protect your plants. You can also use insecticidal soap or neem oil.
* Aphids: These small, sap-sucking insects can weaken your plants. Spray them off with a strong stream of water or use insecticidal soap.
* Slugs and Snails: These pests can eat the leaves of your Napa cabbage. Use slug bait or handpick them off the plants.
* Disease Control:
* Clubroot: This fungal disease can cause the roots of your Napa cabbage to swell and become distorted. Prevent clubroot by planting in well-draining soil and avoiding planting brassicas (cabbage, broccoli, cauliflower, etc.) in the same location year after year.
* Downy Mildew: This fungal disease can cause yellow spots on
Conclusion
So, there you have it! Growing Napa cabbage at home isn’t just a gardening project; it’s an investment in fresh, flavorful, and healthy eating. Forget those wilted, overpriced heads at the grocery store. Imagine stepping into your own backyard and harvesting crisp, vibrant Napa cabbage whenever you need it. This DIY trick is a must-try for any home gardener, whether you’re a seasoned pro or just starting out.
Why is this a must-try? Because it puts you in control. You control the quality of the soil, the amount of sunlight, and the absence of harmful pesticides. You get to nurture your Napa cabbage from seed to harvest, experiencing the satisfaction of growing your own food. Plus, the flavor of homegrown Napa cabbage is simply unmatched. It’s sweeter, more tender, and bursting with freshness that you just can’t find in store-bought varieties.
But the benefits don’t stop there. Growing your own Napa cabbage is also a sustainable choice. You’re reducing your carbon footprint by eliminating the need for transportation and packaging. You’re also supporting local biodiversity by creating a habitat for beneficial insects. And let’s not forget the cost savings! Once you’ve invested in the initial supplies, growing your own Napa cabbage is far cheaper than buying it regularly.
Now, let’s talk about variations. While the method we’ve outlined is a great starting point, feel free to experiment and adapt it to your own needs and preferences. For example, if you live in a particularly hot climate, you might want to provide your Napa cabbage with some afternoon shade. Or, if you’re short on space, you could try growing it in containers on your balcony or patio.
Consider companion planting to further enhance your Napa cabbage growing experience. Marigolds can help deter pests, while herbs like dill and chamomile can attract beneficial insects. You can also try different varieties of Napa cabbage to find your favorite. Some popular options include ‘Blues’, ‘China Express’, and ‘Optiko’.
Don’t be afraid to get creative with your harvest, too! Napa cabbage is incredibly versatile and can be used in a wide range of dishes. From stir-fries and salads to kimchi and dumplings, the possibilities are endless. Experiment with different recipes and discover new ways to enjoy your homegrown Napa cabbage.
We’re confident that you’ll love growing your own Napa cabbage at home. It’s a rewarding, sustainable, and delicious experience that you won’t regret. So, grab your seeds, get your hands dirty, and start growing!
We encourage you to try this DIY trick and share your experience with us. Let us know what worked well for you, what challenges you faced, and any tips or tricks you discovered along the way. Share your photos and recipes, and let’s build a community of Napa cabbage enthusiasts! We can’t wait to hear your stories and see your beautiful homegrown Napa cabbage. Happy gardening!
Frequently Asked Questions (FAQ)
What is the best time of year to plant Napa cabbage?
Napa cabbage is a cool-season crop, so the best time to plant it depends on your climate. In general, you should aim to plant it in early spring or late summer for a fall harvest. Avoid planting during the hottest months of the year, as high temperatures can cause the plants to bolt (go to seed prematurely). For spring planting, start seeds indoors 6-8 weeks before the last expected frost. For fall planting, direct sow seeds in the garden 8-10 weeks before the first expected frost. Check your local frost dates for the most accurate timing.
How much sunlight does Napa cabbage need?
Napa cabbage needs at least 6 hours of sunlight per day to thrive. Choose a location in your garden that receives full sun for the best results. If you live in a particularly hot climate, you may want to provide some afternoon shade to prevent the plants from overheating.
What kind of soil is best for growing Napa cabbage?
Napa cabbage prefers well-drained, fertile soil that is rich in organic matter. Amend your soil with compost or well-rotted manure before planting to improve its fertility and drainage. The ideal soil pH for Napa cabbage is between 6.0 and 7.5. You can test your soil pH using a home testing kit or by sending a sample to your local agricultural extension office.
How often should I water my Napa cabbage?
Napa cabbage needs consistent moisture to grow properly. Water deeply and regularly, especially during dry periods. Aim to keep the soil consistently moist but not waterlogged. Mulching around the plants can help to retain moisture and suppress weeds. A good rule of thumb is to water when the top inch of soil feels dry to the touch.
What are some common pests and diseases that affect Napa cabbage?
Napa cabbage is susceptible to a variety of pests and diseases, including cabbage worms, aphids, flea beetles, and clubroot. To prevent pest and disease problems, practice good garden hygiene. Remove any plant debris from the garden at the end of the season, and rotate your crops regularly. You can also use row covers to protect your plants from pests. If you do encounter pest or disease problems, treat them promptly with appropriate organic or chemical controls.
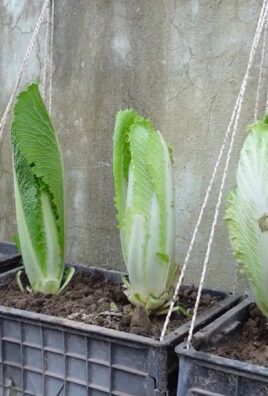
How do I harvest Napa cabbage?
Napa cabbage is ready to harvest when the head is firm and compact. The exact time to harvest will depend on the variety and growing conditions, but it typically takes 70-80 days from planting to harvest. To harvest, simply cut the head off at the base with a sharp knife.
How do I store Napa cabbage?
Napa cabbage can be stored in the refrigerator for several weeks. Wrap the head in plastic wrap or store it in a plastic bag to prevent it from drying out. You can also freeze Napa cabbage, but it will lose some of its texture. To freeze, blanch the cabbage for 2-3 minutes, then cool it in ice water. Drain well and store in freezer bags.
Can I grow Napa cabbage in containers?
Yes, you can grow Napa cabbage in containers, but you’ll need to choose a large container that is at least 12 inches in diameter. Fill the container with a well-draining potting mix and follow the same growing instructions as for growing in the garden. Be sure to water the plants regularly, as containers tend to dry out more quickly than garden soil.
What are some good companion plants for Napa cabbage?
Good companion plants for Napa cabbage include marigolds, dill, chamomile, rosemary, thyme, and onions. These plants can help to deter pests, attract beneficial insects, and improve the overall health of your Napa cabbage plants. Avoid planting Napa cabbage near other members of the brassica family, such as broccoli, cauliflower, and kale, as they can attract the same pests and diseases.
How can I prevent my Napa cabbage from bolting?
Bolting is when a plant prematurely flowers and goes to seed. This can happen to Napa cabbage if it experiences stress, such as high temperatures or inconsistent watering. To prevent bolting, plant your Napa cabbage at the right time of year, provide it with consistent moisture, and protect it from extreme temperatures. Choose bolt-resistant varieties if you live in a hot climate.
Is growing Napa cabbage organically difficult?
Growing Napa cabbage organically is achievable with proper planning and attention. Focus on building healthy soil through composting and cover cropping. Use organic pest control methods like introducing beneficial insects or applying neem oil. Regularly inspect your plants for any signs of pests or diseases and address them promptly with organic solutions. With consistent effort, you can enjoy delicious, organically grown Napa cabbage from your own garden.
Leave a Comment