

Grow Parsley, Beginner Gardener? Absolutely! I know, I know, the thought of starting a garden can feel overwhelming, especially when you’re just beginning. But trust me, there’s no need to be intimidated! We’re diving into the wonderful world of home gardening, and I’m going to share some super simple, yet incredibly effective, DIY tricks and hacks that will have you harvesting fresh herbs in no time.
Parsley, in particular, is a fantastic herb to start with. Did you know that parsley has been cultivated for over 2,000 years? The ancient Greeks and Romans valued it not only for its culinary uses but also for its medicinal properties and even as a symbol of victory! Today, it’s a staple in kitchens worldwide, adding a fresh, vibrant flavor to countless dishes.
But why should you bother growing your own parsley? Well, for starters, store-bought parsley can be expensive and often wilts quickly. Imagine having a constant supply of fresh, organic parsley right outside your door! Plus, growing your own herbs is incredibly rewarding and a great way to connect with nature. These DIY tricks will help you grow parsley successfully, even if you’ve never gardened before. I’ll show you how to avoid common pitfalls and maximize your harvest. Get ready to unleash your inner gardener!
Growing Parsley: A Beginner’s Guide to Fresh Herbs at Home
Hey there, fellow gardening enthusiasts! I’m so excited you’re diving into the wonderful world of growing your own herbs. Parsley is a fantastic choice for beginners – it’s relatively easy to grow, incredibly versatile in the kitchen, and adds a vibrant touch to any garden. I’m going to walk you through everything you need to know to successfully grow parsley, from seed to harvest. Let’s get started!
Choosing Your Parsley Variety
First things first, let’s talk about the different types of parsley. There are two main varieties you’ll encounter:
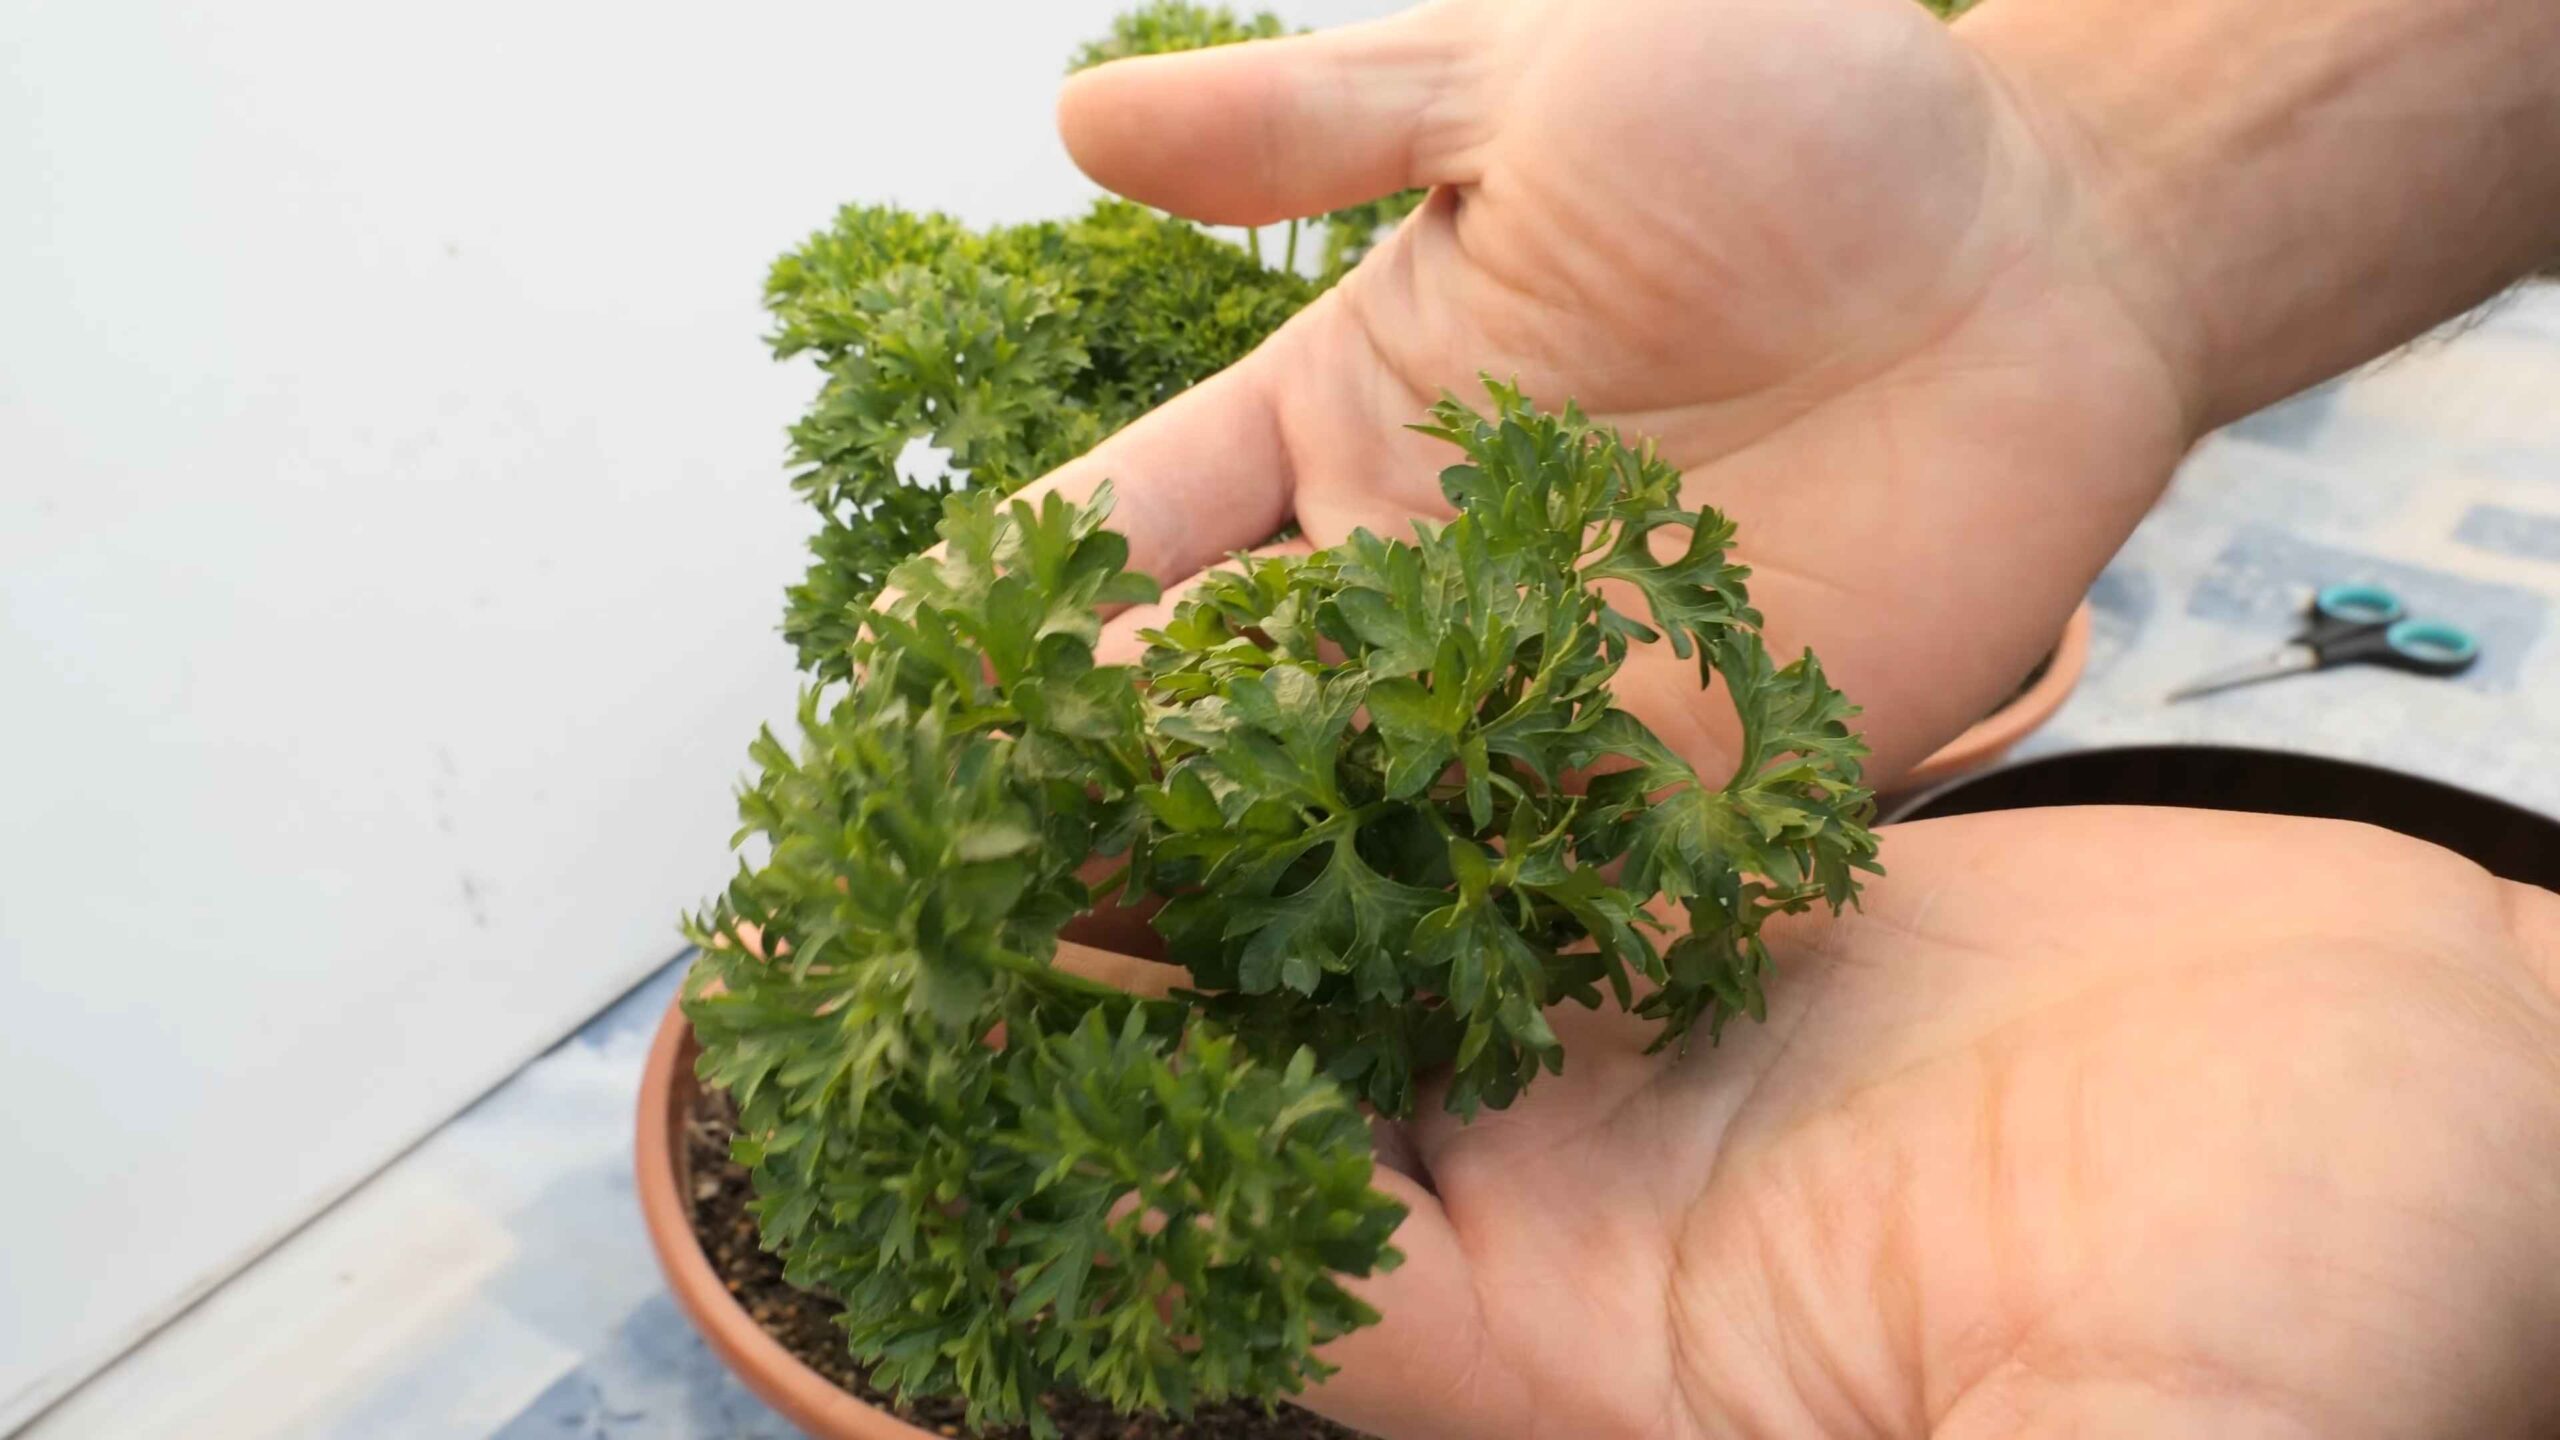
* **Curly Parsley:** This is the classic parsley you often see as a garnish. It has a slightly more robust flavor than flat-leaf parsley.
* **Flat-Leaf Parsley (Italian Parsley):** This variety has a more delicate flavor and is often preferred for cooking. I personally love the intense flavor of flat-leaf parsley in my pasta sauces and salads.
The choice is really up to your personal preference! Both are easy to grow, so pick the one that best suits your culinary needs.
Getting Started: Planting Parsley
Parsley can be grown from seed or from seedlings purchased at a garden center. I’ve had success with both methods, but starting from seed requires a bit more patience.
Starting from Seed:
* **Pros:** More economical, wider variety selection.
* **Cons:** Slower to germinate, requires more attention in the early stages.
Starting from Seedlings:
* **Pros:** Faster results, less demanding in the initial stages.
* **Cons:** Can be more expensive, limited variety selection.
I’ll cover both methods in detail below.
Planting Parsley from Seed
Parsley seeds can be a bit stubborn to germinate, so here’s my tried-and-true method for getting them to sprout:
1. **Soaking the Seeds:** This is a crucial step! Parsley seeds have a hard outer coating that can inhibit germination. Soak the seeds in warm water for 24 hours before planting. This will help soften the coating and encourage sprouting. I usually put them in a small bowl on my kitchen counter.
2. **Preparing the Soil:** Parsley prefers well-draining soil that’s rich in organic matter. You can use a good quality potting mix or create your own by mixing equal parts garden soil, compost, and perlite or vermiculite. I like to add a little bit of bone meal to the soil as well, as it provides phosphorus, which is essential for root development.
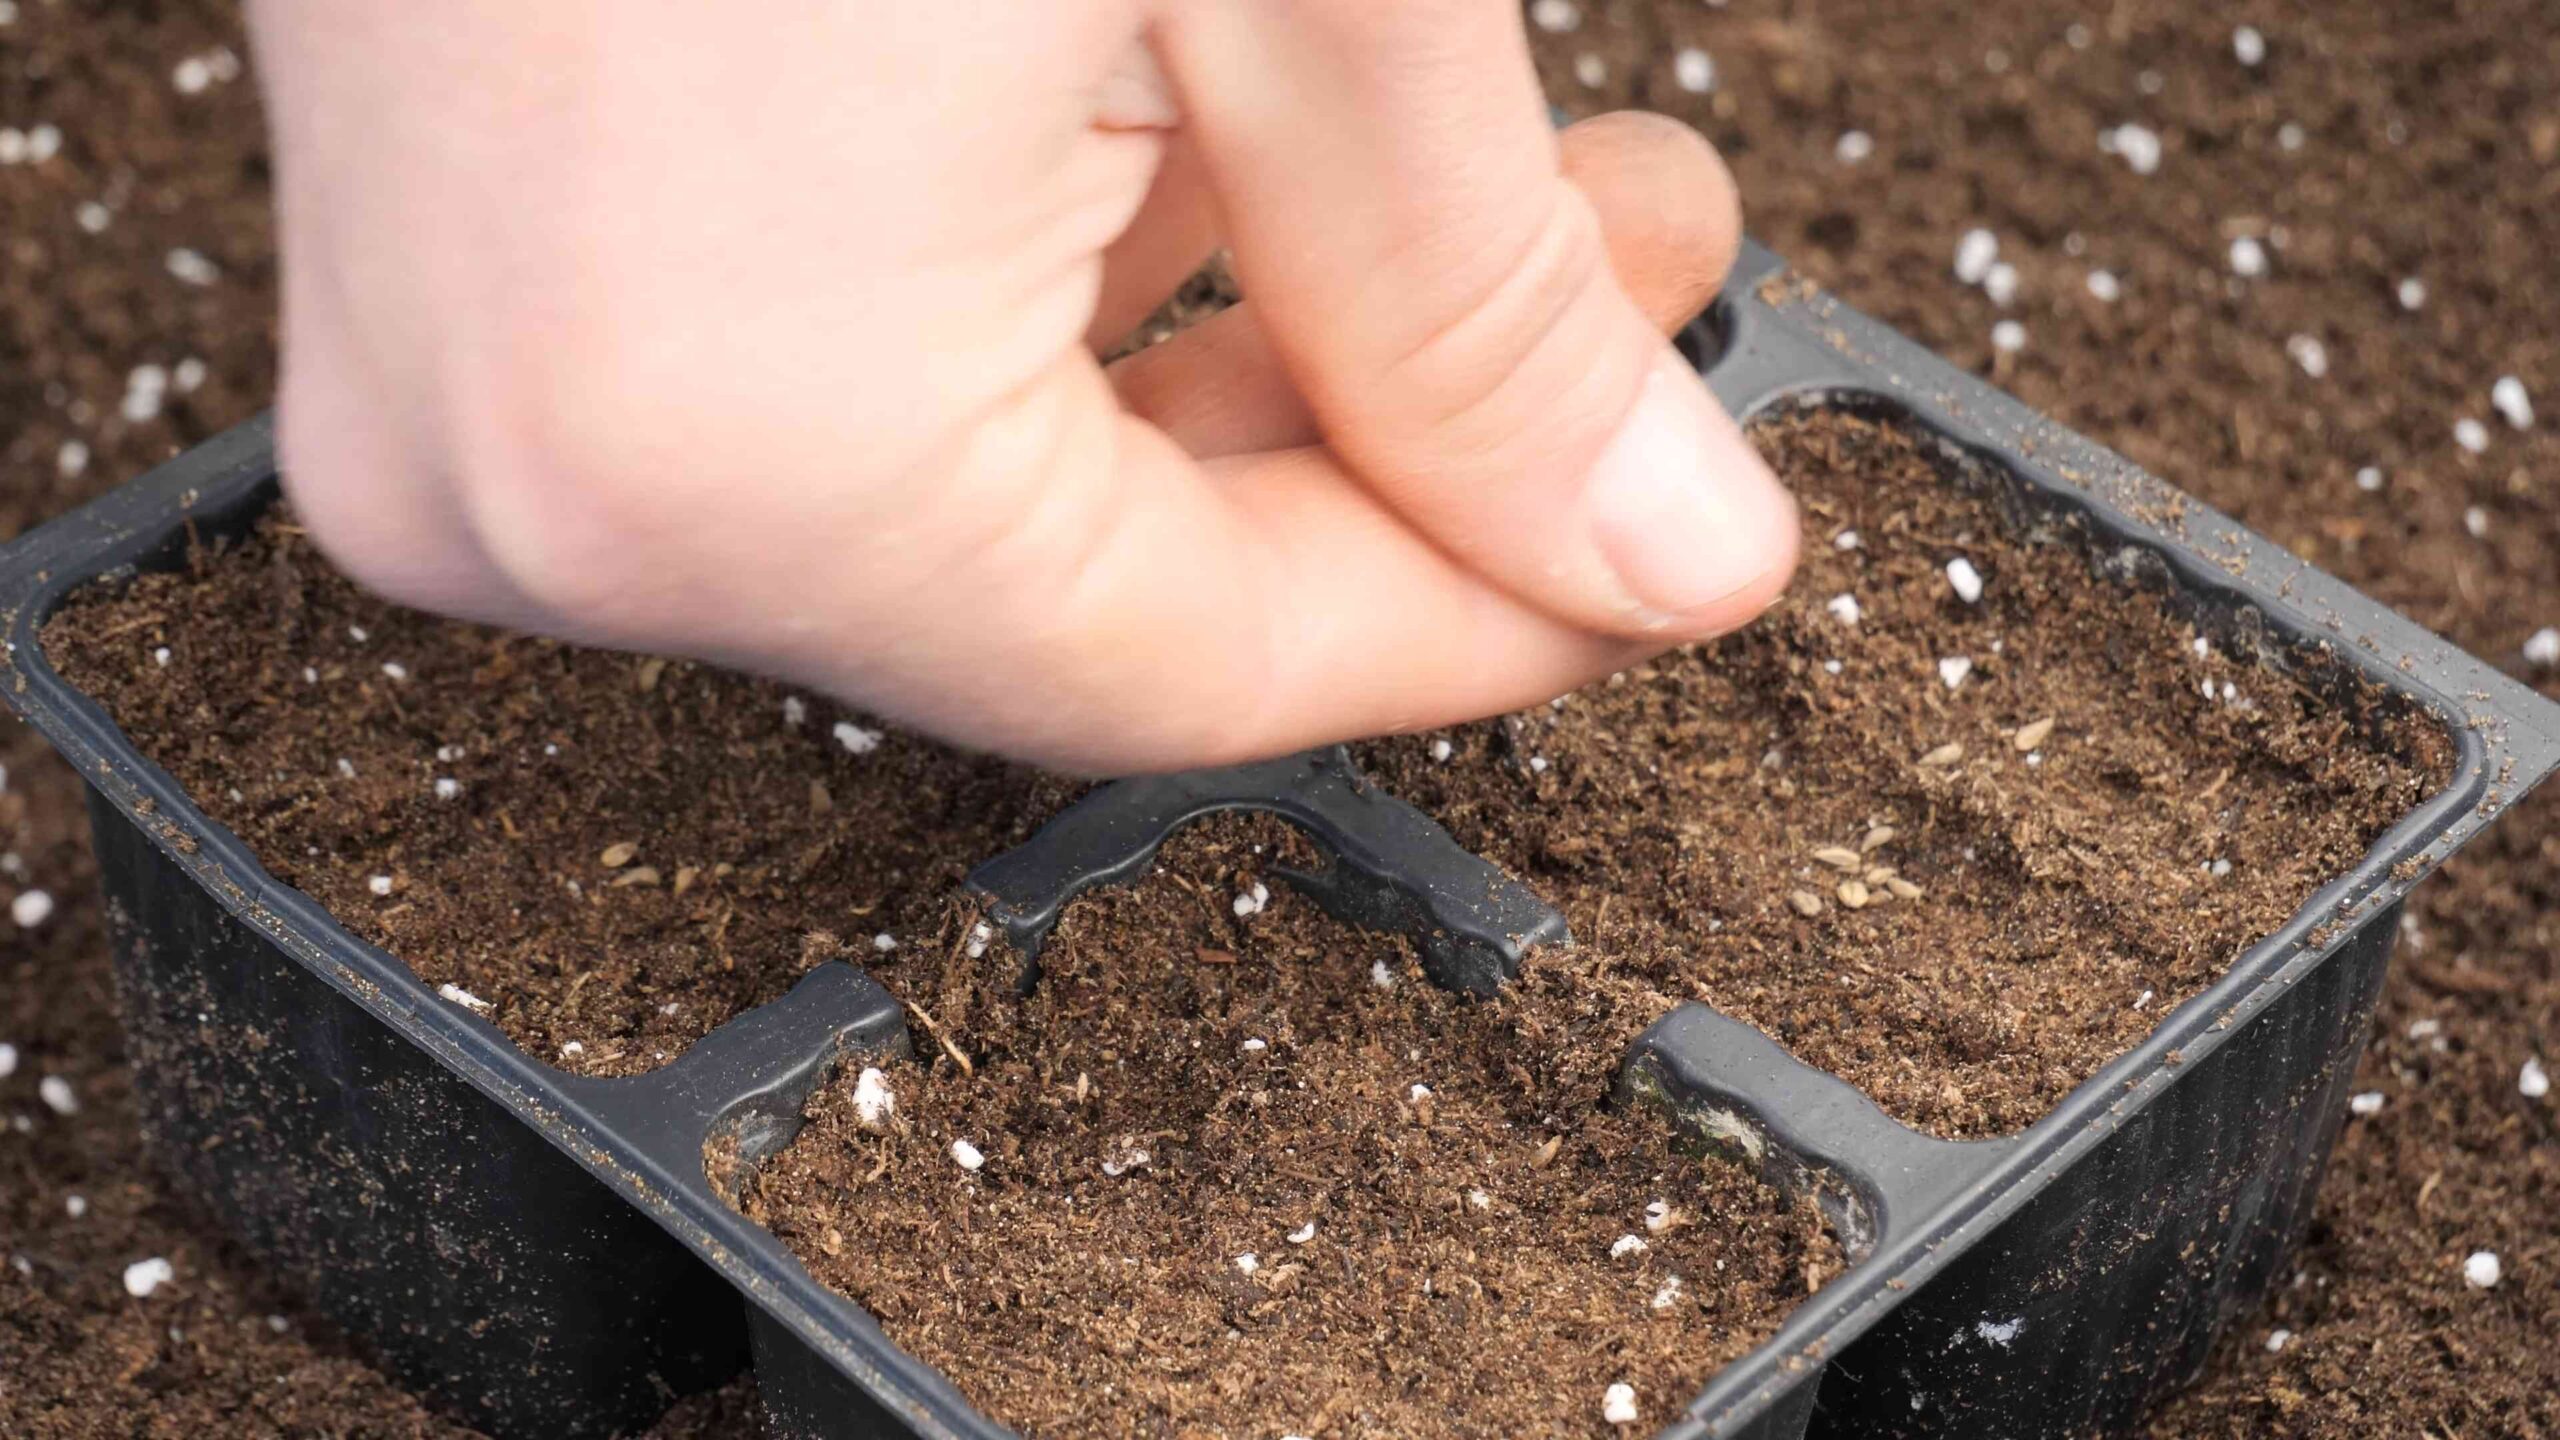
3. **Sowing the Seeds:** You can start parsley seeds indoors 6-8 weeks before the last expected frost, or directly sow them outdoors after the danger of frost has passed.
* **Indoors:** Fill small pots or seed trays with your prepared soil. Sow the seeds about ¼ inch deep and gently cover them with soil. Water thoroughly but gently, being careful not to dislodge the seeds.
* **Outdoors:** Choose a sunny spot in your garden with well-drained soil. Sow the seeds about ¼ inch deep and space them about 6-8 inches apart. Water thoroughly.
4. **Maintaining Moisture:** Keep the soil consistently moist, but not waterlogged. I like to use a spray bottle to mist the soil regularly. If you’re starting seeds indoors, you can cover the pots or trays with a plastic dome or plastic wrap to help retain moisture.
5. **Providing Light:** Parsley needs plenty of light to germinate and grow. If you’re starting seeds indoors, place them under grow lights or in a sunny window. If you’re sowing seeds outdoors, make sure they’re in a location that receives at least 6 hours of sunlight per day.
6. **Patience is Key:** Parsley seeds can take anywhere from 2-4 weeks to germinate, so don’t get discouraged if you don’t see sprouts right away. Just keep the soil moist and be patient!
Planting Parsley Seedlings
If you’re opting for the seedling route, the process is much simpler:
1. **Choosing Healthy Seedlings:** Select seedlings that are vibrant green, have sturdy stems, and show no signs of disease or pests. Avoid seedlings that are leggy or have yellowing leaves.
2. **Preparing the Soil:** As with starting from seed, parsley seedlings need well-draining soil that’s rich in organic matter. Amend your garden soil with compost or use a good quality potting mix.
3. **Planting the Seedlings:** Gently remove the seedlings from their containers and loosen the roots slightly. Dig a hole that’s slightly larger than the root ball and place the seedling in the hole. Backfill with soil and gently firm it around the base of the plant. Space the seedlings about 6-8 inches apart.
4. **Watering:** Water the seedlings thoroughly after planting.
5. **Mulching:** Apply a layer of mulch around the base of the plants to help retain moisture, suppress weeds, and regulate soil temperature. I like to use straw or shredded bark.
Caring for Your Parsley Plants
Once your parsley plants are established, here’s how to keep them thriving:
1. **Watering:** Parsley needs consistent moisture, especially during hot, dry weather. Water deeply whenever the top inch of soil feels dry to the touch. Avoid overwatering, as this can lead to root rot.
2. **Fertilizing:** Parsley is a relatively light feeder, but it will benefit from occasional fertilization. You can use a balanced liquid fertilizer or side-dress with compost every few weeks. I personally prefer using fish emulsion, as it’s a natural and gentle fertilizer.
3. **Sunlight:** Parsley thrives in full sun (at least 6 hours of sunlight per day), but it can also tolerate partial shade, especially in hot climates.
4. **Pest and Disease Control:** Parsley is generally pest and disease resistant, but it can occasionally be affected by aphids, spider mites, or fungal diseases. Inspect your plants regularly and take action if you notice any problems.
* **Aphids:** These tiny insects can suck the sap from your parsley plants, causing them to become weak and stunted. You can control aphids by spraying them with a strong stream of water, using insecticidal soap, or introducing beneficial insects like ladybugs.
* **Spider Mites:** These tiny pests can cause yellowing and stippling on the leaves of your parsley plants. You can control spider mites by spraying them with a strong stream of water, using insecticidal soap, or increasing humidity around the plants.
* **Fungal Diseases:** Fungal diseases like powdery mildew can cause white, powdery patches on the leaves of your parsley plants. You can prevent fungal diseases by providing good air circulation, avoiding overwatering, and using a fungicide if necessary.
5. **Pruning:** Regular pruning is essential for keeping your parsley plants healthy and productive. Pinch off any yellowing or dead leaves, and trim back the stems to encourage bushier growth.
Harvesting Your Parsley
The best part of growing your own parsley is, of course, harvesting it!
1. **When to Harvest:** You can start harvesting parsley as soon as the plants have several sets of leaves.
2. **How to Harvest:** Use scissors or pruning shears to cut the stems near the base of the plant. Avoid cutting more than one-third of the plant at a time, as this can weaken it.
3. **Storing Parsley:** Freshly harvested parsley can be stored in the refrigerator for up to a week. Wrap the parsley in a damp paper towel and place it in a plastic bag or container. You can also freeze parsley for longer storage. Chop the parsley and place it in ice cube trays, then fill the trays with water or olive oil. Once the cubes are frozen, transfer them to a freezer bag.
Troubleshooting Common Parsley Problems
Even with the best care, you might encounter some problems while growing parsley. Here are a few common issues and how to address them:
* **Yellowing Leaves:** This can be caused by overwatering, underwatering, nutrient deficiencies, or pests. Check the soil moisture, fertilize if necessary, and inspect the plants for pests.
* **Leggy Growth:** This is usually caused by insufficient sunlight. Move the plants to a sunnier location or provide supplemental lighting.
* **Slow Growth:** This can be caused by poor soil, insufficient sunlight, or cool temperatures. Amend the soil with compost, move the plants to a sunnier location, and provide protection from frost if necessary.
* **Bolting:** Bolting is when the plant starts to produce flowers and seeds, which can make the leaves taste bitter. This is usually caused by hot weather or stress. To prevent bolting, provide shade during the hottest part of the day, water regularly, and harvest frequently.
Enjoying Your Homegrown Parsley
Now that you’ve successfully grown your own parsley, it’s time to enjoy the fruits (or rather, the herbs!) of your labor. Parsley is incredibly versatile and can be used in a wide variety of dishes. Here are just a few ideas:
* **Garnish:** Use curly
Conclusion
So, there you have it! Mastering the art of growing parsley, even as a beginner gardener, is entirely within your reach. We’ve demystified the process, broken down the steps, and armed you with the knowledge to cultivate your own flourishing parsley patch. Why is this DIY trick a must-try? Because fresh, vibrant parsley elevates countless dishes, adding a burst of flavor and a touch of elegance that dried parsley simply can’t replicate. Imagine the satisfaction of snipping fresh sprigs from your own garden to garnish your pasta, enhance your salads, or create a flavorful pesto.
Beyond the superior taste, growing your own parsley offers a significant cost savings compared to constantly purchasing it from the grocery store. Plus, you’ll have the peace of mind knowing exactly where your parsley comes from and that it’s free from harmful pesticides. It’s a win-win situation for your taste buds, your wallet, and your health!
But the beauty of gardening lies in its adaptability. Feel free to experiment with different varieties of parsley. Flat-leaf parsley (Italian parsley) is known for its robust flavor and is ideal for cooking, while curly parsley adds a decorative touch and a milder taste, perfect for garnishing. You can even try growing both to have a diverse range of flavors and textures at your fingertips.
Consider companion planting to further enhance your parsley’s growth. Tomatoes, carrots, and roses are all excellent companions for parsley, as they can help deter pests and improve the overall health of your garden. You can also grow parsley in containers, making it a perfect option for those with limited space or balcony gardens. Just ensure the container is large enough to accommodate the parsley’s root system and provides adequate drainage.
Don’t be afraid to get your hands dirty and embrace the learning process. Gardening is a journey, and there will be successes and setbacks along the way. But with a little patience, persistence, and the knowledge you’ve gained from this guide, you’ll be well on your way to enjoying a bountiful harvest of fresh, homegrown parsley.
We wholeheartedly encourage you to try this DIY trick for growing parsley. It’s a rewarding experience that will not only enhance your culinary creations but also connect you with nature in a meaningful way. Once you’ve experienced the joy of harvesting your own parsley, we’d love to hear about your journey! Share your experiences, tips, and photos in the comments below. Let’s create a community of parsley enthusiasts and inspire others to embark on their own gardening adventures. Happy growing!
Frequently Asked Questions (FAQ)
1. How long does it take for parsley to germinate?
Parsley seeds are notoriously slow to germinate, often taking anywhere from 2 to 4 weeks, and sometimes even longer. Several factors can influence germination time, including soil temperature, moisture levels, and seed quality. To speed up the process, you can soak the seeds in warm water for 24 hours before planting. This helps to soften the seed coat and encourages germination. Maintaining consistent moisture in the soil is also crucial. Cover the planting area with plastic wrap or a humidity dome to create a greenhouse effect and retain moisture. Be patient and don’t give up!
2. What kind of soil is best for growing parsley?
Parsley thrives in well-draining, fertile soil that is rich in organic matter. A slightly acidic to neutral pH (between 6.0 and 7.0) is ideal. Before planting, amend the soil with compost or well-rotted manure to improve its fertility and drainage. If you’re growing parsley in containers, use a high-quality potting mix that is specifically formulated for herbs or vegetables. Avoid using heavy clay soil, as it can become waterlogged and inhibit root growth.
3. How much sunlight does parsley need?
Parsley prefers full sun, which means at least 6 hours of direct sunlight per day. However, it can also tolerate partial shade, especially in hotter climates. If you live in an area with intense summer heat, providing some afternoon shade can help prevent the leaves from scorching. When growing parsley indoors, place it near a sunny window or use grow lights to ensure it receives adequate light. Insufficient sunlight can result in leggy growth and reduced flavor.
4. How often should I water my parsley plants?
Parsley needs consistent moisture to thrive, but it’s important to avoid overwatering, which can lead to root rot. Water deeply whenever the top inch of soil feels dry to the touch. During hot, dry weather, you may need to water more frequently. When watering, aim for the base of the plant to avoid wetting the foliage, which can increase the risk of fungal diseases. Mulching around the plants can help retain moisture in the soil and reduce the need for frequent watering.
5. How do I harvest parsley?
You can start harvesting parsley once the plants have reached a height of about 6 inches. To harvest, simply snip off the outer stems near the base of the plant, leaving the inner stems to continue growing. Avoid cutting more than one-third of the plant at a time, as this can stunt its growth. Regular harvesting encourages the plant to produce more leaves. Parsley is best used fresh, but you can also dry or freeze it for later use.
6. What are some common pests and diseases that affect parsley?
Parsley is generally a hardy plant, but it can be susceptible to certain pests and diseases. Aphids, spider mites, and whiteflies are common pests that can infest parsley plants. These pests can be controlled with insecticidal soap or neem oil. Fungal diseases, such as powdery mildew and leaf spot, can also affect parsley, especially in humid conditions. To prevent fungal diseases, ensure good air circulation around the plants and avoid overwatering. If you notice any signs of disease, remove the affected leaves immediately.
7. Can I grow parsley indoors?
Yes, parsley can be successfully grown indoors, provided you meet its basic needs. Choose a pot that is at least 6 inches in diameter and has drainage holes. Use a high-quality potting mix and place the pot near a sunny window or under grow lights. Water regularly, allowing the soil to dry slightly between waterings. Fertilize every few weeks with a balanced liquid fertilizer. Indoor parsley may not grow as vigorously as outdoor parsley, but you can still enjoy a steady supply of fresh herbs.
8. Is parsley an annual or a biennial?
Parsley is technically a biennial, which means it completes its life cycle in two years. In the first year, it produces foliage, and in the second year, it flowers, sets seed, and then dies. However, parsley is typically grown as an annual, as the flavor of the leaves can become bitter after the plant flowers. To keep your parsley plants producing flavorful leaves, pinch off any flower stalks that appear. You can also collect the seeds from the flowers to start new plants.
9. How can I store fresh parsley?
To store fresh parsley, trim the stems and place them in a glass of water, like you would with cut flowers. Cover the parsley loosely with a plastic bag and store it in the refrigerator. Change the water every few days to keep the parsley fresh. Alternatively, you can wrap the parsley in a damp paper towel and store it in a plastic bag in the refrigerator. Parsley can also be dried or frozen for longer-term storage. To dry parsley, hang it upside down in a cool, dry place or use a dehydrator. To freeze parsley, chop it finely and place it in ice cube trays with water or olive oil. Once frozen, transfer the cubes to a freezer bag.
10. Can I grow parsley from cuttings?
While it’s more common to grow parsley from seeds, you can also propagate it from cuttings, although the success rate is lower. Take cuttings from healthy, non-flowering stems that are about 4-6 inches long. Remove the lower leaves and dip the cut end in rooting hormone. Plant the cuttings in a well-draining potting mix and keep them moist. Place the cuttings in a warm, humid location and wait for roots to develop, which can take several weeks. Once the cuttings have rooted, you can transplant them into larger pots or into the garden.
Leave a Comment