

Grow potatoes at home easily? Absolutely! Imagine harvesting your own fresh, earthy potatoes right from your backyard or even your balcony. It’s not just a dream; it’s a deliciously achievable reality with a few clever DIY tricks. For centuries, potatoes have been a staple food, sustaining communities and cultures around the globe. From the Inca terraces of the Andes to the humble gardens of today, the potato’s journey is a testament to its resilience and versatility.
But let’s be honest, sometimes the thought of growing your own food can feel a little daunting. Where do you even begin? That’s where these DIY hacks come in! I’m here to show you that you don’t need acres of land or a green thumb of mythical proportions to grow potatoes at home easily. Whether you’re looking to save money, enjoy the unparalleled taste of homegrown produce, or simply connect with nature, these simple, step-by-step guides will empower you to cultivate your own potato patch, no matter how small your space. Get ready to dig in and discover the joy of harvesting your own spuds!
Grow Your Own Potatoes: A Beginner’s Guide to Spud-tastic Success!
Hey there, fellow gardening enthusiasts! Ever dreamt of digging up your own homegrown potatoes? It’s easier than you think, and trust me, the taste of freshly harvested potatoes is unbeatable. I’m going to walk you through everything you need to know to grow potatoes right in your backyard, or even in containers on your patio!
Choosing Your Potato Variety
First things first, let’s talk potatoes! There are so many varieties to choose from, each with its own unique flavor, texture, and growing characteristics. Here’s a quick rundown to help you decide:
* Russets: These are your classic baking potatoes. They’re starchy, fluffy, and perfect for fries and mashed potatoes.
* Yukon Golds: These have a buttery flavor and creamy texture. They’re great for roasting, boiling, and mashing.
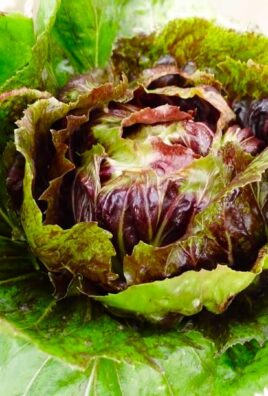
* Red Potatoes: These are waxy and hold their shape well when cooked. They’re ideal for potato salads and boiling.
* Fingerling Potatoes: These are small, elongated potatoes with a firm texture and nutty flavor. They’re delicious roasted or steamed.
* Purple Potatoes: These are visually stunning and packed with antioxidants. They have a slightly earthy flavor and are great for adding color to your dishes.
I personally love growing Yukon Golds because they’re so versatile, but feel free to experiment and find your favorite!
Getting Started: From Seed Potatoes to Sprouting
Okay, so you’ve picked your potato variety. Now it’s time to get your hands on some seed potatoes. Don’t use potatoes from the grocery store! These are often treated to prevent sprouting. Seed potatoes are specifically grown for planting and are disease-free. You can find them at your local garden center or online.
Here’s what you need to do:
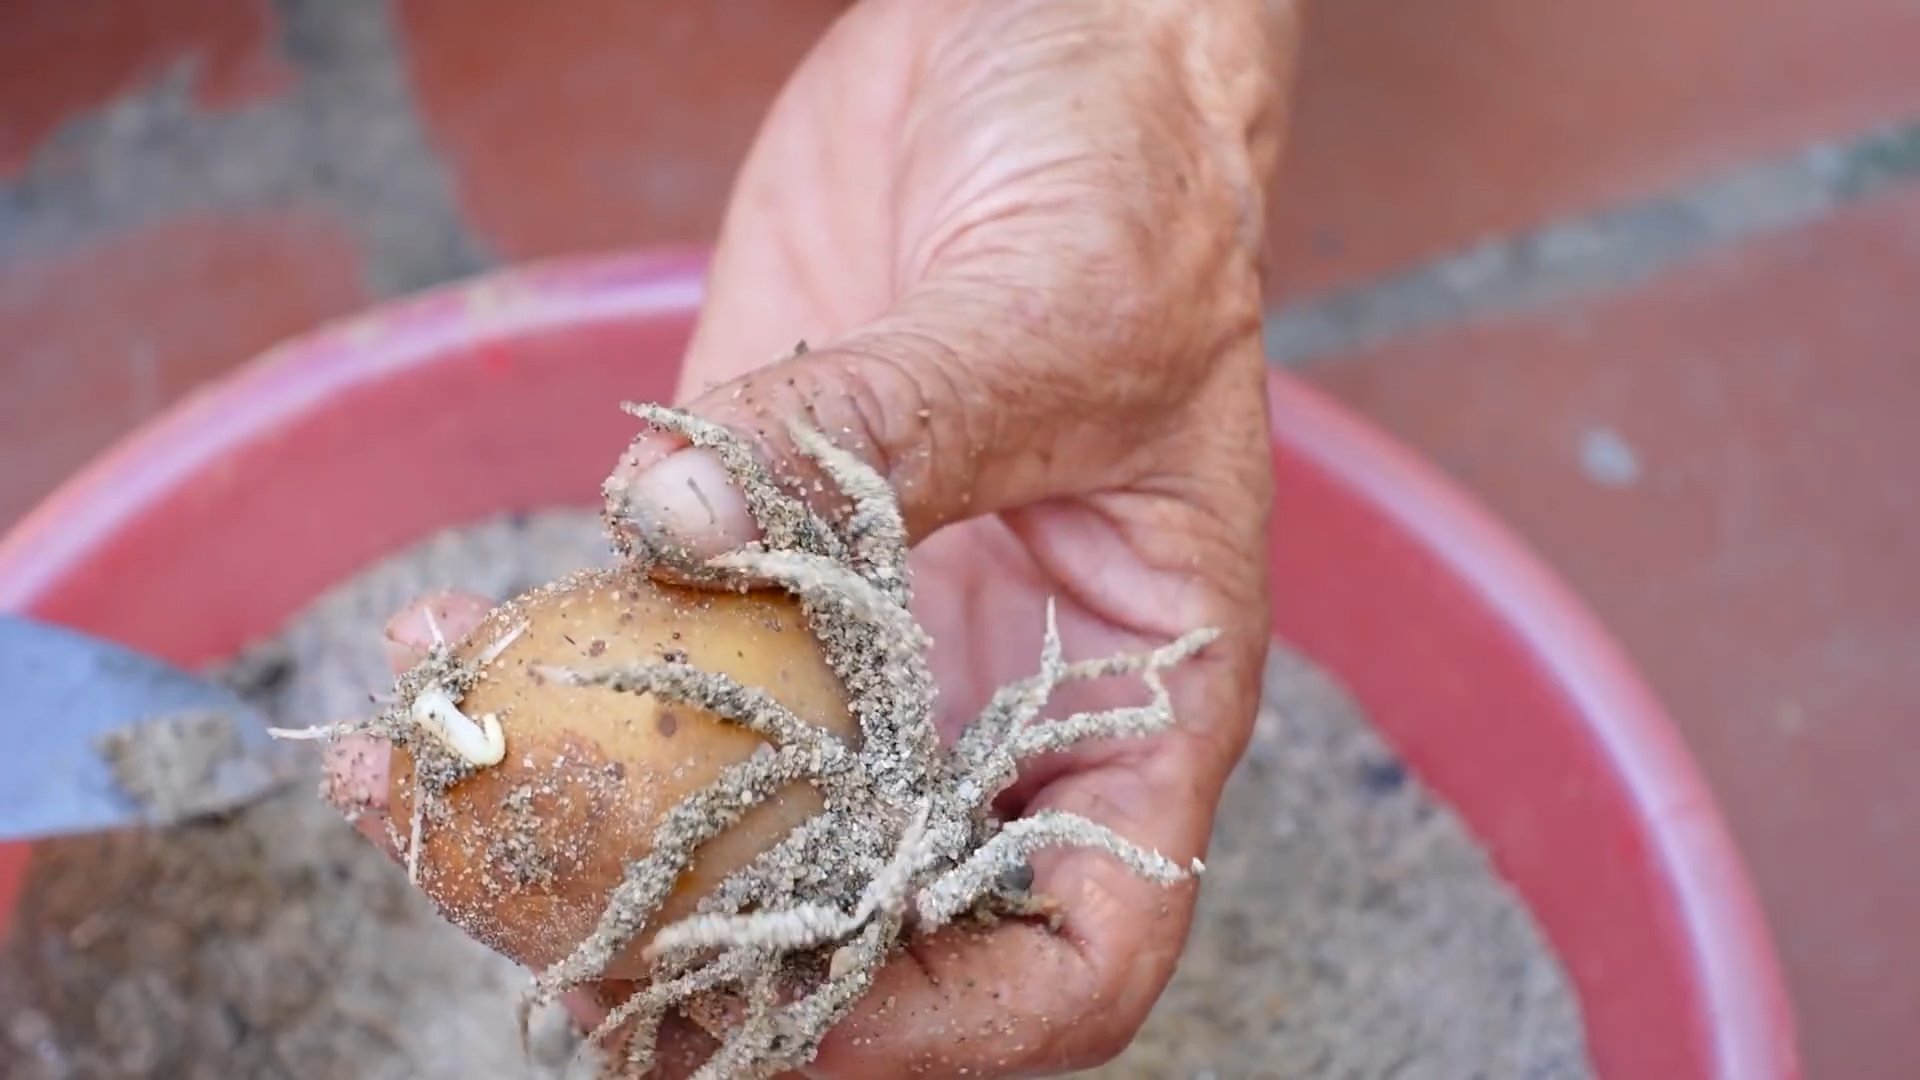
1. Chitting (Sprouting) Your Potatoes: This is an optional but highly recommended step. Chitting gives your potatoes a head start and can result in an earlier harvest. About 4-6 weeks before planting, place your seed potatoes in a cool, bright location (but not in direct sunlight). An egg carton works perfectly for this. You’ll notice small sprouts, called “eyes,” starting to grow.
2. Cutting Large Seed Potatoes: If your seed potatoes are larger than an egg, you can cut them into smaller pieces. Each piece should have at least 2-3 eyes. Let the cut pieces dry for a day or two to allow the cut surfaces to callous over. This helps prevent rot.
Preparing Your Planting Site
Potatoes need well-drained soil that’s rich in organic matter. Here’s how to get your planting site ready:
1. Choose a Sunny Location: Potatoes need at least 6-8 hours of sunlight per day.
2. Prepare the Soil: Dig a trench that is about 6-8 inches deep. Amend the soil with compost or well-rotted manure to improve drainage and fertility. Potatoes prefer slightly acidic soil, so you can also add some peat moss if your soil is alkaline.
3. Consider Container Gardening: If you don’t have a lot of space, you can grow potatoes in containers. Use a large container (at least 15 gallons) with drainage holes. Fill it with a mixture of potting soil, compost, and perlite or vermiculite for drainage.
Planting Your Potatoes
Now for the fun part! It’s time to get those potatoes in the ground.
1. Planting Seed Potatoes: Place the seed potato pieces (or whole small seed potatoes) in the trench, with the eyes facing up. Space them about 12 inches apart.
2. Covering the Potatoes: Cover the potatoes with about 3-4 inches of soil.
3. Watering: Water thoroughly after planting.
Hilling Your Potatoes: The Secret to a Bountiful Harvest
Hilling is a crucial step in growing potatoes. It encourages the potatoes to produce more tubers along the stem.
1. When to Hill: When the potato plants are about 6-8 inches tall, it’s time to start hilling.
2. How to Hill: Use a hoe or shovel to draw soil from the sides of the row up around the base of the plants, covering the stems. Leave the top few inches of the plant exposed.
3. Repeat Hilling: Repeat this process every 2-3 weeks as the plants grow, until you have a mound of soil about 12 inches high.
Caring for Your Potato Plants
Here’s how to keep your potato plants happy and healthy:
1. Watering: Potatoes need consistent moisture, especially during tuber formation. Water deeply whenever the top inch of soil feels dry.
2. Fertilizing: Fertilize your potato plants every few weeks with a balanced fertilizer. Follow the instructions on the fertilizer package.
3. Weeding: Keep the area around your potato plants free of weeds. Weeds compete with the potatoes for nutrients and water.
4. Pest Control: Keep an eye out for pests like potato beetles and aphids. Handpick them off the plants or use an organic insecticide if necessary.
5. Disease Prevention: Potatoes are susceptible to diseases like blight. To prevent disease, choose disease-resistant varieties, provide good air circulation, and avoid overhead watering.
Harvesting Your Potatoes: The Grand Finale!
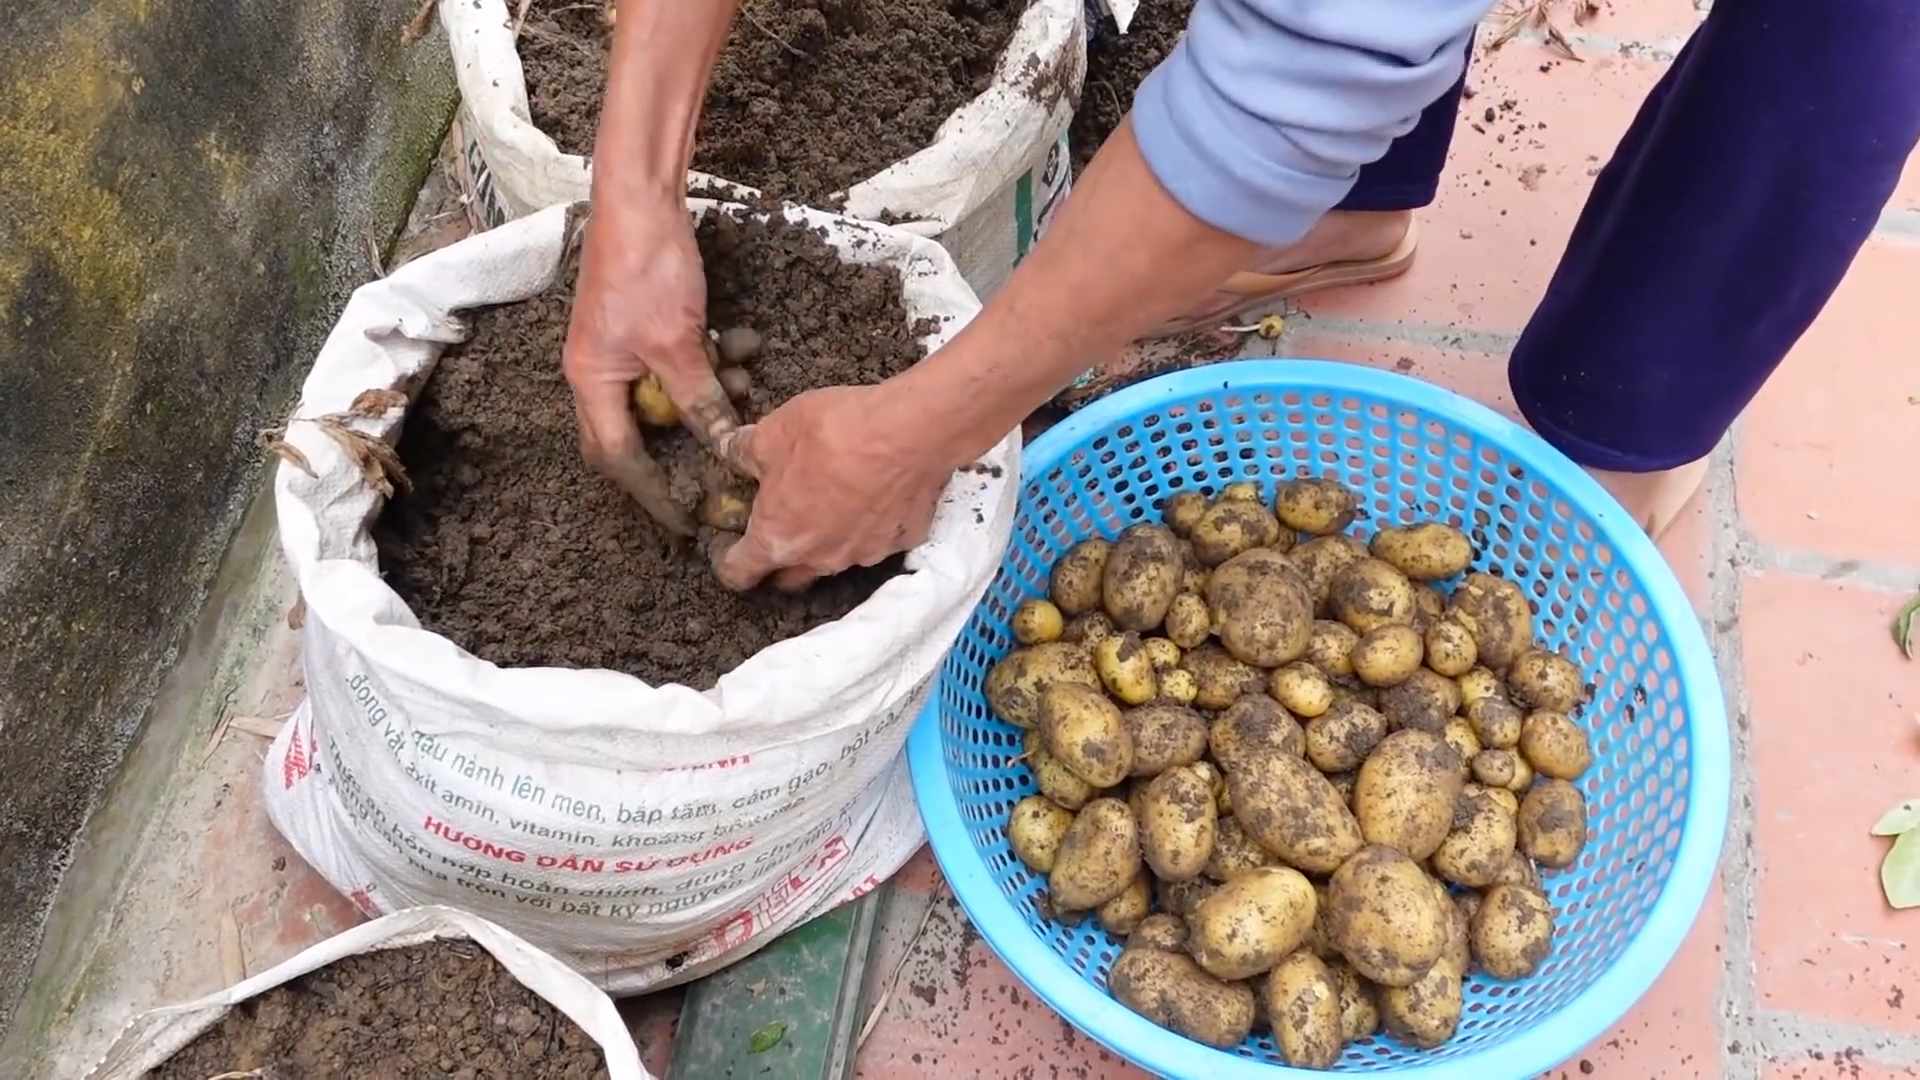
The moment you’ve been waiting for! It’s time to harvest your homegrown potatoes.
1. When to Harvest: You can harvest “new potatoes” (small, tender potatoes) about 2-3 weeks after the plants flower. For mature potatoes, wait until the foliage starts to die back.
2. How to Harvest: Use a garden fork to gently lift the potatoes from the soil. Be careful not to damage the tubers.
3. Curing: After harvesting, cure the potatoes by spreading them out in a cool, dry, dark place for about a week. This helps them to develop a thicker skin and store longer.
Troubleshooting Common Potato Problems
Even with the best care, you might encounter some problems along the way. Here are a few common issues and how to deal with them:
* Potato Scab: This is a common soilborne disease that causes rough, scabby patches on the potatoes. To prevent scab, maintain a slightly acidic soil pH and avoid overwatering.
* Potato Blight: This is a fungal disease that can quickly kill potato plants. To prevent blight, choose disease-resistant varieties, provide good air circulation, and avoid overhead watering. If you see signs of blight, remove the affected foliage immediately.
* Potato Beetles: These pests can defoliate potato plants. Handpick them off the plants or use an organic insecticide.
* Aphids: These small insects can suck the sap from potato plants. Spray them with a strong stream of water or use an insecticidal soap.
Storing Your Potatoes
Proper storage is essential for keeping your potatoes fresh and delicious for months.
1. Choose the Right Potatoes: Select potatoes that are free from bruises, cuts, and blemishes.
2. Store in a Cool, Dark, and Dry Place: The ideal storage temperature for potatoes is between 40-50°F (4-10°C). A root cellar or unheated garage is perfect.
3. Avoid Storing with Apples or Onions: Apples and onions release ethylene gas, which can cause potatoes to sprout prematurely.
4. Check Regularly: Check your potatoes regularly for signs of spoilage. Remove any potatoes that are soft, sprouted, or have green spots.
Enjoying Your Homegrown Potatoes
Congratulations! You’ve successfully grown your own potatoes. Now it’s time to enjoy the fruits (or rather, tubers) of your labor. Here are a few ideas:
* Roasted Potatoes: Toss potatoes with olive oil, herbs, and spices, and roast them in the oven until golden brown and crispy.
* Mashed Potatoes: Boil potatoes until tender, then mash them with butter, milk, and salt and pepper.
* Potato Salad: Boil potatoes until tender, then dice them and mix them with mayonnaise, celery, onion, and other ingredients.
* Potato Soup: Blend cooked potatoes with broth, cream, and seasonings to make a creamy and comforting soup.
* Homemade Fries: Cut potatoes into fries, then deep-fry or bake them until crispy.
Growing your own potatoes is a rewarding experience that’s well worth the effort. With a little bit of planning and care, you can enjoy a bountiful harvest of delicious, homegrown potatoes. Happy gardening!
Conclusion
So, there you have it! Growing potatoes at home is not only achievable, but it’s also incredibly rewarding. Forget the supermarket spuds – imagine the satisfaction of harvesting your own, knowing exactly where they came from and how they were grown. This DIY potato growing trick is a game-changer for anyone looking to embrace a more sustainable lifestyle, enjoy fresher produce, and even save a little money along the way.
Why is this a must-try? Because it simplifies the process, making it accessible even for those with limited space or gardening experience. The method we’ve outlined minimizes weeding, maximizes yield, and protects your precious potatoes from pests and diseases. Plus, there’s something truly magical about watching those green shoots emerge and knowing that delicious, earthy treasures are developing beneath the soil.
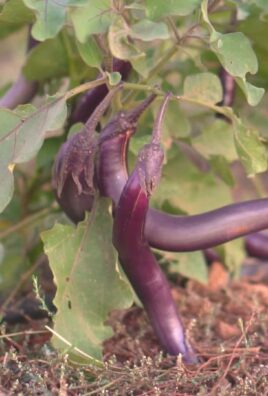
But don’t stop there! Feel free to experiment with different potato varieties. Russets are fantastic for baking and frying, Yukon Golds offer a creamy texture perfect for mashed potatoes, and red potatoes hold their shape beautifully in salads. You can also adjust the size of your growing container to suit your space and desired harvest. Consider adding companion plants like marigolds or basil to deter pests and attract beneficial insects. Another variation is to use different types of soil mixes. Some gardeners swear by a blend of compost, peat moss, and perlite, while others prefer a more organic approach with worm castings and aged manure. The key is to find what works best for your local climate and soil conditions.
And if you’re feeling adventurous, why not try growing potatoes in a tower made from old tires or stacked pallets? This vertical gardening technique is a great way to maximize space and create a visually stunning display. Just be sure to use untreated materials and provide adequate drainage.
Growing potatoes at home is more than just a gardening project; it’s an opportunity to connect with nature, learn new skills, and enjoy the fruits (or rather, vegetables) of your labor. We wholeheartedly encourage you to give this DIY trick a try. You might be surprised at how easy and enjoyable it is.
Once you’ve harvested your first crop of homegrown potatoes, we’d love to hear about your experience! Share your photos, tips, and tricks in the comments below. Let’s create a community of potato-growing enthusiasts and inspire others to embrace the joy of homegrown goodness. What variety did you grow? What challenges did you face, and how did you overcome them? Your insights could be invaluable to other aspiring potato farmers. So, get your hands dirty, plant those seed potatoes, and get ready to enjoy the taste of homegrown success!
Frequently Asked Questions (FAQ)
What kind of potatoes should I use for planting?
You should use seed potatoes, which are potatoes specifically grown for planting. These are certified disease-free and will give you the best results. You can purchase seed potatoes from garden centers or online retailers. Avoid using potatoes from the grocery store, as they may have been treated to prevent sprouting or may carry diseases. If you absolutely must use grocery store potatoes, choose organic ones, as they are less likely to have been treated. Make sure they have “eyes” (small buds) on them, as these are where the sprouts will emerge.
How do I prepare seed potatoes for planting?
Chitting, or pre-sprouting, your seed potatoes can give them a head start. About 4-6 weeks before planting, place the seed potatoes in a cool, bright location (but not in direct sunlight) with the eyes facing upwards. This will encourage them to develop short, green sprouts. Once the sprouts are about an inch long, they’re ready to be planted. You can also cut larger seed potatoes into smaller pieces, ensuring that each piece has at least one or two eyes. Allow the cut pieces to dry for a day or two before planting to prevent rotting.
What kind of soil is best for growing potatoes?
Potatoes prefer well-drained, slightly acidic soil with a pH between 6.0 and 6.5. Amend your soil with compost or other organic matter to improve drainage and fertility. Avoid heavy clay soils, as they can become waterlogged and prevent the potatoes from developing properly. If you have clay soil, consider growing potatoes in raised beds or containers. A good soil mix would be equal parts garden soil, compost, and peat moss or coco coir.
How often should I water my potato plants?
Water your potato plants regularly, especially during dry periods. Keep the soil consistently moist, but avoid overwatering, which can lead to rot. A good rule of thumb is to water deeply once or twice a week, depending on the weather conditions. Check the soil moisture by sticking your finger into the soil a few inches deep. If it feels dry, it’s time to water. During hot weather, you may need to water more frequently.
How do I “hill” my potato plants?
Hilling is the process of adding soil around the base of the potato plants as they grow. This encourages the plants to produce more potatoes along the buried stems. Start hilling when the plants are about 6-8 inches tall. Gently mound soil around the base of the plants, leaving a few inches of the top leaves exposed. Repeat this process every few weeks as the plants grow, until the soil level is about 12-18 inches high.
What are some common potato pests and diseases, and how can I prevent them?
Common potato pests include potato beetles, aphids, and flea beetles. Diseases include early blight, late blight, and potato scab. To prevent pests and diseases, choose disease-resistant potato varieties, practice crop rotation, and keep your garden clean. You can also use organic pest control methods, such as insecticidal soap or neem oil. For diseases, ensure good air circulation around the plants and avoid overhead watering. If you notice signs of pests or diseases, take action immediately to prevent them from spreading.
When is the right time to harvest my potatoes?
The timing of your potato harvest depends on the variety and when you planted them. Generally, early-season potatoes can be harvested about 70-80 days after planting, while late-season potatoes take 90-120 days. You can harvest “new potatoes” (small, immature potatoes) a few weeks after the plants flower. For mature potatoes, wait until the foliage starts to die back. To harvest, carefully dig around the base of the plants with a garden fork, being careful not to damage the potatoes.
How should I store my harvested potatoes?
Store your harvested potatoes in a cool, dark, and dry place with good ventilation. A root cellar is ideal, but a basement or garage can also work. Avoid storing potatoes in the refrigerator, as this can cause them to convert starch to sugar, resulting in a sweet taste. Spread the potatoes out in a single layer on a tray or in a basket, and check them regularly for signs of rot. Properly stored potatoes can last for several months.
Can I grow potatoes in containers?
Yes, growing potatoes in containers is a great option, especially if you have limited space. Choose a large container (at least 10 gallons) with drainage holes. Fill the container with a well-draining potting mix and plant your seed potatoes as described above. As the plants grow, add more soil to the container, leaving a few inches of the top leaves exposed. Water regularly and fertilize as needed.
What fertilizer should I use for growing potatoes?
Potatoes benefit from a balanced fertilizer with a higher potassium content. Look for a fertilizer with an NPK ratio of around 5-10-10 or 10-20-20. Apply the fertilizer according to the package directions, either at planting time or as a side dressing during the growing season. You can also use organic fertilizers, such as compost tea or bone meal. Avoid over-fertilizing, as this can lead to excessive foliage growth and fewer potatoes.

Leave a Comment