

Grow Pumpkins at Home and transform your backyard into a vibrant autumn wonderland! Have you ever dreamed of carving a pumpkin you nurtured from a tiny seed, or baking a delicious pumpkin pie with ingredients straight from your garden? This year, that dream can become a reality with our easy-to-follow DIY guide.
Pumpkins have a rich history, dating back thousands of years to Central America, where they were valued for both their nutritional and practical uses. Indigenous cultures used pumpkins not only for food but also for crafting containers and utensils. Today, pumpkins are a symbol of fall, Halloween, and Thanksgiving, bringing joy and warmth to our homes.
But why should you grow pumpkins at home? Well, store-bought pumpkins can be expensive, and let’s be honest, nothing beats the satisfaction of harvesting your own produce. Plus, growing your own pumpkins allows you to choose from a wider variety of shapes, sizes, and colors than you’ll typically find in stores. Imagine the bragging rights you’ll have when you show off your homegrown gourds! This DIY guide will provide you with simple tricks and hacks to ensure a bountiful harvest, even if you have limited space or gardening experience. Let’s get started and turn your garden into a pumpkin patch!
Grow Your Own Giant Pumpkins: A DIY Guide
Hey there, fellow gardening enthusiasts! Ever dreamed of carving a pumpkin you grew yourself, one so big it’s the envy of the neighborhood? Well, you’ve come to the right place! I’m going to walk you through everything you need to know to cultivate your very own pumpkin patch, from seed to spectacular gourd. It might seem daunting, but trust me, with a little patience and these easy-to-follow steps, you’ll be amazed at what you can achieve.
Choosing Your Pumpkin Variety
Before we get our hands dirty, let’s talk pumpkins. Not all pumpkins are created equal, and the variety you choose will greatly impact your success.
* For Giant Pumpkins: If you’re aiming for a real showstopper, go with the ‘Atlantic Giant’ variety. These are specifically bred for size and can reach hundreds, even thousands, of pounds! Be warned, they require a lot of space and resources.
* For Carving: ‘Connecticut Field’ pumpkins are the classic choice for carving. They’re a good size, have a nice round shape, and are relatively easy to grow.
* For Pie: ‘Sugar Pie’ pumpkins are smaller and sweeter, perfect for baking delicious pumpkin pies and other treats.
* For Ornamental Use: There are tons of fun and colorful ornamental varieties like ‘Jack Be Little’ (tiny orange pumpkins) and ‘Gourds’ (various shapes and colors).
I personally love growing a mix of ‘Atlantic Giant’ (for the wow factor) and ‘Sugar Pie’ (for the delicious pies!).
Starting Your Pumpkin Seeds
Pumpkins need a long growing season, so starting your seeds indoors is often the best way to get a head start, especially if you live in a cooler climate.
* When to Start: About 2-4 weeks before the last expected frost in your area.
* What You’ll Need:
* Pumpkin seeds
* Seed starting mix
* Small pots or seed trays
* Water
* Warm, sunny location or grow lights
Step-by-Step Instructions:
1. Prepare Your Pots: Fill your pots or seed trays with seed starting mix. Make sure the mix is moist but not soggy.
2. Plant the Seeds: Plant 2-3 seeds per pot, about 1 inch deep. This increases your chances of at least one seed germinating.
3. Water Gently: Water the soil gently, being careful not to dislodge the seeds.
4. Provide Warmth: Pumpkin seeds need warmth to germinate. Aim for a soil temperature of around 70-85°F (21-29°C). You can use a heat mat to help maintain the temperature.
5. Provide Light: Place the pots in a warm, sunny location or under grow lights. If using grow lights, keep them on for about 14-16 hours per day.
6. Keep the Soil Moist: Check the soil moisture regularly and water as needed to keep it consistently moist.
7. Thin Seedlings: Once the seedlings emerge (usually within 5-10 days), thin them to one strong seedling per pot. Snip off the weaker seedlings at the soil line to avoid disturbing the roots of the remaining seedling.
Preparing Your Pumpkin Patch
Pumpkins are heavy feeders and need plenty of space to sprawl. Choosing the right location and preparing the soil are crucial for success.
* Sunlight: Pumpkins need at least 6-8 hours of direct sunlight per day.
* Space: Give your pumpkin plants plenty of room to grow. ‘Atlantic Giant’ pumpkins can easily take up 400 square feet! Even smaller varieties need at least 50-100 square feet per plant.
* Soil: Pumpkins prefer well-drained, fertile soil with a pH of 6.0-7.0.
Step-by-Step Instructions:
1. Choose Your Location: Select a sunny spot with plenty of space.
2. Prepare the Soil: Dig a large hole (at least 2 feet wide and 1 foot deep) for each pumpkin plant.
3. Amend the Soil: Mix the soil you removed from the hole with plenty of compost, well-rotted manure, or other organic matter. This will provide the nutrients your pumpkins need to thrive. I like to add a handful of bone meal to the mix as well, as it helps with root development.
4. Backfill the Hole: Fill the hole with the amended soil, creating a slightly raised mound. This will improve drainage.
Transplanting Your Pumpkin Seedlings
Once the danger of frost has passed and your seedlings have developed a few true leaves (the leaves that appear after the initial seed leaves), it’s time to transplant them into your prepared pumpkin patch.
* When to Transplant: After the last frost and when the soil has warmed up to at least 60°F (15°C).
* What You’ll Need:
* Your pumpkin seedlings
* Watering can or hose
* Mulch (straw, hay, or wood chips)
Step-by-Step Instructions:
1. Harden Off Seedlings: Before transplanting, you need to “harden off” your seedlings. This means gradually exposing them to outdoor conditions over a period of about a week. Start by placing them outside in a sheltered location for a few hours each day, gradually increasing the amount of time they spend outdoors.
2. Water the Seedlings: Water the seedlings thoroughly before transplanting.
3. Carefully Remove Seedlings: Gently remove the seedlings from their pots, being careful not to damage the roots.
4. Plant the Seedlings: Plant each seedling in the center of a prepared mound. Space the plants according to the variety you’re growing.
5. Water Thoroughly: Water the newly transplanted seedlings thoroughly.
6. Mulch Around Plants: Apply a layer of mulch around the plants to help retain moisture, suppress weeds, and regulate soil temperature.
Caring for Your Pumpkin Plants
Now that your pumpkin plants are in the ground, it’s time to provide them with the care they need to grow big and strong.
* Watering: Pumpkins need consistent watering, especially during hot, dry weather. Water deeply and regularly, aiming to keep the soil moist but not waterlogged. I usually water deeply 2-3 times a week, depending on the weather.
* Fertilizing: Pumpkins are heavy feeders and need regular fertilization. Use a balanced fertilizer (e.g., 10-10-10) every few weeks, following the instructions on the package. You can also side-dress the plants with compost or well-rotted manure.
* Weeding: Keep the pumpkin patch free of weeds, which can compete with the plants for nutrients and water.
* Pest and Disease Control: Keep an eye out for common pumpkin pests and diseases, such as squash bugs, squash vine borers, and powdery mildew. Take action promptly if you notice any problems. I prefer to use organic pest control methods whenever possible.
* Pollination: Pumpkins have separate male and female flowers. The female flowers need to be pollinated in order to produce pumpkins. If you’re not seeing many bees in your garden, you may need to hand-pollinate the flowers. To do this, simply use a small paintbrush to transfer pollen from the male flowers to the female flowers. You can identify female flowers by the small, immature pumpkin at the base of the flower.
Training Your Pumpkin Vines (Especially for Giant Pumpkins)
If you’re growing ‘Atlantic Giant’ pumpkins, you’ll need to train the vines to maximize the size of your pumpkins.
* Limit the Number of Pumpkins: For giant pumpkins, it’s best to focus on growing just one or two pumpkins per plant. This will allow the plant to direct all of its energy into those pumpkins. Once you have a few pumpkins that are about the size of a basketball, choose the most promising one and remove the others.
* Direct the Vines: Train the vines to grow in a specific direction, away from the main pumpkin. This will help prevent the vines from becoming tangled and overcrowded.
* Bury the Vines: Bury sections of the vines in the soil. This will encourage the vines to root, providing additional support and nutrients to the plant.
* Protect the Pumpkin: As the pumpkin grows, protect it from sunscald by shading it with a cloth or blanket. You can also place a piece of plywood or cardboard underneath the pumpkin to prevent it from rotting.
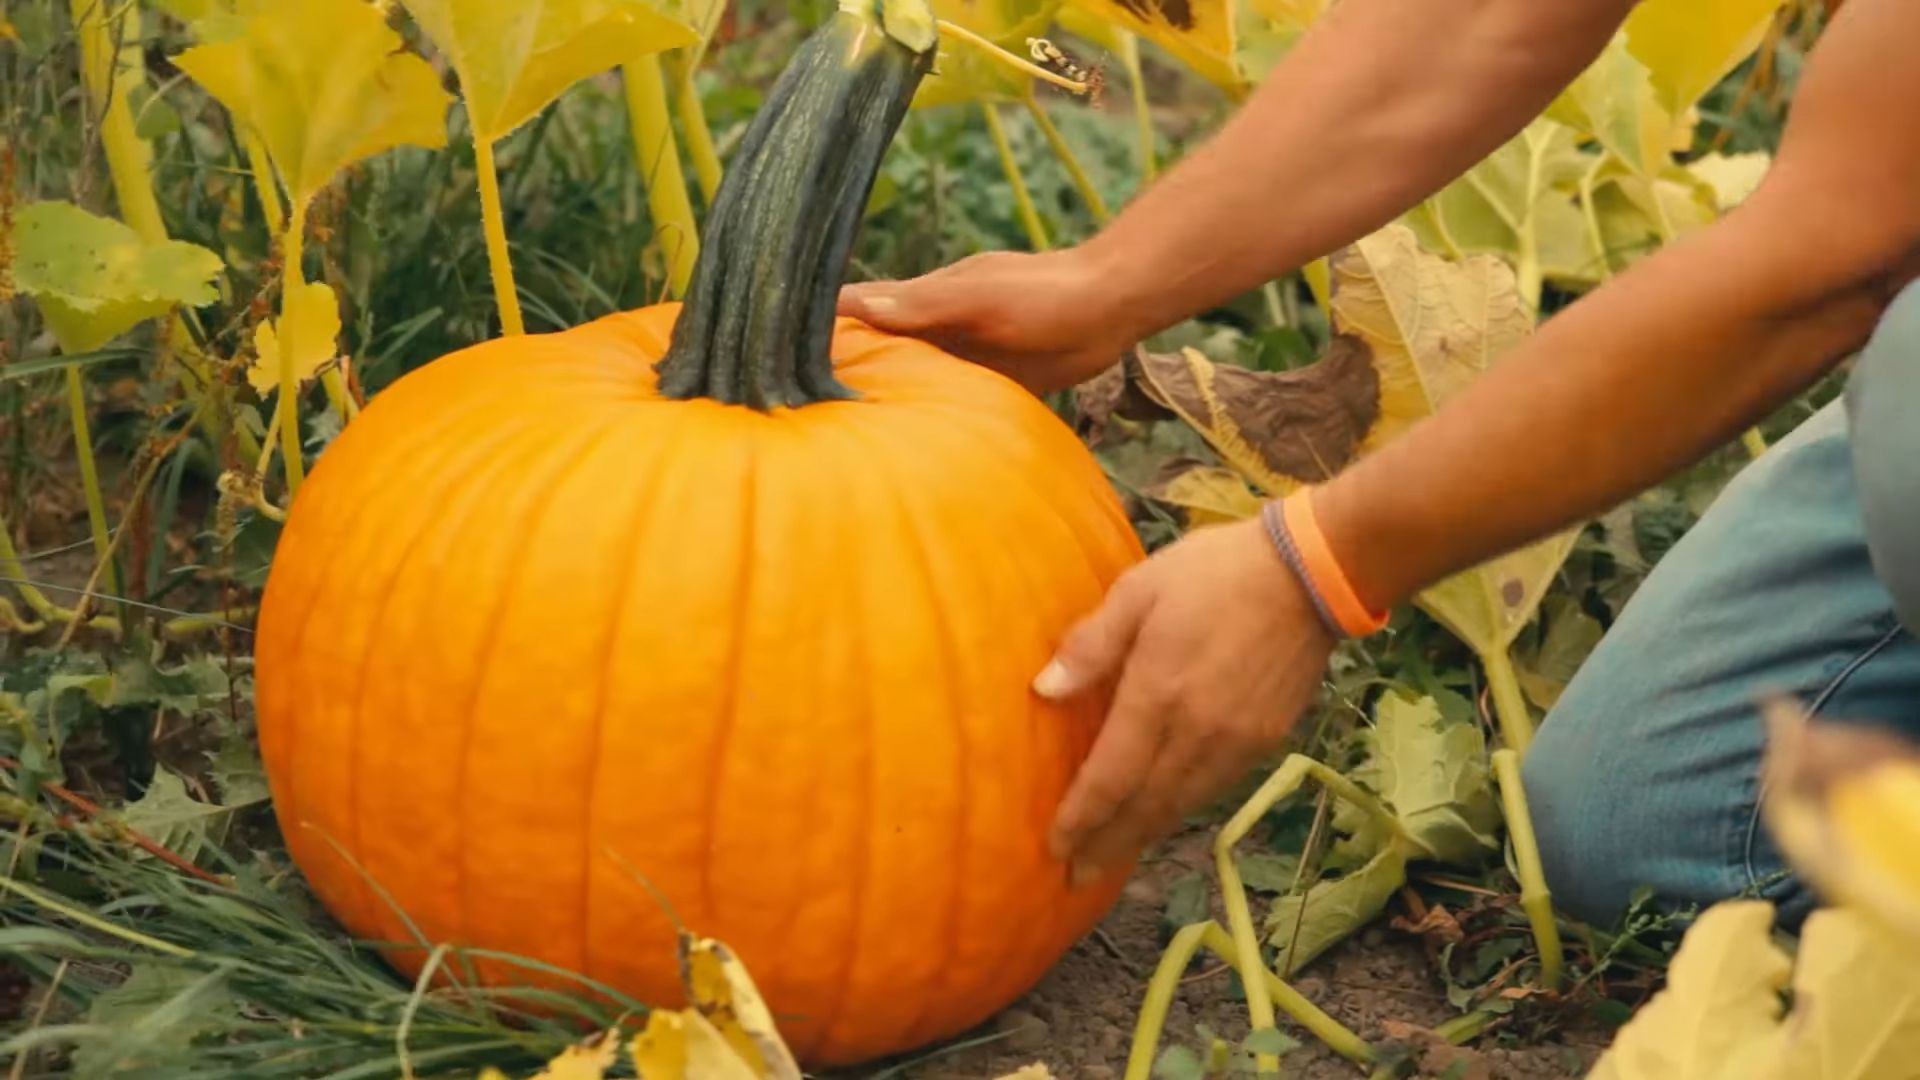
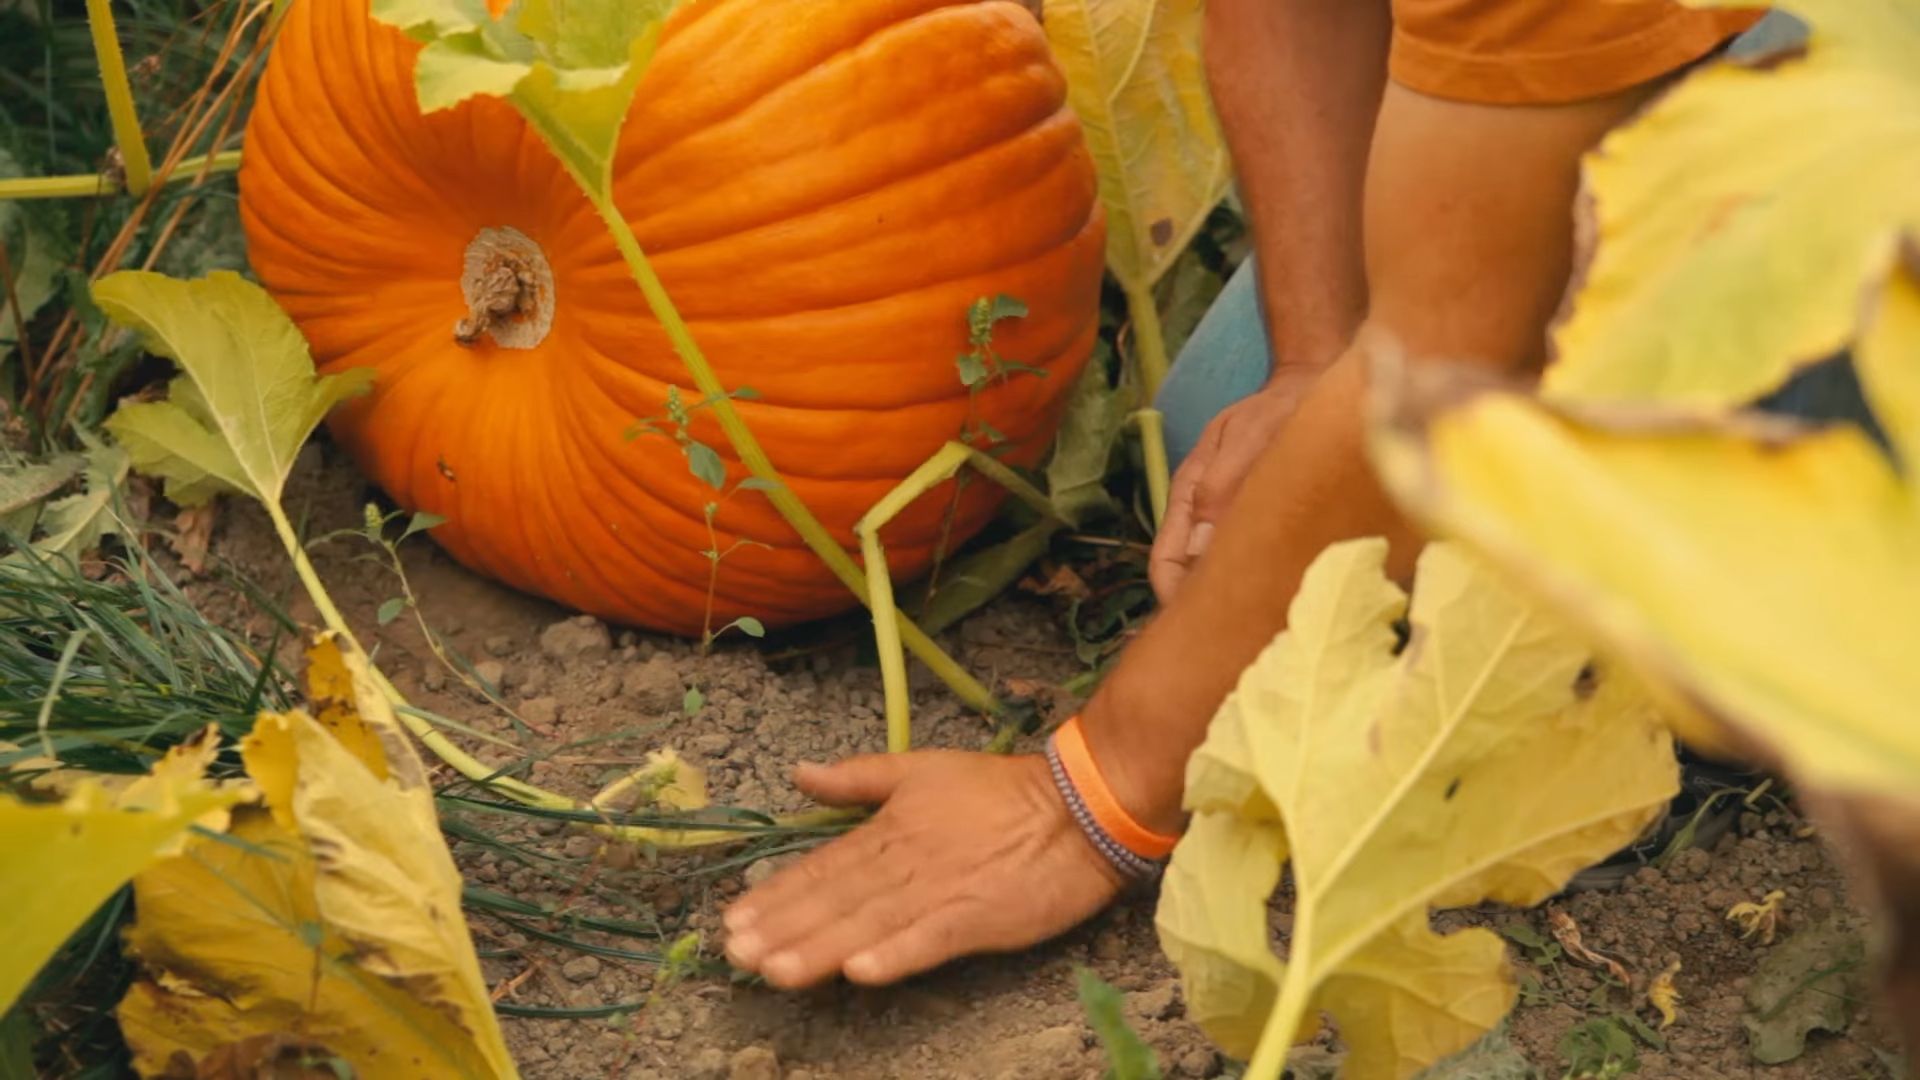
Harvesting Your Pumpkins
The moment you’ve been waiting for! Knowing when to harvest your pumpkins is key to ensuring they’re ripe and ready for carving or baking.
* When to Harvest: Pumpkins are typically ready to harvest in the fall,
Conclusion
So, there you have it! Growing pumpkins at home isn’t just a fun autumn activity; it’s a rewarding experience that connects you with nature and provides you with delicious, homegrown produce. This DIY guide has hopefully demystified the process, showing you that with a little planning, patience, and the right techniques, you can cultivate your own patch of plump, vibrant pumpkins.
Why is this DIY trick a must-try? Because it empowers you to take control of your food source, reduces your reliance on store-bought produce (often transported long distances), and offers a unique opportunity to witness the miracle of growth firsthand. Imagine the satisfaction of carving a jack-o’-lantern from a pumpkin you nurtured from a tiny seed! Or baking a pie with pumpkin puree made from your own harvest. The possibilities are endless.
But the benefits extend beyond the culinary. Gardening, in general, is a fantastic stress reliever. Tending to your pumpkin plants can be a meditative and grounding activity, providing a welcome escape from the hustle and bustle of daily life. Plus, it’s a fantastic project to involve children in, teaching them about the life cycle of plants, the importance of healthy eating, and the value of hard work.
Now, let’s talk variations. While this guide provides a solid foundation, feel free to experiment and adapt it to your specific needs and preferences.
* Consider different pumpkin varieties: From the classic orange carving pumpkins to the smaller, sweeter pie pumpkins like Sugar Pie or Baby Boo, there’s a pumpkin for every purpose. Research different varieties and choose the ones that best suit your climate and culinary aspirations.
* Explore companion planting: Planting certain herbs and flowers alongside your pumpkins can help deter pests and attract beneficial insects. Marigolds, nasturtiums, and basil are all excellent choices.
* Try vertical gardening: If you’re short on space, consider training your pumpkin vines to grow up a trellis or fence. This can help maximize your yield and keep your pumpkins off the ground, reducing the risk of rot.
* Experiment with different fertilizers: While compost is a great natural fertilizer, you can also supplement with other organic options like bone meal or fish emulsion. Just be sure to follow the instructions carefully to avoid over-fertilizing.
Ultimately, the best way to learn is by doing. Don’t be afraid to get your hands dirty, make mistakes, and learn from them. Growing pumpkins at home is a journey, not a destination. Embrace the process, enjoy the challenges, and celebrate your successes.
We encourage you to try this DIY trick and share your experience with us! Post photos of your pumpkin patch on social media using #HomeGrownPumpkins and tag us so we can see your amazing creations. We’d love to hear your tips, tricks, and stories. Let’s build a community of pumpkin-growing enthusiasts and inspire others to embrace the joy of homegrown produce. Remember, the key to success is patience, persistence, and a little bit of pumpkin love. Happy growing! This DIY guide will help you grow pumpkins at home.
Frequently Asked Questions (FAQ)
What is the best time to start growing pumpkins from seed?
The ideal time to start growing pumpkins from seed depends on your climate and the specific pumpkin variety you’re planting. Generally, you should start seeds indoors about 3-4 weeks before the last expected frost in your area. If you’re planting directly in the ground, wait until the soil has warmed up to at least 60°F (15°C). This typically occurs in late spring or early summer. Check your local weather forecasts and seed packets for specific recommendations. Starting too early can lead to leggy seedlings that are difficult to transplant, while starting too late may result in a smaller harvest or no harvest at all.
How much space do pumpkin plants need?
Pumpkin plants are sprawling vines that require a significant amount of space to grow. As a general rule, allow at least 4-6 feet between plants in rows that are 8-10 feet apart. Smaller pumpkin varieties may require less space, while larger varieties may need even more. Consider the mature size of the pumpkin variety you’re planting when determining spacing. Adequate spacing is crucial for proper air circulation, which helps prevent fungal diseases. It also allows the plants to receive sufficient sunlight, which is essential for healthy growth and fruit production. If you’re growing pumpkins in containers, choose large pots that are at least 20 gallons in size.
What kind of soil is best for growing pumpkins?
Pumpkins thrive in well-drained, fertile soil that is rich in organic matter. The ideal soil pH is between 6.0 and 7.0. Before planting, amend your soil with compost, aged manure, or other organic materials to improve its fertility and drainage. If your soil is heavy clay, consider adding sand or perlite to improve drainage. If your soil is sandy, add compost or peat moss to help retain moisture. A soil test can help you determine the specific nutrient deficiencies in your soil and guide your fertilization strategy.
How often should I water my pumpkin plants?
Pumpkin plants need consistent moisture, especially during hot, dry weather. Water deeply and regularly, aiming to keep the soil consistently moist but not waterlogged. Water at the base of the plants to avoid wetting the foliage, which can increase the risk of fungal diseases. A good rule of thumb is to water when the top inch of soil feels dry to the touch. During periods of heavy rainfall, you may not need to water as frequently. Mulching around your pumpkin plants can help retain moisture in the soil and reduce the need for watering.
How do I prevent pests and diseases from attacking my pumpkin plants?
Preventing pests and diseases is crucial for a successful pumpkin harvest. Here are some tips:
* Choose disease-resistant varieties: Select pumpkin varieties that are known to be resistant to common diseases like powdery mildew and squash vine borers.
* Practice crop rotation: Avoid planting pumpkins in the same location year after year to prevent the buildup of soilborne diseases.
* Maintain good air circulation: Space your plants adequately and prune away any overcrowded foliage to improve air circulation.
* Monitor your plants regularly: Inspect your plants regularly for signs of pests or diseases. Early detection is key to effective treatment.
* Use organic pest control methods: If you find pests, try using organic pest control methods like insecticidal soap, neem oil, or diatomaceous earth.
* Remove diseased foliage: If you spot any diseased foliage, remove it immediately to prevent the spread of the disease.
* Attract beneficial insects: Plant flowers that attract beneficial insects like ladybugs and lacewings, which can help control pests.
How do I know when my pumpkins are ripe?
Pumpkins are typically ready to harvest in the fall, about 90-120 days after planting. Here are some signs that your pumpkins are ripe:
* The skin is hard and resistant to scratching: Gently press your fingernail into the skin of the pumpkin. If it’s ripe, the skin will be hard and resistant to scratching.
* The stem is dry and brown: The stem connecting the pumpkin to the vine should be dry, brown, and hard.
* The color is deep and uniform: The pumpkin should have a deep, uniform color that is characteristic of the variety.
* The pumpkin sounds hollow when tapped: Gently tap the pumpkin with your knuckles. If it sounds hollow, it’s likely ripe.
Once your pumpkins are ripe, cut them from the vine with a sharp knife, leaving a few inches of stem attached. Handle them carefully to avoid bruising or damaging the skin. Cure your pumpkins in a warm, dry place for about 1-2 weeks to harden the skin and improve their storage life.
Leave a Comment