

Grow tamarind tree at home? Absolutely! Imagine plucking fresh, tangy tamarind pods right from your own backyard. It’s not just a dream; it’s an achievable reality with a little know-how and some DIY spirit. For centuries, the tamarind tree has been revered across cultures, from its culinary uses in Southeast Asia and India to its medicinal properties recognized in traditional African medicine. It’s a tree steeped in history and brimming with flavor.
But why should you bother to grow tamarind tree at home? Well, beyond the sheer satisfaction of nurturing a plant from seedling to fruit-bearing beauty, you’ll gain access to a sustainable source of this versatile ingredient. No more relying on store-bought tamarind paste filled with preservatives! Plus, let’s be honest, a tamarind tree adds a touch of exotic elegance to any garden. In this article, I’m going to share some simple yet effective DIY tricks and hacks that will guide you through the process, even if you don’t have a green thumb. Get ready to embark on a rewarding journey of growing your own tamarind tree!
Growing Your Own Tamarind Tree: A DIY Guide
Hey there, fellow plant enthusiasts! Ever dreamt of having your own tamarind tree, right in your backyard or even indoors? It might sound ambitious, but trust me, it’s totally doable! I’ve successfully grown a tamarind tree from seed, and I’m here to share my experience and guide you through the process. Get ready to embark on this exciting journey!
Sourcing Your Tamarind Seeds
First things first, you need tamarind seeds. You have a couple of options here:
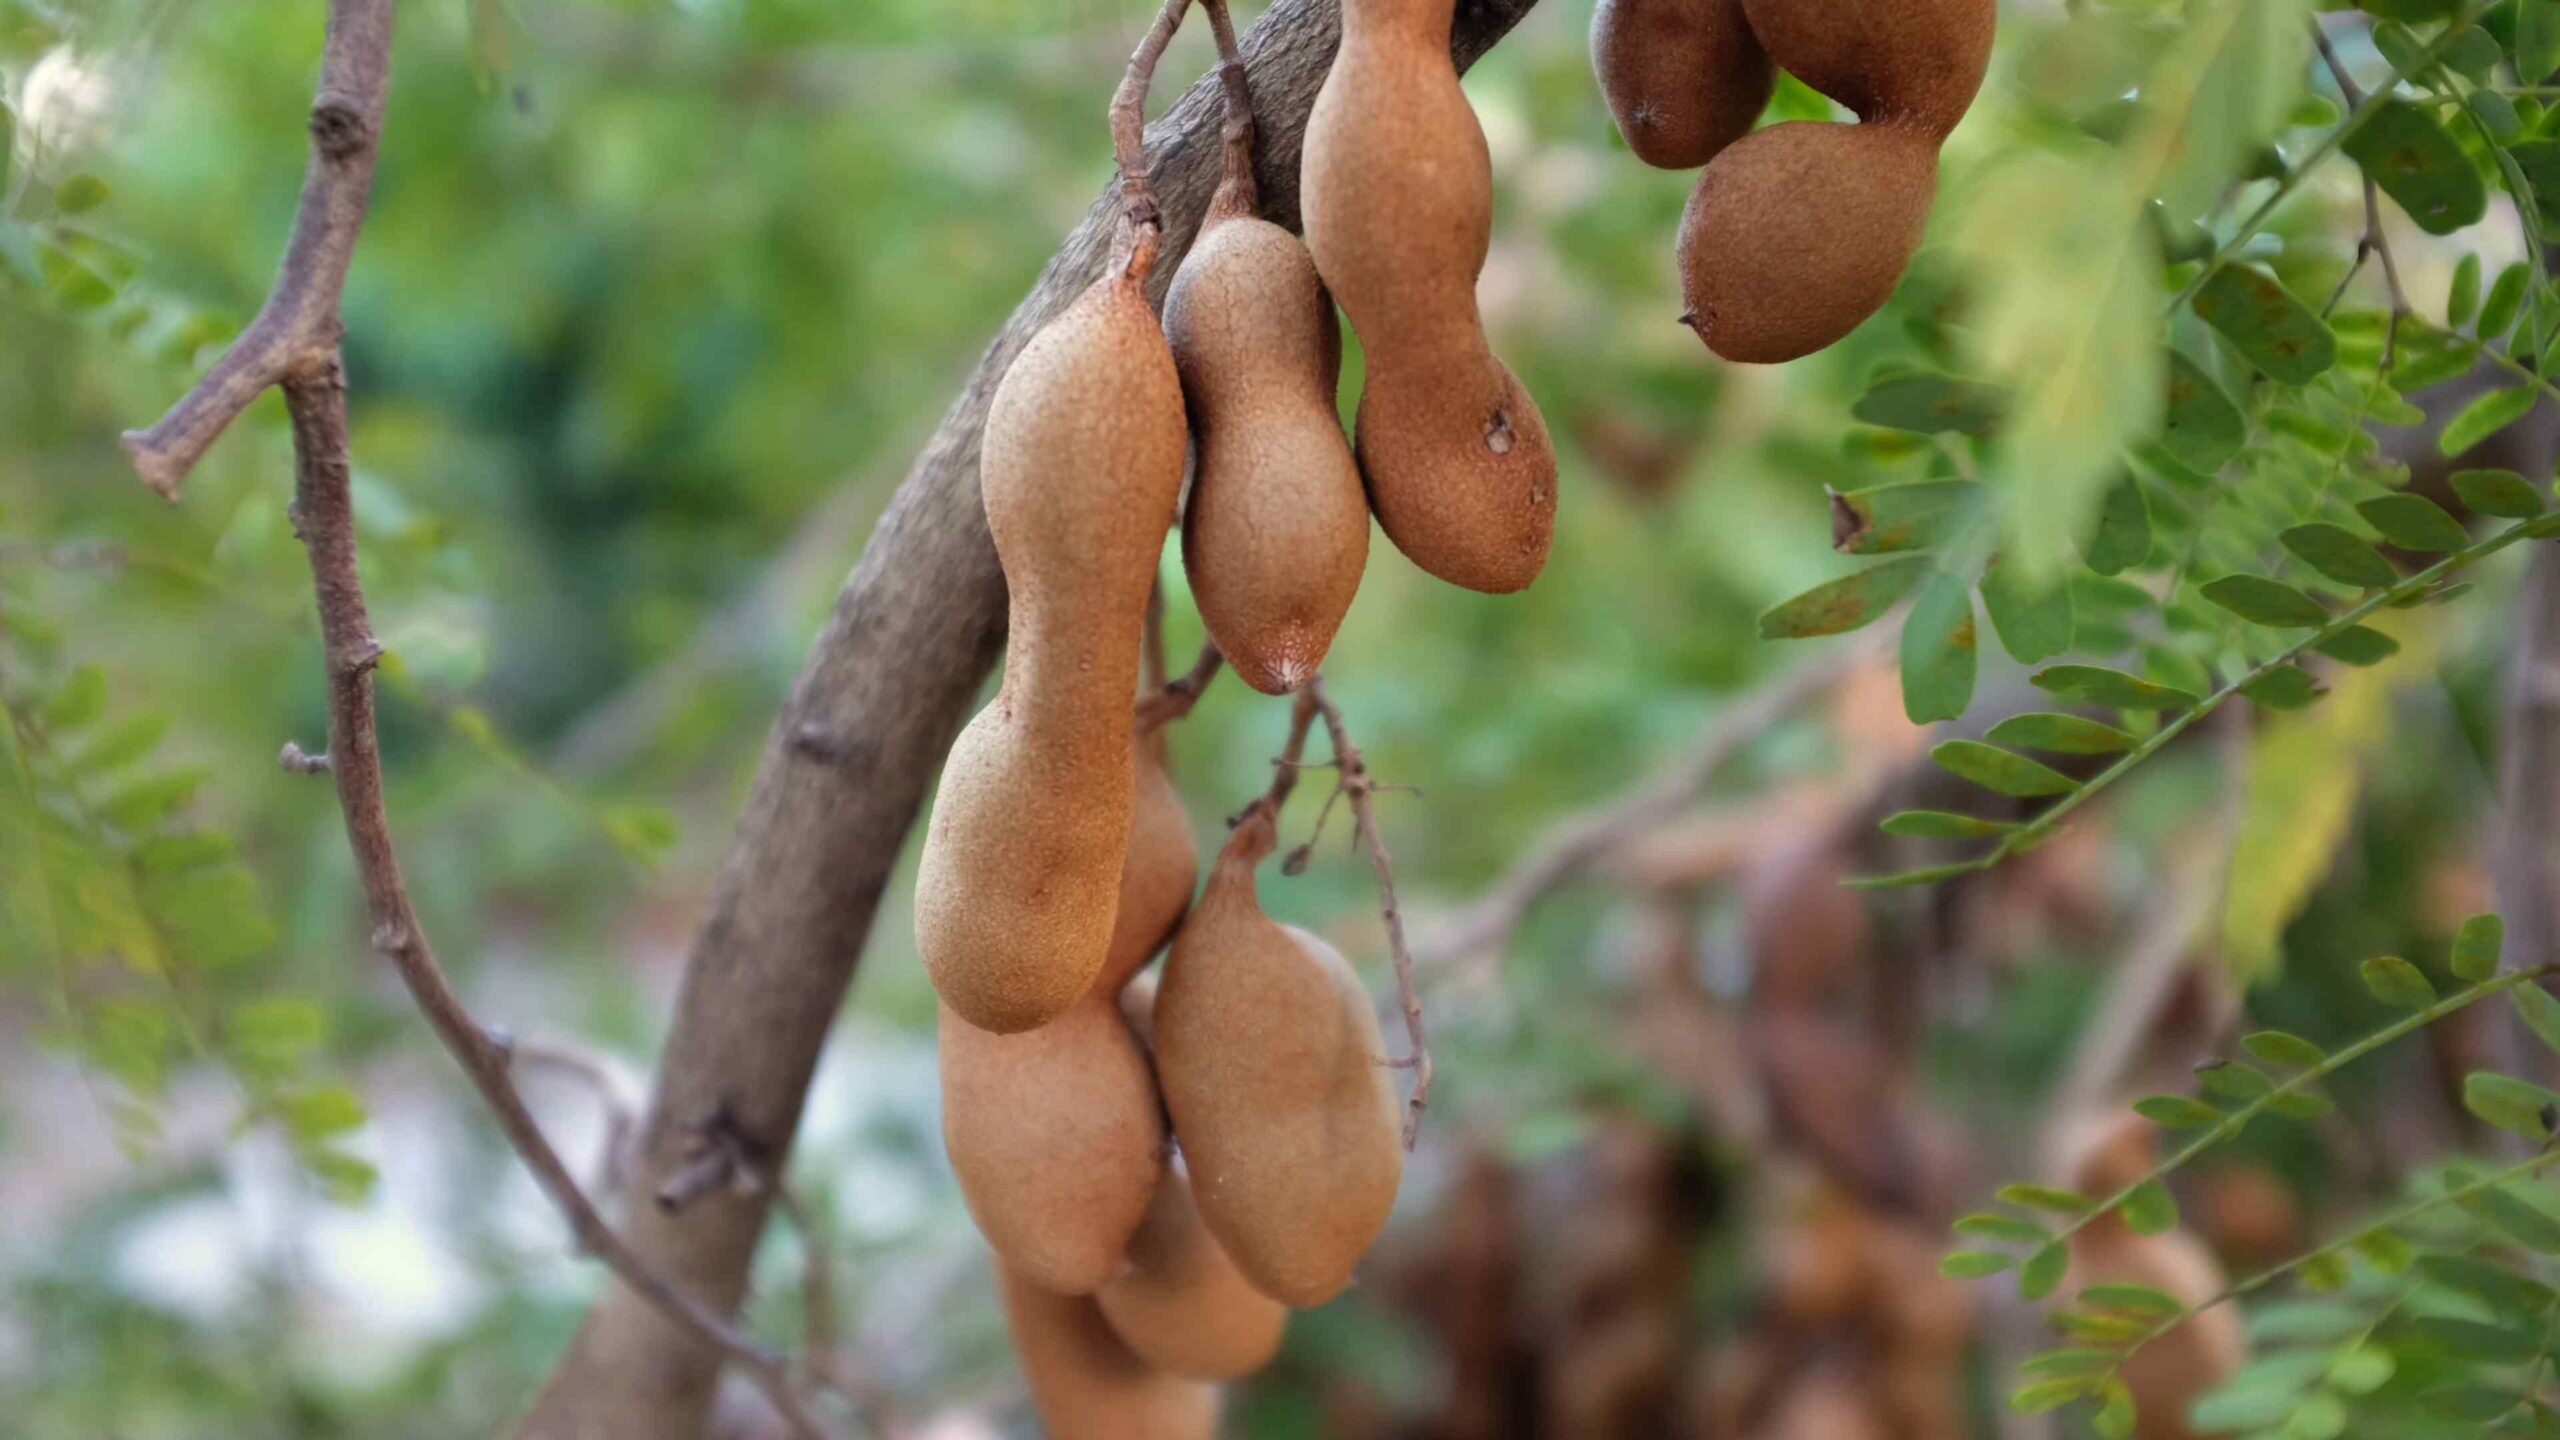
* From Fresh Tamarind Pods: This is my preferred method. Purchase fresh tamarind pods from your local Asian market or grocery store. Choose pods that are plump and feel heavy for their size. The fresher the pods, the higher the germination rate.
* From Dried Tamarind: You can also use dried tamarind, but the germination rate might be lower. Make sure the dried tamarind hasn’t been processed with preservatives that could inhibit germination.
* Online Seed Suppliers: If you can’t find fresh or dried tamarind locally, you can order seeds online from reputable seed suppliers.
Preparing the Tamarind Seeds for Germination
Tamarind seeds have a hard outer shell, which can make germination a bit tricky. To increase your chances of success, we need to scarify and soak the seeds.
1. Scarification: This involves gently damaging the seed coat to allow water to penetrate. There are a few ways to do this:
* Sanding: Use a piece of sandpaper (medium grit) and gently rub the seed coat until it becomes slightly thinner. Be careful not to damage the inner part of the seed.
* Nicking: Use a sharp knife or nail clipper to make a small nick in the seed coat. Again, be very careful not to damage the inner part of the seed.
* Hot Water Treatment (My Preferred Method): Pour very hot (but not boiling) water over the seeds and let them soak for 24-48 hours. This softens the seed coat and helps with germination. This is the method I personally use and have had the best results with.
2. Soaking: After scarification, soak the seeds in lukewarm water for 24-48 hours. This will further soften the seed coat and hydrate the embryo inside. Change the water every 12 hours to prevent fungal growth.
Germinating the Tamarind Seeds
Now comes the fun part – germinating the seeds! You can use a few different methods, but I’ll share the one that has worked best for me:
1. Prepare Your Germination Medium: You’ll need a well-draining germination medium. I recommend using a mix of:
* Peat moss (or coco coir)
* Perlite
* Vermiculite
Mix these ingredients in equal parts. This combination provides good drainage, aeration, and moisture retention.
2. Sow the Seeds: Fill small pots or seedling trays with the germination medium. Make a small hole (about 1/2 inch deep) in the center of each pot. Place one seed in each hole and cover it gently with the medium.
3. Watering: Water the pots gently until the medium is moist but not soggy. Avoid overwatering, as this can lead to fungal problems.
4. Creating a Humid Environment: Tamarind seeds germinate best in a warm, humid environment. You can create this by:
* Placing the pots in a plastic bag or container.
* Covering the pots with a clear plastic wrap.
Make sure to leave some ventilation to prevent mold growth.
5. Temperature and Light: Place the pots in a warm location with indirect sunlight. The ideal temperature for germination is between 75-85°F (24-29°C).
6. Patience is Key: Germination can take anywhere from 1 to 4 weeks, so be patient! Keep the medium moist and check regularly for signs of sprouting.
Transplanting Your Tamarind Seedlings
Once your seedlings have developed a few sets of true leaves (the leaves that look like miniature versions of adult tamarind leaves), it’s time to transplant them into larger pots.
1. Prepare Your Potting Mix: Tamarind trees prefer well-draining soil that is slightly acidic. I recommend using a mix of:
* Potting soil
* Compost
* Perlite
Mix these ingredients in a 2:1:1 ratio.
2. Choose the Right Pot: Select a pot that is at least 6 inches in diameter and has drainage holes.
3. Transplant Carefully: Gently remove the seedling from its germination pot, being careful not to damage the roots. Place the seedling in the center of the new pot and fill it with the potting mix.
4. Water Thoroughly: Water the newly transplanted seedling thoroughly until water drains out of the drainage holes.
5. Location, Location, Location: Place the pot in a location that receives at least 6 hours of direct sunlight per day. Tamarind trees love sunshine!
Caring for Your Tamarind Tree
Now that your tamarind tree is growing, here’s how to keep it happy and healthy:
1. Watering: Water your tamarind tree regularly, especially during the growing season (spring and summer). Allow the soil to dry out slightly between waterings. Avoid overwatering, as this can lead to root rot.
2. Fertilizing: Feed your tamarind tree with a balanced fertilizer (e.g., 10-10-10) every 2-3 months during the growing season. Follow the instructions on the fertilizer package.
3. Pruning: Prune your tamarind tree regularly to maintain its shape and encourage branching. Remove any dead, damaged, or crossing branches.
4. Pest and Disease Control: Keep an eye out for pests and diseases. Common pests that can affect tamarind trees include aphids, scale, and mealybugs. Treat infestations promptly with insecticidal soap or neem oil.
5. Repotting: As your tamarind tree grows, you’ll need to repot it into larger containers. Repot every 1-2 years, or when the roots start to circle the bottom of the pot.
Growing Tamarind Trees Indoors
While tamarind trees thrive outdoors, you can also grow them indoors with a few adjustments:
1. Choose a Large Pot: Select a large pot (at least 12 inches in diameter) to accommodate the tree’s root system.
2. Provide Plenty of Light: Place the pot near a sunny window that receives at least 6 hours of direct sunlight per day. You may also need to supplement with artificial grow lights.
3. Maintain Humidity: Indoor environments can be dry, which tamarind trees don’t like. Increase humidity by:
* Using a humidifier.
* Placing the pot on a tray filled with pebbles and water.
* Misting the leaves regularly.
4. Ventilation: Ensure good air circulation to prevent fungal problems.
5. Temperature: Maintain a consistent temperature between 65-80°F (18-27°C).
Patience and Potential Challenges
Growing a tamarind tree from seed takes time and patience. Don’t be discouraged if you encounter challenges along the way. Here are a few things to keep in mind:
* Slow Growth: Tamarind trees are relatively slow-growing, especially in their early years.
* Dormancy: Tamarind trees may go dormant during the winter months. Growth will slow down or stop altogether.
* Fruiting: It can take several years (5-10 years or more) for a tamarind tree grown from seed to produce fruit. Grafted trees will fruit much sooner.
* Pest and Disease Issues: Be vigilant about monitoring your tree for pests and diseases.
Troubleshooting Common Problems
Here are some common problems you might encounter and how to address them:
* Yellowing Leaves: This could be due to overwatering, underwatering, nutrient deficiency, or pest infestation. Adjust your watering schedule, fertilize your tree, and inspect for pests.
* Leaf Drop: This could be due to stress from transplanting, sudden changes in temperature, or lack of humidity. Provide consistent care and maintain a stable environment.
* Stunted Growth: This could be due to insufficient light, poor soil, or rootbound conditions. Provide more light, repot into a larger container with fresh soil, and fertilize your tree.
* Pest Infestation: Treat infestations promptly with insecticidal soap or neem oil.
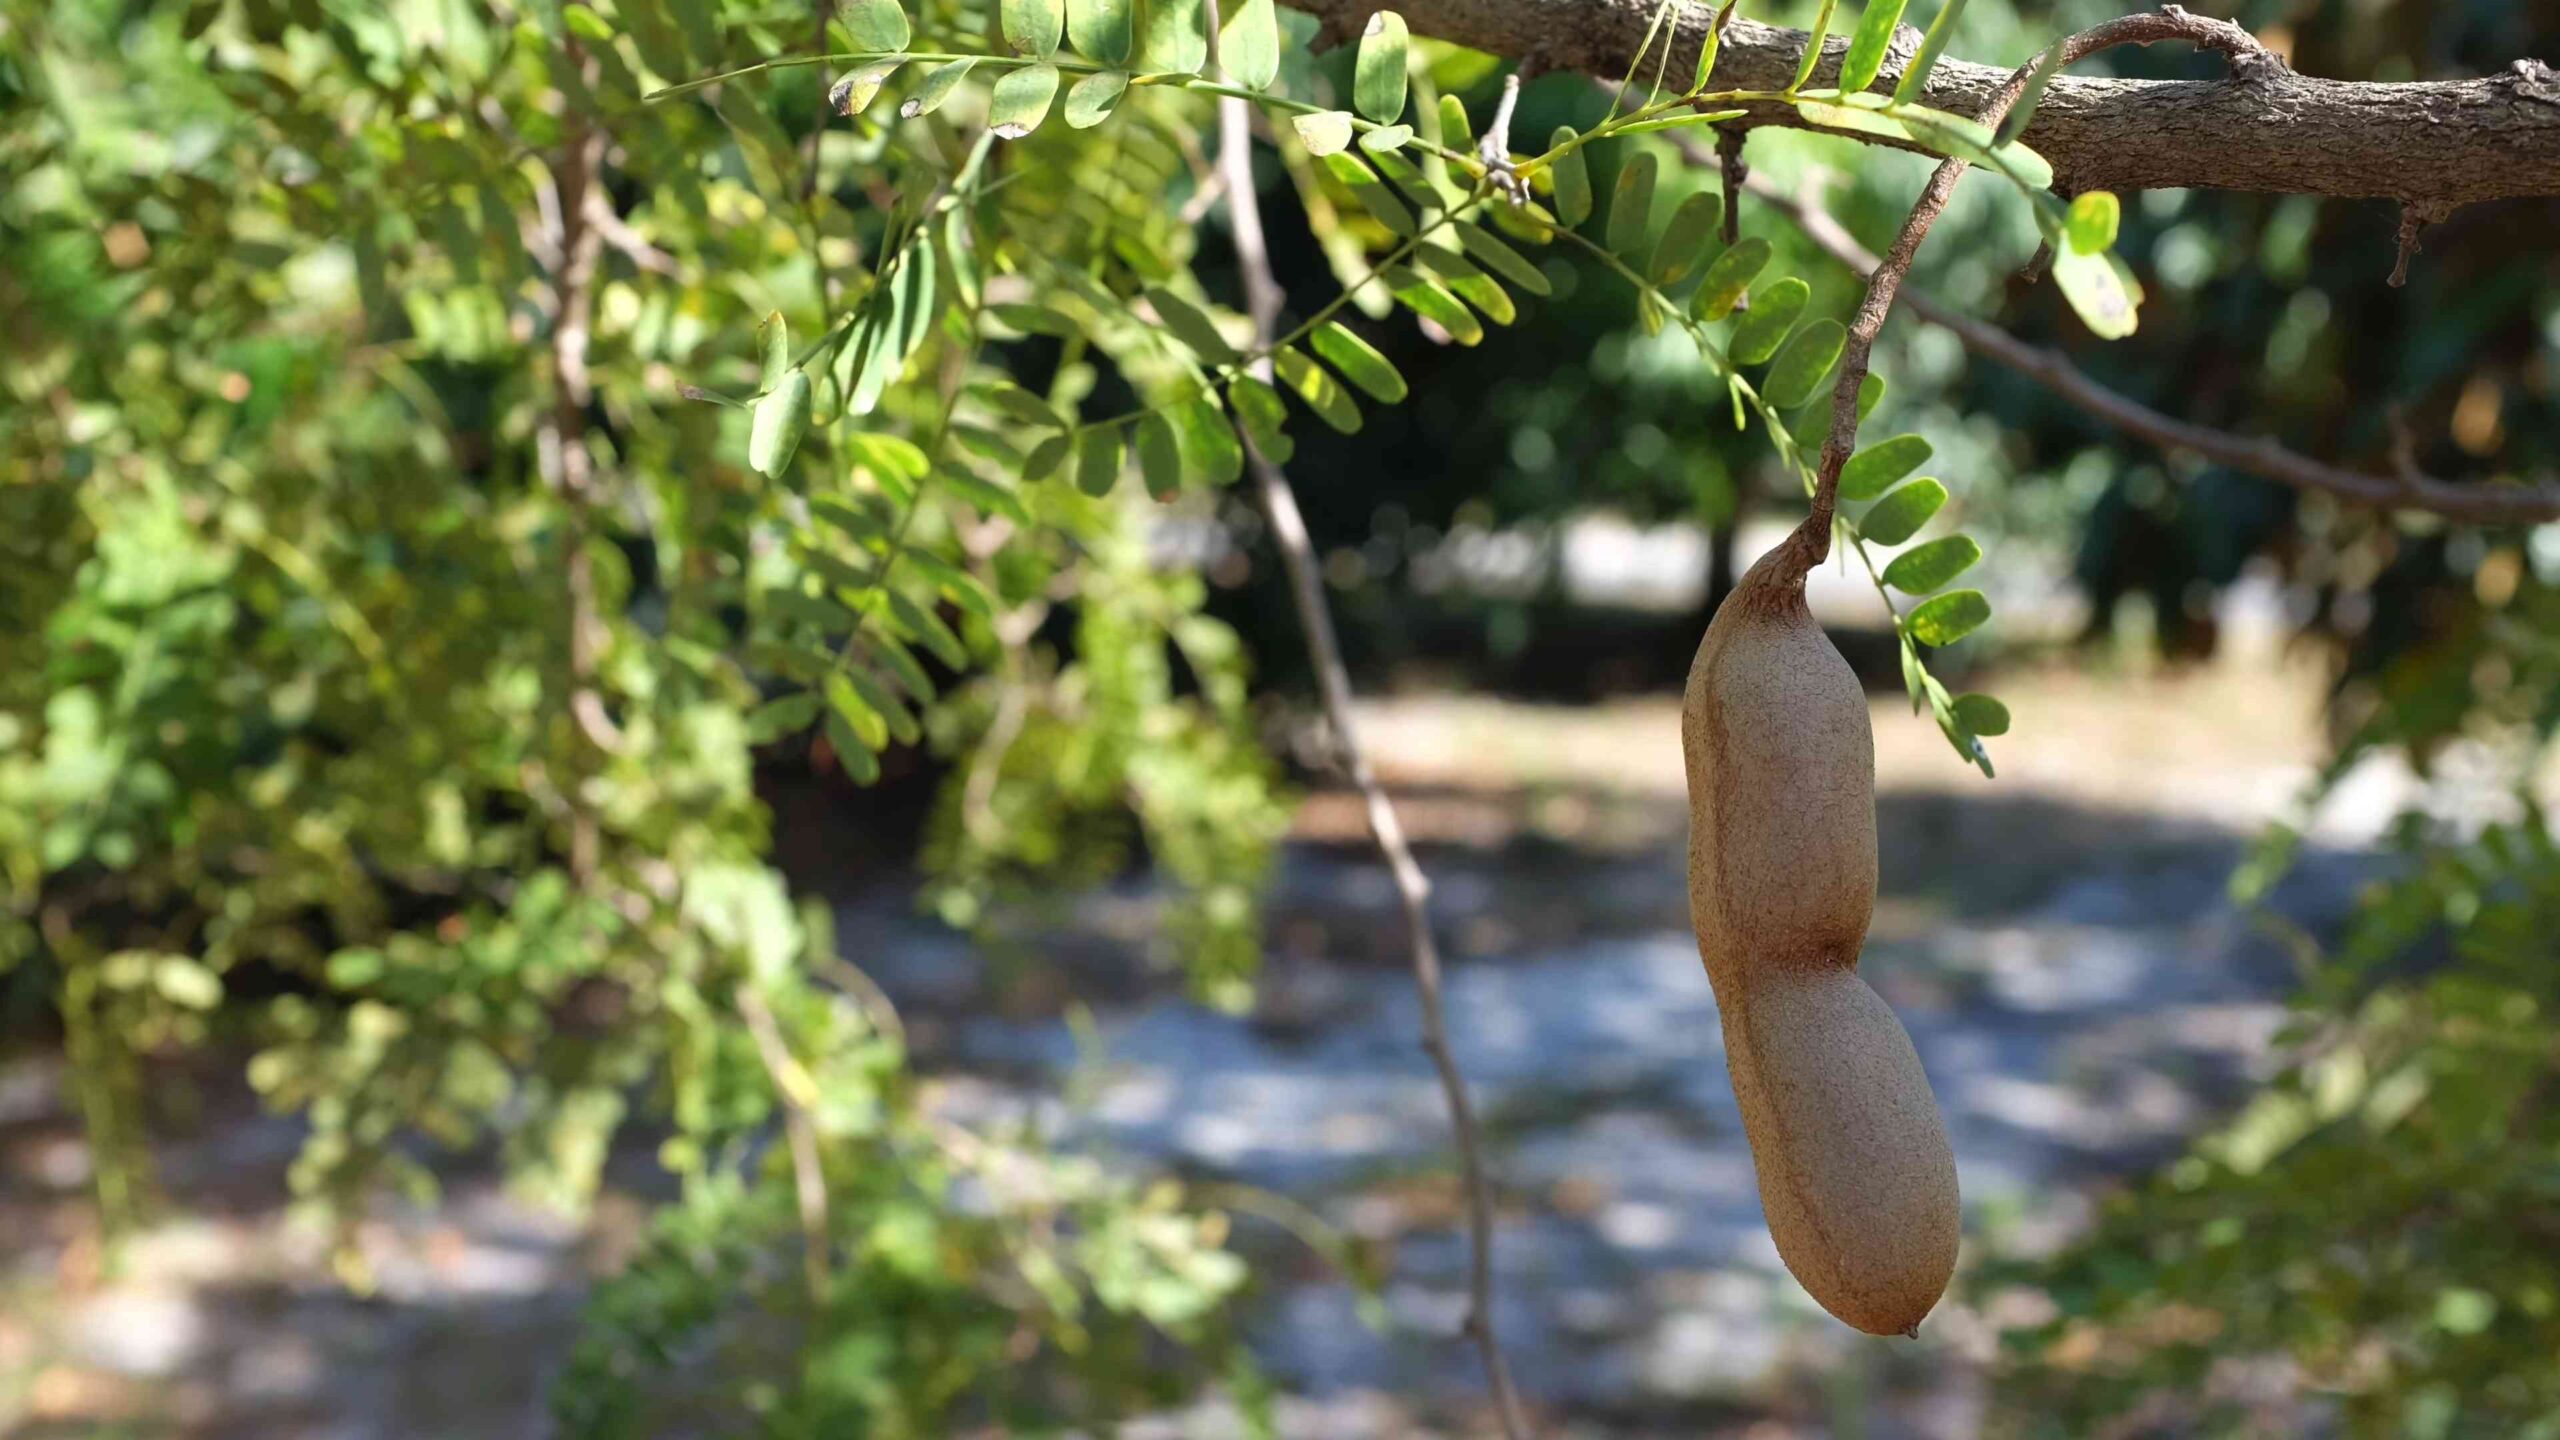
Harvesting Tamarind (Eventually!)
Okay, so it’ll be a while, but let’s talk about harvesting! When your tamarind tree finally starts producing pods, you’ll know they’re
Conclusion
So, there you have it! Growing your own tamarind tree at home might seem like a tropical dream, but with a little patience and the right approach, it’s absolutely achievable. This DIY method, focusing on seed propagation and careful nurturing, offers a rewarding experience that connects you directly to the source of this unique and flavorful fruit.
Why is this a must-try? Beyond the satisfaction of cultivating your own tree, you’re gaining access to fresh, homegrown tamarind, free from the preservatives and additives often found in commercially processed products. Imagine the possibilities: adding a tangy twist to your curries, crafting refreshing tamarind juice on a hot day, or simply enjoying the beauty of a thriving tree in your own backyard. Plus, you’re contributing to a greener environment, one seed at a time.
But don’t stop there! Experiment with different soil mixes to find what works best for your local climate. Try grafting a known fruiting variety onto your seedling for faster and more predictable results. Consider using a larger pot or even planting directly in the ground (if your climate allows) as your tree matures. You can also explore different training techniques to shape your tree and maximize fruit production.
Remember, growing a tamarind tree is a journey, not a race. There will be challenges along the way, but the rewards are well worth the effort. Embrace the process, learn from your mistakes, and most importantly, have fun!
We wholeheartedly encourage you to give this DIY tamarind tree growing method a try. Share your experiences with us in the comments below! Let us know what worked for you, what challenges you faced, and any tips you have for fellow tamarind enthusiasts. Your insights could be invaluable to others embarking on this exciting journey. Let’s build a community of home-grown tamarind growers!
This method of growing a tamarind tree at home is not only cost-effective but also incredibly fulfilling. You’re not just growing a tree; you’re cultivating a connection to nature, learning about plant life, and creating something truly special. So, grab some tamarind seeds, get your hands dirty, and start growing your own little piece of the tropics today! The delicious and tangy rewards of your own homegrown tamarind are waiting.
Frequently Asked Questions (FAQs)
What is the best time of year to plant tamarind seeds?
The ideal time to plant tamarind seeds is during the spring or early summer. This allows the seedlings to benefit from the warm temperatures and longer daylight hours, which are crucial for healthy growth. Avoid planting during the colder months, as the seeds may not germinate properly, and the young seedlings may struggle to survive. If you live in a region with mild winters, you might be able to start seeds indoors during the late winter to get a head start.
How long does it take for tamarind seeds to germinate?
Tamarind seeds typically take between one to three weeks to germinate, provided they are kept in a warm and moist environment. Soaking the seeds in water for 24 hours before planting can significantly improve germination rates. Be patient and maintain consistent moisture levels in the soil. If you haven’t seen any signs of germination after three weeks, it might be worth trying a new batch of seeds.
What type of soil is best for growing a tamarind tree?
Tamarind trees thrive in well-draining soil that is rich in organic matter. A slightly acidic to neutral pH (around 6.0 to 7.0) is ideal. A good soil mix would consist of equal parts of potting soil, compost, and sand or perlite. This combination provides the necessary nutrients, drainage, and aeration for healthy root development. Avoid heavy clay soils, as they can retain too much water and lead to root rot.
How much sunlight does a tamarind tree need?
Tamarind trees require plenty of sunlight to flourish. Aim for at least six to eight hours of direct sunlight per day. If you are growing your tree indoors, place it near a sunny window or supplement with grow lights. Insufficient sunlight can result in stunted growth, weak stems, and reduced fruit production. Rotate the pot regularly to ensure that all sides of the tree receive adequate sunlight.
How often should I water my tamarind tree?
Water your tamarind tree regularly, especially during the growing season (spring and summer). Keep the soil consistently moist but not waterlogged. Allow the top inch of soil to dry out between waterings. Reduce watering frequency during the dormant season (fall and winter). Overwatering can lead to root rot, so it’s essential to monitor the soil moisture levels carefully.
When will my tamarind tree start producing fruit?
Tamarind trees grown from seed can take anywhere from seven to ten years to start producing fruit. Grafted trees, on the other hand, may start bearing fruit much sooner, typically within three to five years. Patience is key when growing tamarind trees from seed. Ensure that your tree receives adequate sunlight, water, and nutrients to promote healthy growth and eventual fruit production.
Can I grow a tamarind tree in a pot?
Yes, you can successfully grow a tamarind tree in a pot, especially if you live in a region with cold winters. Choose a large pot with drainage holes to accommodate the tree’s root system. As the tree grows, you may need to repot it into a larger container. Use a well-draining potting mix and provide regular fertilization. Keep in mind that potted trees may not grow as large as those planted in the ground.
How do I fertilize my tamarind tree?
Fertilize your tamarind tree regularly during the growing season (spring and summer) with a balanced fertilizer. A fertilizer with an NPK ratio of 10-10-10 or 14-14-14 is a good choice. Follow the instructions on the fertilizer packaging for application rates. Avoid over-fertilizing, as this can damage the tree. You can also supplement with organic fertilizers such as compost or manure.
Are tamarind trees susceptible to any pests or diseases?
Tamarind trees are generally resistant to pests and diseases, but they can occasionally be affected by aphids, scale insects, or mealybugs. Inspect your tree regularly for signs of infestation and take appropriate action if necessary. You can use insecticidal soap or neem oil to control these pests. Root rot can also be a problem if the soil is poorly drained.
How do I prune my tamarind tree?
Pruning is essential for maintaining the shape and health of your tamarind tree. Prune during the dormant season (late winter or early spring) to remove dead, damaged, or crossing branches. You can also prune to shape the tree and encourage air circulation. Avoid removing more than one-third of the tree’s foliage at any one time.
Can I grow a tamarind tree indoors permanently?
While it’s possible to start a tamarind tree indoors, it’s challenging to grow it indoors permanently, especially in colder climates. Tamarind trees need a lot of sunlight and space to thrive. If you live in a region with cold winters, you can grow your tree in a pot and bring it indoors during the winter months. However, it’s best to move it back outdoors during the warmer months to ensure it receives adequate sunlight and air circulation.
What are some common uses for tamarind fruit?
Tamarind fruit has a wide range of culinary and medicinal uses. It is commonly used in Asian, Indian, and Latin American cuisines to add a tangy and sweet flavor to dishes. Tamarind pulp can be used to make sauces, chutneys, drinks, and desserts. It is also a good source of vitamins, minerals, and antioxidants. In traditional medicine, tamarind is used to treat various ailments, including digestive problems, fever, and skin conditions.
Leave a Comment