

Grow Watermelon at Home? Absolutely! Imagine biting into a juicy, sweet watermelon that you nurtured from seed to fruit, right in your own backyard. Forget those bland, store-bought melons – we’re talking about homegrown flavor that bursts with sunshine and satisfaction. For centuries, watermelons have been a symbol of summer, abundance, and good times, enjoyed in cultures around the globe. From ancient Egypt, where they were buried with pharaohs, to modern-day picnics, this refreshing fruit has always held a special place in our hearts (and stomachs!).
But let’s be honest, the thought of growing your own watermelon can seem a little daunting. Many people believe you need acres of land and a professional green thumb. That’s where this DIY guide comes in! I’m here to show you that you don’t need a sprawling farm to grow watermelon at home. Whether you have a small garden, a sunny balcony, or even just a few containers, I’ll share simple, effective tricks and hacks to help you cultivate your own delicious watermelons.
Why do you need these DIY tricks? Because let’s face it, gardening should be fun and rewarding, not frustrating! I’ll help you avoid common pitfalls, maximize your yield, and enjoy the incredible taste of homegrown watermelon. Get ready to impress your friends and family with your gardening prowess – let’s get growing!
Grow Your Own Juicy Watermelons: A Beginner’s Guide
Hey there, fellow gardening enthusiasts! Ever dreamt of biting into a sweet, juicy watermelon you grew yourself? Well, dream no more! Growing watermelons at home might seem daunting, but trust me, with a little patience and the right know-how, you can totally do it. I’m going to walk you through everything you need to know, from choosing the right variety to harvesting your prize-winning melon. Let’s get started!
Choosing the Right Watermelon Variety
First things first, you need to pick a watermelon variety that suits your climate and garden size. Some varieties are better suited for smaller spaces, while others thrive in warmer climates. Here’s a breakdown to help you decide:
* For Small Gardens: Look for bush or dwarf varieties like ‘Sugar Baby,’ ‘Bush Sugar Baby,’ or ‘Golden Midget.’ These take up less space and mature relatively quickly.
* For Warm Climates: ‘Charleston Gray,’ ‘Crimson Sweet,’ and ‘Jubilee’ are excellent choices. They need plenty of sunshine and warm temperatures to flourish.
* For Cooler Climates: ‘Blacktail Mountain’ and ‘Northern Sweet’ are specifically bred to mature in shorter growing seasons.
* Seedless Varieties: If you prefer seedless watermelons, go for varieties like ‘Triploid’ or ‘Millionaire.’ Remember, you’ll need to plant a seeded variety nearby for pollination.
Preparing Your Garden Bed
Watermelons are heavy feeders, meaning they need nutrient-rich soil to thrive. Proper soil preparation is key to a successful harvest.
* Sunlight: Watermelons need at least 6-8 hours of direct sunlight per day. Choose a location in your garden that gets plenty of sun.
* Soil: Watermelons prefer well-drained, sandy loam soil with a pH between 6.0 and 6.8. If your soil is heavy clay, amend it with compost, aged manure, or peat moss to improve drainage.
* Nutrients: Watermelons need plenty of nutrients, especially nitrogen, phosphorus, and potassium. Before planting, amend your soil with a balanced fertilizer (e.g., 10-10-10) or a slow-release organic fertilizer.
* Space: Give your watermelon plants plenty of room to spread. Bush varieties need about 3-4 feet of space between plants, while larger varieties need 6-8 feet.
Planting Your Watermelon Seeds or Seedlings
You can start watermelon seeds indoors or directly sow them in your garden. Starting them indoors gives you a head start, especially if you live in a cooler climate.
Starting Seeds Indoors (Optional)
1. Timing: Start your seeds indoors about 4-6 weeks before the last expected frost.
2. Containers: Use peat pots or biodegradable containers to avoid disturbing the roots when transplanting.
3. Soil: Fill the containers with a seed-starting mix.
4. Planting: Plant 2-3 seeds per container, about 1 inch deep.
5. Watering: Water gently to moisten the soil.
6. Warmth: Keep the containers in a warm location (70-80°F) until the seeds germinate. A heat mat can be helpful.
7. Light: Once the seedlings emerge, provide them with plenty of light. A grow light is ideal, but a sunny windowsill can also work.
8. Thinning: Once the seedlings have a few true leaves, thin them to one plant per container.
Direct Sowing Seeds Outdoors
1. Timing: Wait until the soil temperature reaches at least 70°F before direct sowing. This is usually a few weeks after the last expected frost.
2. Planting: Sow the seeds about 1 inch deep, spacing them according to the variety’s recommendations. Plant 2-3 seeds per hill.
3. Watering: Water gently to moisten the soil.
4. Thinning: Once the seedlings emerge, thin them to one plant per hill.
Transplanting Seedlings
1. Hardening Off: Before transplanting your seedlings outdoors, you need to harden them off. This means gradually exposing them to outdoor conditions over a period of 7-10 days. Start by placing them in a sheltered location for a few hours each day, gradually increasing the amount of time they spend outdoors.
2. Planting: Dig a hole that is slightly larger than the root ball of the seedling.
3. Carefully Remove: Gently remove the seedling from its container, being careful not to damage the roots.
4. Planting Depth: Plant the seedling at the same depth it was growing in the container.
5. Watering: Water thoroughly after planting.
6. Mulching: Mulch around the plants with straw or hay to help retain moisture and suppress weeds.
Caring for Your Watermelon Plants
Once your watermelon plants are established, it’s important to provide them with the care they need to thrive.
* Watering: Watermelons need consistent moisture, especially during fruit development. Water deeply and regularly, aiming for about 1-2 inches of water per week. Avoid overhead watering, as this can lead to fungal diseases. Drip irrigation is ideal.
* Fertilizing: Side-dress your watermelon plants with a balanced fertilizer every 2-3 weeks. You can also use a liquid fertilizer, such as fish emulsion or seaweed extract.
* Weeding: Keep the area around your watermelon plants free of weeds. Weeds compete with the plants for nutrients and water.
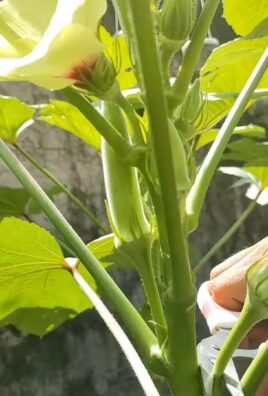
* Pollination: Watermelons need to be pollinated in order to produce fruit. If you’re growing seedless varieties, you’ll need to plant a seeded variety nearby to provide pollen. Bees are the primary pollinators of watermelons, so avoid using pesticides that could harm them. If you’re not seeing enough bees in your garden, you can hand-pollinate the flowers.
* Pruning: While not essential, pruning can help improve air circulation and fruit production. Remove any suckers (small shoots that grow from the base of the plant) and any yellowing or diseased leaves.
* Protecting from Pests and Diseases: Watermelons are susceptible to a variety of pests and diseases, including aphids, squash bugs, vine borers, and powdery mildew. Inspect your plants regularly for signs of pests or diseases and take action promptly. Use organic pest control methods whenever possible.
Hand-Pollinating Watermelons (If Needed)
If you’re not seeing enough bees in your garden, or if you’re growing seedless varieties, you may need to hand-pollinate your watermelon flowers.
1. Identify Male and Female Flowers: Watermelons have separate male and female flowers. Male flowers have a long, thin stem, while female flowers have a small, immature watermelon at the base of the flower.
2. Timing: Hand-pollinate in the morning, when the flowers are open.
3. Collect Pollen: Use a small paintbrush or cotton swab to collect pollen from the male flower.
4. Transfer Pollen: Gently transfer the pollen to the stigma (the sticky part in the center) of the female flower.
5. Repeat: Repeat this process for several female flowers.
Supporting the Fruit
As your watermelons grow larger, they may need some support to prevent them from rotting on the ground.
* Elevate the Fruit: Place a piece of cardboard, straw, or a small wooden board under each watermelon to keep it off the soil. This will help prevent rot and protect the fruit from pests.
* Use a Sling: For vining varieties, you can use a sling made of cloth or netting to support the fruit. Tie the sling to a trellis or stake.
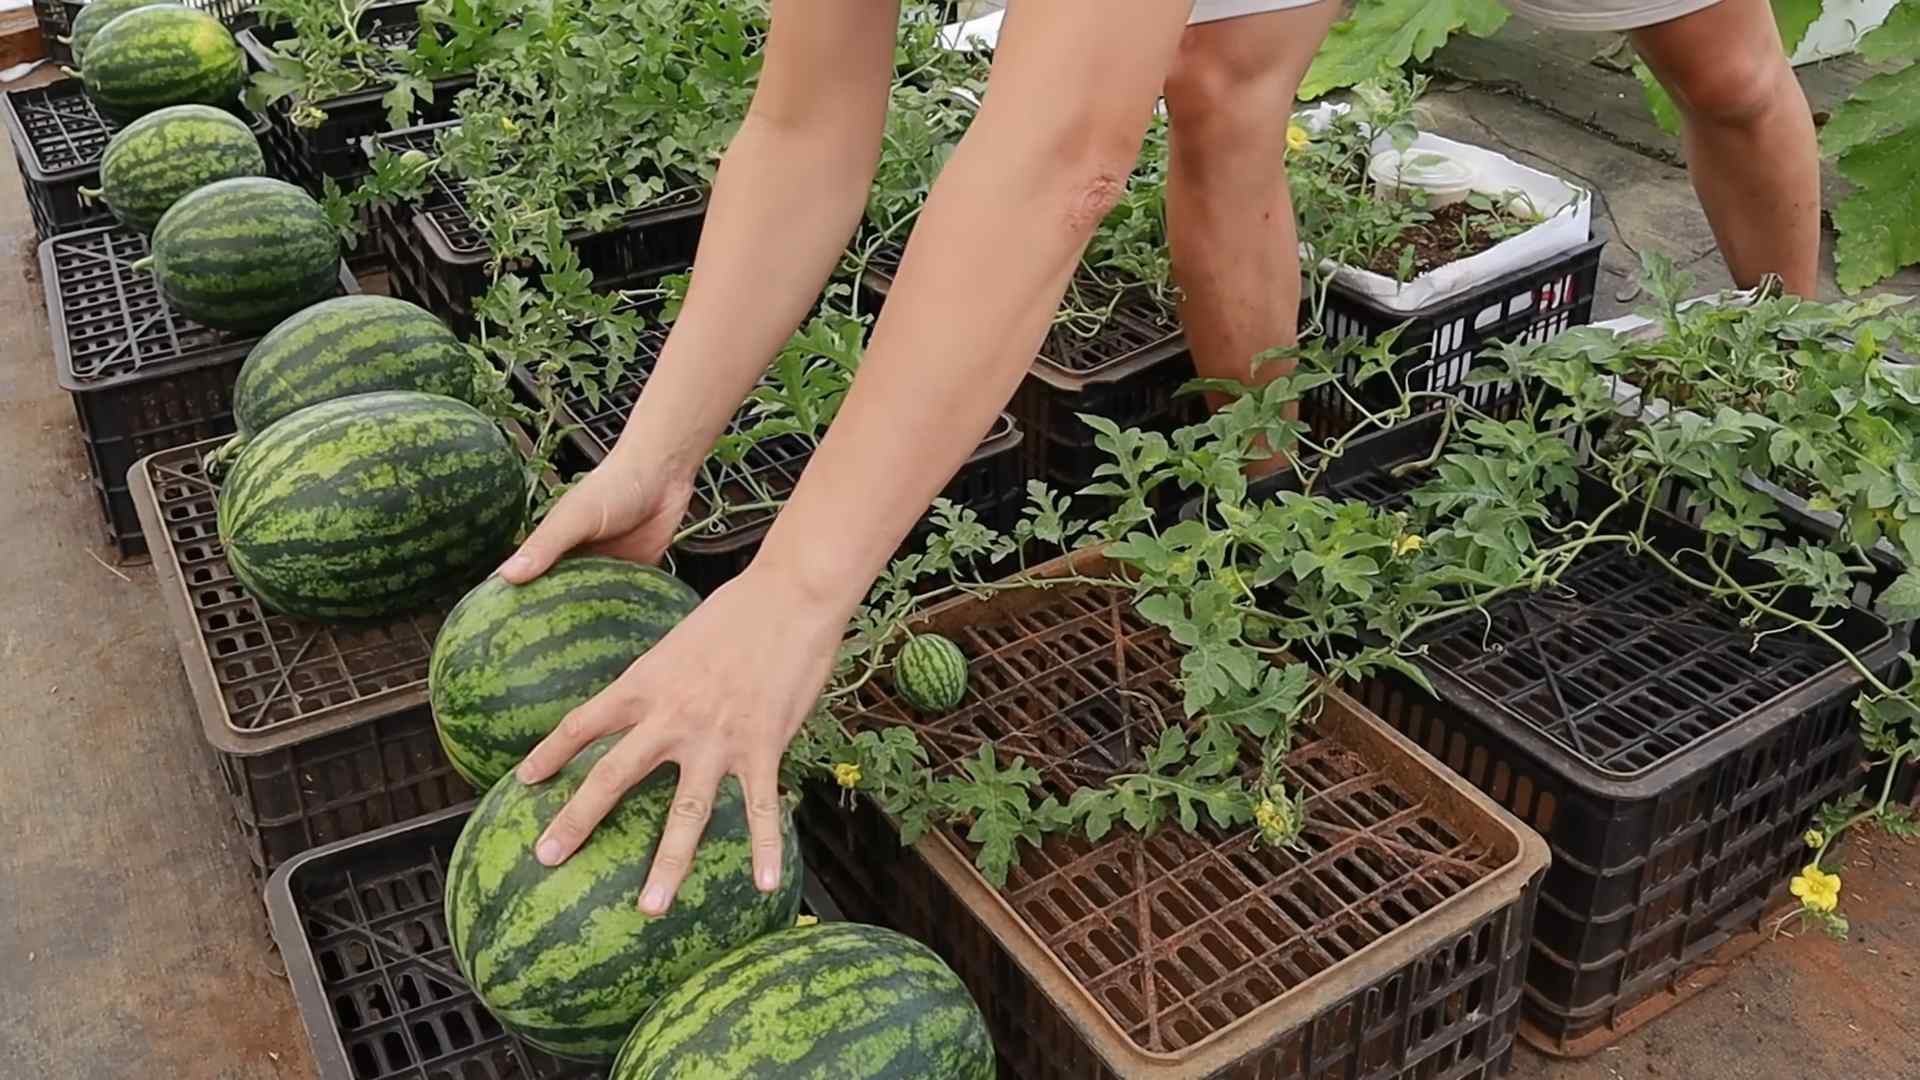
Harvesting Your Watermelons
Knowing when to harvest your watermelons is crucial for getting that perfect, sweet taste. Here are a few indicators to look for:
* Days to Maturity: Check the seed packet or plant tag for the variety’s days to maturity. This is a good starting point, but it’s not always accurate.
* Tendril: The tendril closest to the watermelon should be brown and dry.
* Ground Spot: The spot where the watermelon rests on the ground (the ground spot) should be yellow or cream-colored.
* Thump Test: Give the watermelon a gentle thump. A ripe watermelon will sound hollow.
* Rind: The rind should be dull and hard to penetrate with your fingernail.
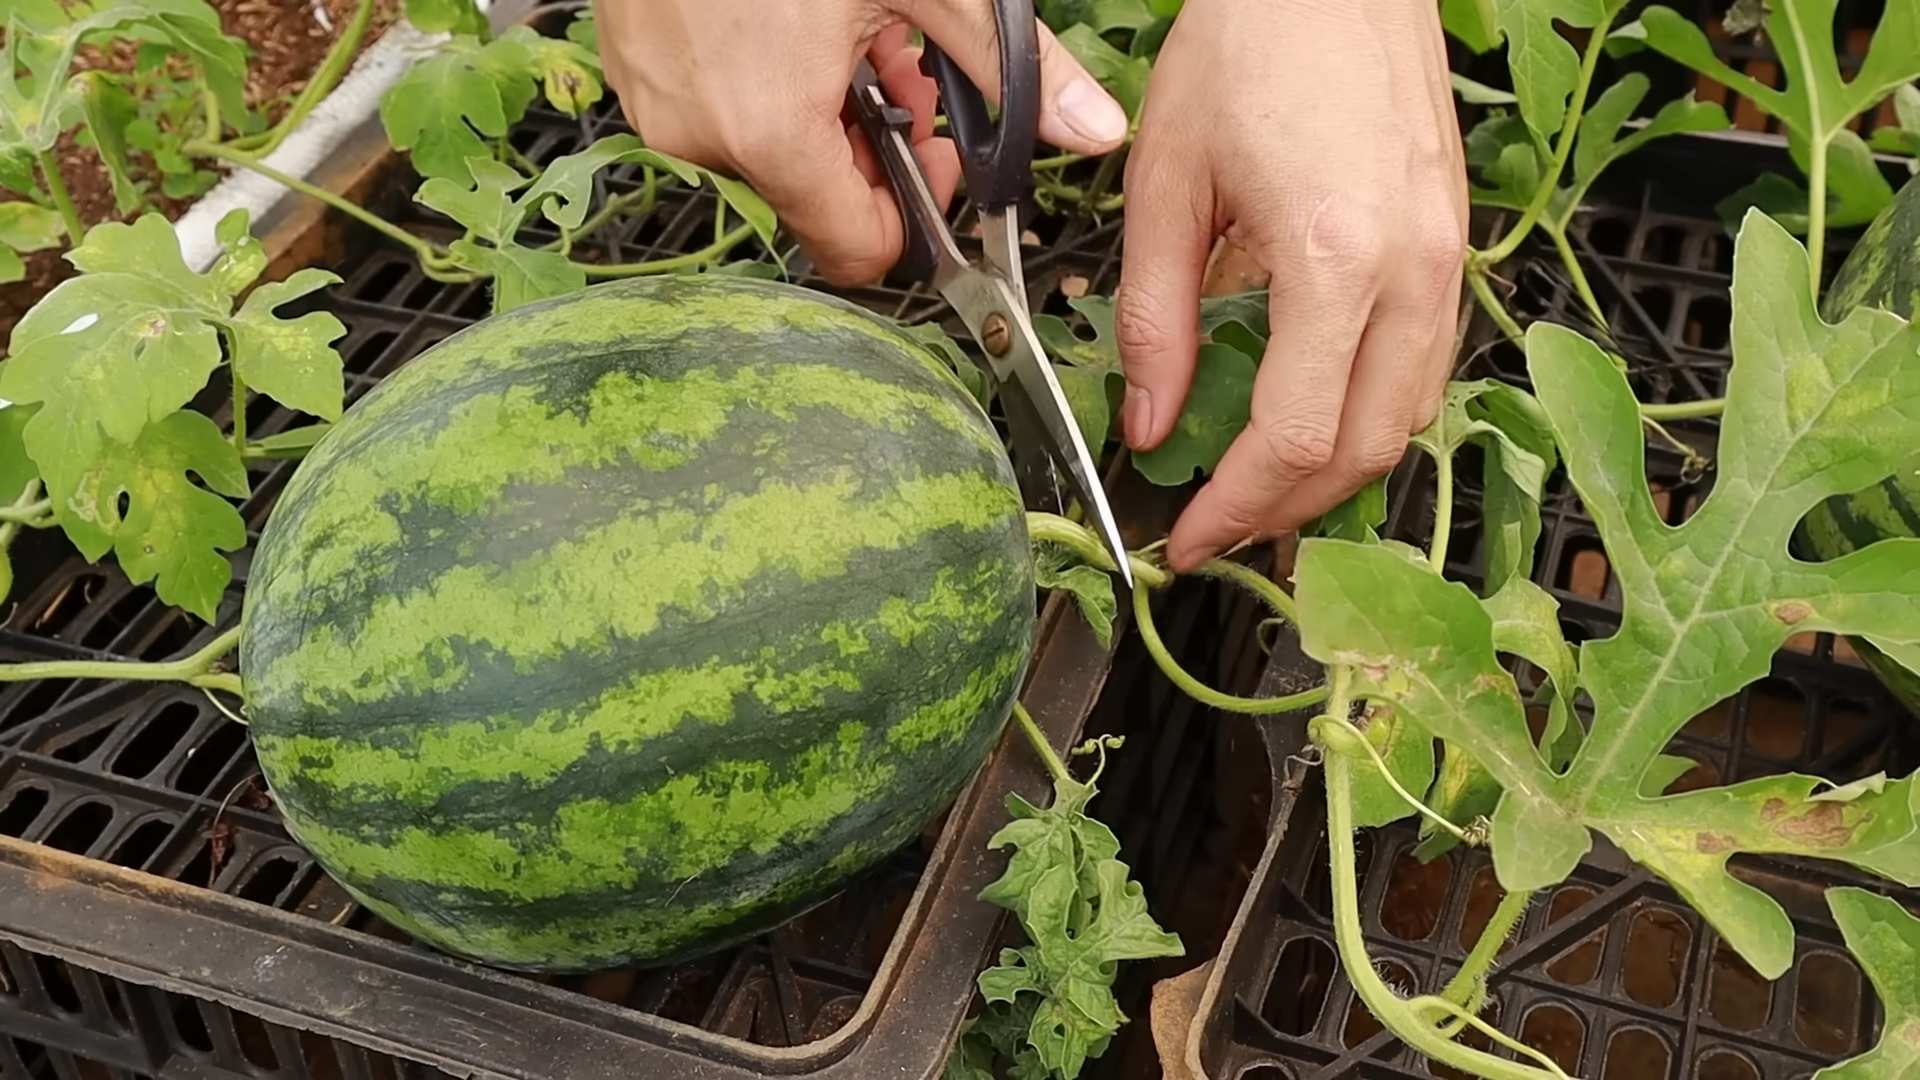
Harvesting Steps
1. Cut the Stem: Use a sharp knife or pruning shears to cut the stem close to the watermelon, leaving about 2 inches of stem attached.
2. Handle with Care: Watermelons are delicate, so
Conclusion
So, there you have it! Growing watermelons at home might seem like a daunting task reserved for seasoned gardeners, but with a little planning, patience, and our simple DIY tricks, you can absolutely cultivate these juicy delights right in your own backyard. We’ve demystified the process, breaking it down into manageable steps that even beginner gardeners can follow.
Why is this a must-try? Imagine biting into a perfectly ripe, sun-warmed watermelon that you nurtured from seed to fruit. The taste is simply incomparable to anything you can buy at the store. Plus, you have complete control over the growing process, ensuring that your watermelons are free from harmful pesticides and chemicals. You’ll also experience the immense satisfaction of harvesting something you’ve grown yourself – a truly rewarding experience.
Beyond the pure joy of homegrown watermelon, this DIY project is also incredibly educational. You’ll learn about plant life cycles, soil composition, pest control, and the importance of sunlight and water. It’s a fantastic way to connect with nature and gain a deeper appreciation for the food we eat.
But the benefits don’t stop there! Growing your own watermelons can also be a cost-effective way to enjoy this summer favorite. While the initial investment in seeds, soil, and fertilizer might seem like a lot, you’ll quickly recoup your expenses when you consider the price of watermelons at the grocery store. And let’s not forget the bragging rights! Imagine serving your friends and family slices of your very own homegrown watermelon. They’ll be amazed!
Looking for variations? Consider trying different watermelon varieties. There are countless options to choose from, each with its own unique flavor, size, and color. Experiment with seedless varieties for convenience, or try growing miniature watermelons for a fun and whimsical treat. You can also explore different growing methods, such as vertical gardening or container gardening, if you’re short on space. Another variation is to try companion planting. Marigolds, for example, can help deter pests, while basil can improve the flavor of your watermelons.
We’ve covered the essentials, from seed starting to harvesting, but remember that gardening is a journey of continuous learning. Don’t be afraid to experiment, make mistakes, and learn from your experiences. Every garden is unique, and what works for one person might not work for another. The key is to be patient, observant, and adaptable.
So, what are you waiting for? Grab your seeds, prepare your soil, and get ready to embark on your watermelon-growing adventure! We’re confident that you’ll be amazed by the results.
We encourage you to try this DIY trick and share your experience with us. Post photos of your watermelon plants on social media using #HomegrownWatermelon and tag us so we can see your progress. We’d love to hear your tips, tricks, and challenges along the way. Let’s create a community of watermelon growers and inspire others to experience the joy of homegrown produce. Happy gardening!
Frequently Asked Questions (FAQ)
What is the best time to start growing watermelons?
The ideal time to start growing watermelons depends on your climate. In general, watermelons require a long growing season of at least 70-90 days of warm weather. If you live in a region with a short growing season, you’ll need to start your seeds indoors about 6-8 weeks before the last expected frost. If you live in a warmer climate, you can direct sow your seeds outdoors after the last frost has passed and the soil has warmed up to at least 70 degrees Fahrenheit. Check your local weather forecasts and planting guides for specific recommendations for your area.
What kind of soil is best for growing watermelons?
Watermelons thrive in well-drained, sandy loam soil that is rich in organic matter. The soil should have a pH between 6.0 and 6.8. Before planting, amend your soil with compost, aged manure, or other organic materials to improve its fertility and drainage. Avoid heavy clay soils, as they can retain too much water and lead to root rot. If you have clay soil, consider growing your watermelons in raised beds or containers filled with a suitable potting mix.
How much sunlight do watermelons need?
Watermelons are sun-loving plants and require at least 6-8 hours of direct sunlight per day to thrive. Choose a planting location that receives plenty of sunlight throughout the day. If your garden is shaded for part of the day, try to plant your watermelons in the sunniest spot possible. Insufficient sunlight can result in smaller fruits and reduced yields.
How often should I water my watermelon plants?
Watermelons need consistent moisture, especially during hot, dry weather. Water deeply and regularly, aiming to keep the soil consistently moist but not waterlogged. Water at the base of the plants to avoid wetting the foliage, which can increase the risk of fungal diseases. As the fruits begin to ripen, you can reduce watering slightly to improve their sweetness. A good rule of thumb is to water when the top inch of soil feels dry to the touch.
How do I know when my watermelons are ripe?
Determining when a watermelon is ripe can be tricky, but there are several indicators to look for. First, check the tendril closest to the fruit stem. When this tendril turns brown and dries out, it’s a sign that the watermelon is nearing ripeness. Second, look at the spot where the watermelon rests on the ground. This spot, known as the ground spot, should turn from white to a creamy yellow color. Finally, give the watermelon a gentle thump. A ripe watermelon will sound hollow and deep, while an unripe watermelon will sound dull and solid. With practice, you’ll develop a knack for identifying ripe watermelons.
What are some common pests and diseases that affect watermelons?
Watermelons are susceptible to a variety of pests and diseases, including aphids, squash bugs, vine borers, powdery mildew, and fusarium wilt. To prevent pest and disease problems, practice good garden hygiene, such as removing weeds and debris from around your plants. Inspect your plants regularly for signs of pests or diseases, and take action promptly if you notice any problems. Organic pest control methods, such as insecticidal soap and neem oil, can be effective for controlling many common pests. For fungal diseases, consider using a copper fungicide or other organic fungicide. Crop rotation can also help to prevent soilborne diseases.
Can I grow watermelons in containers?
Yes, you can grow watermelons in containers, but you’ll need to choose a large container that is at least 24 inches in diameter and 18 inches deep. Use a high-quality potting mix that is well-draining and rich in organic matter. Choose a compact or bush-type watermelon variety that is well-suited for container gardening. Water your container watermelons regularly and fertilize them every 2-3 weeks with a balanced fertilizer. Provide support for the vines as they grow, such as a trellis or stake.
How can I improve the sweetness of my watermelons?
Several factors can influence the sweetness of your watermelons. First, choose a watermelon variety that is known for its sweetness. Second, ensure that your plants receive plenty of sunlight and water. Third, fertilize your plants regularly with a fertilizer that is high in potassium. Finally, reduce watering slightly as the fruits begin to ripen, as this can help to concentrate the sugars.
What should I do if my watermelon plants are not producing fruit?
There are several reasons why your watermelon plants might not be producing fruit. First, make sure that your plants are receiving enough sunlight and water. Second, check for signs of pests or diseases that could be affecting fruit production. Third, ensure that your plants are being properly pollinated. Watermelons require pollination to set fruit, so if you’re not seeing any bees or other pollinators in your garden, you may need to hand-pollinate your plants. To hand-pollinate, use a small paintbrush to transfer pollen from the male flowers to the female flowers. Female flowers have a small swelling at the base of the flower, while male flowers do not.
How do I store my harvested watermelons?
Store your harvested watermelons in a cool, dry place, such as a basement or garage. Whole watermelons can be stored for several weeks at room temperature. Once you cut into a watermelon, store it in the refrigerator in an airtight container. Cut watermelon will stay fresh for about 3-5 days in the refrigerator.
Leave a Comment