

Grow White Radish Quickly and enjoy the crisp, peppery flavor of homegrown radishes in just a few weeks! Are you tired of waiting ages for your garden vegetables to mature? Do you dream of fresh salads bursting with vibrant, homegrown ingredients? Well, you’re in luck! This article is packed with DIY tricks and hacks to accelerate the growth of your white radishes, transforming you from a hopeful gardener into a radish-harvesting pro in no time.
Radishes, humble as they may seem, have a rich history, dating back to ancient times. They were a staple in the diets of the Egyptians and Greeks, prized for their nutritional value and ease of cultivation. Today, they remain a popular choice for gardeners of all levels, but let’s face it, patience isn’t always our strongest virtue. We want those crunchy radishes now!
That’s where these DIY tricks come in. I’m going to share my secrets to help you grow white radish quickly, even if you’re a beginner. From soil preparation to watering techniques, and even some clever hacks to deter pests, I’ve got you covered. Imagine the satisfaction of pulling up your own plump, juicy radishes, knowing you nurtured them from seed to table in record time. So, grab your gardening gloves, and let’s get started!
Growing White Radishes: A Speedy DIY Guide
Hey there, fellow gardening enthusiasts! Ever craved the crisp, peppery bite of a fresh white radish but didn’t want to wait forever to harvest them? Well, you’re in luck! I’m going to share my tried-and-true method for growing these little root veggies quickly, so you can enjoy them in salads, as a crunchy snack, or pickled in no time. Let’s get our hands dirty!
Choosing the Right Radish Variety
Not all radishes are created equal when it comes to speed. Some varieties are bred for quick growth, maturing in as little as 22-30 days! Here are a few of my favorites for a speedy harvest:
* ‘French Breakfast’: These are mild and elongated, with a beautiful red and white color. They’re ready in about 22-25 days.
* ‘Cherry Belle’: A classic round, bright red radish that’s crisp and slightly peppery. Expect to harvest in around 22 days.
* ‘Sparkler’: Similar to Cherry Belle, but with a white tip. Matures in about 24 days.
* ‘Easter Egg’: A mix of colorful radishes (red, pink, purple, white) that add a fun touch to your garden and plate. Ready in about 28 days.
* ‘White Icicle’: A longer, white radish with a mild flavor. Takes around 25-30 days to mature.
Pro Tip: Always check the seed packet for the specific days to maturity for the variety you choose.
Preparing the Soil: The Foundation for Success
Radishes thrive in loose, well-drained soil that’s rich in organic matter. They don’t like compacted soil, as it can hinder their root development and result in misshapen radishes. Here’s how I prepare my radish patch:
* Choose a Sunny Spot: Radishes need at least 6 hours of sunlight per day.
* Loosen the Soil: Use a garden fork or tiller to loosen the soil to a depth of at least 6 inches. Break up any clumps and remove rocks or debris.
* Amend the Soil: Incorporate plenty of compost or well-rotted manure into the soil. This will improve drainage, add nutrients, and help retain moisture. I usually add about 2-3 inches of compost per square foot.
* Check the pH: Radishes prefer a slightly acidic to neutral soil pH (around 6.0-7.0). You can test your soil pH with a soil testing kit and amend it accordingly. If your soil is too acidic, add lime. If it’s too alkaline, add sulfur.
* Create a Smooth Seedbed: Rake the soil smooth to create a level seedbed. This will ensure even germination.
Sowing the Seeds: The Key to a Quick Harvest
Radishes are cool-season crops, so the best time to plant them is in early spring or late summer/early fall. Avoid planting them during the hottest months of the year, as they tend to bolt (go to seed) in hot weather.
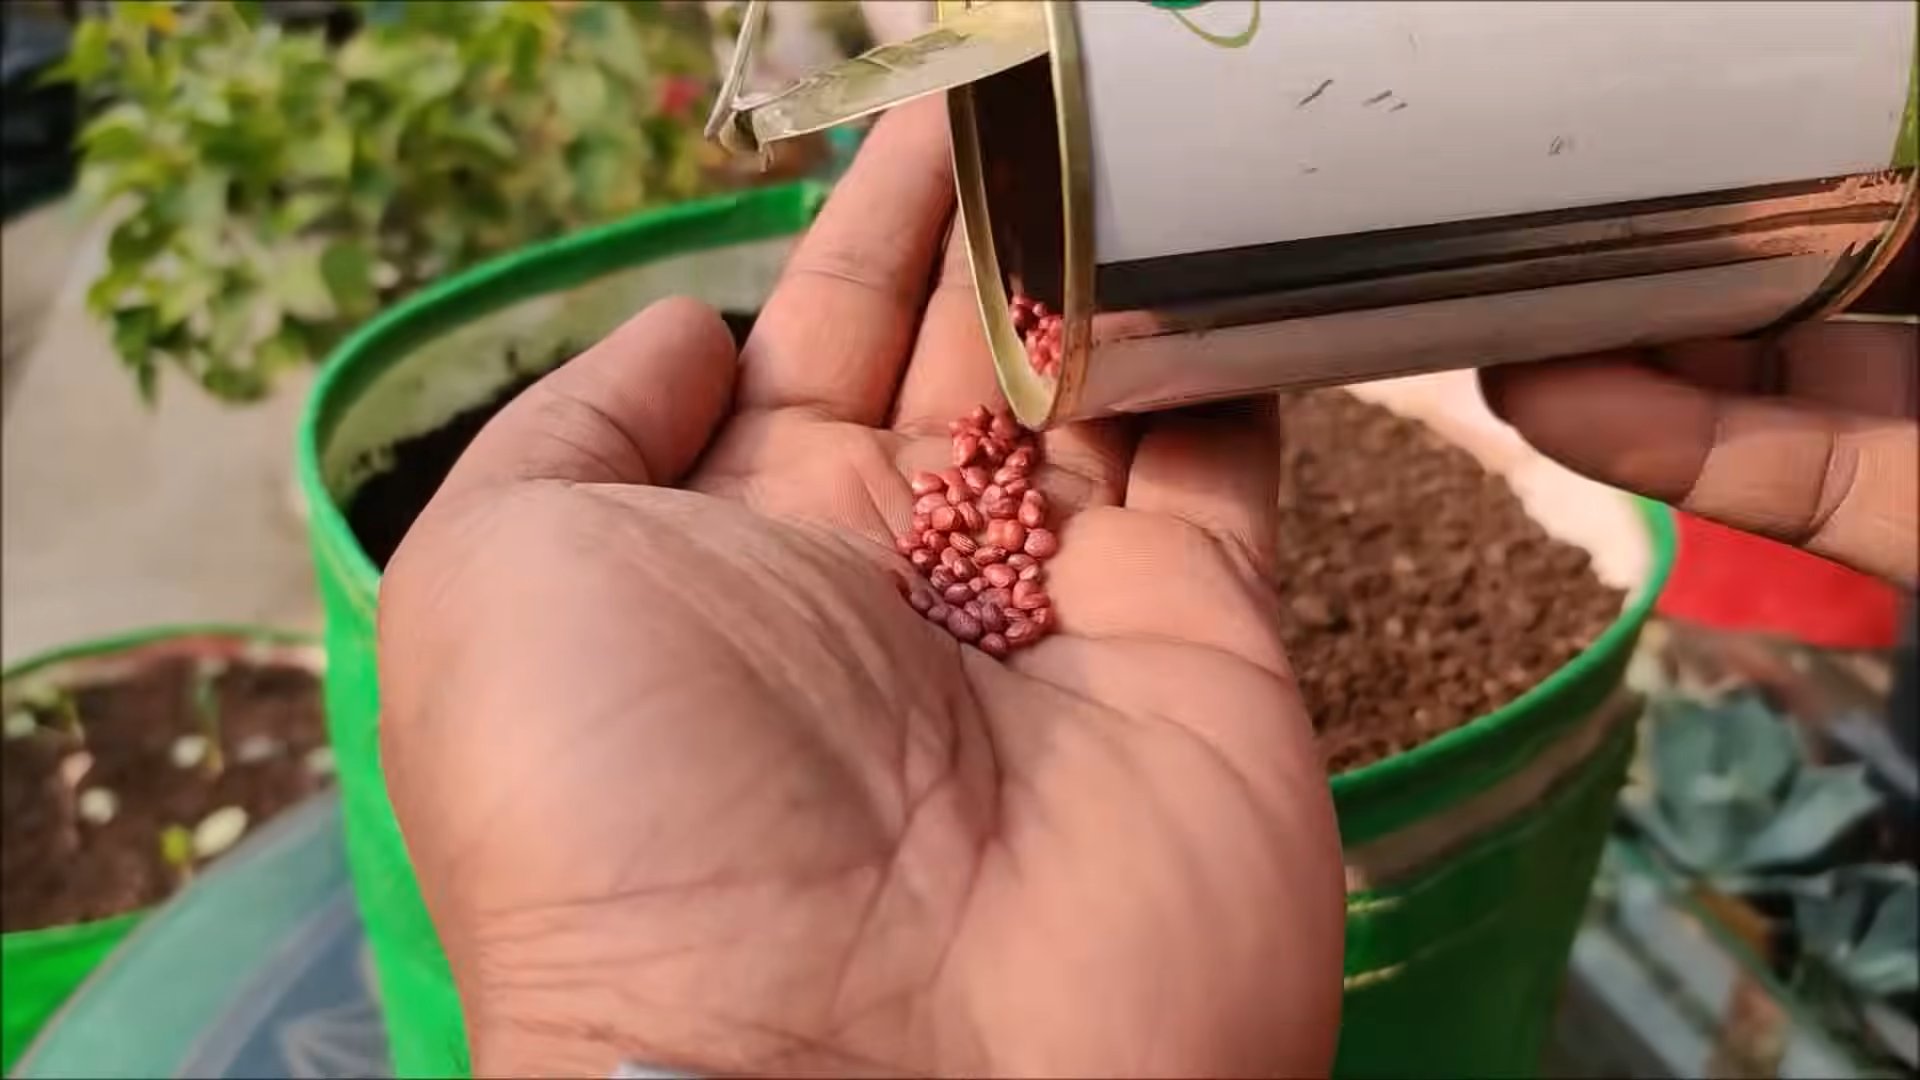
Here’s my step-by-step guide to sowing radish seeds:
1. Make Shallow Furrows: Use a hoe or your finger to create shallow furrows in the soil, about 1/2 inch deep and 1 inch apart.
2. Sow the Seeds: Sprinkle the radish seeds evenly into the furrows, spacing them about 1 inch apart. Don’t overcrowd them, as this can lead to smaller radishes.
3. Cover the Seeds: Gently cover the seeds with soil and lightly pat it down.
4. Water Thoroughly: Water the soil gently but thoroughly, making sure not to wash away the seeds.
5. Mark the Rows: Label the rows with the radish variety and the date of planting. This will help you keep track of your progress.
Succession Planting: To enjoy a continuous harvest of radishes, I recommend succession planting. Sow a new batch of seeds every 7-10 days. This way, you’ll have a steady supply of fresh radishes throughout the growing season.
Watering and Thinning: Essential for Healthy Growth
Radishes need consistent moisture to grow quickly and develop plump roots. However, they don’t like soggy soil, so it’s important to water them properly.
* Water Regularly: Water the radishes deeply whenever the top inch of soil feels dry to the touch. Aim for about 1 inch of water per week.
* Avoid Overwatering: Overwatering can lead to root rot and other problems. Make sure the soil is well-drained.
* Thin the Seedlings: Once the seedlings emerge (usually in about 4-7 days), thin them to about 1-2 inches apart. This will give them enough space to grow and prevent overcrowding. I know it feels counterintuitive to pull out seedlings, but trust me, it’s necessary for a good harvest!
Pro Tip: Use the thinned seedlings in salads or as a garnish. They have a mild radish flavor.
Weed Control: Keeping the Competition at Bay
Weeds can compete with radishes for nutrients, water, and sunlight, so it’s important to keep them under control.
* Hand-Pull Weeds: Regularly hand-pull any weeds that emerge in your radish patch. Be careful not to disturb the radish roots.
* Mulch: Apply a layer of mulch around the radishes to suppress weed growth and help retain moisture. I like to use straw or shredded leaves.
Pest and Disease Management: Protecting Your Crop
Radishes are generally pest-resistant, but they can be susceptible to a few problems, such as flea beetles and root maggots.
* Flea Beetles: These tiny beetles can chew small holes in the radish leaves. To control them, cover the radishes with row covers or spray them with insecticidal soap.
* Root Maggots: These are the larvae of certain flies that feed on the radish roots. To prevent root maggots, cover the radishes with row covers or rotate your crops.
* Clubroot: This is a fungal disease that can cause swollen, distorted roots. To prevent clubroot, improve soil drainage and avoid planting radishes in the same spot year after year.
Organic Pest Control: I prefer to use organic pest control methods whenever possible. Insecticidal soap, neem oil, and diatomaceous earth are all effective options.
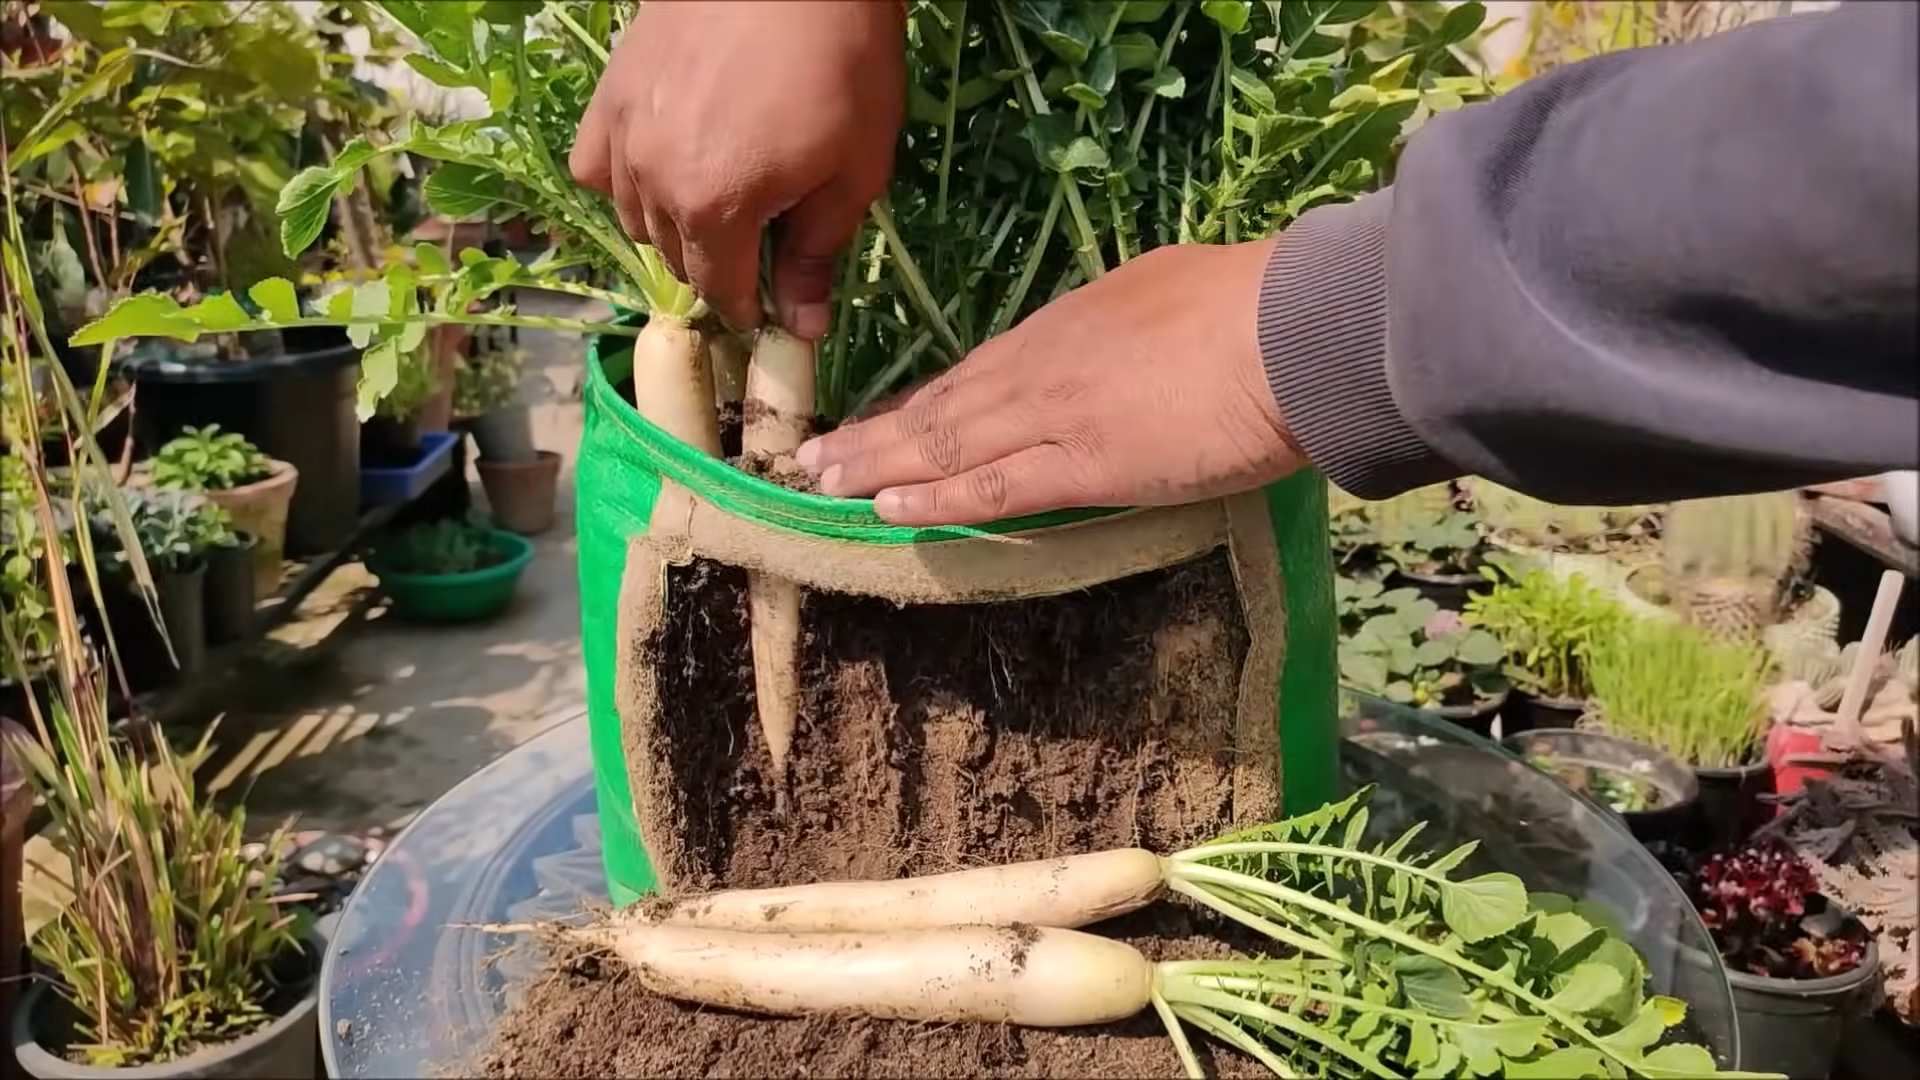
Harvesting: The Moment of Truth
The best part of growing radishes is, of course, harvesting them! Radishes are ready to harvest when they reach the size specified on the seed packet. This is usually about 22-30 days after planting, depending on the variety.
Here’s how I harvest my radishes:
1. Check the Size: Gently brush away the soil around the radish to check its size.
2. Pull the Radish: Grasp the radish leaves near the base and gently pull the radish out of the soil. If it’s difficult to pull, loosen the soil around it with a garden fork.
3. Wash and Store: Wash the radishes thoroughly and trim off the leaves. Store them in a plastic bag in the refrigerator for up to a week.
Pro Tip: Harvest radishes when they are young and tender. Overripe radishes can become woody and bitter.
Enjoying Your Harvest: From Garden to Table
Now that you’ve harvested your delicious white radishes, it’s time to enjoy them! Here are a few of my favorite ways to eat them:
* Raw: Slice them thinly and add them to salads, sandwiches, or crudité platters.
* Roasted: Toss them with olive oil, salt, and pepper and roast them in the oven until tender.
* Pickled: Pickle them in a vinegar brine for a tangy and refreshing snack.
* Sautéed: Sauté them with butter and garlic for a simple and flavorful side dish.
* Radish Greens: Don’t throw away the radish greens! They’re edible and nutritious. Sauté them with garlic and olive oil, or add them to soups and stews.
Radish Butter: Mix softened butter with finely chopped radishes, chives, and a pinch of salt. Spread on crackers or bread for a delicious appetizer.
So there you have it! My complete guide to growing white radishes quickly. With a little bit of planning and effort, you can enjoy a bountiful harvest of these crisp and peppery veggies in just a few weeks. Happy gardening!
Conclusion
So, there you have it! Growing white radishes quickly at home is not only achievable but also incredibly rewarding. This simple DIY trick transforms the often-lengthy radish-growing process into a speedy and satisfying experience. Forget waiting weeks; with our method, you’ll be enjoying crisp, peppery radishes in a fraction of the time.
Why is this a must-try? Because it puts fresh, homegrown produce within easy reach, even for those with limited space or time. Imagine the satisfaction of adding vibrant, crunchy radishes to your salads, sandwiches, or even enjoying them as a simple, healthy snack, all thanks to your own efforts. Plus, knowing exactly where your food comes from and how it was grown is a huge bonus in today’s world.
But the fun doesn’t stop there! Feel free to experiment with different varieties of white radishes. Some are milder, while others pack a real punch. You can also adjust the growing conditions slightly to see how it affects the flavor and texture. For example, providing a bit more shade might result in milder radishes, while ensuring consistent moisture can lead to plumper, juicier ones.
Consider using different types of containers, too. While we’ve focused on standard pots, you could try raised beds or even repurposed containers like old buckets or tubs. Just make sure they have adequate drainage. You can also try companion planting. Radishes are known to be good companions for carrots and lettuce, so planting them together can benefit all three.
And don’t forget the greens! Radish greens are often overlooked, but they’re packed with nutrients and have a delicious peppery flavor. You can sauté them, add them to soups, or even use them in salads. Just make sure to wash them thoroughly before using.
We’re confident that once you try this DIY trick for growing white radishes quickly, you’ll be hooked. It’s a simple, effective, and incredibly satisfying way to enjoy fresh, homegrown produce. So, grab your seeds, prepare your soil, and get ready to experience the joy of harvesting your own radishes in record time.
We encourage you to give this method a try and share your experiences with us! Let us know what worked well for you, what challenges you faced, and any variations you tried. Your feedback will help us refine this technique and make it even better for everyone. Share your photos and stories on social media using #GrowWhiteRadishQuickly and let’s create a community of radish-growing enthusiasts! We can’t wait to see your success stories and learn from your experiences. Happy growing!
Frequently Asked Questions (FAQ)
What kind of soil is best for growing white radishes quickly?
The ideal soil for growing white radishes quickly is loose, well-draining, and rich in organic matter. Radishes prefer a slightly acidic to neutral pH, ideally between 6.0 and 7.0. Amend heavy clay soils with compost, aged manure, or other organic materials to improve drainage and aeration. Avoid soils that are compacted or prone to waterlogging, as this can lead to stunted growth and misshapen radishes. A good starting mix is equal parts garden soil, compost, and perlite or vermiculite.
How much sunlight do white radishes need to grow quickly?
White radishes need at least 6 hours of direct sunlight per day to grow quickly and develop properly. While they can tolerate some shade, insufficient sunlight can result in leggy growth, smaller radishes, and a less intense flavor. If you’re growing radishes indoors, use grow lights to supplement natural sunlight and ensure they receive adequate illumination. Rotate the plants regularly to ensure even exposure to light.
How often should I water white radishes?
Consistent moisture is crucial for growing white radishes quickly. Water deeply and regularly, especially during hot, dry weather. Aim to keep the soil consistently moist but not waterlogged. Overwatering can lead to root rot, while underwatering can cause the radishes to become tough and bitter. Check the soil moisture regularly by sticking your finger about an inch into the soil. If it feels dry, it’s time to water. Mulching around the plants can help retain moisture and reduce the need for frequent watering.
How long does it really take to grow white radishes using this method?
While the exact time can vary depending on factors like temperature, sunlight, and soil conditions, you can generally expect to harvest your white radishes within 3 to 4 weeks using this method. This is significantly faster than traditional radish-growing methods, which can take 4 to 6 weeks or even longer. Keep a close eye on your radishes and harvest them when they reach the desired size. Overgrown radishes can become woody and bitter.
What are some common problems when growing white radishes and how can I prevent them?
Some common problems when growing white radishes include pests like flea beetles and root maggots, as well as diseases like root rot. To prevent flea beetles, use row covers to protect your plants or apply diatomaceous earth to the leaves. To prevent root maggots, practice crop rotation and avoid planting radishes in the same spot year after year. Ensure good drainage to prevent root rot. Regularly inspect your plants for signs of pests or diseases and take action promptly if you notice any problems.
Can I grow white radishes in containers? What size container is best?
Yes, white radishes are well-suited for container gardening. Choose a container that is at least 6 inches deep and wide to allow the radishes to develop properly. Make sure the container has drainage holes to prevent waterlogging. You can grow multiple radishes in a single container, but be sure to space them adequately to allow for proper growth. A good rule of thumb is to space them about 2 inches apart.
What are some signs that my white radishes are ready to harvest?
The best way to determine if your white radishes are ready to harvest is to check their size. Most varieties are ready to harvest when they are about 1 inch in diameter. You can also gently brush away some of the soil around the top of the radish to check its size. If the radish is the desired size, gently pull it from the soil. If it’s too small, leave it for a few more days. Overgrown radishes can become woody and bitter, so it’s best to harvest them when they are at their peak.
Can I eat the radish greens?
Absolutely! Radish greens are not only edible but also nutritious and delicious. They have a peppery flavor similar to the radishes themselves. You can sauté them, add them to soups, or use them in salads. Just make sure to wash them thoroughly before using. Choose young, tender greens for the best flavor and texture. Avoid using greens that are yellowed or damaged.
What are some creative ways to use white radishes in cooking?
White radishes are incredibly versatile and can be used in a variety of dishes. You can slice them thinly and add them to salads for a crunchy, peppery kick. You can also pickle them for a tangy and refreshing snack. They can be roasted or grilled for a sweeter, milder flavor. And, of course, they’re delicious simply eaten raw with a sprinkle of salt. Experiment with different recipes and find your favorite ways to enjoy these versatile vegetables.
What if my white radishes are bitter?
Bitterness in radishes can be caused by several factors, including hot weather, inconsistent watering, and overcrowding. To prevent bitterness, provide consistent moisture, especially during hot weather. Thin out your radishes to ensure they have enough space to grow. Choose varieties that are known to be less prone to bitterness. Harvesting radishes when they are young and tender can also help prevent bitterness. If your radishes are already bitter, you can try soaking them in cold water for a few hours before using them.


Leave a Comment