

Grow your own tomatoes, and unlock a world of flavor and satisfaction right in your backyard! Imagine biting into a sun-ripened tomato, bursting with sweetness and juiciness, knowing you nurtured it from a tiny seed. Forget those bland, store-bought varieties – this year, we’re taking control of our tomato destiny with some simple, yet effective, DIY tricks and hacks.
The history of tomato cultivation is a fascinating journey, tracing back to the Andes Mountains of South America. From its humble beginnings as a wild plant, the tomato has become a global culinary staple, enjoyed in countless dishes and cultures. For centuries, gardeners have experimented with techniques to maximize their tomato harvests, passing down knowledge and traditions from generation to generation.
Why should you bother with these DIY tomato-growing secrets? Well, for starters, you’ll save money! Plus, you’ll know exactly what’s going into your food, avoiding harmful pesticides and chemicals. But more than that, growing your own tomatoes is incredibly rewarding. There’s something truly special about nurturing a plant from seed to fruit, witnessing the miracle of nature unfold before your eyes. I’m excited to share these easy-to-follow tips that will help you grow your own tomatoes like a pro, even if you’re a complete beginner. Let’s get started!
Growing Your Own Delicious Tomatoes: A Beginner’s Guide
Hey there, fellow gardening enthusiasts! I’m so excited to share my tried-and-true method for growing juicy, flavorful tomatoes right in your own backyard (or even on your balcony!). There’s nothing quite like the taste of a homegrown tomato, and trust me, it’s easier than you think. Let’s get started!
Choosing the Right Tomato Variety
Before we even get our hands dirty, it’s crucial to pick the right tomato variety for your climate and growing space. There are two main types: determinate and indeterminate.
* **Determinate Tomatoes:** These are bush-type tomatoes that grow to a certain size and then stop, producing most of their fruit all at once. They’re great for canning and smaller spaces. Popular determinate varieties include Roma, Celebrity, and Rutgers.
* **Indeterminate Tomatoes:** These are vining tomatoes that keep growing and producing fruit throughout the season. They require staking or caging for support. Indeterminate varieties include Better Boy, Big Boy, Brandywine, and cherry tomatoes like Sweet 100.
Consider your space, your climate (how long is your growing season?), and what you plan to do with your tomatoes (eating fresh, canning, sauces) when making your choice. I personally love growing a mix of both determinate and indeterminate varieties to have a continuous supply of tomatoes all summer long.
Starting Your Tomato Seeds (or Buying Seedlings)
You have two options here: start your own seeds indoors or buy seedlings from a local nursery. Starting from seed gives you more control over the variety and can be more cost-effective, but it requires a bit more time and effort.
Starting from Seed (Indoor Method)
This is my preferred method because I love watching those tiny sprouts emerge!
**Materials You’ll Need:**
* Tomato seeds (of your chosen variety)
* Seed starting trays or small pots
* Seed starting mix (a light, sterile soil mix)
* Spray bottle
* Heat mat (optional, but helpful)
* Grow light (optional, but highly recommended)
* Waterproof tray to hold the seed trays
**Step-by-Step Instructions:**
1. **Sow the Seeds:** Fill your seed starting trays or pots with seed starting mix. Moisten the mix with a spray bottle until it’s damp but not soggy. Sow 2-3 seeds per cell or pot, about ¼ inch deep. Gently cover the seeds with more seed starting mix.
2. **Water Gently:** Use a spray bottle to gently water the soil. Avoid overwatering, as this can lead to damping off (a fungal disease that kills seedlings).
3. **Provide Warmth:** Place the seed trays on a heat mat (if using) and cover them with a clear plastic dome or plastic wrap to create a humid environment. This helps with germination.
4. **Provide Light:** Place the seed trays under a grow light or in a sunny window. If using a window, rotate the trays regularly to prevent the seedlings from leaning towards the light.
5. **Maintain Moisture:** Keep the soil consistently moist but not soggy. Check the soil daily and water as needed with a spray bottle.
6. **Remove the Dome:** Once the seeds have germinated (usually within 5-10 days), remove the plastic dome or plastic wrap.
7. **Thin the Seedlings:** Once the seedlings have their first true leaves (the second set of leaves that appear after the initial seed leaves), thin them to one seedling per cell or pot. Choose the strongest, healthiest-looking seedling and snip off the others at the soil line with scissors.
8. **Harden Off the Seedlings:** Before transplanting the seedlings outdoors, you need to “harden them off.” This gradually acclimates them to the outdoor environment. Start by placing the seedlings outdoors in a sheltered location for an hour or two each day, gradually increasing the amount of time they spend outdoors over the course of a week or two. Protect them from direct sunlight and strong winds during this process.
Buying Seedlings (The Easier Route)
If you don’t have the time or space to start your own seeds, buying seedlings from a local nursery is a perfectly fine option.
**What to Look For:**
* Healthy, green leaves (avoid seedlings with yellowing or spotted leaves)
* Sturdy stems (avoid seedlings that are leggy or spindly)
* A well-developed root system (check the bottom of the pot to see if the roots are circling around)
* Avoid seedlings that are already flowering or fruiting, as they may be stressed and less likely to thrive.
Preparing the Planting Site
Tomatoes need at least 6-8 hours of sunlight per day and well-drained soil.
**Step-by-Step Instructions:**
1. **Choose a Sunny Location:** Select a spot in your garden that receives plenty of sunlight.
2. **Prepare the Soil:** Dig a hole that is twice as wide and as deep as the root ball of the tomato seedling. Amend the soil with compost or other organic matter to improve drainage and fertility. I like to add a handful of bone meal to the hole as well, as it provides phosphorus, which is essential for root development.
3. **Check the Soil pH:** Tomatoes prefer a slightly acidic soil pH of around 6.0-6.8. You can test your soil pH with a soil testing kit. If your soil is too alkaline, you can amend it with sulfur. If it’s too acidic, you can add lime.
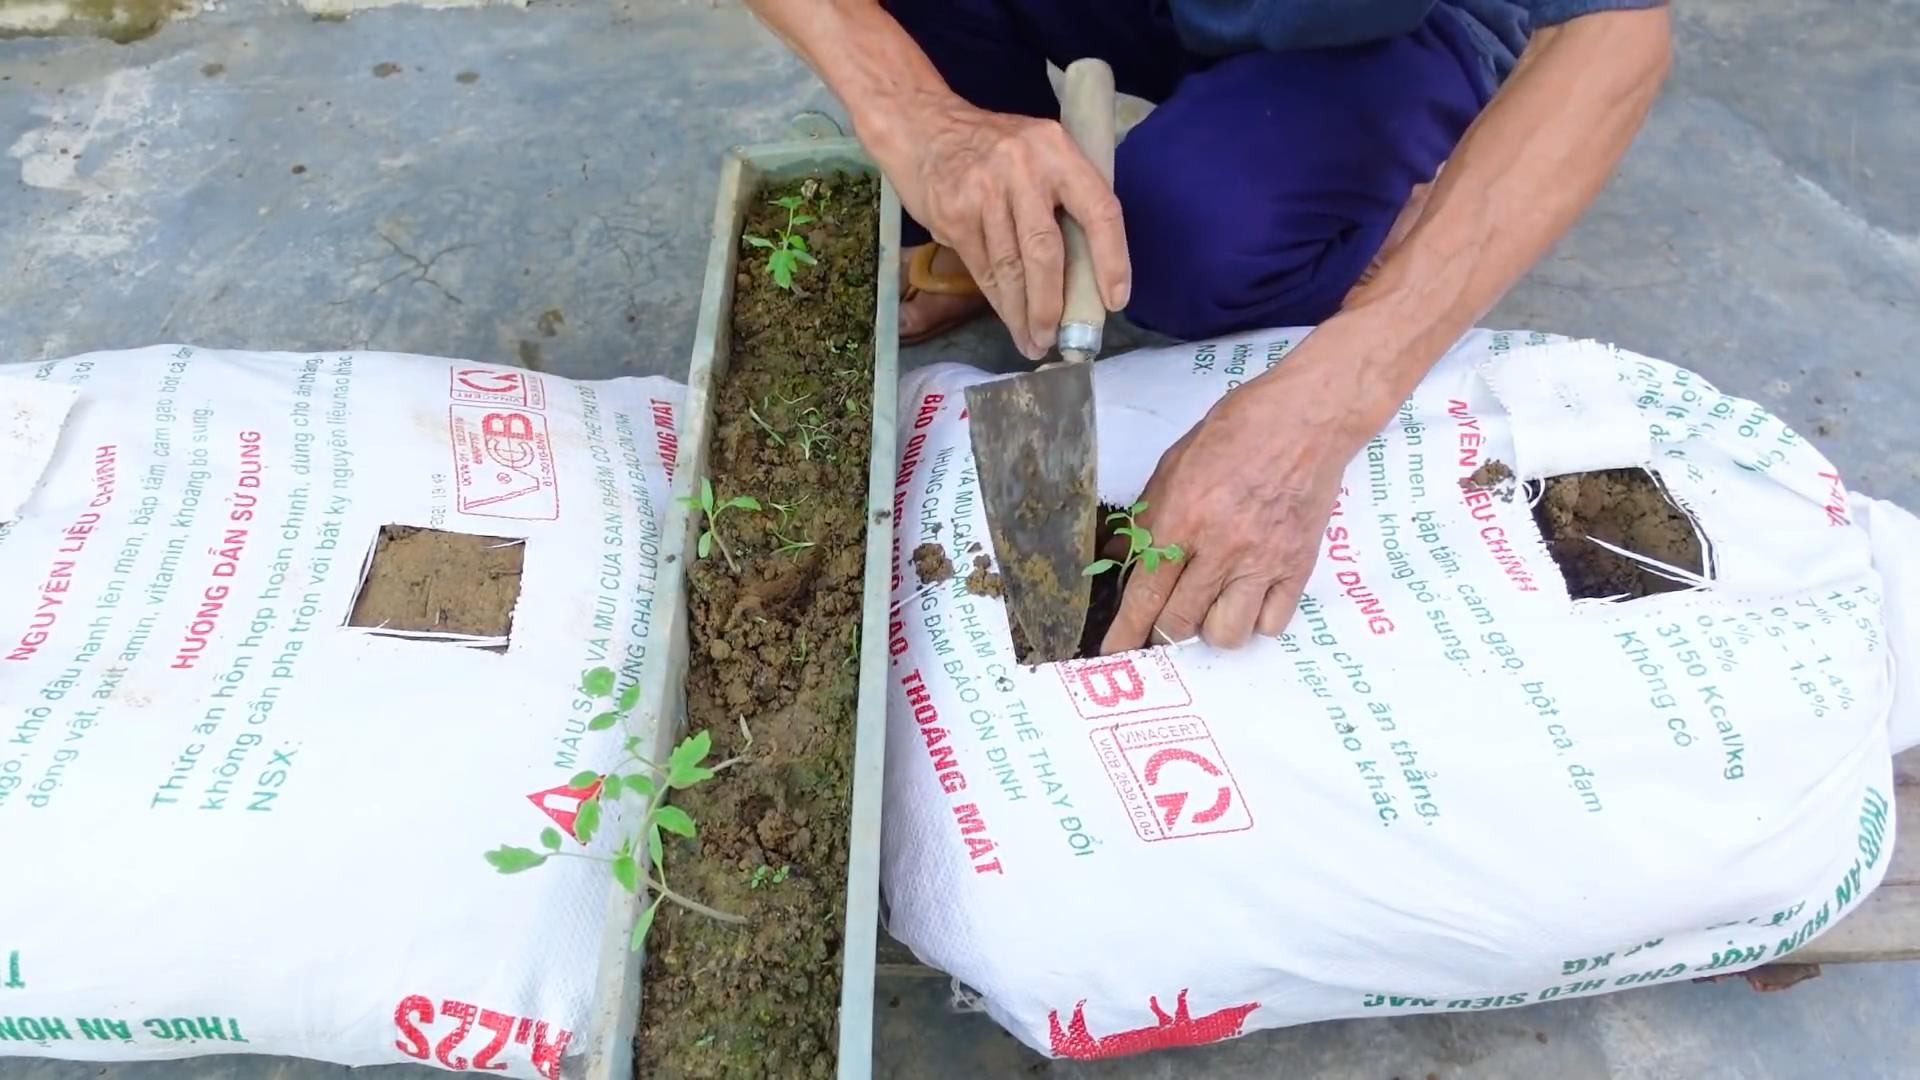
Transplanting Your Tomato Seedlings
Now for the fun part – getting those little plants into the ground!
**Step-by-Step Instructions:**
1. **Carefully Remove the Seedling:** Gently remove the tomato seedling from its pot. If the roots are circling around the bottom of the pot, gently loosen them with your fingers.
2. **Plant Deeply:** Plant the tomato seedling deeper than it was growing in the pot. This encourages the development of more roots along the stem, resulting in a stronger, healthier plant. Remove the lower leaves from the stem before planting, and bury the stem up to the first set of leaves.
3. **Water Thoroughly:** Water the newly planted tomato seedling thoroughly.
4. **Add Support:** If you’re growing indeterminate tomato varieties, install stakes or cages at the time of planting. This will provide support for the plants as they grow and prevent the fruit from touching the ground. I prefer using tomato cages because they’re easy to install and provide good support.
5. **Mulch:** Apply a layer of mulch around the base of the tomato plant to help retain moisture, suppress weeds, and regulate soil temperature. I like to use straw or shredded leaves as mulch.
Caring for Your Tomato Plants
Once your tomato plants are in the ground, it’s important to provide them with proper care to ensure a bountiful harvest.
**Watering:**
* Water deeply and regularly, especially during hot, dry weather. Aim to water at the base of the plant to avoid wetting the foliage, which can lead to fungal diseases.
* Water early in the morning to allow the foliage to dry before nightfall.
* Use a soaker hose or drip irrigation to deliver water directly to the roots.
**Fertilizing:**
* Fertilize your tomato plants every 2-3 weeks with a balanced fertilizer. Look for a fertilizer that is specifically formulated for tomatoes.
* Avoid over-fertilizing, as this can lead to excessive foliage growth and reduced fruit production.
**Pruning:**
* Prune your tomato plants regularly to remove suckers (the small shoots that grow in the crotch between the main stem and the branches). Removing suckers encourages the plant to focus its energy on producing fruit.
* For determinate varieties, you don’t need to prune as much. Just remove any suckers that grow below the first flower cluster.
* For indeterminate varieties, you can prune more aggressively. Remove all suckers that grow below the first flower cluster, and then continue to remove suckers as they appear throughout the season.
**Pest and Disease Control:**
* Inspect your tomato plants regularly for pests and diseases.
* Common tomato pests include aphids, tomato hornworms, and whiteflies. You can control these pests with insecticidal soap or neem oil.
* Common tomato diseases include early blight, late blight, and blossom end rot. You can prevent these diseases by providing good air circulation, avoiding overhead watering, and applying a fungicide if necessary.
* Blossom end rot is caused by a calcium deficiency. You can prevent it by adding calcium to the soil or by spraying the plants with a calcium solution.
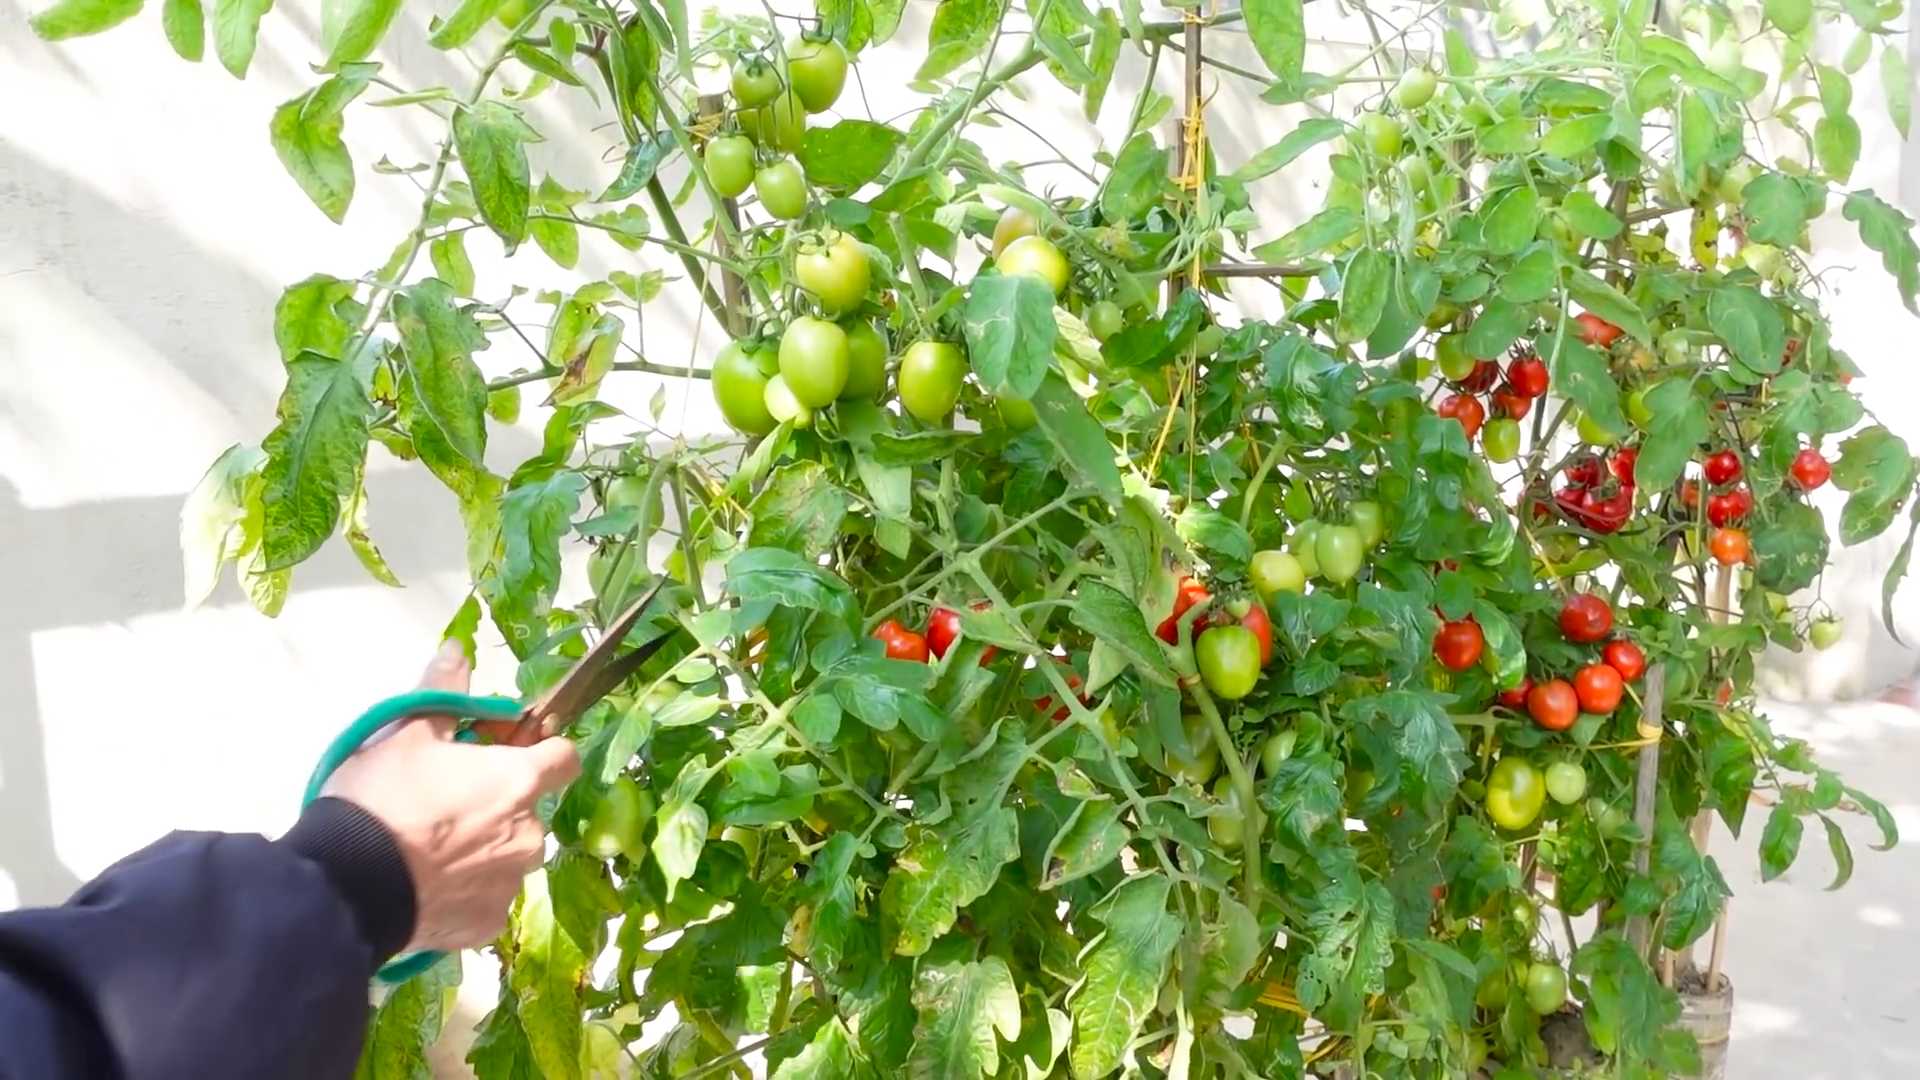
Harvesting Your Tomatoes
The moment you’ve been waiting for!
**When to Harvest:**
* Tomatoes are ready to harvest when they are fully colored and slightly soft to the touch.
* Gently twist the tomato off the vine.
**Storing Your Tomatoes:**
* Store ripe tomatoes at room temperature, away from direct sunlight.
* Do not refrigerate tomatoes, as this can affect their flavor and texture.
* If you have a lot of tomatoes, you can freeze them, can them, or make tomato sauce.
And there you
Conclusion
So, there you have it! Growing your own tomatoes isn’t just a rewarding hobby; it’s a gateway to experiencing the freshest, most flavorful tomatoes you’ve ever tasted. Forget those bland, store-bought varieties that lack character. With a little effort and this simple DIY trick, you can cultivate a thriving tomato garden right in your own backyard, balcony, or even windowsill.
This method, focusing on [mention the specific DIY trick from the main article here, e.g., “using coffee grounds as fertilizer” or “creating a self-watering container”], offers a sustainable and cost-effective way to boost your tomato yield and enhance their taste. It’s about working *with* nature, not against it, to create an environment where your tomato plants can truly flourish.
But the beauty of gardening lies in its adaptability. Feel free to experiment with different tomato varieties to find your favorites. Try heirloom tomatoes for their unique flavors and colors, or stick with classic varieties like Roma or Beefsteak for reliable results. You can also explore different companion planting strategies. Basil, for example, is a classic companion for tomatoes, believed to improve their flavor and deter pests. Marigolds are another excellent choice, known for their pest-repelling properties.
Consider variations on the DIY trick itself. If you’re using coffee grounds, try composting them first for an even richer, more balanced fertilizer. If you’re building a self-watering container, experiment with different materials and designs to find what works best for your space and needs. The possibilities are endless!
The key takeaway is that growing your own tomatoes is an achievable goal for anyone, regardless of their experience level. Don’t be intimidated by the thought of gardening. Start small, be patient, and learn from your mistakes. Every season is a new opportunity to refine your techniques and grow even better tomatoes.
We wholeheartedly encourage you to give this DIY tomato growing trick a try. Imagine the satisfaction of harvesting your own juicy, sun-ripened tomatoes and using them in your favorite recipes. From fresh salads and sandwiches to homemade sauces and salsas, the possibilities are endless.
And most importantly, we want to hear about your experience! Share your photos, tips, and challenges in the comments below. Let’s create a community of tomato growers who can learn from each other and inspire others to embrace the joy of homegrown produce. What variety of tomato did you choose? What challenges did you face, and how did you overcome them? What delicious dishes did you create with your homegrown bounty? Your insights could be invaluable to other aspiring tomato growers. So, get your hands dirty, embrace the process, and discover the incredible rewards of growing your own tomatoes. You won’t regret it!
Frequently Asked Questions (FAQs)
What are the best tomato varieties to grow for beginners?
For beginners, some of the easiest and most reliable tomato varieties to grow include Roma, Celebrity, and Better Bush. Roma tomatoes are determinate, meaning they grow to a certain size and then stop, making them ideal for smaller spaces. Celebrity tomatoes are known for their disease resistance and consistent yields. Better Bush tomatoes are compact and well-suited for container gardening. Cherry tomatoes are also a great option for beginners, as they are relatively easy to grow and produce abundant fruit. Consider your local climate and growing conditions when selecting your tomato varieties. Check with your local nursery or garden center for recommendations on varieties that thrive in your area.
How often should I water my tomato plants?
Watering frequency depends on several factors, including the weather, soil type, and size of your plants. Generally, tomato plants need about 1-2 inches of water per week. Water deeply and less frequently, rather than shallowly and often. This encourages deep root growth, which makes the plants more drought-tolerant. Check the soil moisture by sticking your finger about an inch into the soil. If it feels dry, it’s time to water. Avoid overwatering, as this can lead to root rot and other problems. During hot, dry weather, you may need to water more frequently. Mulching around your tomato plants can help retain moisture in the soil.
What kind of fertilizer should I use for my tomato plants?
Tomato plants are heavy feeders and require regular fertilization to produce abundant fruit. A balanced fertilizer with an NPK ratio of 5-10-5 or 10-10-10 is a good starting point. Look for a fertilizer specifically formulated for tomatoes, as these often contain micronutrients that are essential for healthy growth. You can also use organic fertilizers, such as compost, aged manure, or bone meal. Apply fertilizer according to the package directions. Avoid over-fertilizing, as this can lead to excessive foliage growth and reduced fruit production. Side-dress your tomato plants with fertilizer every few weeks throughout the growing season.
How do I prevent pests and diseases from attacking my tomato plants?
Prevention is key when it comes to pests and diseases. Start by selecting disease-resistant tomato varieties. Practice good garden hygiene by removing weeds and debris from around your plants. Water your plants at the base to avoid wetting the foliage, which can promote fungal diseases. Use insecticidal soap or neem oil to control common pests like aphids, whiteflies, and tomato hornworms. Companion planting with basil or marigolds can also help deter pests. If you notice signs of disease, such as yellowing leaves or spots, remove the affected foliage immediately. Consider using a fungicide if the problem persists.
When is the best time to harvest my tomatoes?
Tomatoes are typically ready to harvest when they are fully colored and slightly soft to the touch. The exact color will depend on the variety. Gently twist the tomato from the vine. If it doesn’t come off easily, it’s not quite ripe. You can also harvest tomatoes that are slightly underripe and allow them to ripen indoors. This can be helpful if you’re expecting frost or if you want to prevent pests from getting to your tomatoes. Store harvested tomatoes at room temperature, away from direct sunlight. Avoid refrigerating tomatoes, as this can affect their flavor and texture.
What do I do if my tomato plants are not producing fruit?
There are several reasons why your tomato plants might not be producing fruit. One common cause is lack of pollination. Tomatoes are self-pollinating, but they may need some help from wind or insects to transfer pollen. You can gently shake your tomato plants or use a small brush to transfer pollen from one flower to another. Another possible cause is temperature stress. Tomatoes prefer temperatures between 60°F and 85°F. If temperatures are too hot or too cold, the plants may not set fruit. Over-fertilizing with nitrogen can also inhibit fruit production. Make sure you’re using a balanced fertilizer and avoid overwatering. Finally, some tomato varieties are simply later to mature than others. Be patient and give your plants time to produce fruit.
Can I grow tomatoes in containers?
Yes, you can definitely grow tomatoes in containers! Choose a large container, at least 20 gallons in size, with good drainage. Use a high-quality potting mix and select tomato varieties that are well-suited for container gardening, such as dwarf or determinate varieties. Provide your container tomatoes with plenty of sunlight, water, and fertilizer. You may need to water them more frequently than tomatoes grown in the ground, as containers tend to dry out quickly. Consider using a tomato cage or stake to support the plants as they grow. Container gardening is a great option for people with limited space or poor soil.

Leave a Comment