

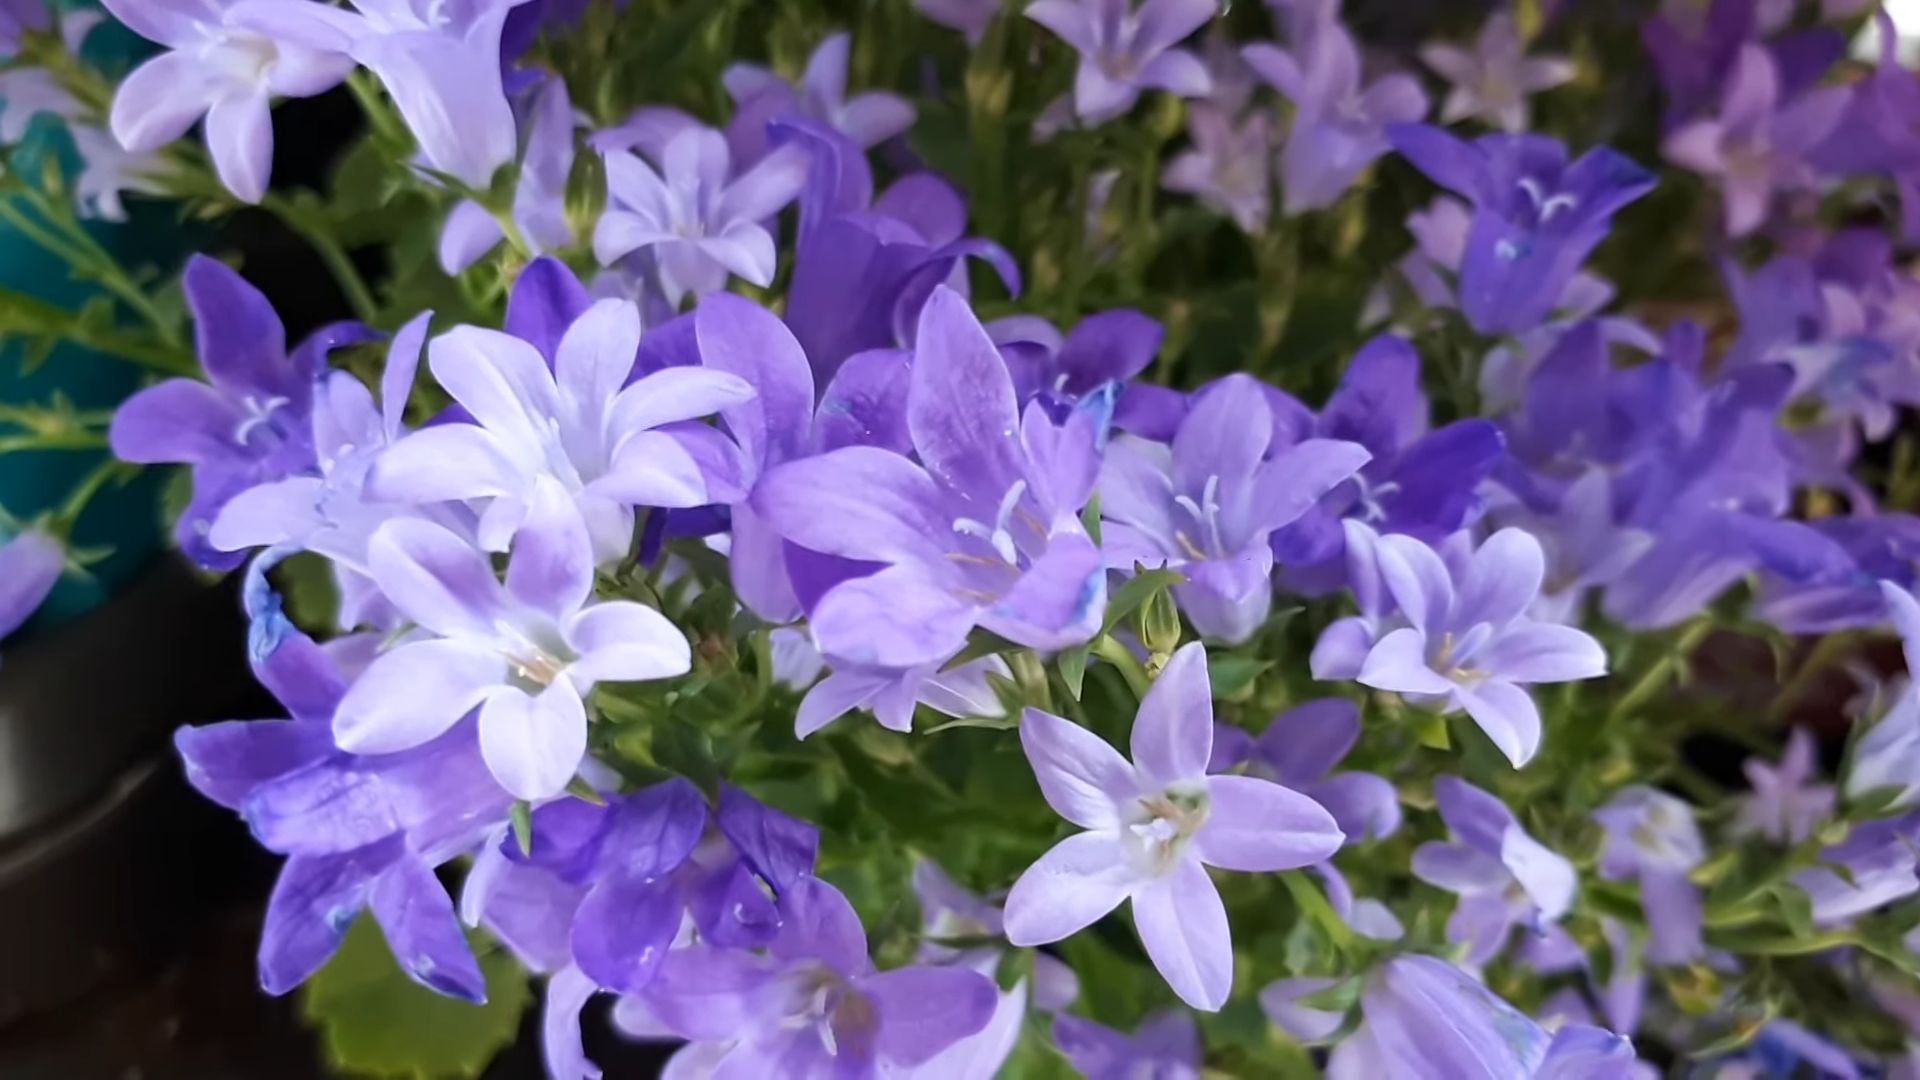
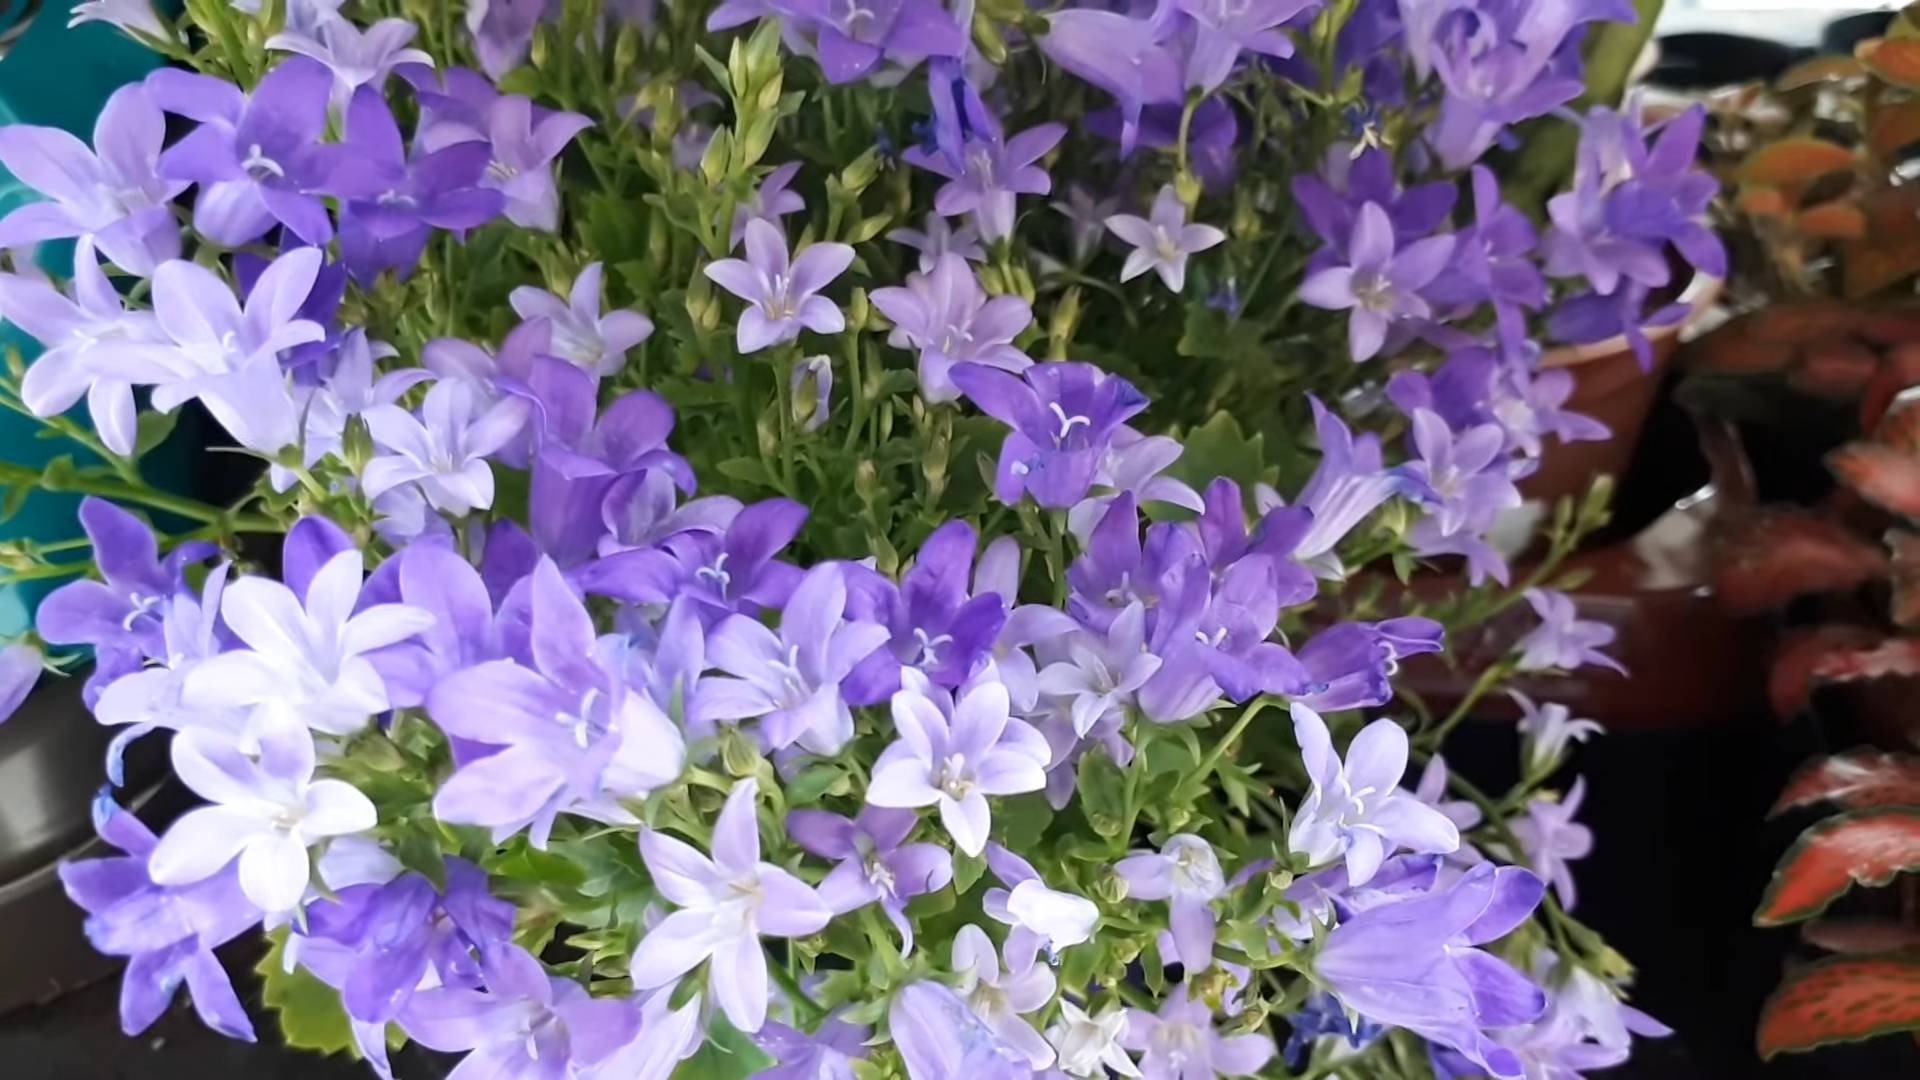
Growing Bellflowers Perennial Care: Ever dreamt of a garden bursting with vibrant, bell-shaped blooms that return year after year? I know I have! There’s something truly magical about perennial flowers, and bellflowers (Campanula) are definitely among the most enchanting. These beauties, with their delicate, nodding blossoms, have been gracing gardens for centuries, even finding their way into folklore and art across different cultures.
But let’s be honest, sometimes even the most enthusiastic gardener (like myself!) can struggle to keep these perennials thriving. That’s why I’ve put together this guide packed with DIY tricks and hacks to ensure your bellflowers not only survive but absolutely flourish. We’ll delve into everything from choosing the perfect spot and soil to mastering the art of deadheading and division.
Why is this important? Because growing bellflowers perennial care doesn’t have to be a daunting task! With a few simple strategies, you can unlock the secrets to a garden filled with these captivating flowers, adding a touch of whimsical charm to your outdoor space for years to come. Plus, who doesn’t love a good DIY project that results in a stunning display of natural beauty? Let’s get started!
DIY: Reviving Bellflowers for a Blooming Bonanza!
Hey there, fellow garden enthusiasts! Are your bellflowers looking a little… lackluster? Don’t worry, we’ve all been there. Bellflowers, with their charming, bell-shaped blooms, are a delightful addition to any garden. But like all perennials, they need a little TLC to truly thrive. I’m going to walk you through some simple DIY steps to revive your bellflowers and get them blooming like crazy!
Understanding Bellflower Needs
Before we dive into the hands-on stuff, let’s quickly cover the basics. Knowing what your bellflowers need will make all the difference in how you care for them.
* Sunlight: Most bellflowers prefer full sun to partial shade. Aim for at least 6 hours of sunlight a day for optimal blooming.
* Soil: Well-draining soil is crucial. Bellflowers hate soggy feet! Amend heavy clay soil with compost or other organic matter.
* Watering: Water regularly, especially during dry spells. But avoid overwatering, which can lead to root rot.
* Fertilizing: A balanced fertilizer in spring will give your bellflowers a boost.
* Deadheading: This is key to encouraging more blooms! Remove spent flowers regularly.
* Support: Taller varieties may need staking to prevent them from flopping over.
Reviving Your Bellflowers: A Step-by-Step Guide
Okay, let’s get our hands dirty! Here’s my tried-and-true method for reviving bellflowers that are looking a bit sad.
Phase 1: Assessment and Preparation
1. Assess the Situation: Take a good look at your bellflowers. Are the leaves yellowing? Are there few or no blooms? Is the soil compacted? Identifying the problem is the first step to fixing it.
2. Gather Your Supplies: You’ll need:
* Gardening gloves
* Hand trowel or garden fork
* Pruning shears or scissors
* Watering can or hose
* Balanced fertilizer (e.g., 10-10-10)
* Compost or other organic matter (if needed)
* Stakes and twine (for taller varieties)
3. Clear the Area: Remove any weeds, dead leaves, or other debris around your bellflowers. This will improve air circulation and reduce the risk of disease.
Phase 2: Soil Improvement and Feeding
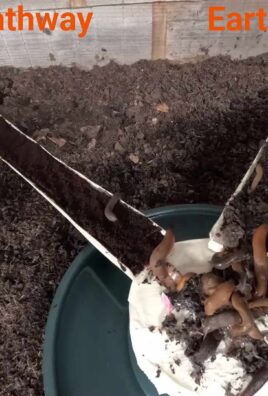
1. Loosen the Soil: Using your hand trowel or garden fork, gently loosen the soil around the base of the bellflowers. Be careful not to damage the roots. This will improve drainage and allow air to reach the roots.
2. Amend the Soil (If Needed): If your soil is heavy clay or compacted, amend it with compost or other organic matter. Dig in a generous amount around the base of the plants. This will improve drainage, aeration, and nutrient content.
3. Fertilize: Apply a balanced fertilizer according to the package directions. Sprinkle it around the base of the plants and gently work it into the soil. Water thoroughly after fertilizing. I usually use a slow-release fertilizer in the spring to give them a good start.
4. Water Deeply: After fertilizing, water your bellflowers deeply. This will help the fertilizer dissolve and reach the roots. Make sure the water penetrates several inches into the soil.
Phase 3: Pruning and Deadheading
1. Deadhead Spent Flowers: This is super important! Use your pruning shears or scissors to remove any spent flowers. Cut the stem back to just above a healthy leaf node. This will encourage the plant to produce more blooms instead of putting energy into seed production.
2. Prune Back Overgrown Foliage: If your bellflowers are looking leggy or overgrown, you can prune them back to encourage bushier growth. Cut back stems by about one-third, making sure to cut just above a leaf node.
3. Remove Dead or Diseased Foliage: Remove any dead, yellowing, or diseased leaves. This will improve air circulation and prevent the spread of disease.
Phase 4: Support and Maintenance
1. Stake Taller Varieties: If you have taller varieties of bellflowers, they may need staking to prevent them from flopping over. Insert stakes into the ground near the plants and tie the stems to the stakes with twine. Be sure to tie the twine loosely so that it doesn’t constrict the stems.
2. Water Regularly: Water your bellflowers regularly, especially during dry spells. Check the soil moisture by sticking your finger into the soil. If the top inch of soil is dry, it’s time to water.
3. Monitor for Pests and Diseases: Keep an eye out for pests and diseases. Common pests of bellflowers include aphids and slugs. Diseases can include powdery mildew and root rot. Treat any problems promptly with appropriate insecticides or fungicides. I prefer using organic solutions whenever possible.
4. Mulch (Optional): Applying a layer of mulch around your bellflowers can help to retain moisture, suppress weeds, and regulate soil temperature. Use organic mulch such as shredded bark, wood chips, or straw.
Troubleshooting Common Bellflower Problems
Even with the best care, you might encounter some problems with your bellflowers. Here are a few common issues and how to address them:
* Yellowing Leaves: This can be caused by overwatering, underwatering, nutrient deficiencies, or pests. Check the soil moisture and adjust your watering accordingly. Fertilize with a balanced fertilizer. Inspect the plants for pests.
* Lack of Blooms: This can be caused by insufficient sunlight, poor soil, lack of fertilizer, or improper deadheading. Make sure your bellflowers are getting enough sunlight. Amend the soil with compost or other organic matter. Fertilize with a balanced fertilizer. Deadhead spent flowers regularly.
* Powdery Mildew: This fungal disease appears as a white, powdery coating on the leaves. Improve air circulation by pruning back overgrown foliage. Treat with a fungicide.
* Slugs: These pests can damage the leaves of bellflowers. Handpick slugs off the plants or use slug bait.
Extra Tips for Bellflower Bliss
Here are a few extra tips to help your bellflowers thrive:
* Divide Clumps: Every few years, divide your bellflower clumps to prevent them from becoming overcrowded. This will also rejuvenate the plants and encourage more blooms. The best time to divide bellflowers is in the spring or fall.
* Choose the Right Variety: There are many different varieties of bellflowers, so choose one that is well-suited to your climate and growing conditions. Some varieties are more heat-tolerant than others, while others are more shade-tolerant.
* Protect from Frost: In colder climates, protect your bellflowers from frost by covering them with a blanket or tarp. You can also mulch around the base of the plants to insulate the roots.
Bellflower Varieties to Consider
There are so many beautiful bellflower varieties to choose from! Here are a few of my favorites:
* Canterbury Bells (Campanula medium): These are classic bellflowers with tall spikes of bell-shaped blooms in shades of blue, pink, and white. They are biennials, meaning they bloom in their second year.
* Peach-leaved Bellflower (Campanula persicifolia): These bellflowers have delicate, peach-like leaves and bell-shaped blooms in shades of blue and white. They are perennials and bloom in early summer.
* Clustered Bellflower (Campanula glomerata): These bellflowers have clusters of bell-shaped blooms in shades of purple and blue. They are perennials and bloom in mid-summer.
* Creeping Bellflower (Campanula rapunculoides): Be careful with this one! It can be quite invasive. It has small, bell-shaped blooms in shades of purple and blue. It is a perennial and blooms in late summer. If you plant this one, make sure to contain it.
* Fairy Thimbles (Campanula cochleariifolia): These are adorable little bellflowers with tiny, bell-shaped blooms in shades of blue and white. They are perennials and bloom in summer. They are great for rock gardens.
Enjoying Your Revived Bellflowers
With a little bit of care and attention, you can revive your bellflowers and enjoy their beautiful blooms for years to come. Remember to water regularly, fertilize in the spring, deadhead spent flowers, and protect them from pests and diseases. And don’t be afraid to experiment with different varieties to find the ones that you love the most! Happy gardening!
Conclusion
So, there you have it! Mastering the art of growing bellflowers with our DIY perennial care trick is not just about saving money; it’s about unlocking the full potential of these stunning blooms and creating a vibrant, thriving garden that will be the envy of the neighborhood. We’ve shown you how simple adjustments to your soil, watering schedule, and pruning techniques can dramatically improve the health and longevity of your bellflowers, ensuring they return year after year with even more spectacular displays.
This isn’t just another gardening tip; it’s a game-changer. Imagine your garden bursting with the delicate, bell-shaped flowers in shades of blue, purple, pink, and white, all thanks to a few simple, proactive steps. Think of the satisfaction of knowing you’ve nurtured these beauties from tiny seedlings to flourishing perennials, all while avoiding expensive store-bought solutions.
But the beauty of gardening lies in its adaptability. Feel free to experiment with variations on our DIY perennial care trick. For instance, if you live in an area with particularly acidic soil, consider adding a bit of lime to further sweeten it for your bellflowers. If you’re dealing with particularly hot summers, provide some afternoon shade to prevent scorching. And if you’re looking to propagate your bellflowers, try taking stem cuttings in the spring and rooting them in a well-draining potting mix.
Consider companion planting as well. Bellflowers thrive alongside other perennials like lavender, salvia, and shasta daisies, creating a beautiful and diverse garden ecosystem. These companion plants can also help deter pests and attract beneficial insects, further enhancing the health of your bellflowers.
Don’t be afraid to get your hands dirty and personalize this DIY perennial care trick to suit your specific garden conditions and preferences. The most important thing is to observe your bellflowers closely and adjust your care accordingly. They’ll tell you what they need through their growth habits, leaf color, and overall health.
We are confident that by implementing this DIY perennial care trick, you’ll be amazed at the difference it makes in the vitality and longevity of your bellflowers. It’s a simple, effective, and rewarding way to ensure that these beautiful blooms grace your garden for years to come.
Now it’s your turn! We encourage you to try this DIY perennial care trick for growing bellflowers in your own garden. We’re eager to hear about your experiences, successes, and any variations you discover along the way. Share your photos and stories with us in the comments below. Let’s create a community of bellflower enthusiasts who are passionate about nurturing these stunning perennials and sharing their knowledge with others. Happy gardening!
Frequently Asked Questions (FAQ)
What exactly is involved in this DIY perennial care trick for bellflowers?
This DIY perennial care trick encompasses a holistic approach to nurturing your bellflowers, focusing on three key areas: soil preparation, watering techniques, and pruning practices. For soil, we emphasize the importance of well-draining soil enriched with organic matter, such as compost or aged manure. This provides the necessary nutrients and drainage for healthy root development. For watering, we recommend deep, infrequent watering, allowing the soil to dry out slightly between waterings to prevent root rot. Finally, for pruning, we advise deadheading spent flowers to encourage continued blooming and cutting back the plant after the first frost to promote healthy growth in the spring.
How often should I water my bellflowers after implementing this DIY trick?
The frequency of watering depends on several factors, including your climate, soil type, and the age of your plants. As a general rule, water deeply when the top inch of soil feels dry to the touch. During hot, dry periods, you may need to water more frequently. However, avoid overwatering, as this can lead to root rot. A good way to check is to stick your finger into the soil near the base of the plant. If it feels moist, hold off on watering. If it feels dry, it’s time to give your bellflowers a drink. Remember, deep, infrequent watering is always better than frequent, shallow watering.
What kind of organic matter should I use to enrich the soil?
There are several excellent options for enriching the soil with organic matter. Compost is a great all-around choice, providing a balanced blend of nutrients and improving soil structure. Aged manure is another excellent option, but be sure to use well-rotted manure to avoid burning the roots of your plants. Other options include leaf mold, which is decomposed leaves, and peat moss, which helps retain moisture in the soil. Choose the organic matter that is most readily available to you and that best suits your soil type. For example, if you have sandy soil, peat moss can help improve its water-holding capacity. If you have clay soil, compost can help improve its drainage.
When is the best time to prune my bellflowers?
The best time to prune your bellflowers is in two stages. First, deadhead spent flowers regularly throughout the blooming season to encourage continued flowering. Simply snip off the faded blooms just below the flower head. Second, after the first frost in the fall, cut back the entire plant to a few inches above the ground. This will help protect the plant over the winter and promote healthy growth in the spring. Use sharp, clean pruning shears to avoid damaging the plant.
My bellflowers are not blooming as much as I expected. What could be the problem?
There could be several reasons why your bellflowers are not blooming as much as you expected. One possibility is that they are not getting enough sunlight. Bellflowers generally prefer full sun to partial shade. Another possibility is that the soil is not fertile enough. Be sure to amend the soil with organic matter regularly to provide the necessary nutrients. Overwatering or underwatering can also affect blooming. Make sure you are watering deeply but infrequently, allowing the soil to dry out slightly between waterings. Finally, improper pruning can also reduce blooming. Be sure to deadhead spent flowers regularly to encourage continued flowering.
Are there any specific types of bellflowers that benefit most from this DIY perennial care trick?
While all bellflowers will benefit from proper care, certain varieties may respond particularly well to this DIY perennial care trick. Taller varieties, such as *Campanula persicifolia* (Peach-leaved Bellflower) and *Campanula latifolia* (Giant Bellflower), often appreciate the extra support provided by healthy root systems and well-draining soil. Clumping varieties, such as *Campanula carpatica* (Carpathian Bellflower), will thrive with regular deadheading and division to prevent overcrowding. Ultimately, the principles of this DIY trick – well-draining soil, proper watering, and strategic pruning – are universally beneficial for all types of bellflowers.
How can I tell if my bellflowers are suffering from root rot?
Root rot is a common problem in bellflowers, especially in poorly draining soil. Signs of root rot include yellowing leaves, wilting even when the soil is moist, stunted growth, and a foul odor coming from the soil. If you suspect root rot, gently dig up the plant and inspect the roots. Healthy roots should be firm and white or tan in color. Roots affected by root rot will be mushy, brown or black, and may have a slimy texture. If you catch root rot early, you may be able to save the plant by removing the affected roots and replanting it in well-draining soil. However, in severe cases, the plant may not be salvageable.
Can I use this DIY perennial care trick for other flowering perennials in my garden?
Absolutely! The principles of this DIY perennial care trick – well-draining soil, proper watering, and strategic pruning – are applicable to many other flowering perennials. Many perennials benefit from soil enriched with organic matter, deep, infrequent watering, and regular deadheading. However, be sure to research the specific needs of each plant, as some perennials may have different requirements. For example, some perennials prefer acidic soil, while others prefer alkaline soil. Some perennials require more sunlight than others. By understanding the specific needs of each plant, you can tailor your care accordingly and create a thriving and diverse perennial garden.

Leave a Comment