

Growing corn in sacks might sound unconventional, but trust me, it’s a game-changer for home gardeners like us! Are you dreaming of sweet, juicy corn on the cob, but limited by space or poor soil? Then this DIY guide is your golden ticket. Forget sprawling fields; we’re bringing the farm to your patio, balcony, or even your doorstep!
For centuries, corn has been a staple crop, deeply woven into the cultures of indigenous communities across the Americas. From ancient rituals to everyday meals, corn has nourished and sustained generations. Now, we’re taking this time-honored tradition and adapting it for the modern home gardener.
Why should you try growing corn in sacks? Well, imagine the satisfaction of harvesting your own homegrown corn, knowing exactly where it came from and how it was grown. Plus, this method is incredibly space-efficient, allowing you to maximize your yield even in the smallest of areas. No more battling rocky soil or pesky weeds – we’re creating the perfect growing environment right in a bag! I’m excited to share these simple, effective techniques that will have you enjoying fresh, delicious corn in no time. Let’s get started!
Growing Corn in Sacks: A Bumper Harvest on Your Patio!
Hey there, fellow gardening enthusiasts! Ever dreamed of enjoying fresh, homegrown corn but thought you didn’t have the space? Well, I’m here to tell you that you absolutely can, even if you only have a small balcony or patio! Growing corn in sacks is a fantastic way to maximize your yield in a limited area, and it’s surprisingly easy. I’ve been doing it for a few years now, and I’m always amazed at how much corn I can harvest from just a few sacks. So, grab your gardening gloves, and let’s get started!
What You’ll Need
Before we dive into the nitty-gritty, let’s gather all the necessary supplies. This will make the whole process smoother and more enjoyable.
* Sacks: Burlap sacks, heavy-duty plastic grow bags, or even large, sturdy trash bags (double-bagged for extra strength) will work. Aim for sacks that are at least 24 inches in diameter and 36 inches tall. The bigger, the better, as corn roots need plenty of room to spread.
* Potting Mix: This is crucial! Don’t use garden soil directly in the sacks. It’s too heavy and doesn’t drain well. Opt for a high-quality potting mix that’s light, airy, and well-draining. I personally like to mix equal parts of compost, peat moss (or coco coir), and perlite for optimal results.
* Corn Seeds: Choose a variety of corn that’s suitable for your climate and growing season. Shorter-season varieties are generally better for container gardening. Sweet corn is a popular choice, but you can also grow popcorn or even ornamental corn.
* Fertilizer: Corn is a heavy feeder, so you’ll need to provide it with plenty of nutrients. A slow-release fertilizer specifically formulated for vegetables is ideal. You can also supplement with liquid fertilizer throughout the growing season.
* Watering Can or Hose: Essential for keeping your corn plants hydrated.
* Stakes or Trellis (Optional): Depending on the variety of corn you choose, you might need to provide some support as the plants grow taller.
* Gloves: To protect your hands from the soil and fertilizer.
* Trowel or Shovel: For filling the sacks with potting mix.
Preparing the Sacks
This is a simple but important step to ensure your corn plants have a healthy start.
1. Choose Your Location: Corn needs at least 6-8 hours of direct sunlight per day, so pick a sunny spot for your sacks. A south-facing patio or balcony is usually ideal.
2. Prepare the Sacks: If you’re using burlap sacks, you don’t need to do much. If you’re using plastic bags, make sure to poke several drainage holes in the bottom to prevent waterlogging.
3. Position the Sacks: Place the sacks in their final location before filling them with potting mix. Once they’re full, they’ll be heavy and difficult to move.
4. Add a Base Layer (Optional): I like to add a layer of gravel or small stones to the bottom of the sacks to improve drainage even further. This is especially helpful if you’re using plastic bags.
Planting the Corn Seeds
Now for the fun part – planting the seeds!
1. Fill the Sacks: Fill the sacks with your potting mix, leaving about 4-6 inches of space at the top.
2. Water the Soil: Thoroughly water the potting mix until it’s evenly moist but not soggy.
3. Plant the Seeds: Sow the corn seeds about 1-2 inches deep and 4-6 inches apart. I usually plant 4-6 seeds per sack, depending on the size of the sack and the variety of corn.
4. Cover the Seeds: Gently cover the seeds with potting mix and pat it down lightly.
5. Water Again: Water the soil again gently to settle the seeds.
6. Label the Sacks: Don’t forget to label the sacks with the variety of corn you planted and the date. This will help you keep track of your progress.
Caring for Your Corn Plants
This is where the real work begins, but it’s also the most rewarding part.
1. Watering: Corn needs consistent moisture, especially during hot weather. Water deeply whenever the top inch of soil feels dry to the touch. Avoid overwatering, as this can lead to root rot.
2. Fertilizing: As I mentioned earlier, corn is a heavy feeder. Apply a slow-release fertilizer at planting time and then supplement with liquid fertilizer every 2-3 weeks throughout the growing season. Follow the instructions on the fertilizer packaging carefully.
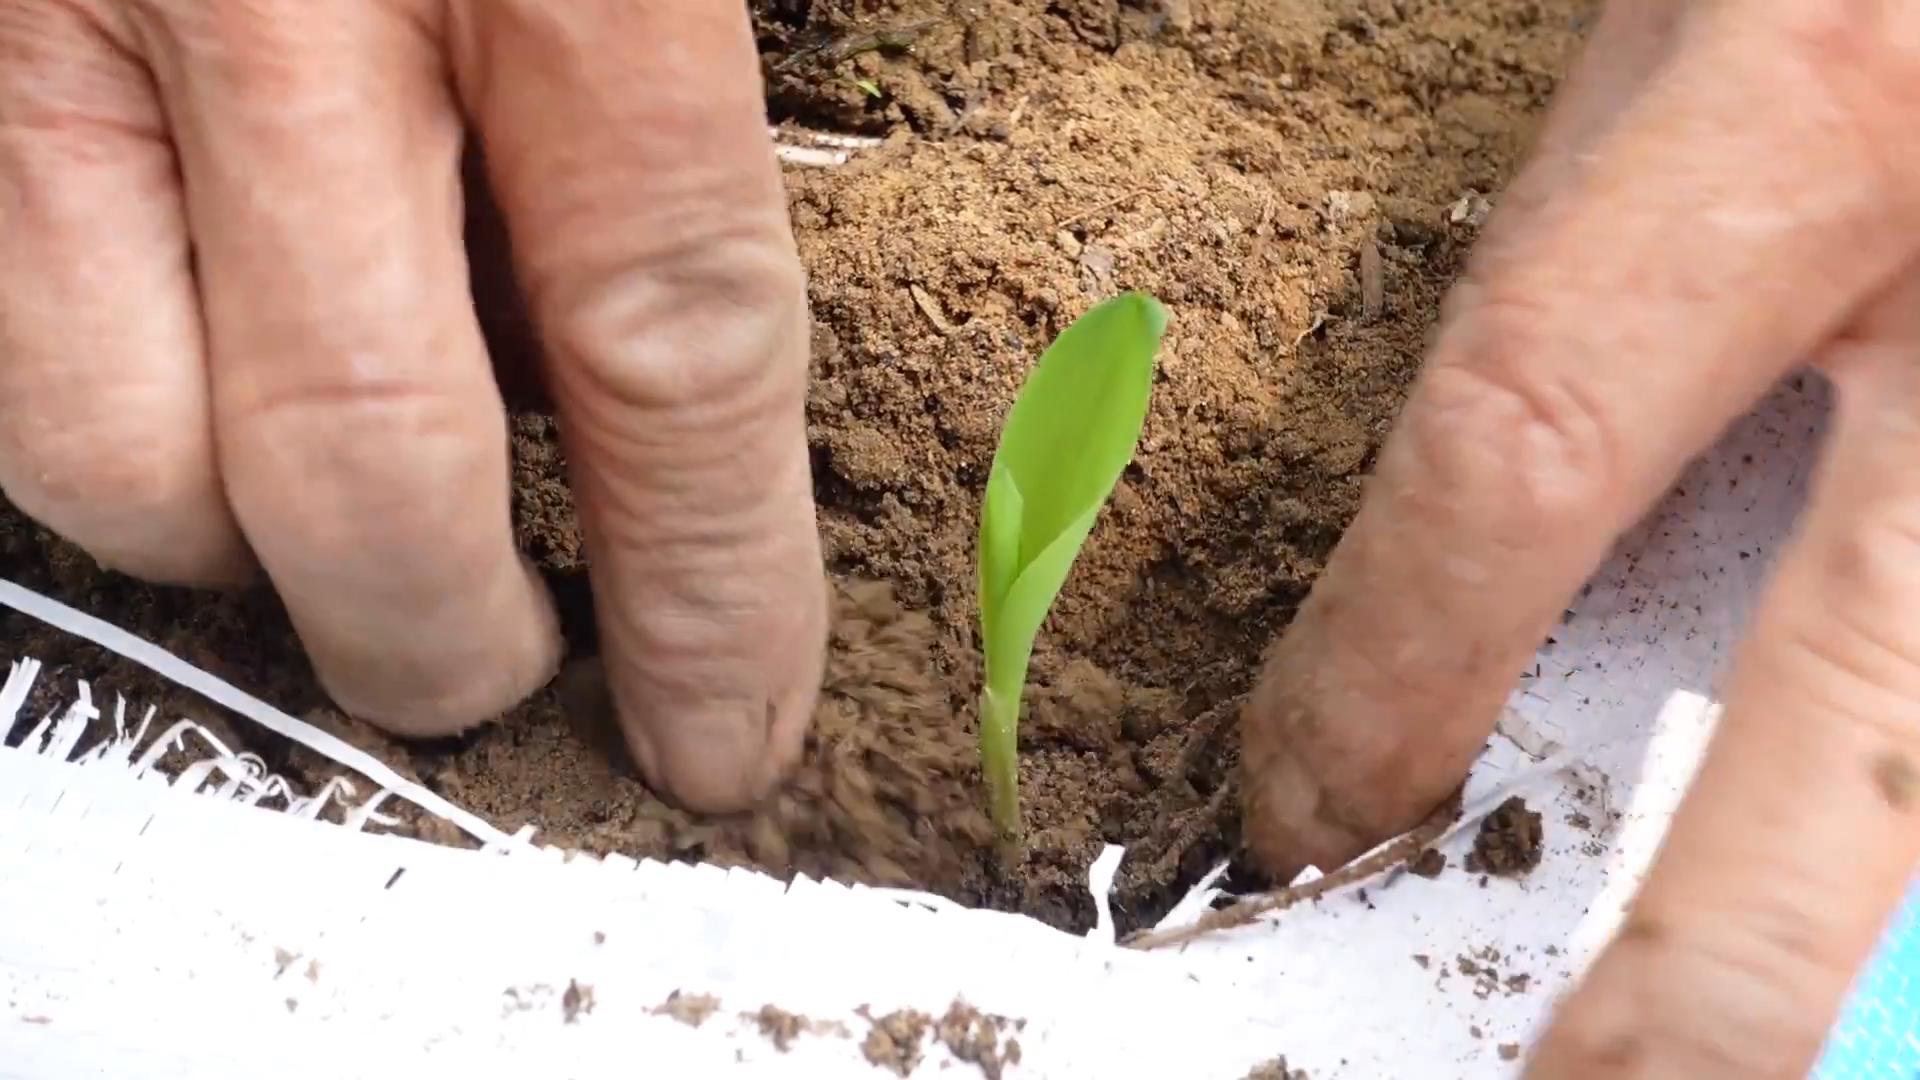
3. Thinning: Once the seedlings emerge, thin them out to the strongest 2-3 plants per sack. This will give them enough room to grow and prevent overcrowding.
4. Pollination: Corn is wind-pollinated, so you’ll need to help it along if you’re growing it in a confined space. When the tassels (the male flowers at the top of the plant) appear, gently shake the plants every day to release the pollen. You can also use a small paintbrush to transfer pollen from the tassels to the silks (the female flowers that emerge from the developing ears of corn).
5. Weeding: Keep the sacks free of weeds, as they can compete with the corn plants for nutrients and water.
6. Pest Control: Keep an eye out for pests like aphids, corn earworms, and Japanese beetles. Treat any infestations promptly with organic pest control methods. I like to use insecticidal soap or neem oil.
7. Staking (Optional): If your corn plants are getting tall and top-heavy, you may need to provide them with some support. Use stakes or a trellis to prevent them from falling over.
Harvesting Your Corn
The moment you’ve been waiting for!
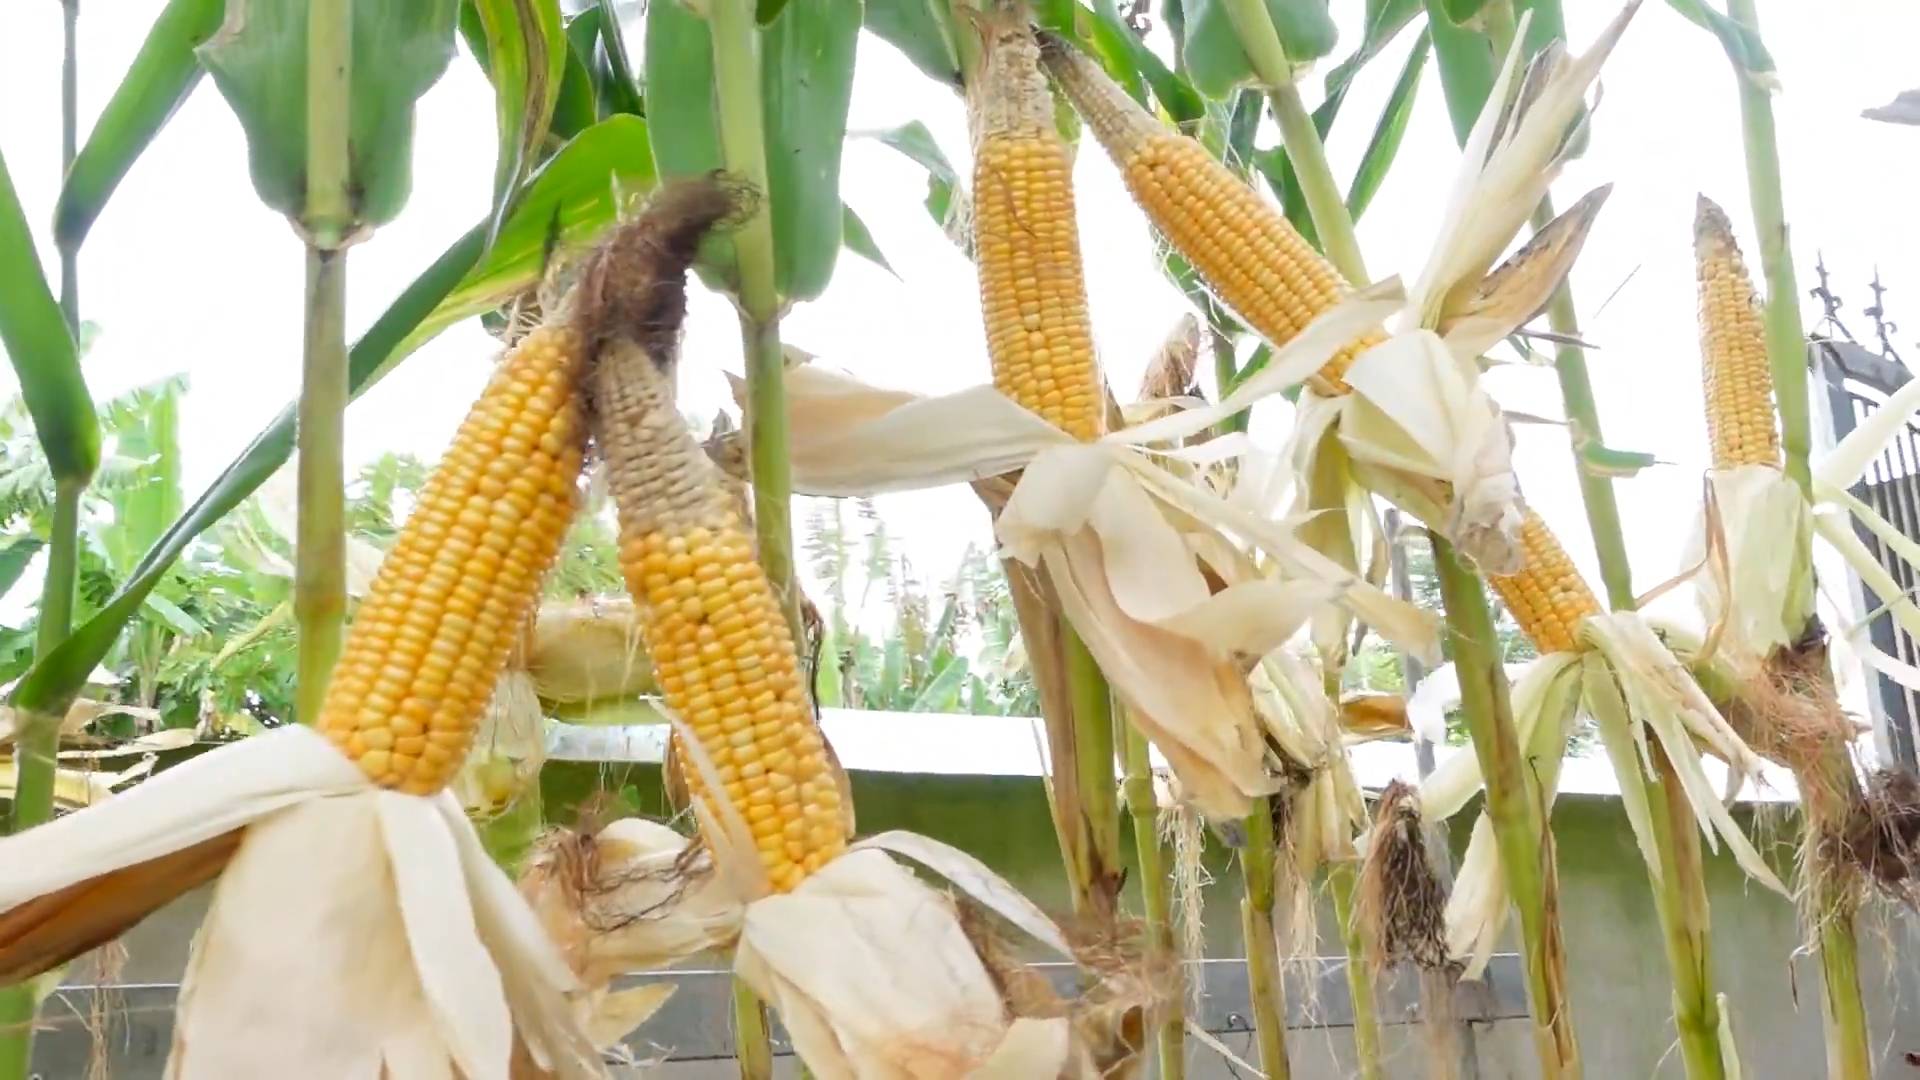
1. Check for Ripeness: Corn is usually ready to harvest about 2-3 weeks after the silks turn brown and dry. You can also check for ripeness by peeling back a portion of the husk and poking a kernel with your fingernail. If the kernel releases a milky liquid, it’s ready to harvest.
2. Harvest the Ears: To harvest the ears of corn, grasp them firmly and twist them downward. They should snap off easily from the stalk.
3. Enjoy Your Harvest: Enjoy your fresh, homegrown corn! You can grill it, boil it, roast it, or use it in your favorite recipes.
Troubleshooting
Even with the best planning, things can sometimes go wrong. Here are a few common problems you might encounter and how to fix them:
* Yellowing Leaves: This could be a sign of nutrient deficiency. Try fertilizing your plants with a balanced fertilizer.
* Stunted Growth: This could be caused by a number of factors, including poor soil, lack of sunlight, or pests. Make sure your plants are getting enough sunlight and water, and check for pests.
* Poor Pollination: If your ears of corn are not filling out properly, it could be due to poor pollination. Try hand-pollinating the plants as described above.
* Root Rot: This is usually caused by overwatering. Make sure your sacks have good drainage and avoid watering too frequently.
Choosing the Right Corn Variety
Selecting the right corn variety is crucial for success when growing in sacks. Here’s what I consider:
* Days to Maturity: Look for varieties with a shorter “days to maturity” – typically 70-90 days. This ensures you can harvest before the end of the growing season, especially if you have a shorter summer.
* Plant Height: Dwarf or semi-dwarf varieties are ideal for container gardening. They won’t get as tall as traditional field corn, making them less prone to toppling over.
* Sweetness: Consider your taste preferences. There are super-sweet, sugary enhanced, and standard sweet corn varieties. Super-sweet varieties tend to hold their sweetness longer after harvest.
* Disease Resistance: Choose varieties that are resistant to common corn diseases in your area. This will reduce the need for pesticides.
Some of my favorite varieties for sack gardening include:
* ‘Golden Bantam’: A classic heirloom sweet corn with excellent flavor.
* ‘Early Sunglow’: A very early maturing variety, perfect for short seasons.
* ‘On Deck’: A hybrid sweet corn bred specifically for container gardening.
* ‘Trinity’: A super-sweet variety with good disease resistance.
Maximizing Your Yield
Want to get the most corn possible from your sacks? Here are a few extra tips:
* Succession Planting: Plant a new batch of seeds every 2-3 weeks to extend your harvest
Conclusion
So, there you have it! Growing corn in sacks is not just a quirky gardening experiment; it’s a game-changer for anyone with limited space, challenging soil, or a desire for a more controlled growing environment. We’ve walked you through the process, highlighting the benefits and addressing potential hurdles. Now, it’s time to ditch the traditional row planting and embrace this innovative method.
Why is this a must-try? Because it offers a level of flexibility and control that traditional gardening simply can’t match. Imagine harvesting plump, juicy corn kernels right from your patio, balcony, or even a sunny corner of your living room. No more back-breaking tilling, weeding, or worrying about poor soil quality. Growing corn in sacks puts you in the driver’s seat, allowing you to tailor the growing conditions to your corn’s exact needs.
But the beauty of this method lies in its adaptability. Feel free to experiment with different sack sizes to accommodate varying corn varieties. Try using a blend of compost, perlite, and vermiculite for an even lighter and more nutrient-rich growing medium. For those in colder climates, consider using dark-colored sacks to absorb more heat and extend the growing season. You can even add a trellis or support system to your sacks to help support taller corn varieties as they mature.
Don’t be afraid to get creative! Consider companion planting within your sacks. Marigolds, for example, can help deter pests, while beans can fix nitrogen in the soil, benefiting your corn plants. The possibilities are endless!
We truly believe that growing corn in sacks is a rewarding and accessible way for anyone to enjoy the taste of homegrown corn. It’s a sustainable, space-saving, and incredibly satisfying gardening project.
So, what are you waiting for? Gather your supplies, follow our guide, and embark on your own corn-growing adventure. We’re confident that you’ll be amazed by the results.
And most importantly, we want to hear about your experience! Share your successes, your challenges, and your unique variations in the comments below. Let’s build a community of sack-grown corn enthusiasts and learn from each other. Your insights could inspire others to take the plunge and discover the joys of this innovative gardening technique. Happy growing!
Frequently Asked Questions (FAQ)
What type of corn is best for growing in sacks?
While you can technically grow any type of corn in sacks, shorter varieties like sweet corn and some ornamental corn tend to be more manageable. Taller varieties might require additional support to prevent them from toppling over. Consider the size of your sacks and the available sunlight when making your selection. Look for varieties specifically labeled as suitable for container gardening or small spaces. These are often bred to be more compact and productive in limited environments.
How often should I water my corn plants in sacks?
Watering frequency depends on several factors, including the weather, the size of your sacks, and the type of growing medium you’re using. Generally, you should aim to keep the soil consistently moist but not waterlogged. Check the soil moisture level regularly by sticking your finger about an inch or two into the soil. If it feels dry, it’s time to water. During hot, dry weather, you may need to water daily, while in cooler, wetter conditions, you can reduce the frequency. Ensure that your sacks have adequate drainage to prevent root rot.
What kind of fertilizer should I use for corn grown in sacks?
Corn is a heavy feeder, meaning it requires a significant amount of nutrients to thrive. Use a balanced fertilizer with a higher nitrogen content, especially during the early stages of growth. Look for a fertilizer specifically formulated for vegetables or corn. You can use a slow-release granular fertilizer mixed into the soil at planting time, followed by liquid fertilizer applications every few weeks. Alternatively, you can use a water-soluble fertilizer diluted according to the package instructions. Be careful not to over-fertilize, as this can burn the roots.
How much sunlight do corn plants need when grown in sacks?
Corn requires at least 6-8 hours of direct sunlight per day to produce a good yield. Choose a location for your sacks that receives ample sunlight throughout the day. If you live in a particularly hot climate, you may need to provide some afternoon shade to prevent the plants from overheating. If you don’t have access to enough natural sunlight, you can supplement with grow lights.
How do I prevent pests and diseases when growing corn in sacks?
Growing corn in sacks can actually help reduce the risk of pests and diseases compared to traditional gardening, as you have more control over the growing environment. However, it’s still important to take preventative measures. Inspect your plants regularly for signs of pests or diseases. Use organic pest control methods, such as insecticidal soap or neem oil, to treat infestations. Ensure good air circulation around your plants to prevent fungal diseases. Consider using disease-resistant corn varieties.
Can I reuse the soil from my corn sacks for other plants?
Yes, you can reuse the soil from your corn sacks, but it’s important to replenish the nutrients that have been depleted by the corn plants. Amend the soil with compost, aged manure, or other organic matter to improve its fertility. You may also want to add some slow-release fertilizer. Avoid using the soil for other heavy feeders like tomatoes or peppers unless you significantly amend it. It’s also a good idea to sterilize the soil if you suspect it may contain pests or diseases.
How many corn plants can I grow in one sack?
The number of corn plants you can grow in one sack depends on the size of the sack and the variety of corn you’re growing. As a general rule, allow at least 8-12 inches of space between plants. For smaller sacks, you may only be able to grow one or two plants. For larger sacks, you can grow three or four plants. Overcrowding can lead to reduced yields and increased risk of pests and diseases.
What do I do when my corn is ready to harvest?
Corn is typically ready to harvest when the silks turn brown and dry. You can also check the kernels by peeling back the husk and puncturing a kernel with your fingernail. If the liquid that comes out is milky, the corn is ready to harvest. If it’s clear, the corn needs more time to mature. To harvest, simply twist the ear of corn and pull it away from the stalk.
Can I grow corn in sacks indoors?
While it’s possible to grow corn in sacks indoors, it can be challenging to provide the plants with enough light and space. You’ll need to use strong grow lights and choose a compact corn variety. Indoor growing may also require more attention to watering and fertilization. It’s generally easier and more successful to grow corn in sacks outdoors.
What are the benefits of growing corn in sacks compared to traditional gardening?
Growing corn in sacks offers several advantages over traditional gardening, including:
* **Space-saving:** Ideal for small gardens, balconies, or patios.
* **Improved soil control:** Allows you to create the perfect growing medium for your corn.
* **Reduced weeding:** Sacks minimize weed growth.
* **Easier pest control:** Sacks provide a barrier against soil-borne pests.
* **Portability:** You can move the sacks to follow the sun or protect them from harsh weather.
* **Earlier harvests:** Sacks warm up faster than the ground, allowing for earlier planting.
Leave a Comment