

Growing Malunggay at Home can seem daunting, especially if you’re new to gardening. But trust me, it’s easier than you think! Imagine stepping outside your door and harvesting fresh, nutrient-packed Malunggay leaves for your next meal. No more trips to the market or worrying about the source of your ingredients. This DIY guide will empower you to cultivate your own Malunggay tree, right in your backyard or even in a pot on your balcony.
Malunggay, also known as Moringa, isn’t just another plant; it’s a nutritional powerhouse with a rich history. For centuries, cultures across Asia and Africa have revered it for its medicinal properties and culinary versatility. From boosting immunity to providing essential vitamins and minerals, Malunggay has earned its reputation as a “miracle tree.”
Why should you learn this DIY trick? Because growing Malunggay at home offers a sustainable and cost-effective way to access this incredible superfood. In this article, I’ll share simple, step-by-step instructions and insider tips to help you successfully grow your own Malunggay tree, regardless of your gardening experience. Let’s embark on this green journey together and unlock the secrets to a thriving Malunggay garden!
Growing Malunggay at Home: A Complete DIY Guide
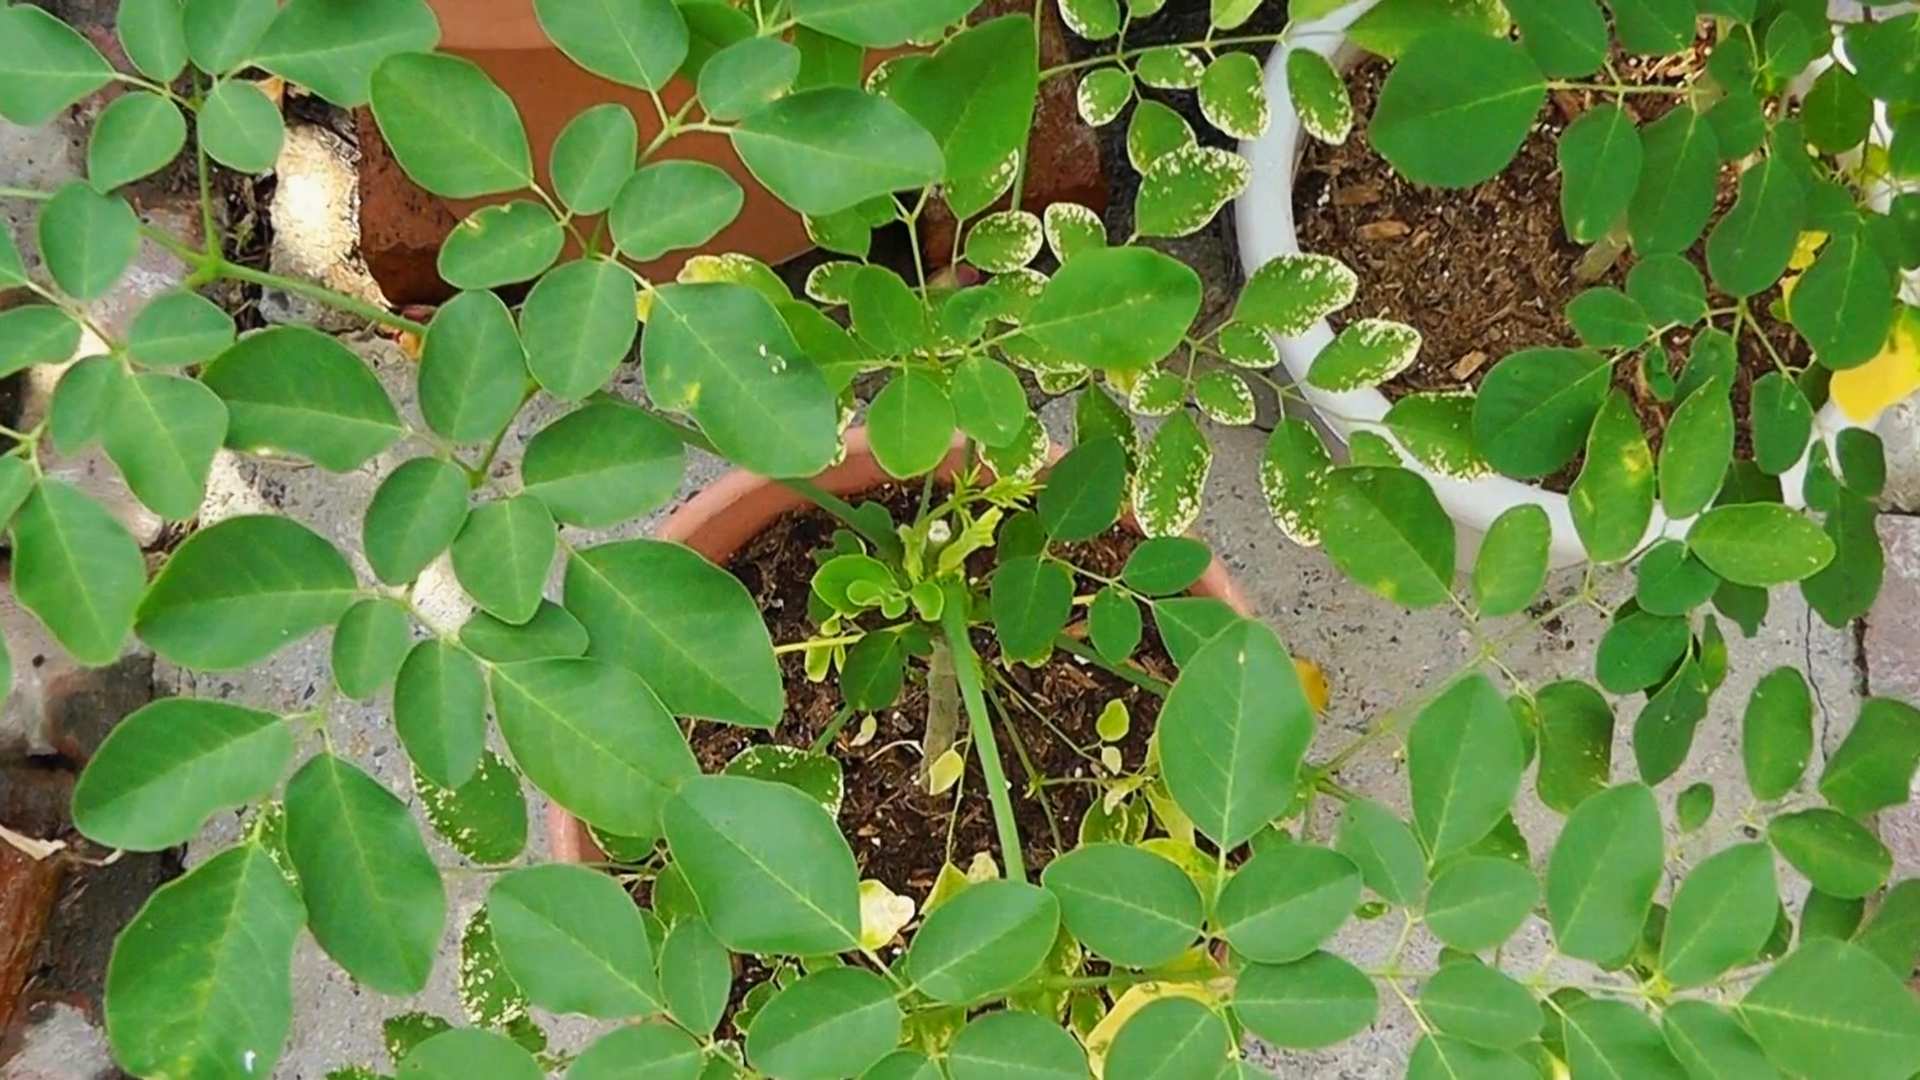
Hey there, fellow gardening enthusiasts! I’m so excited to share my experience with growing malunggay (also known as moringa) right in my backyard. It’s surprisingly easy, incredibly rewarding, and you’ll have a constant supply of this nutritional powerhouse. Trust me, once you get the hang of it, you’ll be wondering why you didn’t start sooner!
Why Grow Malunggay?
Before we dive into the how-to, let’s quickly touch on why malunggay is such a fantastic plant to grow. It’s packed with vitamins, minerals, and antioxidants. We’re talking Vitamin C, Vitamin A, potassium, calcium, and so much more! Plus, it’s incredibly versatile. You can use the leaves in soups, stews, salads, or even make tea. The pods are also edible when young, and the flowers can be added to salads. Basically, it’s a gift that keeps on giving!
Getting Started: What You’ll Need
Okay, let’s gather our supplies. Here’s what you’ll need to successfully grow malunggay at home:
* Malunggay Seeds or Cuttings: You can find these online, at local nurseries, or even from a friend who already grows malunggay. I personally started with cuttings from a neighbor, and they rooted beautifully.
* Potting Soil: A well-draining potting mix is crucial. Malunggay doesn’t like soggy roots.
* Gardening Gloves: Protect those hands!
* Shovel or Trowel: For planting and transplanting.
* Watering Can or Hose: To keep your malunggay happy and hydrated.
* A Sunny Spot: Malunggay thrives in full sun. Aim for at least 6-8 hours of direct sunlight per day.
* Optional: Compost or Organic Fertilizer: To give your malunggay a nutritional boost.
* Optional: Pruning Shears: For shaping and harvesting.
* Optional: A Large Pot or Container (if growing in a container): Make sure it has drainage holes!
Propagating Malunggay: Seeds vs. Cuttings
You have two main options for starting your malunggay journey: seeds or cuttings. Both methods work well, but they have slightly different approaches.
Growing from Seeds:
1. Soaking the Seeds: I like to soak my malunggay seeds in warm water for 24 hours before planting. This helps to soften the seed coat and improve germination rates.
2. Preparing the Seedling Tray or Pots: Fill your seedling tray or small pots with well-draining potting mix.
3. Sowing the Seeds: Make a small hole (about 1/2 inch deep) in the soil and place one or two seeds in each hole. Cover lightly with soil.
4. Watering Gently: Water the soil gently to avoid disturbing the seeds.
5. Providing Warmth and Light: Place the tray or pots in a warm, sunny location. You can also use a heat mat to speed up germination.
6. Keeping the Soil Moist: Keep the soil consistently moist, but not waterlogged.
7. Waiting for Germination: Germination usually takes about 1-2 weeks. Be patient!
8. Thinning Seedlings (if necessary): If more than one seed germinates in a pot, thin them out by removing the weaker seedling.
9. Transplanting Seedlings: Once the seedlings have developed a few sets of true leaves (usually after 4-6 weeks), they’re ready to be transplanted into larger pots or directly into the ground.
Growing from Cuttings:
This is my preferred method because it’s faster and easier!
1. Selecting Cuttings: Choose healthy, mature branches that are about 1-2 feet long and at least 1 inch in diameter.
2. Preparing the Cuttings: Remove the leaves from the bottom half of the cutting. This will encourage root growth.
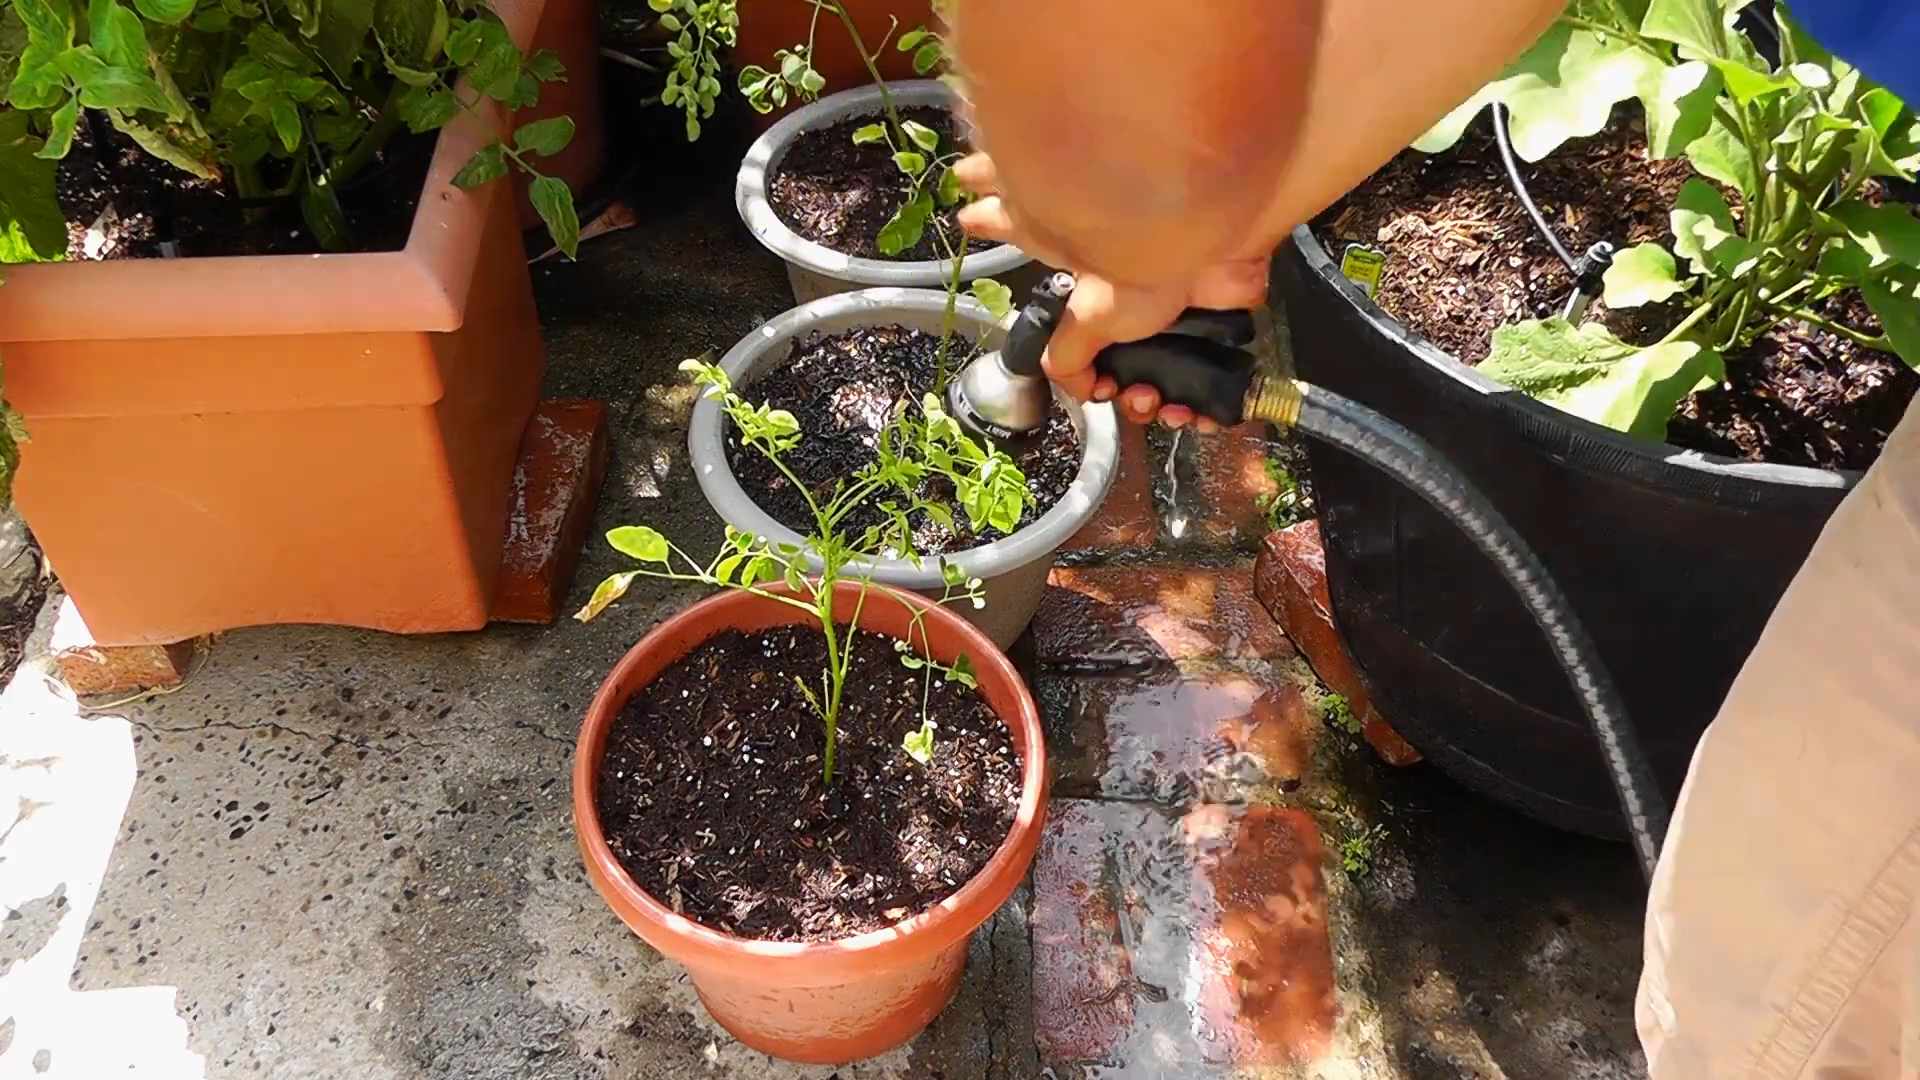
3. Planting the Cuttings: You can either plant the cuttings directly into the ground or into a large pot filled with well-draining potting mix. Bury the bottom half of the cutting in the soil.
4. Watering Thoroughly: Water the cutting thoroughly after planting.
5. Providing Support (Optional): If the cutting is tall and unstable, you can use a stake to provide support.
6. Keeping the Soil Moist: Keep the soil consistently moist, but not waterlogged.
7. Waiting for Rooting: Rooting usually takes about 2-4 weeks. You’ll know the cutting has rooted when you see new growth.
8. Transplanting (if necessary): If you planted the cutting in a pot, you can transplant it into a larger pot or directly into the ground once it has developed a strong root system.
Planting Your Malunggay: In the Ground or in a Container?
You can grow malunggay either directly in the ground or in a container. Both options have their pros and cons.
Planting in the Ground:
* Pros: More space for the roots to grow, less watering required, can grow into a larger tree.
* Cons: Requires more space, harder to move if needed, may not be suitable for colder climates.
Planting in a Container:
* Pros: Easier to move, can be grown in smaller spaces, can be brought indoors during colder months.
* Cons: Requires more frequent watering, may need to be repotted as it grows, may not grow as large as in the ground.
No matter which method you choose, make sure the soil is well-draining and the location receives plenty of sunlight.
Step-by-Step Planting Guide:
1. Choose Your Location: Select a sunny spot in your garden or on your patio.
2. Prepare the Soil: If planting in the ground, dig a hole that is twice as wide and as deep as the root ball of your seedling or cutting. Amend the soil with compost or organic fertilizer to improve drainage and fertility. If planting in a container, fill the container with well-draining potting mix.
3. Plant Your Malunggay: Carefully remove the seedling or cutting from its pot and place it in the hole. Make sure the top of the root ball is level with the surrounding soil. If planting a cutting directly, ensure the bottom half is buried.
4. Backfill the Hole: Fill the hole with soil and gently pat it down.
5. Water Thoroughly: Water the soil thoroughly after planting.
6. Mulch (Optional): Apply a layer of mulch around the base of the plant to help retain moisture and suppress weeds.
Caring for Your Malunggay: Watering, Fertilizing, and Pruning
Once your malunggay is planted, it’s important to provide it with proper care to ensure it thrives.
Watering:
* Water Regularly: Malunggay needs regular watering, especially during hot, dry weather. Water deeply whenever the top inch of soil feels dry to the touch.
* Avoid Overwatering: Overwatering can lead to root rot, so make sure the soil is well-draining.
* Water in the Morning: Water in the morning to allow the leaves to dry before nightfall, which can help prevent fungal diseases.
Fertilizing:
* Fertilize Regularly: Malunggay benefits from regular fertilization. You can use a balanced organic fertilizer or compost tea.
* Fertilize During the Growing Season: Fertilize every 2-3 weeks during the growing season (spring and summer).
* Avoid Over-Fertilizing: Over-fertilizing can burn the roots, so follow the instructions on the fertilizer label.
Pruning:
* Prune Regularly: Pruning is essential for maintaining the shape and size of your malunggay tree. It also encourages branching and leaf production.
* Prune in the Spring: The best time to prune malunggay is in the spring, after the last frost.
* Remove Dead or Damaged Branches: Remove any dead, damaged, or diseased branches.
* Shape the Tree: Prune the tree to maintain a desired shape and size. You can prune it into a small tree or shrub.
* Harvest Leaves Regularly: Harvesting leaves regularly also acts as a form of pruning, encouraging new growth.
Harvesting Malunggay: When and How
One of the best things about growing malunggay is the abundance of leaves you can harvest!
* When to Harvest: You can start harvesting leaves as soon as the tree is established, usually after a few months.
* How to Harvest: Simply pluck the leaves from the branches.
Conclusion
So, there you have it! Growing Malunggay at home is not only achievable, but it’s also incredibly rewarding. From the satisfaction of nurturing a plant from seed or cutting to the endless culinary and health benefits of fresh Malunggay leaves, this DIY project is a game-changer for anyone looking to embrace a more sustainable and nutritious lifestyle.
Why is this a must-try? Because you’re not just growing a plant; you’re cultivating a powerhouse of nutrients right in your backyard or even on your balcony. Imagine having access to fresh, organic Malunggay whenever you need it, without the worry of pesticides or long transportation distances. Think of the delicious soups, stews, and smoothies you can create, all boosted with the incredible health benefits of this amazing plant.
But the benefits extend beyond just personal consumption. Growing Malunggay at home is also an environmentally friendly choice. You’re reducing your carbon footprint by avoiding store-bought produce and contributing to a greener planet. Plus, Malunggay is a fast-growing tree that can provide shade and improve soil quality.
Ready to take your Malunggay cultivation to the next level? Consider these variations:
* **Container Gardening:** If you’re short on space, Malunggay thrives in large containers. Just ensure they have adequate drainage. Experiment with different soil mixes to find what works best in your climate.
* **Hydroponics:** For the tech-savvy gardener, hydroponic Malunggay cultivation is an exciting option. This method allows for faster growth and greater control over nutrient levels.
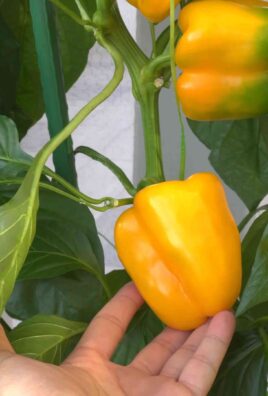
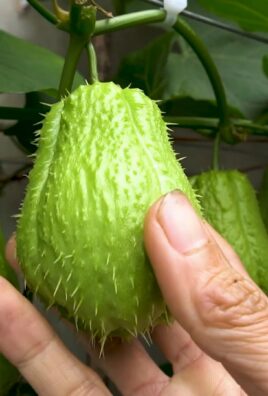
* **Companion Planting:** Plant Malunggay alongside other beneficial plants like basil or marigolds to deter pests and attract pollinators.
* **Different Varieties:** While the most common variety is Moringa oleifera, explore other types like Moringa stenopetala for unique flavors and growth habits.
Don’t be afraid to experiment and adapt these techniques to your specific environment and preferences. The beauty of DIY gardening is the freedom to customize and learn along the way.
We wholeheartedly encourage you to embark on this journey of growing Malunggay at home. It’s a simple, sustainable, and incredibly beneficial project that will enrich your life in countless ways. Once you’ve experienced the joy of harvesting your own fresh Malunggay leaves, you’ll never look back.
And now, we want to hear from you! Share your experiences, tips, and photos of your Malunggay gardens in the comments below. Let’s create a community of Malunggay enthusiasts and inspire others to discover the wonders of this amazing plant. What are you waiting for? Get your seeds or cuttings ready and start growing your own Malunggay today! Let us know how your **growing Malunggay** journey goes!
Frequently Asked Questions (FAQ)
What are the ideal growing conditions for Malunggay?
Malunggay thrives in warm, sunny climates. It prefers well-drained soil and requires at least 6-8 hours of direct sunlight per day. While it’s drought-tolerant once established, regular watering is essential, especially during the initial stages of growth. The ideal temperature range for Malunggay is between 25°C and 35°C (77°F and 95°F). Protect young plants from frost, as they are susceptible to cold damage. If you live in a colder climate, consider growing Malunggay in containers that can be moved indoors during the winter months.
How often should I water my Malunggay plant?
Water your Malunggay plant deeply but infrequently. Allow the soil to dry out slightly between waterings. Overwatering can lead to root rot, so it’s crucial to ensure proper drainage. During the hot summer months, you may need to water more frequently, while during the cooler months, you can reduce the watering frequency. A good rule of thumb is to check the soil moisture level before watering. If the top inch of soil feels dry, it’s time to water.
What type of soil is best for growing Malunggay?
Malunggay prefers well-drained, sandy loam soil. However, it can tolerate a wide range of soil types, as long as the drainage is good. Avoid heavy clay soils that retain too much moisture. To improve soil drainage, you can amend the soil with organic matter such as compost or well-rotted manure. A slightly acidic to neutral soil pH (6.0-7.0) is ideal for Malunggay growth.
How do I propagate Malunggay?
Malunggay can be propagated from seeds or cuttings. Seed propagation is a common method, but cuttings offer a faster way to establish a new plant. To propagate from seeds, soak the seeds in water for 24 hours before planting. Sow the seeds in well-drained soil and keep them moist until they germinate. To propagate from cuttings, take a 1-2 foot long cutting from a mature Malunggay tree. Allow the cut end to callous over for a few days before planting it in well-drained soil. Keep the soil moist and the cutting should root within a few weeks.
When and how should I harvest Malunggay leaves?
You can start harvesting Malunggay leaves as soon as the plant is established, typically within a few months of planting. Harvest the leaves by cutting the branches back to encourage new growth. Regular harvesting will also help to keep the plant at a manageable size. The young, tender leaves are the most nutritious and flavorful. You can harvest the leaves throughout the growing season.
Are there any pests or diseases that affect Malunggay?
Malunggay is generally resistant to pests and diseases. However, it can be susceptible to certain problems, such as aphids, caterpillars, and root rot. To prevent pest infestations, inspect your plants regularly and take action at the first sign of trouble. You can use organic pest control methods such as neem oil or insecticidal soap to control aphids and caterpillars. To prevent root rot, ensure proper drainage and avoid overwatering.
How can I use Malunggay leaves in cooking?
Malunggay leaves are incredibly versatile and can be used in a variety of dishes. They can be added to soups, stews, salads, and smoothies. They can also be steamed, sautéed, or used to make tea. Malunggay leaves have a slightly earthy flavor that complements many different cuisines. When using Malunggay leaves in cooking, it’s best to add them towards the end of the cooking process to preserve their nutrients.
What are the health benefits of Malunggay?
Malunggay is a nutritional powerhouse, packed with vitamins, minerals, and antioxidants. It’s a good source of vitamin C, vitamin A, calcium, potassium, and iron. Malunggay has been shown to have numerous health benefits, including boosting the immune system, reducing inflammation, lowering blood sugar levels, and improving heart health. It’s also a popular supplement for breastfeeding mothers, as it can help to increase milk production.
Can I grow Malunggay indoors?
Yes, you can grow Malunggay indoors, but it requires a lot of sunlight. Place your Malunggay plant near a sunny window or provide supplemental lighting with grow lights. Ensure that the container has good drainage and water the plant regularly. Indoor-grown Malunggay may not grow as quickly or as large as outdoor-grown Malunggay, but it can still provide you with a steady supply of fresh leaves.
How big will my Malunggay tree get?
Malunggay trees can grow quite large, reaching heights of up to 20-30 feet in ideal conditions. However, you can control the size of your Malunggay tree by pruning it regularly. Pruning also encourages bushier growth and more leaf production. If you’re growing Malunggay in a container, the size of the container will also limit the tree’s growth.

Leave a Comment