

Growing Melons: Simple Tips – that’s what we’re diving into today! Have you ever dreamt of biting into a juicy, sun-ripened melon, bursting with flavor, that you grew yourself? I know I have! There’s something incredibly satisfying about nurturing a plant from seed to fruit, especially when that fruit is as delicious and refreshing as a melon.
Melons have a rich history, dating back thousands of years. Evidence suggests they were cultivated in Africa and Asia, eventually making their way to Europe and the Americas. For centuries, they’ve been a symbol of abundance and sweetness, gracing tables at feasts and celebrations. Think about it – a perfectly ripe melon is practically synonymous with summer!
But let’s be honest, growing melons can sometimes feel a little intimidating. They need sunshine, space, and the right conditions to thrive. That’s where these simple tips come in. I’m going to share some easy-to-follow DIY tricks and hacks that will help you cultivate your own melon patch, even if you’re a beginner gardener. Imagine the satisfaction of serving your family and friends homegrown melons, knowing you nurtured them from tiny seeds to sweet, juicy perfection. Plus, you’ll save money and reduce your reliance on store-bought produce. So, let’s get started and unlock the secrets to a bountiful melon harvest!
Growing Melons: Your Guide to Sweet Success!
Okay, let’s talk melons! I know, I know, they seem intimidating. Big, juicy, and often expensive at the store, you might think they’re only for expert gardeners. But trust me, with a little planning and these simple tips, you can be enjoying homegrown melons before you know it. I’m going to walk you through everything I’ve learned over the years, from choosing the right variety to harvesting that perfect, sun-ripened fruit.
Choosing the Right Melon Variety
This is where it all begins! Not all melons are created equal, and some are definitely better suited to certain climates and growing conditions than others. Here’s what I consider:
* Climate: This is HUGE. If you live in a cooler climate with a shorter growing season, you’ll want to choose varieties that mature quickly. Think smaller melons like ‘Sugar Baby’ watermelon or ‘Minnesota Midget’ cantaloupe. If you have long, hot summers, you can go for larger, later-maturing varieties like ‘Charleston Gray’ watermelon or ‘Honeydew’.
* Space: Melons are VIGOROUS growers. They need space to sprawl. If you’re limited on space, consider growing bush varieties or training your melons to grow vertically on a trellis. I’ve had success with smaller cantaloupe varieties on trellises.
* Taste Preference: Obviously! Do you prefer the sweetness of a cantaloupe, the refreshing crispness of a watermelon, or the subtle flavor of a honeydew? Experiment! Try a few different varieties each year to find your favorites.
* Disease Resistance: Look for varieties that are resistant to common melon diseases like powdery mildew and fusarium wilt. This will save you a lot of headaches (and potential crop loss) down the road.
Preparing Your Melon Patch
Melons are hungry plants! They need rich, well-drained soil and plenty of sunshine. Here’s how I prepare my melon patch:
* Sunlight: Melons need at least 6-8 hours of direct sunlight per day. Choose a location that gets plenty of sun throughout the growing season.
* Soil: Melons thrive in well-drained soil that is rich in organic matter. Amend your soil with compost or well-rotted manure before planting. I usually add a generous layer of compost in the fall to let it break down over the winter.
* Soil pH: Melons prefer a slightly acidic soil pH of 6.0 to 6.8. You can test your soil pH with a soil testing kit and amend it accordingly.
* Drainage: Good drainage is essential to prevent root rot. If your soil is heavy clay, consider planting your melons in raised beds or mounds. I’ve found this makes a huge difference, especially during rainy seasons.
Planting Your Melons
You have two options here: starting seeds indoors or direct sowing. I usually start my seeds indoors to get a head start on the growing season, especially since I live in an area with a shorter summer.
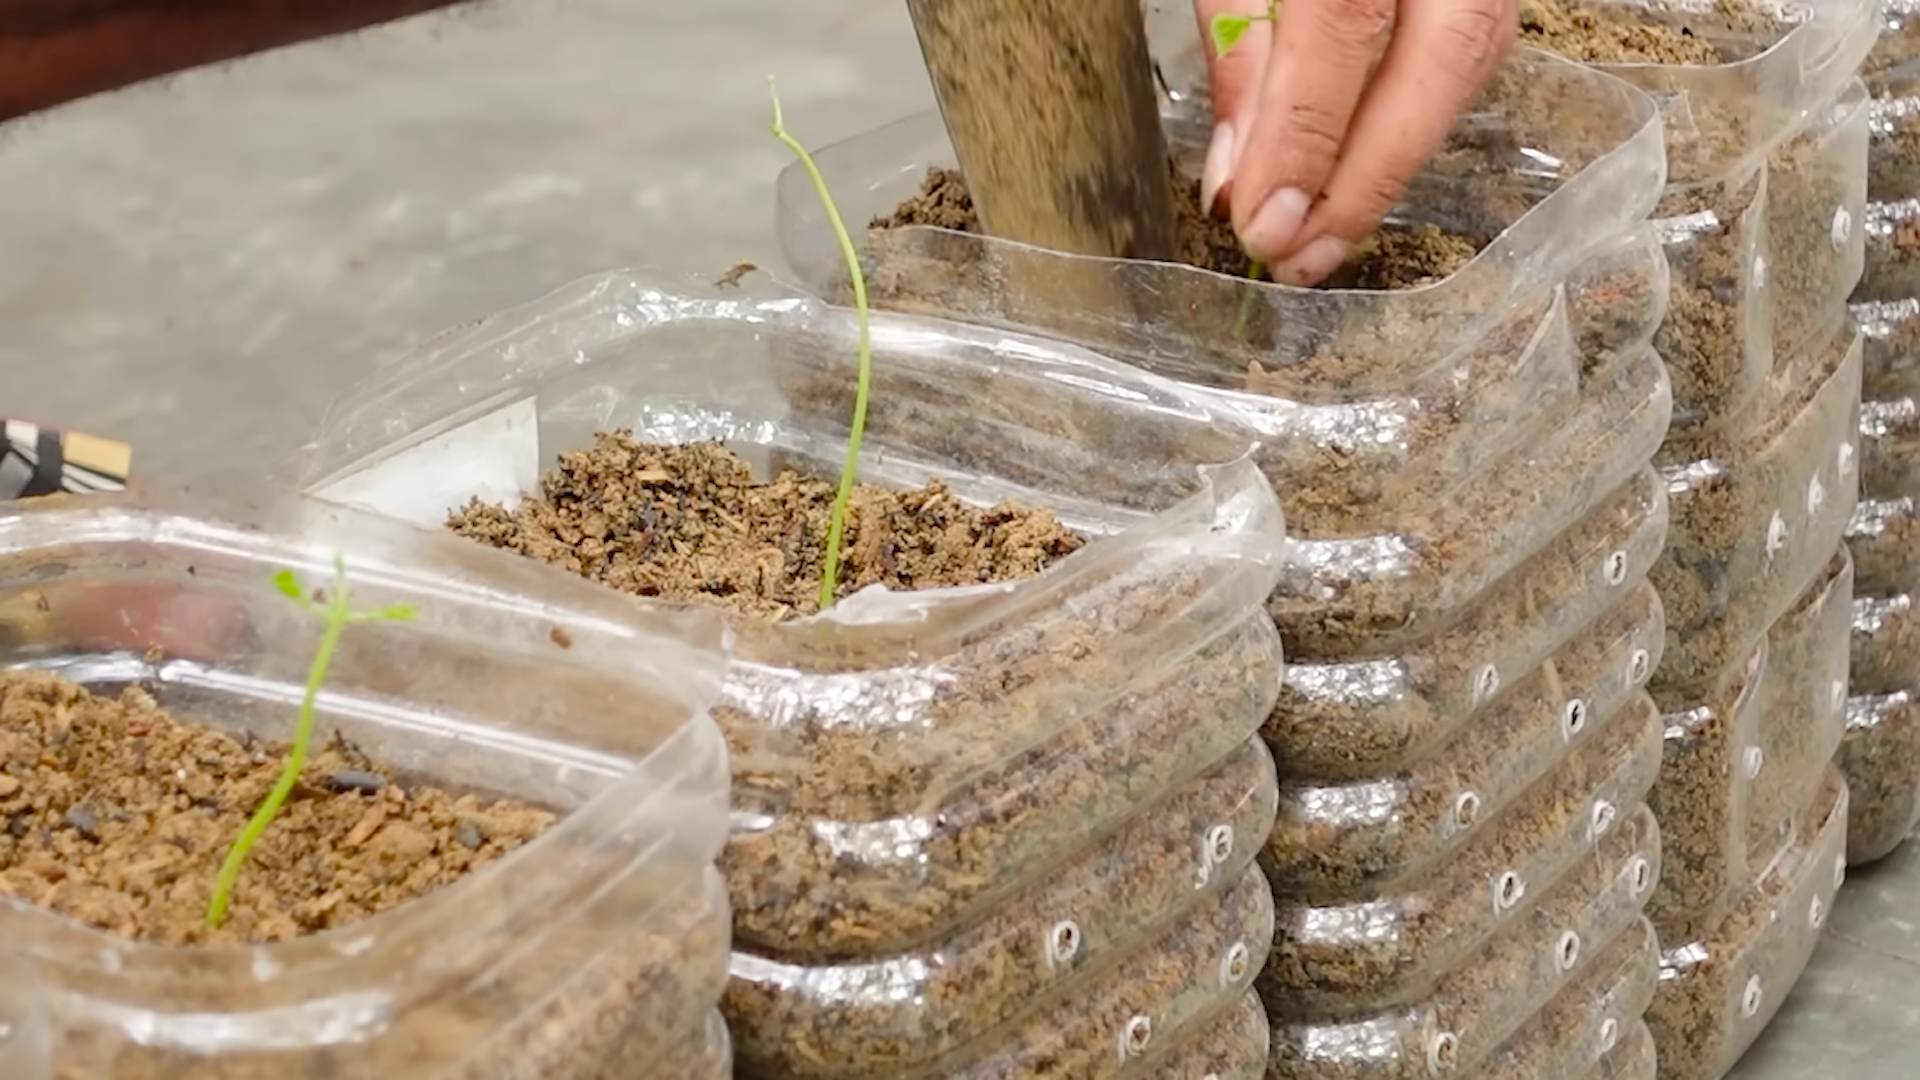
* Starting Seeds Indoors:
1. Timing: Start your seeds indoors about 4-6 weeks before the last expected frost.
2. Containers: Use peat pots or biodegradable pots to avoid disturbing the roots when transplanting. Melons don’t like having their roots messed with.
3. Soil: Use a seed-starting mix that is light and well-draining.
4. Planting: Plant 2-3 seeds per pot, about 1/2 inch deep.
5. Watering: Keep the soil consistently moist but not soggy.
6. Light: Provide plenty of light, either with a grow light or a sunny windowsill.
7. Thinning: Once the seedlings emerge, thin them to one plant per pot. Choose the strongest, healthiest seedling.
8. Hardening Off: Before transplanting, gradually acclimate the seedlings to outdoor conditions by hardening them off for a week or so. Start by placing them outside for a few hours each day, gradually increasing the amount of time they spend outdoors.
* Direct Sowing:
1. Timing: Direct sow your seeds after the last expected frost, when the soil has warmed to at least 70°F (21°C).
2. Planting: Plant seeds about 1 inch deep, spacing them according to the variety’s recommendations.
3. Watering: Keep the soil consistently moist until the seedlings emerge.
4. Thinning: Once the seedlings emerge, thin them to the strongest plant per hill.
* Transplanting Seedlings:
1. Timing: Transplant your seedlings after the last expected frost, when the soil has warmed to at least 70°F (21°C).
2. Spacing: Space your plants according to the variety’s recommendations. Generally, watermelons need more space than cantaloupes.
3. Planting: Dig a hole slightly larger than the root ball. Gently remove the seedling from the pot and place it in the hole. Backfill with soil and water thoroughly.
4. Mulching: Mulch around the plants with straw or black plastic to help retain moisture, suppress weeds, and warm the soil. I prefer straw because it’s natural and breaks down over time, adding organic matter to the soil.
Caring for Your Melon Plants
Once your melon plants are in the ground, it’s time to give them the TLC they need to thrive.
* Watering: Melons need consistent watering, especially during fruit development. Water deeply and regularly, aiming for about 1-2 inches of water per week. Avoid overhead watering, as this can promote fungal diseases. Drip irrigation is ideal.
* Fertilizing: Melons are heavy feeders. Fertilize them regularly with a balanced fertilizer. I like to use a fertilizer that is high in phosphorus and potassium, which are important for fruit development. You can also side-dress your plants with compost or well-rotted manure.
* Weeding: Keep your melon patch free of weeds, which can compete with your plants for nutrients and water. Mulching can help suppress weeds.
* Pest Control: Keep an eye out for common melon pests like aphids, squash bugs, and cucumber beetles. Handpick pests when possible. You can also use insecticidal soap or neem oil to control pests. I try to use organic methods whenever possible.
* Pollination: Melons need to be pollinated in order to produce fruit. If you’re not seeing any fruit set, you may need to hand-pollinate your plants. To hand-pollinate, use a small paintbrush to transfer pollen from the male flowers to the female flowers. Female flowers have a small fruit at the base of the flower.
* Pruning: Some people prune their melon plants to encourage fruit production. I don’t usually prune my melon plants, but you can remove some of the side shoots to improve air circulation and sunlight penetration.
* Supporting the Fruit: For larger melon varieties, you may need to support the fruit to prevent it from breaking off the vine. You can use slings made from pantyhose or netting to support the fruit. This is especially important if you’re growing melons on a trellis.
Harvesting Your Melons
This is the moment you’ve been waiting for! Knowing when to harvest your melons can be tricky, but here are a few tips:
* Watermelons:
* Thump Test: A ripe watermelon will sound hollow when you thump it.
* Ground Spot: The ground spot (the area where the watermelon rests on the ground) will turn from white to yellow.
* Tendril: The tendril closest to the watermelon will turn brown and dry.
* Cantaloupes:
* Aroma: A ripe cantaloupe will have a sweet, musky aroma.
* Stem Slip: The stem will easily slip from the vine when the cantaloupe is ripe.
* Color: The skin will turn from green to tan or yellow.
* Honeydew Melons:
* Aroma: A ripe honeydew melon will have a slightly sweet aroma.
* Texture: The skin will feel slightly waxy.
* Color: The skin will turn from green to creamy white or yellow.
Once you’ve harvested your melons, store them in a cool, dry place. They’ll continue to ripen slightly after being harvested.
Troubleshooting Common Melon Problems
Even with the best care, you may encounter some problems when growing melons. Here are a few common issues and how to address them:
* Powdery Mildew: This fungal disease causes a white, powdery coating on the leaves. To prevent powdery
Conclusion
So, there you have it! Growing melons doesn’t have to be a daunting task reserved for seasoned gardeners. With these simple tips, you can transform your backyard into a miniature melon patch, bursting with sweet, juicy goodness. The beauty of this DIY approach is its adaptability. Feel free to experiment with different melon varieties to discover your personal favorites. Perhaps you’re drawn to the classic sweetness of a cantaloupe, the refreshing crispness of a watermelon, or the unique flavor of a honeydew. Don’t be afraid to try growing smaller, personal-sized melons if space is a concern.
Why is this a must-try? Because nothing beats the taste of a homegrown melon, ripened to perfection under the sun. Store-bought melons simply can’t compare to the intense flavor and satisfying texture of a melon you’ve nurtured from seed to fruit. Plus, you have complete control over the growing process, ensuring your melons are free from harmful pesticides and chemicals.
Consider these variations to personalize your melon-growing experience:
* Vertical Growing: If you’re short on space, try growing your melons vertically on a trellis. This is especially effective for smaller melon varieties like cantaloupe or personal-sized watermelons. Just be sure to provide adequate support for the developing fruits.
* Companion Planting: Enhance your melon patch by incorporating companion plants like marigolds, which deter pests, or basil, which improves flavor.
* Soil Amendments: Experiment with different soil amendments to optimize your soil’s nutrient content. Compost, aged manure, and bone meal can all contribute to healthier plants and more flavorful melons.
* Seed Starting Indoors: For those in colder climates, starting your melon seeds indoors a few weeks before the last frost can give you a head start on the growing season.
We’re confident that with a little patience and these easy-to-follow tips, you’ll be enjoying the fruits (or rather, melons!) of your labor in no time. Remember, gardening is a journey of learning and discovery. Don’t be discouraged by initial setbacks. Every season brings new opportunities to refine your techniques and improve your yields.
We wholeheartedly encourage you to give this DIY melon-growing trick a try. It’s a rewarding experience that connects you with nature and provides you with delicious, healthy food. And most importantly, share your experiences with us! We’d love to hear about your successes, challenges, and any unique tips you discover along the way. Post pictures of your melon patch, share your favorite melon recipes, and let’s create a community of passionate melon growers. Happy growing!
Frequently Asked Questions (FAQ)
What is the best time of year to start growing melons?
The ideal time to start growing melons depends on your climate. Melons thrive in warm weather and require a long growing season, typically 70-90 days. In most regions, it’s best to start seeds indoors 4-6 weeks before the last expected frost. Once the soil has warmed up to at least 60°F (15°C) and the danger of frost has passed, you can transplant the seedlings outdoors. If you live in a warmer climate with a longer growing season, you can direct sow the seeds directly into the ground after the last frost.
What kind of soil is best for growing melons?
Melons prefer well-drained, fertile soil that is rich in organic matter. The soil pH should be slightly acidic to neutral, ideally between 6.0 and 7.0. Before planting, amend the soil with compost, aged manure, or other organic matter to improve its fertility and drainage. Avoid heavy clay soils, as they can retain too much moisture and lead to root rot. If you have clay soil, consider adding sand or perlite to improve drainage.
How much sunlight do melons need?
Melons require at least 6-8 hours of direct sunlight per day to thrive. Choose a planting location that receives full sun throughout the day. Insufficient sunlight can result in weak plants, poor fruit development, and reduced yields.
How often should I water my melon plants?
Melons need consistent moisture, especially during fruit development. Water deeply and regularly, aiming to keep the soil consistently moist but not waterlogged. Avoid overhead watering, as it can increase the risk of fungal diseases. Instead, water at the base of the plants using a soaker hose or drip irrigation system. During hot, dry weather, you may need to water more frequently.
How do I know when my melons are ripe?
Determining when a melon is ripe can be tricky, but there are a few telltale signs to look for. For watermelons, check the underside of the melon where it rests on the ground. When ripe, this spot will turn from white to a creamy yellow color. You can also thump the melon; a ripe watermelon will sound hollow. For cantaloupes, the stem will begin to slip easily from the fruit when it’s ripe. The melon will also have a fragrant aroma. Honeydew melons are ripe when the skin turns from green to a creamy yellow color and the blossom end feels slightly soft.
What are some common pests and diseases that affect melons?
Melons can be susceptible to various pests and diseases, including aphids, squash bugs, cucumber beetles, powdery mildew, and fusarium wilt. Regularly inspect your plants for signs of infestation or disease. Use organic pest control methods, such as insecticidal soap or neem oil, to control pests. To prevent diseases, ensure good air circulation around the plants, avoid overhead watering, and practice crop rotation. Choose disease-resistant varieties whenever possible.
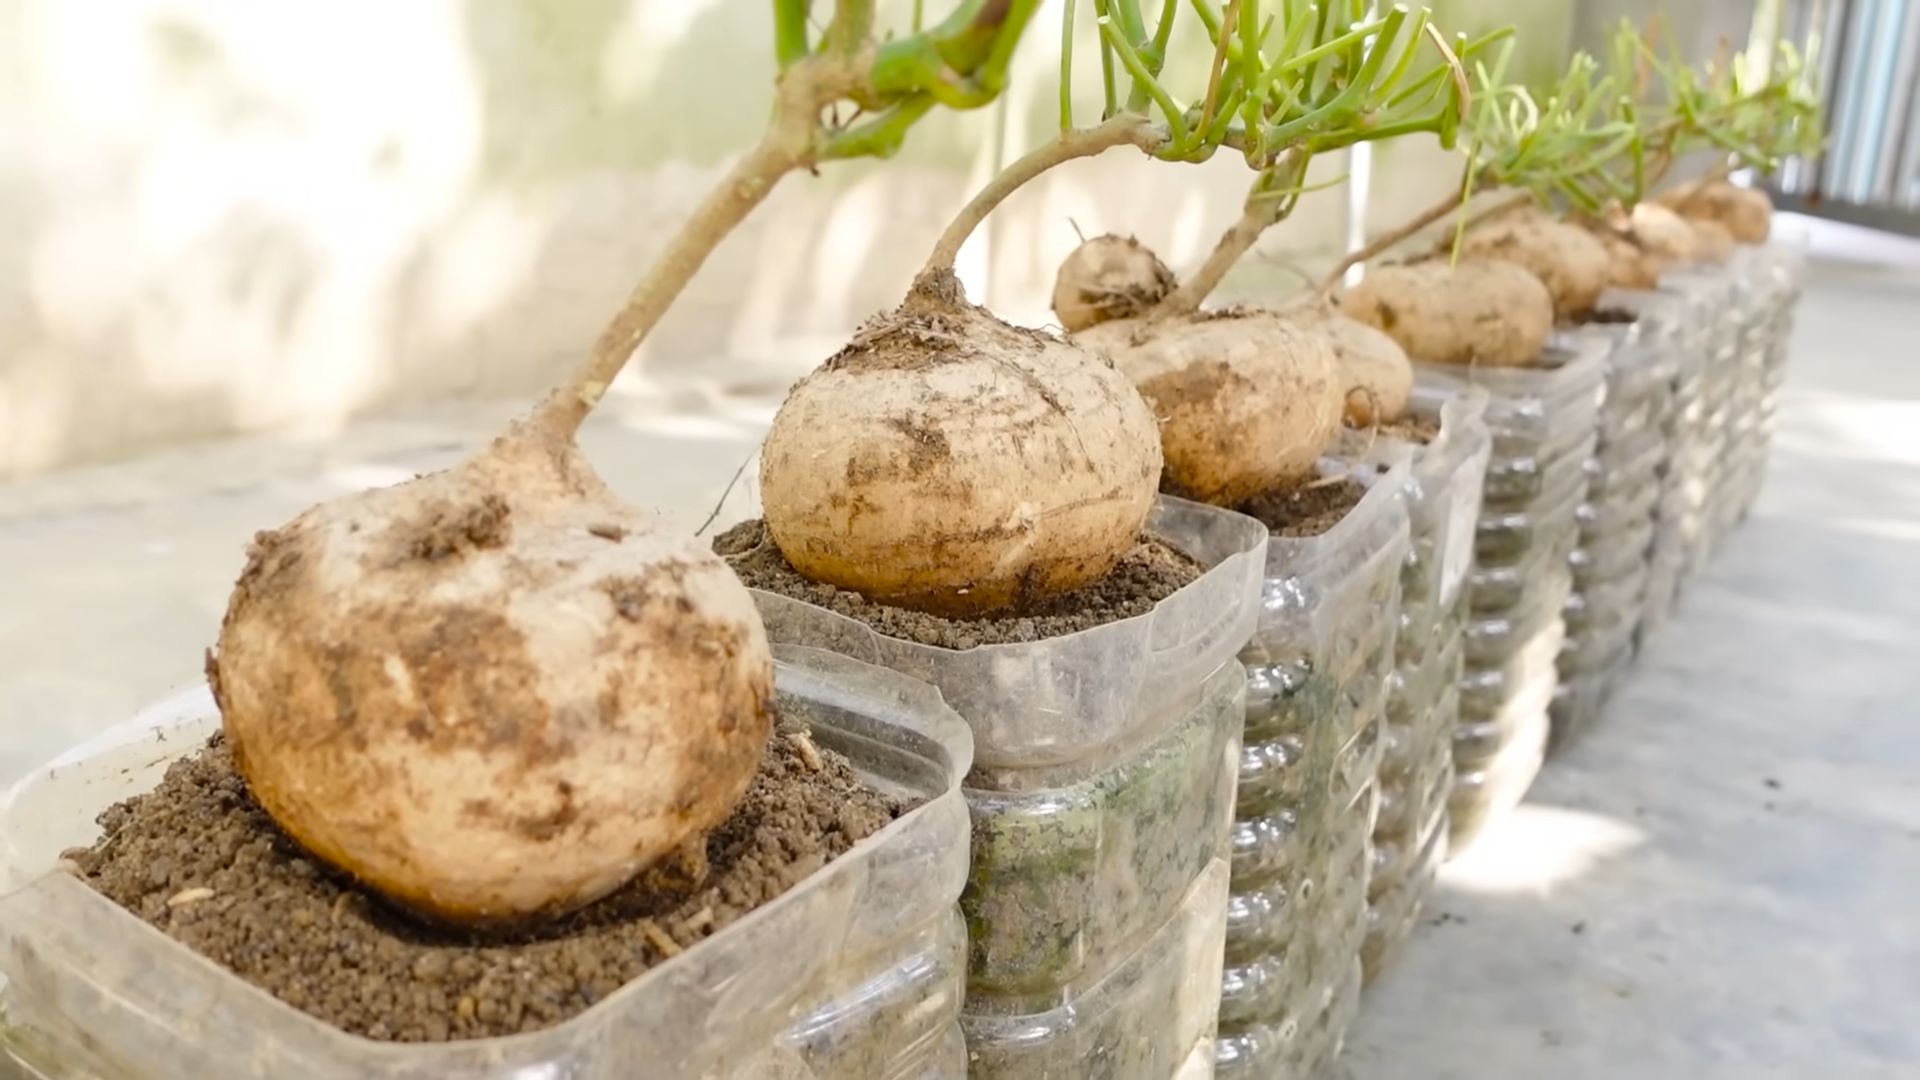
Can I grow melons in containers?
Yes, you can grow melons in containers, but you’ll need to choose a large container (at least 20 gallons) and select a smaller melon variety, such as a personal-sized watermelon or cantaloupe. Use a high-quality potting mix and provide adequate support for the vines. Container-grown melons may require more frequent watering and fertilization than those grown in the ground.
How do I fertilize my melon plants?
Melons are heavy feeders and benefit from regular fertilization. Before planting, incorporate compost or aged manure into the soil. During the growing season, fertilize every 2-3 weeks with a balanced fertilizer or a fertilizer specifically formulated for fruits and vegetables. Avoid over-fertilizing, as this can lead to excessive foliage growth and reduced fruit production.
How can I improve the flavor of my melons?
Several factors can influence the flavor of your melons. Ensure they receive adequate sunlight, water, and nutrients. Avoid overwatering, as this can dilute the flavor. Allow the melons to ripen fully on the vine before harvesting. Some gardeners also recommend reducing watering a few days before harvest to concentrate the sugars in the fruit.
What should I do if my melon plants are not producing fruit?
There are several reasons why your melon plants may not be producing fruit. Insufficient sunlight, poor pollination, and nutrient deficiencies are common culprits. Ensure your plants are receiving at least 6-8 hours of direct sunlight per day. Attract pollinators to your garden by planting flowers that attract bees and other beneficial insects. Fertilize your plants regularly with a balanced fertilizer. If you suspect poor pollination, you can hand-pollinate the flowers by transferring pollen from the male flowers to the female flowers using a small brush.
Leave a Comment