

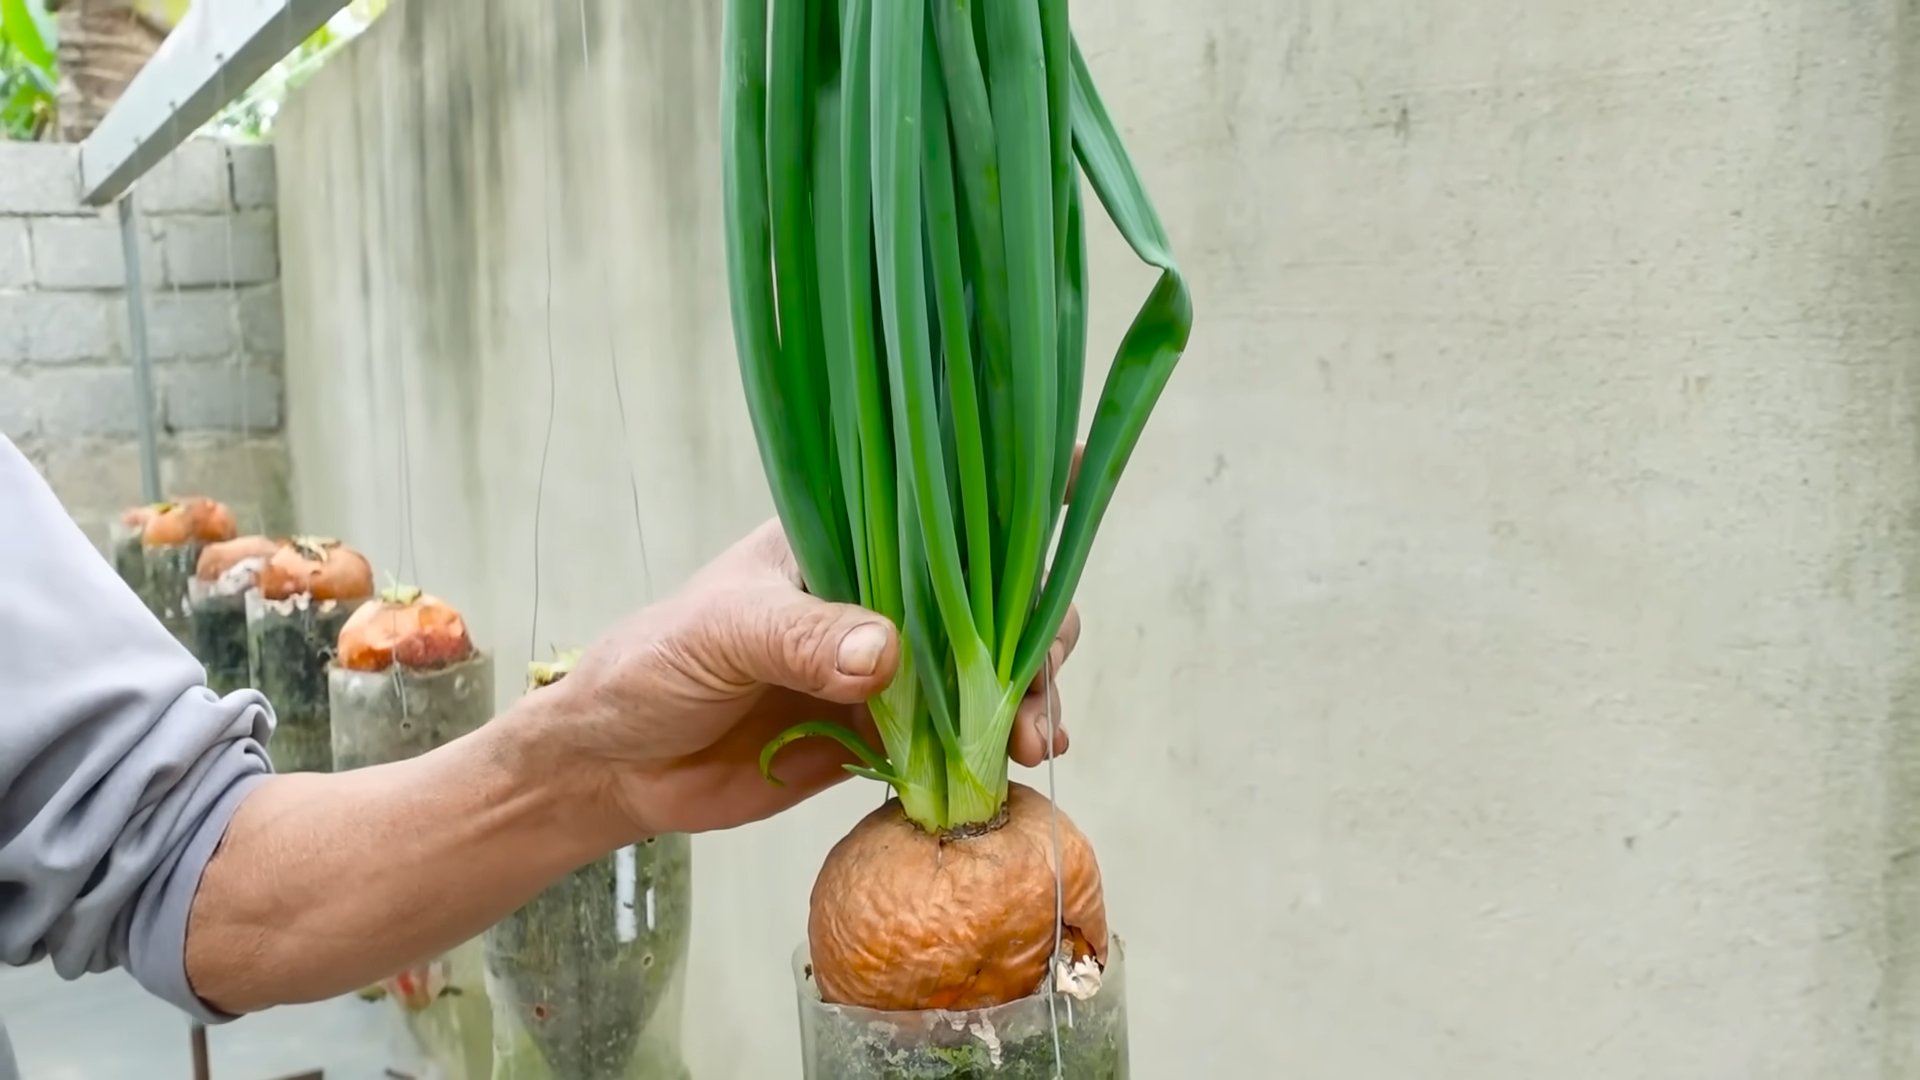
Growing onions in plastic bottles might sound like something out of a science fiction movie, but trust me, it’s a surprisingly effective and rewarding way to cultivate these kitchen staples! Are you tired of buying onions from the store, only to have them sprout or go bad before you can use them all? Or perhaps you’re short on garden space but still dream of harvesting your own fresh produce? Well, you’re in the right place!
For centuries, humans have cultivated onions, with evidence suggesting their use dates back over 5000 years. From ancient Egypt, where they were revered and even used in burial rituals, to the bustling markets of today, onions have been a culinary cornerstone. But what if I told you that you could bring this ancient tradition into your home, regardless of your garden size or experience level?
This DIY guide will unlock the secrets to successfully growing onions in plastic bottles, transforming discarded containers into miniature onion farms. Not only is this method incredibly space-saving and eco-friendly, but it also offers a fantastic way to control the growing environment, leading to healthier, more robust onions. Imagine the satisfaction of snipping fresh onion greens for your salad or pulling up a plump bulb, all grown with your own two hands (and a few repurposed plastic bottles!). Let’s dive in and discover how easy and fun it is to grow your own onions, one bottle at a time!
Growing Onions in Plastic Bottles: A Space-Saving DIY Guide
Hey there, fellow gardening enthusiasts! Are you dreaming of fresh, homegrown onions but short on garden space? Well, I’ve got a fantastic solution for you: growing onions in plastic bottles! It’s a fun, eco-friendly, and surprisingly effective way to cultivate these flavorful bulbs, even if you only have a balcony or a small patio. I’ve been doing this for a while now, and I’m excited to share my secrets with you. Let’s get started!
What You’ll Need
Before we dive into the nitty-gritty, let’s gather our supplies. Here’s a list of everything you’ll need to successfully grow onions in plastic bottles:
* Plastic Bottles: The star of the show! I recommend using 2-liter soda bottles or larger water bottles. The bigger, the better, as it gives the onions more room to grow. Make sure they are clean!
* Onion Sets or Seedlings: You can use onion sets (small, immature bulbs) or start from onion seedlings. Sets are generally easier and faster, but seedlings offer more variety. I usually go with sets for convenience.
* Potting Mix: A good quality potting mix is crucial for healthy onion growth. Avoid using garden soil, as it can be too dense and may contain pests or diseases.
* Perlite or Vermiculite: These help improve drainage and aeration in the potting mix. I usually mix in about 20% perlite.
* Slow-Release Fertilizer: Onions are heavy feeders, so a slow-release fertilizer will provide them with the nutrients they need over time. Look for a balanced formula (e.g., 10-10-10).
* Scissors or a Utility Knife: For cutting the plastic bottles. Be careful!
* Drill or Nail: To create drainage holes in the bottom of the bottles.
* Watering Can or Hose: For watering your onions.
* Gloves (Optional): To keep your hands clean.
Preparing the Plastic Bottles
This is where we transform those discarded bottles into mini onion farms!
1. Clean the Bottles: Thoroughly wash the plastic bottles with soap and water to remove any residue. Rinse them well and let them dry completely. This is important to prevent any contamination that could harm your onions.
2. Cut the Bottles: There are a couple of ways you can cut the bottles, depending on how you want to arrange your onions.
* Option 1: Vertical Stacking: Cut off the top third of the bottle. You’ll use the bottom part as the main container. This method is great if you want to stack multiple bottles on top of each other later on (more on that later!).
* Option 2: Horizontal Planting: Cut a large rectangular opening along one side of the bottle, leaving the bottom intact. This creates a trough-like container where you can plant multiple onions in a row. I find this method works well for maximizing space.
3. Create Drainage Holes: Using a drill or a nail, carefully create several drainage holes in the bottom of the bottle. This is essential to prevent waterlogging, which can lead to root rot. I usually make about 5-6 holes, spaced evenly apart.
4. (Optional) Paint the Bottles: While not necessary, painting the bottles can make them more aesthetically pleasing. Use a paint that is safe for plants and won’t leach harmful chemicals into the soil. Light colors are best, as they reflect sunlight and prevent the soil from overheating.
Preparing the Soil
Now, let’s get our hands dirty and prepare the perfect growing medium for our onions.
1. Mix the Potting Mix: In a large container or wheelbarrow, combine the potting mix, perlite (or vermiculite), and slow-release fertilizer. I usually use a ratio of 80% potting mix, 20% perlite, and follow the fertilizer instructions on the package.
2. Moisten the Soil: Add water to the mixture gradually, mixing it in until the soil is evenly moist but not soggy. You should be able to squeeze a handful of soil and have it hold its shape without dripping water.
Planting the Onions
The moment we’ve been waiting for! Let’s get those onions planted.
1. Fill the Bottles: Fill the prepared plastic bottles with the moistened potting mix, leaving about an inch of space at the top.
2. Plant the Onion Sets or Seedlings:
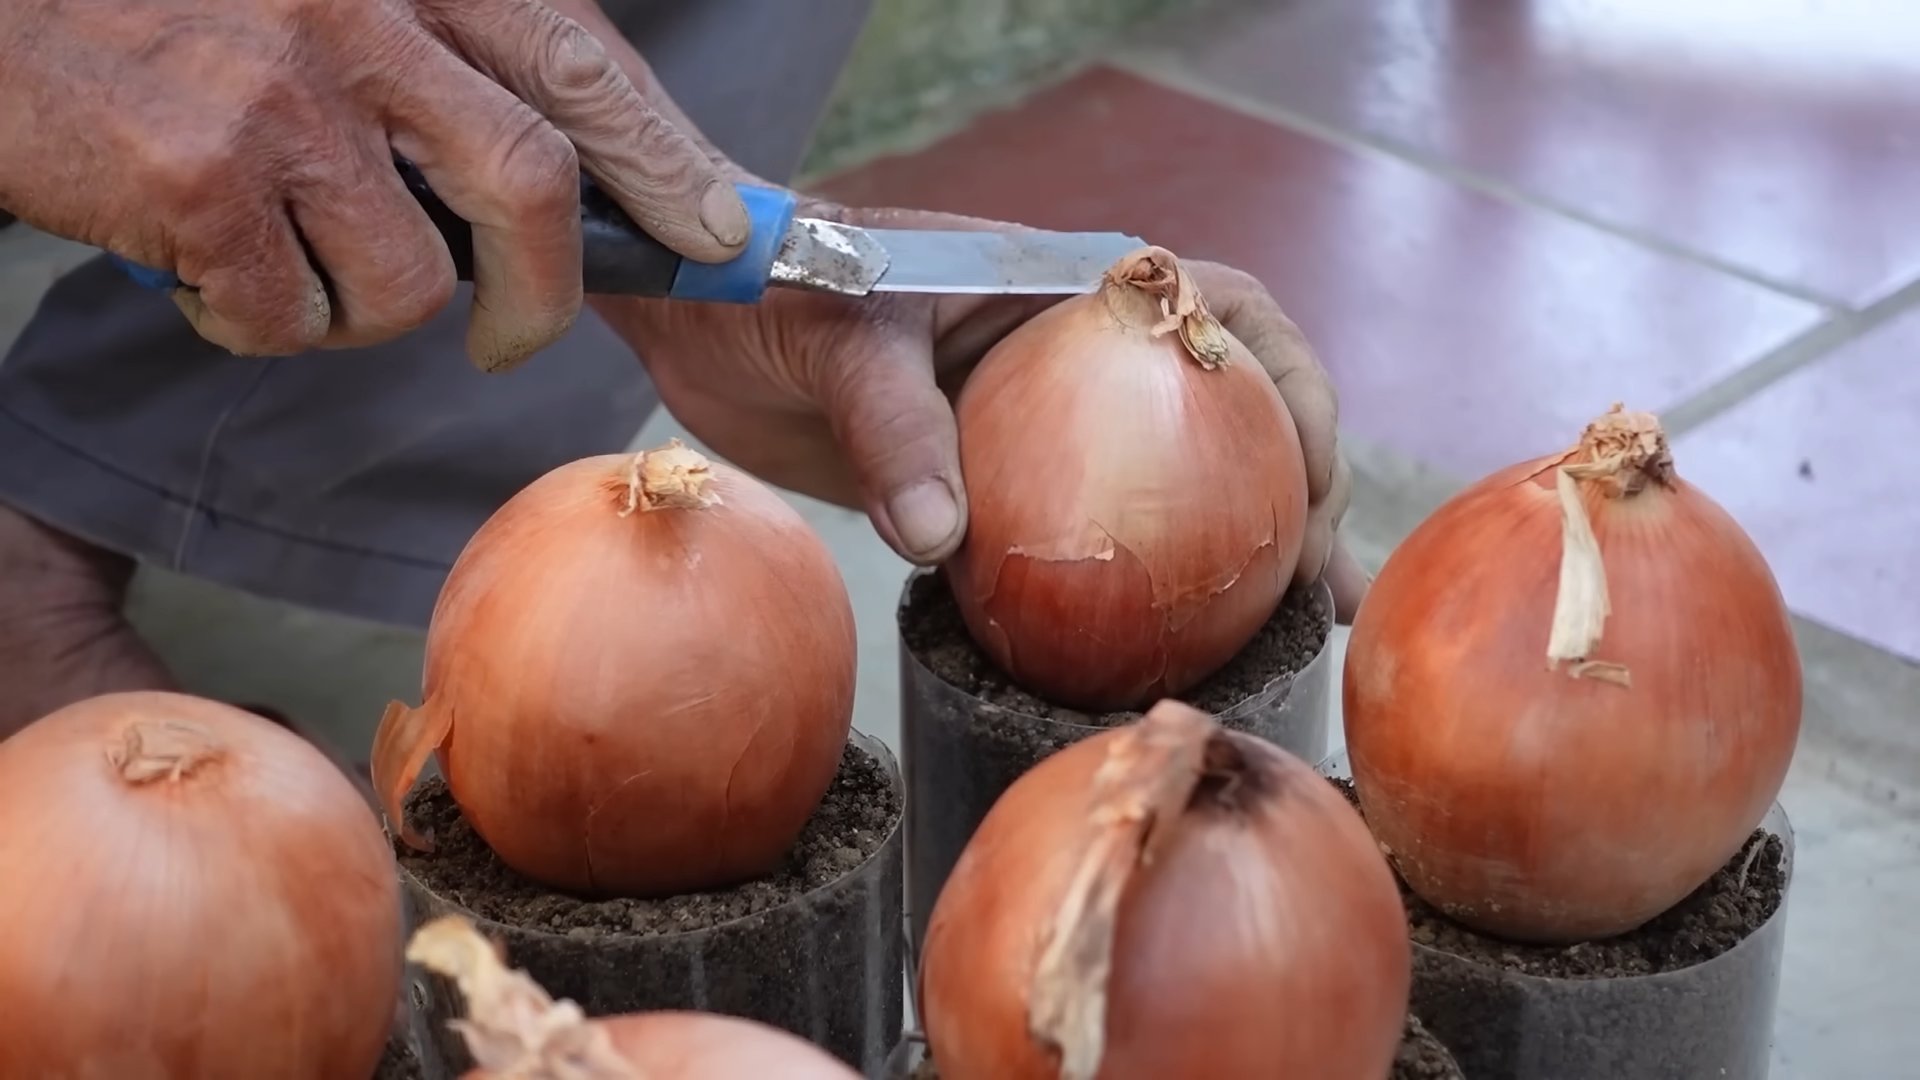
* Onion Sets: Make a small hole in the soil with your finger or a dibber. Place the onion set in the hole, with the pointed end facing up. Cover the set with soil, leaving the very tip exposed. Space the sets about 2-3 inches apart.
* Onion Seedlings: Gently remove the seedlings from their container. Make a small hole in the soil and carefully place the seedling in the hole. Cover the roots with soil and gently firm the soil around the base of the seedling. Space the seedlings about 2-3 inches apart.
3. Water Gently: After planting, water the onions gently to settle the soil and provide them with moisture. Avoid overwatering, as this can lead to root rot.
Caring for Your Onions
Now that your onions are planted, it’s time to provide them with the care they need to thrive.
1. Sunlight: Onions need at least 6-8 hours of sunlight per day. Place your plastic bottle containers in a sunny location, such as a balcony, patio, or windowsill. If you don’t have enough natural sunlight, you can supplement with grow lights.
2. Watering: Water your onions regularly, especially during dry periods. The soil should be consistently moist but not soggy. Check the soil moisture by sticking your finger into the soil. If the top inch feels dry, it’s time to water.
3. Fertilizing: Onions are heavy feeders and benefit from regular fertilization. In addition to the slow-release fertilizer you added at planting, you can supplement with a liquid fertilizer every 2-3 weeks. Look for a balanced fertilizer or one specifically formulated for vegetables.
4. Weeding: Keep the containers free of weeds, as they can compete with the onions for nutrients and water. Gently pull out any weeds that appear.
5. Pest and Disease Control: Keep an eye out for pests and diseases. Common onion pests include onion thrips and onion maggots. Diseases include onion downy mildew and onion rot. If you notice any problems, take action immediately. You can use organic pest control methods, such as insecticidal soap or neem oil.
6. Rotating the Bottles: If you’re growing your onions on a windowsill or in a location where they only receive sunlight from one direction, rotate the bottles regularly to ensure that all sides of the plants receive equal sunlight. This will help them grow evenly.
Harvesting Your Onions
The most rewarding part! Knowing when to harvest is key.
1. Harvest Time: Onions are typically ready to harvest when the tops start to fall over and turn yellow or brown. This usually happens about 90-120 days after planting.
2. Harvesting: Gently pull the onions from the soil. If the soil is dry, you may need to loosen it with a trowel first.
3. Curing: After harvesting, cure the onions by laying them out in a warm, dry, and well-ventilated place for about 1-2 weeks. This allows the outer layers to dry and toughen up, which helps to prevent spoilage.
4. Storing: Store the cured onions in a cool, dry, and dark place. You can braid the tops together and hang them up, or store them in mesh bags. Properly stored onions can last for several months.
Tips and Tricks for Success
Here are a few extra tips and tricks I’ve learned along the way to help you maximize your onion-growing success:
* Choose the Right Onion Variety: Different onion varieties are suited for different climates and growing conditions. Do some research to find varieties that are well-suited for your area.
* Start with Healthy Sets or Seedlings: Choose onion sets or seedlings that are firm, healthy, and free of pests or diseases.
* Don’t Overcrowd: Give your onions enough space to grow. Overcrowding can lead to smaller bulbs and increased risk of disease.
* Water Deeply but Infrequently: Water your onions deeply but infrequently, rather than shallowly and frequently. This encourages deep root growth.
* Mulch Around the Plants: Mulching around the plants helps to retain moisture, suppress weeds, and regulate soil temperature.
* Consider Companion Planting: Plant onions alongside other vegetables that benefit from their presence, such as carrots, tomatoes, and lettuce.
* Experiment with Different Bottle Sizes and Shapes: Don’t be afraid
Conclusion
So, there you have it! Growing onions in plastic bottles isn’t just a quirky gardening experiment; it’s a genuinely effective and space-saving method that can bring fresh, flavorful onions right to your windowsill or balcony. We’ve walked through the process, highlighting the simplicity and accessibility of this DIY trick. But why is this a must-try?
Firstly, it’s incredibly resource-efficient. You’re repurposing plastic bottles that might otherwise end up in a landfill, giving them a new lease on life and contributing to a more sustainable lifestyle. Secondly, it’s perfect for urban dwellers or anyone with limited garden space. Forget about needing a sprawling backyard; a sunny spot and a few plastic bottles are all you need to embark on your onion-growing journey. Thirdly, it’s a fantastic way to introduce children to the wonders of gardening and teach them about where their food comes from. The visual aspect of seeing the onion bulbs develop within the transparent bottles is captivating and educational.
But the benefits don’t stop there. Growing onions in plastic bottles allows for better control over the growing environment. You can easily monitor the soil moisture, adjust the sunlight exposure, and protect your onions from pests and diseases. This level of control can lead to healthier, more robust plants and a more bountiful harvest.
Looking for variations? Absolutely! Consider experimenting with different types of onions. While bulb onions are a great starting point, you can also try growing scallions or shallots using this method. You can also explore different soil mixes to see which one yields the best results in your specific climate and growing conditions. Adding a small amount of compost or worm castings to your soil mix can provide an extra boost of nutrients for your onions. Another variation is to use different sizes of plastic bottles depending on the type of onion you are growing. Smaller bottles are suitable for scallions, while larger bottles are needed for bulb onions.
Don’t be afraid to get creative with your bottle designs, too! Painting the bottles can not only make them more aesthetically pleasing but also help protect the roots from excessive sunlight. Just be sure to use non-toxic paint. You can also create a vertical garden by hanging the bottles from a wall or fence, maximizing your space even further.
This DIY trick for growing onions is more than just a trend; it’s a practical and rewarding way to cultivate your own fresh produce. It’s a testament to the fact that you don’t need acres of land to enjoy the satisfaction of growing your own food.
So, what are you waiting for? Gather your plastic bottles, prepare your soil, and get ready to experience the joy of growing your own onions. We’re confident that you’ll be amazed by the results.
We encourage you to try this DIY trick and share your experience with us! Post photos of your onion-growing setup on social media using the hashtag #BottleOnions and let us know what you’ve learned along the way. We’re eager to see your creative variations and hear about your successes (and any challenges you encounter). Together, we can build a community of bottle-onion enthusiasts and spread the word about this fantastic gardening method. Happy growing!
Frequently Asked Questions (FAQ)
What type of plastic bottles are best for growing onions?
Ideally, you should use clear or translucent plastic bottles that are food-grade. This ensures that the plastic won’t leach harmful chemicals into the soil. Two-liter soda bottles or larger water bottles work well for bulb onions, while smaller bottles can be used for scallions or shallots. Make sure to thoroughly clean the bottles before using them to remove any residue. Avoid using bottles that have contained harsh chemicals or pesticides.
How often should I water my onions grown in plastic bottles?
The frequency of watering depends on several factors, including the climate, the type of soil you’re using, and the size of the bottle. Generally, you should water your onions when the top inch of soil feels dry to the touch. Avoid overwatering, as this can lead to root rot. Ensure that the bottles have adequate drainage holes to prevent water from accumulating at the bottom. In hotter weather, you may need to water more frequently, while in cooler weather, you can water less often. A good rule of thumb is to check the soil moisture every day and water as needed.
What kind of soil should I use for growing onions in plastic bottles?
A well-draining potting mix is essential for growing healthy onions in plastic bottles. You can use a commercially available potting mix or create your own by combining equal parts of garden soil, compost, and perlite or vermiculite. The compost provides nutrients, while the perlite or vermiculite improves drainage and aeration. Avoid using heavy clay soil, as it can become waterlogged and suffocate the roots. Adding a slow-release fertilizer to the soil mix can also provide a steady supply of nutrients to your onions.
How much sunlight do onions need when grown in plastic bottles?
Onions need at least 6-8 hours of direct sunlight per day to thrive. Place your plastic bottles in a sunny location, such as a windowsill, balcony, or patio. If you don’t have access to enough natural sunlight, you can supplement with artificial grow lights. Rotate the bottles regularly to ensure that all sides of the plants receive adequate sunlight. Insufficient sunlight can lead to leggy growth and reduced bulb size.
How do I prevent pests and diseases when growing onions in plastic bottles?
Growing onions in plastic bottles can actually help reduce the risk of pests and diseases compared to growing them in the ground. However, it’s still important to take precautions. Use sterile potting mix to avoid introducing soilborne diseases. Regularly inspect your plants for signs of pests, such as aphids or onion maggots. If you spot any pests, you can try spraying them with insecticidal soap or neem oil. Ensure good air circulation around the plants to prevent fungal diseases. Avoid overwatering, as this can create a favorable environment for diseases to develop.
When is the best time to harvest my onions grown in plastic bottles?
The harvesting time depends on the type of onion you’re growing. Bulb onions are typically ready to harvest when the tops start to turn yellow and fall over. Scallions can be harvested at any time once they reach a desired size. Gently pull the onions out of the bottles, being careful not to damage the roots. Cure the bulb onions by laying them out in a dry, well-ventilated area for a week or two to allow the outer layers to dry and harden. This will help them store longer.
Can I reuse the soil in the plastic bottles for growing onions again?
While you can technically reuse the soil, it’s generally recommended to use fresh soil for each planting. Over time, the soil can become depleted of nutrients and may harbor pests or diseases. If you do choose to reuse the soil, amend it with fresh compost and fertilizer to replenish the nutrients. You can also sterilize the soil by baking it in the oven or microwaving it to kill any harmful organisms. However, using fresh soil is the best way to ensure healthy onion growth.
What if my onions are not growing well in the plastic bottles?
If your onions are not growing well, there could be several reasons. First, check the soil moisture and ensure that you’re not overwatering or underwatering. Second, make sure the plants are receiving enough sunlight. Third, check the soil pH and adjust it if necessary. Onions prefer a slightly acidic soil with a pH of around 6.0 to 6.8. Fourth, fertilize the plants regularly with a balanced fertilizer. Finally, inspect the plants for signs of pests or diseases and take appropriate action. If you’ve addressed all of these factors and your onions are still not growing well, consider trying a different variety or adjusting your growing conditions.
Leave a Comment