

Growing Peppers Backyard can be incredibly rewarding, transforming your outdoor space into a vibrant, flavorful oasis! Have you ever imagined stepping outside your back door and plucking a perfectly ripe, sun-kissed pepper, ready to spice up your next meal? That dream is closer than you think!
For centuries, peppers have been cultivated across the globe, from their origins in South America, where they were prized by ancient civilizations, to their adoption into cuisines worldwide. Their journey is a testament to their versatility and deliciousness. But you don’t need to be a seasoned farmer to enjoy the fruits (or rather, the peppers!) of your labor.
In today’s busy world, finding moments of connection with nature is more important than ever. Growing Peppers Backyard offers a fantastic opportunity to de-stress, learn new skills, and enjoy fresh, healthy produce. Plus, let’s be honest, store-bought peppers just can’t compare to the flavor and satisfaction of harvesting your own. I’m here to share some simple, effective DIY tricks and hacks that will help you cultivate a thriving pepper patch, even if you’re a complete beginner. Get ready to unleash your inner gardener and experience the joy of homegrown peppers!
Growing Peppers Like a Pro: My Backyard Pepper Paradise Guide
Hey fellow gardeners! I’m so excited to share my secrets to growing a bumper crop of peppers right in your own backyard. I’ve been experimenting with different techniques for years, and I’ve finally nailed down a system that works wonders. Get ready for a pepper explosion!
Choosing Your Pepper Varieties
Before we even think about planting, let’s talk peppers! The variety you choose will significantly impact your success. Here’s a breakdown to get you started:
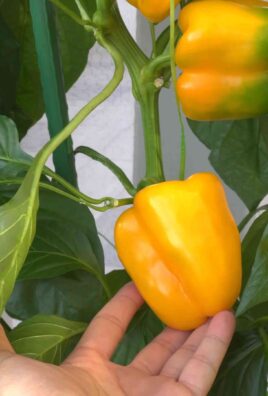
* Sweet Peppers: These are your bell peppers (red, yellow, orange, green), banana peppers, and pimentos. They’re mild, delicious, and perfect for salads, stuffing, and roasting.
* Mildly Spicy Peppers: Think poblano, Anaheim, and jalapeno. These add a little kick without being overwhelming. Great for salsas, sauces, and grilling.
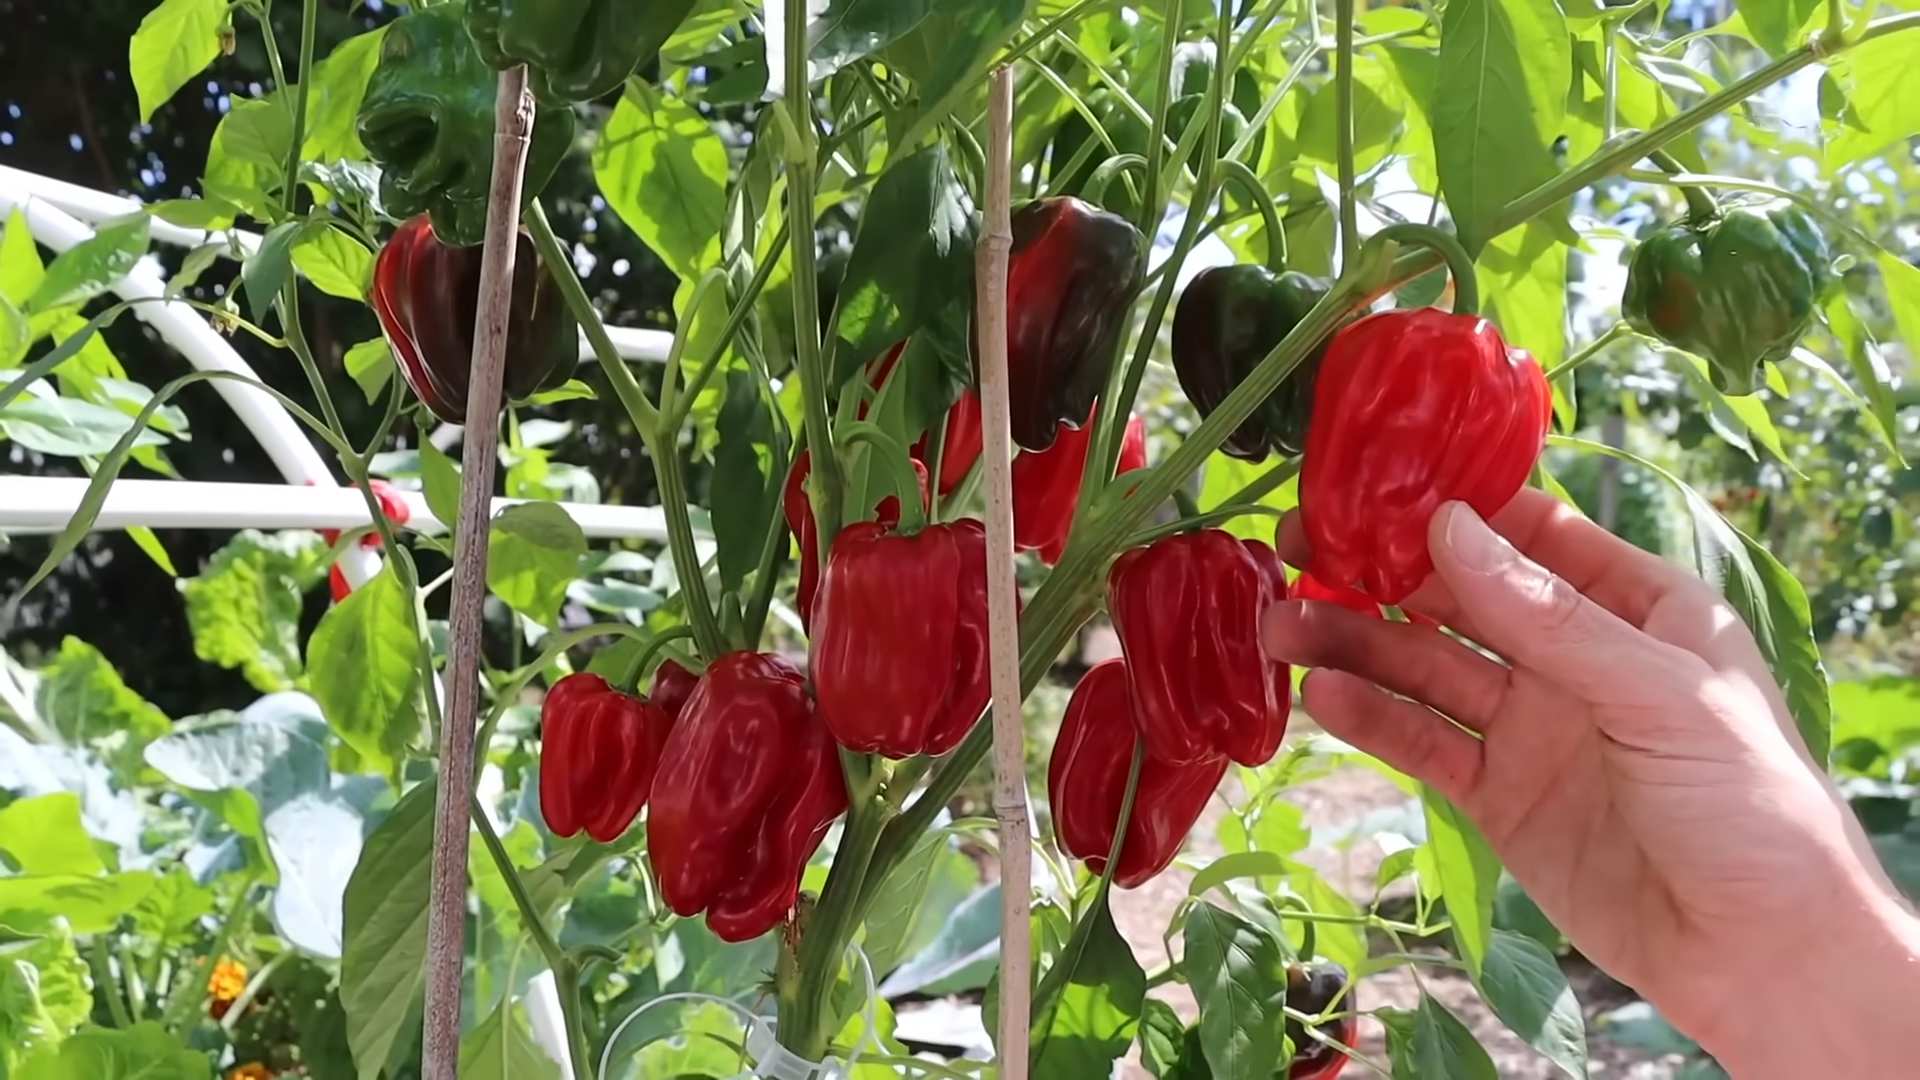
* Hot Peppers: Now we’re talking! Habanero, Scotch bonnet, ghost pepper, and Carolina reaper. These are for the heat-seekers! Use them sparingly in your cooking.
My Tip: Start with a mix of sweet and mildly spicy peppers. As you gain confidence (and develop a tolerance for heat!), you can venture into the hotter varieties.
Getting Started: Seeds vs. Seedlings
You have two options for starting your pepper plants: seeds or seedlings.
* Starting from Seeds: This gives you more control over the varieties you grow and can be more cost-effective. However, it requires more time and effort.
* Buying Seedlings: This is the easier option, especially for beginners. You can find seedlings at your local garden center or nursery.
My preference: I usually start my peppers from seeds indoors about 8-10 weeks before the last expected frost. This gives them a head start and ensures I get a good harvest.
Section 1: Starting Peppers from Seeds Indoors
If you’re like me and want to start from seeds, here’s what you’ll need:
* Pepper seeds (of course!)
* Seed starting trays or small pots
* Seed starting mix (a light, well-draining mix)
* A heat mat (optional, but highly recommended)
* A grow light (essential for strong seedlings)
* A spray bottle filled with water
Step-by-Step Instructions:
1. Prepare Your Seed Starting Trays: Fill your seed starting trays or pots with seed starting mix. Gently tap the trays to settle the mix.
2. Sow the Seeds: Make a small indentation (about 1/4 inch deep) in the soil. Place 2-3 seeds in each indentation. Cover the seeds with a thin layer of seed starting mix.
3. Water Gently: Use a spray bottle to gently moisten the soil. Avoid overwatering, as this can lead to damping off (a fungal disease that kills seedlings).
4. Provide Heat: Place the seed starting trays on a heat mat. Peppers need warm soil to germinate (around 80-85°F).
5. Provide Light: Place the trays under a grow light. Keep the light on for 14-16 hours per day. Adjust the height of the light as the seedlings grow, keeping it a few inches above the plants.
6. Monitor Moisture: Check the soil moisture daily. Keep the soil consistently moist, but not soggy.
7. Thin the Seedlings: Once the seedlings have their first true leaves (the second set of leaves), thin them to one seedling per cell or pot. Choose the strongest seedling and snip off the others at the soil line.
8. Fertilize Gently: Once the seedlings have their second set of true leaves, start fertilizing them with a diluted liquid fertilizer (follow the instructions on the fertilizer label). I like to use a balanced fertilizer like 20-20-20.
Section 2: Preparing Your Garden Bed
Whether you started from seeds or bought seedlings, preparing your garden bed is crucial for success. Peppers need:
* Full Sun: At least 6-8 hours of direct sunlight per day.
* Well-Draining Soil: Peppers don’t like soggy feet! Amend your soil with compost or other organic matter to improve drainage.
* Slightly Acidic Soil: Peppers prefer a soil pH of 6.0-6.8. You can test your soil pH with a soil testing kit.
Step-by-Step Instructions:
1. Choose a Sunny Location: Select a spot in your garden that gets at least 6-8 hours of direct sunlight per day.
2. Prepare the Soil: Remove any weeds, rocks, or debris from the area.
3. Amend the Soil: Dig in plenty of compost or other organic matter to improve drainage and fertility. I usually add a few inches of compost to my garden bed.
4. Test the Soil pH: Use a soil testing kit to check the pH of your soil. If the pH is too high (alkaline), you can lower it by adding sulfur or peat moss. If the pH is too low (acidic), you can raise it by adding lime.
5. Create Raised Beds (Optional): Raised beds can improve drainage and warm up the soil faster in the spring.
Section 3: Transplanting Your Pepper Plants
Now for the exciting part: transplanting your pepper plants into the garden!
Step-by-Step Instructions:
1. Harden Off Your Seedlings: Before transplanting, you need to harden off your seedlings. This means gradually exposing them to outdoor conditions over a period of 7-10 days. Start by placing them in a sheltered spot outdoors for a few hours each day, gradually increasing the amount of time they spend outside.
2. Choose a Cloudy Day: Transplant your pepper plants on a cloudy day or in the late afternoon to avoid shocking them.
3. Dig Holes: Dig holes that are slightly larger than the root balls of your pepper plants. Space the holes about 18-24 inches apart.
4. Remove the Seedlings from Their Containers: Gently remove the seedlings from their containers. If the roots are circling the bottom of the container, gently loosen them.
5. Plant the Seedlings: Place the seedlings in the holes and backfill with soil. Gently firm the soil around the base of the plants.
6. Water Thoroughly: Water the plants thoroughly after transplanting.
7. Add Mulch: Add a layer of mulch around the plants to help retain moisture, suppress weeds, and regulate soil temperature. I like to use straw or wood chips.
Section 4: Caring for Your Pepper Plants
Once your pepper plants are in the ground, it’s important to provide them with the care they need to thrive.
* Watering: Water your pepper plants regularly, especially during hot, dry weather. Aim to keep the soil consistently moist, but not soggy.
* Fertilizing: Fertilize your pepper plants every 2-3 weeks with a balanced fertilizer. You can also use a fertilizer specifically formulated for peppers and tomatoes.
* Pruning: Pruning isn’t strictly necessary, but it can help improve air circulation and encourage bushier growth. Remove any suckers (small shoots that grow from the base of the plant) and any yellowing or diseased leaves.
* Supporting: As your pepper plants grow, they may need support to prevent them from falling over. You can use stakes, cages, or trellises to support the plants.
* Pest and Disease Control: Keep an eye out for pests and diseases. Common pepper pests include aphids, flea beetles, and pepper hornworms. Common pepper diseases include blossom end rot, bacterial leaf spot, and fungal diseases. Treat any problems promptly with appropriate organic or chemical controls.
Step-by-Step Instructions:
1. Water Deeply and Regularly: Water deeply at the base of the plant, avoiding wetting the foliage. Early morning watering is best.
2. Fertilize Consistently: Use a balanced fertilizer or one specifically for peppers, following the package instructions. Side-dressing with compost is also beneficial.
3. Prune Selectively: Remove suckers below the first main branch to encourage upward growth. Remove any dead or diseased leaves promptly.
4. Provide Support: Install stakes or cages early in the season to support the plants as they grow and the peppers develop.
5. Monitor for Pests and Diseases: Regularly inspect your plants for signs of pests or diseases. Treat promptly with organic or chemical controls as needed. Neem oil is a good organic option for many pests.
Section 5: Harvesting Your Peppers
The moment you’ve been waiting for: harvesting your peppers!
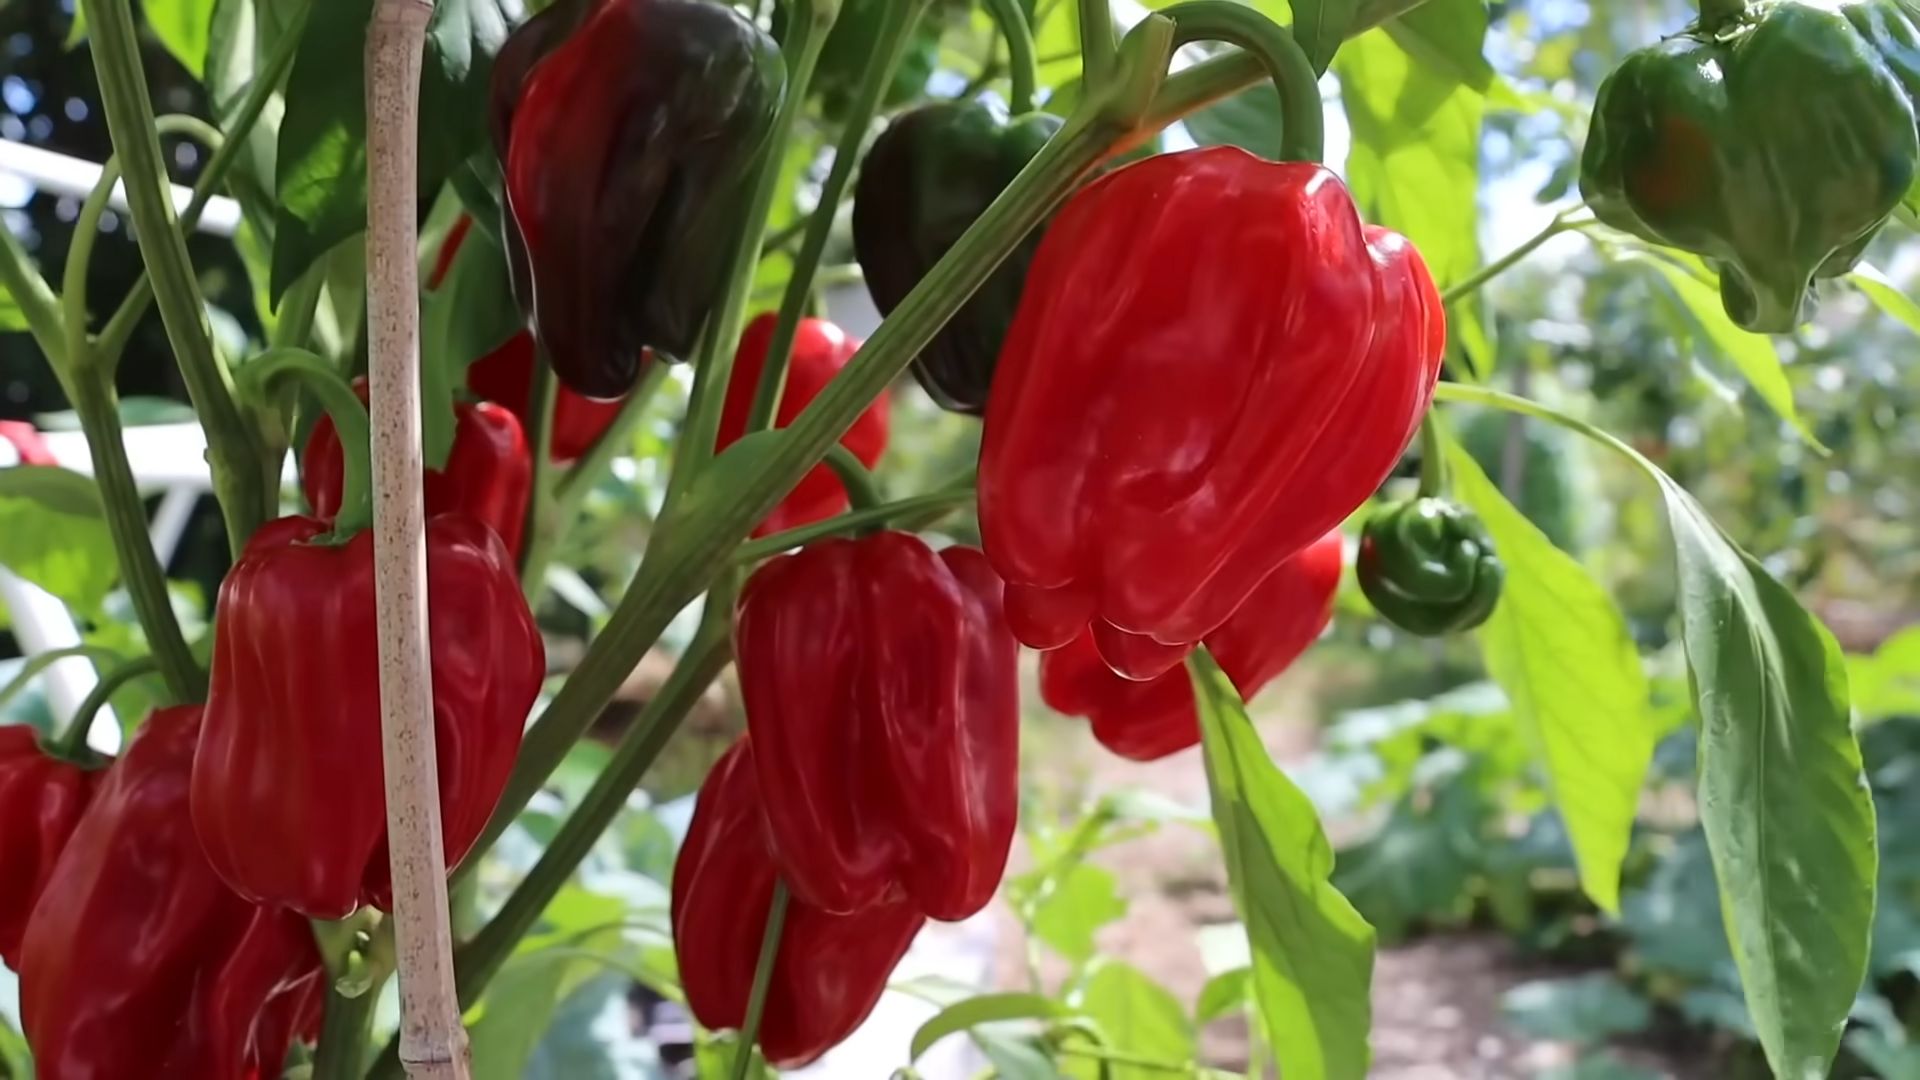
* Sweet Peppers: Harvest sweet peppers when they are fully colored and firm.
* Mildly Spicy Peppers: Harvest mildly spicy peppers when they are fully colored and have reached their
Conclusion
So, there you have it! Mastering the art of growing peppers in your backyard is not only achievable but also incredibly rewarding. We’ve explored the essential steps, from selecting the right pepper varieties to nurturing them through their growth cycle. But the real magic lies in this simple yet effective DIY trick: creating a miniature greenhouse environment using repurposed plastic bottles or cloches.
Why is this DIY trick a must-try? Because it significantly boosts your pepper plants’ chances of thriving, especially in regions with unpredictable weather or shorter growing seasons. It provides crucial warmth and protection during those vulnerable early stages, shielding your seedlings from frost, strong winds, and even pesky pests. Think of it as giving your pepper plants a head start, allowing them to develop strong roots and robust foliage before facing the full force of the elements.
Beyond the basic plastic bottle method, there are several exciting variations you can explore. For instance, consider using clear plastic storage containers for larger pepper varieties or creating a DIY cold frame with salvaged wood and plastic sheeting. You can even incorporate a simple watering system by adding a small hole to the top of the bottle or container, allowing rainwater to slowly seep into the soil. Experiment with different materials and designs to find what works best for your specific climate and pepper varieties.
Don’t be afraid to get creative and personalize your DIY pepper-growing setup!
Growing peppers in your backyard doesn’t have to be an expensive or complicated endeavor. This DIY trick proves that with a little ingenuity and resourcefulness, you can create the ideal environment for your pepper plants to flourish. Imagine the satisfaction of harvesting a bountiful crop of vibrant, flavorful peppers, all thanks to your own backyard efforts. From spicy jalapeños to sweet bell peppers, the possibilities are endless.
We wholeheartedly encourage you to try this DIY trick for growing peppers in your backyard. It’s a fun, sustainable, and incredibly effective way to enhance your gardening experience. And remember, gardening is a journey of learning and experimentation. Don’t be discouraged if you encounter challenges along the way. Embrace the process, learn from your mistakes, and celebrate your successes.
Most importantly, we want to hear about your experiences! Share your photos, tips, and stories with us in the comments section below. Let’s create a community of passionate pepper growers, sharing our knowledge and inspiring each other to cultivate thriving backyard gardens. What pepper varieties are you growing? What modifications did you make to the DIY trick? What challenges did you overcome? Your insights could be invaluable to other aspiring pepper growers.
So, grab your seeds, gather your materials, and get ready to embark on a rewarding pepper-growing adventure. With this DIY trick in your arsenal, you’ll be well on your way to enjoying a delicious and abundant harvest. Happy gardening!
Frequently Asked Questions (FAQ)
What are the best pepper varieties to grow in a backyard garden?
The best pepper varieties for your backyard depend on your climate, personal preferences, and available space. For beginners, bell peppers are a great choice as they are relatively easy to grow and come in various colors. Jalapeños are also popular and versatile, adding a moderate amount of heat to your dishes. If you’re looking for something spicier, consider growing serrano peppers or cayenne peppers. For smaller spaces, consider compact varieties like patio peppers or dwarf bell peppers. Research the specific growing requirements of each variety to ensure they are well-suited to your local conditions. Remember to check the days to maturity for each variety to ensure you have enough time in your growing season.
How do I prepare the soil for growing peppers?
Peppers thrive in well-drained, fertile soil with a slightly acidic pH (around 6.0 to 6.8). Before planting, amend your soil with compost or other organic matter to improve drainage and nutrient content. If your soil is heavy clay, consider adding sand or perlite to improve drainage. A soil test can help you determine the pH and nutrient levels of your soil, allowing you to make necessary adjustments. Avoid using soils that retain too much water, as this can lead to root rot. Raised beds are an excellent option for growing peppers, as they provide excellent drainage and allow you to control the soil composition.
When is the best time to start pepper seeds indoors?
The best time to start pepper seeds indoors is typically 6-8 weeks before the last expected frost in your area. This allows the seedlings to develop strong roots and foliage before being transplanted outdoors. Use a seed-starting mix and sow the seeds about ¼ inch deep. Keep the soil consistently moist and provide a warm environment (around 70-80°F) for germination. A heat mat can be helpful in maintaining the optimal temperature. Once the seedlings have developed their first true leaves, you can transplant them into larger pots. Harden off the seedlings by gradually exposing them to outdoor conditions for a week before transplanting them into your garden.
How often should I water my pepper plants?
Pepper plants need consistent moisture, but avoid overwatering, which can lead to root rot. Water deeply when the top inch of soil feels dry to the touch. The frequency of watering will depend on your climate, soil type, and the size of your plants. During hot, dry weather, you may need to water daily. Mulching around your pepper plants can help retain moisture and suppress weeds. Use a soaker hose or drip irrigation to deliver water directly to the roots, minimizing water loss through evaporation. Check the soil moisture regularly and adjust your watering schedule accordingly.
What are some common pests and diseases that affect pepper plants?
Common pests that affect pepper plants include aphids, spider mites, whiteflies, and pepper weevils. Diseases include blossom-end rot, fungal leaf spot, and verticillium wilt. Regularly inspect your plants for signs of pests or diseases. Use organic pest control methods, such as insecticidal soap or neem oil, to control pests. Ensure good air circulation around your plants to prevent fungal diseases. Blossom-end rot is caused by calcium deficiency, so amend your soil with calcium-rich amendments or use a calcium spray. Choose disease-resistant pepper varieties to minimize the risk of disease.
How do I prevent blossom-end rot in my pepper plants?
Blossom-end rot is a common problem in peppers, characterized by a dark, sunken spot on the blossom end of the fruit. It is caused by a calcium deficiency, which can be due to insufficient calcium in the soil or inconsistent watering. To prevent blossom-end rot, ensure your soil is well-drained and has adequate calcium levels. Amend your soil with lime or bone meal before planting. Water your pepper plants consistently to maintain even soil moisture. Avoid over-fertilizing with nitrogen, as this can interfere with calcium uptake. You can also use a calcium spray to supplement calcium levels in the plants.
How do I harvest peppers?
The timing of pepper harvesting depends on the variety and your desired level of ripeness. Bell peppers are typically harvested when they are fully colored and firm to the touch. Jalapeños are usually harvested when they are green and about 3-4 inches long. Hot peppers can be harvested when they are fully colored and have reached their mature size. Use pruning shears or a sharp knife to cut the peppers from the plant, leaving a short stem attached. Handle the peppers carefully to avoid bruising. Store harvested peppers in a cool, dry place.
Can I grow peppers in containers?
Yes, peppers can be successfully grown in containers. Choose a container that is at least 12 inches in diameter and has drainage holes. Use a high-quality potting mix and amend it with compost or other organic matter. Select compact pepper varieties that are well-suited to container growing. Water your container-grown peppers regularly, as they tend to dry out more quickly than plants grown in the ground. Fertilize your plants regularly with a balanced fertilizer. Provide support for taller pepper varieties to prevent them from toppling over.
How can I extend the pepper growing season?
You can extend the pepper growing season by starting seeds indoors early, using row covers or cold frames to protect plants from frost, and growing peppers in containers that can be moved indoors during cold weather. Choose early-maturing pepper varieties to ensure you have enough time to harvest before the first frost. Use a dark-colored mulch to warm the soil and retain heat. Consider using a greenhouse or hoop house to provide a protected growing environment.
What are some companion plants for peppers?
Companion planting can benefit pepper plants by attracting beneficial insects, repelling pests, and improving soil health. Good companion plants for peppers include basil, marigolds, onions, garlic, and carrots. Basil repels aphids and whiteflies, while marigolds deter nematodes. Onions and garlic repel various pests, and carrots improve soil drainage. Avoid planting peppers near fennel or brassicas (such as cabbage and broccoli), as they can inhibit pepper growth.
Leave a Comment