

Growing radishes in small spaces might seem like a challenge, but trust me, it’s totally achievable and incredibly rewarding! Are you dreaming of fresh, peppery radishes but think you don’t have the room? Well, get ready to ditch that limiting belief because I’m about to share some game-changing DIY tricks that will have you harvesting a bumper crop, even if all you have is a balcony or a sunny windowsill.
Radishes have a surprisingly rich history, dating back to ancient Egypt and Greece, where they were valued not only for their taste but also for their medicinal properties. For centuries, they’ve been a staple in gardens of all sizes, proving their adaptability and resilience. But in our modern, urbanized world, space is often a premium. That’s where these clever DIY hacks come in!
Why do you need these tricks? Because store-bought radishes simply can’t compare to the crisp, vibrant flavor of homegrown ones. Plus, growing radishes in small spaces is a fantastic way to connect with nature, reduce your carbon footprint, and enjoy fresh, healthy food without breaking the bank. Imagine adding a burst of color and flavor to your salads, tacos, or even just enjoying them as a crunchy snack, all thanks to your own little radish patch. Let’s get started and unlock the secrets to successful small-space radish gardening!
Growing Radishes in Small Spaces: A DIY Guide
Hey there, fellow gardening enthusiasts! So, you’re itching to grow something, but space is at a premium? Don’t worry, I’ve got you covered! Radishes are your answer. These little root veggies are quick to grow, super satisfying, and perfect for containers, balconies, or even a sunny windowsill. I’m going to walk you through everything you need to know to cultivate a thriving radish patch, no matter how small your space.
Choosing the Right Radish Variety
First things first, let’s talk radishes! Not all radishes are created equal, especially when it comes to container gardening. Some varieties are better suited for smaller spaces than others.
* Cherry Belle: This is a classic, round radish that matures quickly (around 22 days). It’s a reliable choice and a great option for beginners.
* French Breakfast: These elongated radishes have a mild flavor and mature in about 25 days. They’re delicious sliced in salads or eaten with butter and salt.
* Easter Egg: This mix of radishes comes in a variety of colors (red, pink, purple, white), making them a fun and visually appealing addition to your garden. They mature in about 28 days.
* Sparkler: Similar to Cherry Belle, but with a white tip. These are also quick to mature and have a slightly milder flavor.
* Avoid Larger Varieties: While Daikon radishes are delicious, they require a lot more space and time to mature, making them less ideal for container gardening.
Preparing Your Container
Okay, now that we’ve picked our radish stars, let’s get their home ready! The right container is crucial for success.
* Container Size: Radishes don’t need super deep containers, but they do need enough room to develop their roots. I recommend a container that’s at least 6 inches deep and wide. A rectangular planter box works great, or even a large, wide pot.
* Drainage: This is non-negotiable! Radishes hate soggy soil. Make sure your container has plenty of drainage holes. If it doesn’t, you can drill some yourself.
* Material: Plastic, terracotta, or even repurposed containers will work. Just make sure they’re clean and free of any harmful chemicals.
* Soil: Use a well-draining potting mix. Avoid using garden soil, as it can be too heavy and compact for containers. I like to mix in some compost for added nutrients.
Planting Your Radish Seeds
Alright, time to get our hands dirty! Planting radish seeds is super easy.
1. Fill the Container: Fill your container with the potting mix, leaving about an inch of space at the top.
2. Water the Soil: Gently water the soil until it’s evenly moist.
3. Sow the Seeds: Sprinkle the radish seeds evenly over the surface of the soil. You can also create shallow furrows (about 1/2 inch deep) and sow the seeds in rows.
4. Cover the Seeds: Lightly cover the seeds with a thin layer of potting mix.
5. Water Again: Gently water the soil again to settle the seeds.
6. Label: Don’t forget to label your container with the radish variety and the date you planted them!
Caring for Your Radishes
Now comes the waiting game, but don’t worry, it won’t be long! Radishes are fast growers.
* Sunlight: Radishes need at least 6 hours of sunlight per day. If you’re growing them indoors, place them near a sunny window or use a grow light.
* Watering: Keep the soil consistently moist, but not soggy. Water when the top inch of soil feels dry to the touch. Overwatering can lead to root rot.
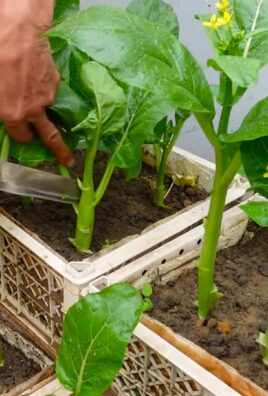
* Thinning: Once the seedlings emerge (usually within a few days), you’ll need to thin them out. This means removing some of the seedlings so that the remaining ones have enough space to grow. Aim for about 1-2 inches between plants. Don’t just pull them out! Gently snip them off at the soil line to avoid disturbing the roots of the other seedlings.
* Fertilizing: Radishes don’t need a lot of fertilizer. You can give them a light feeding of a balanced liquid fertilizer a couple of weeks after they emerge. Follow the instructions on the fertilizer package.
* Weeding: Keep an eye out for weeds and remove them promptly. Weeds can compete with your radishes for nutrients and water.
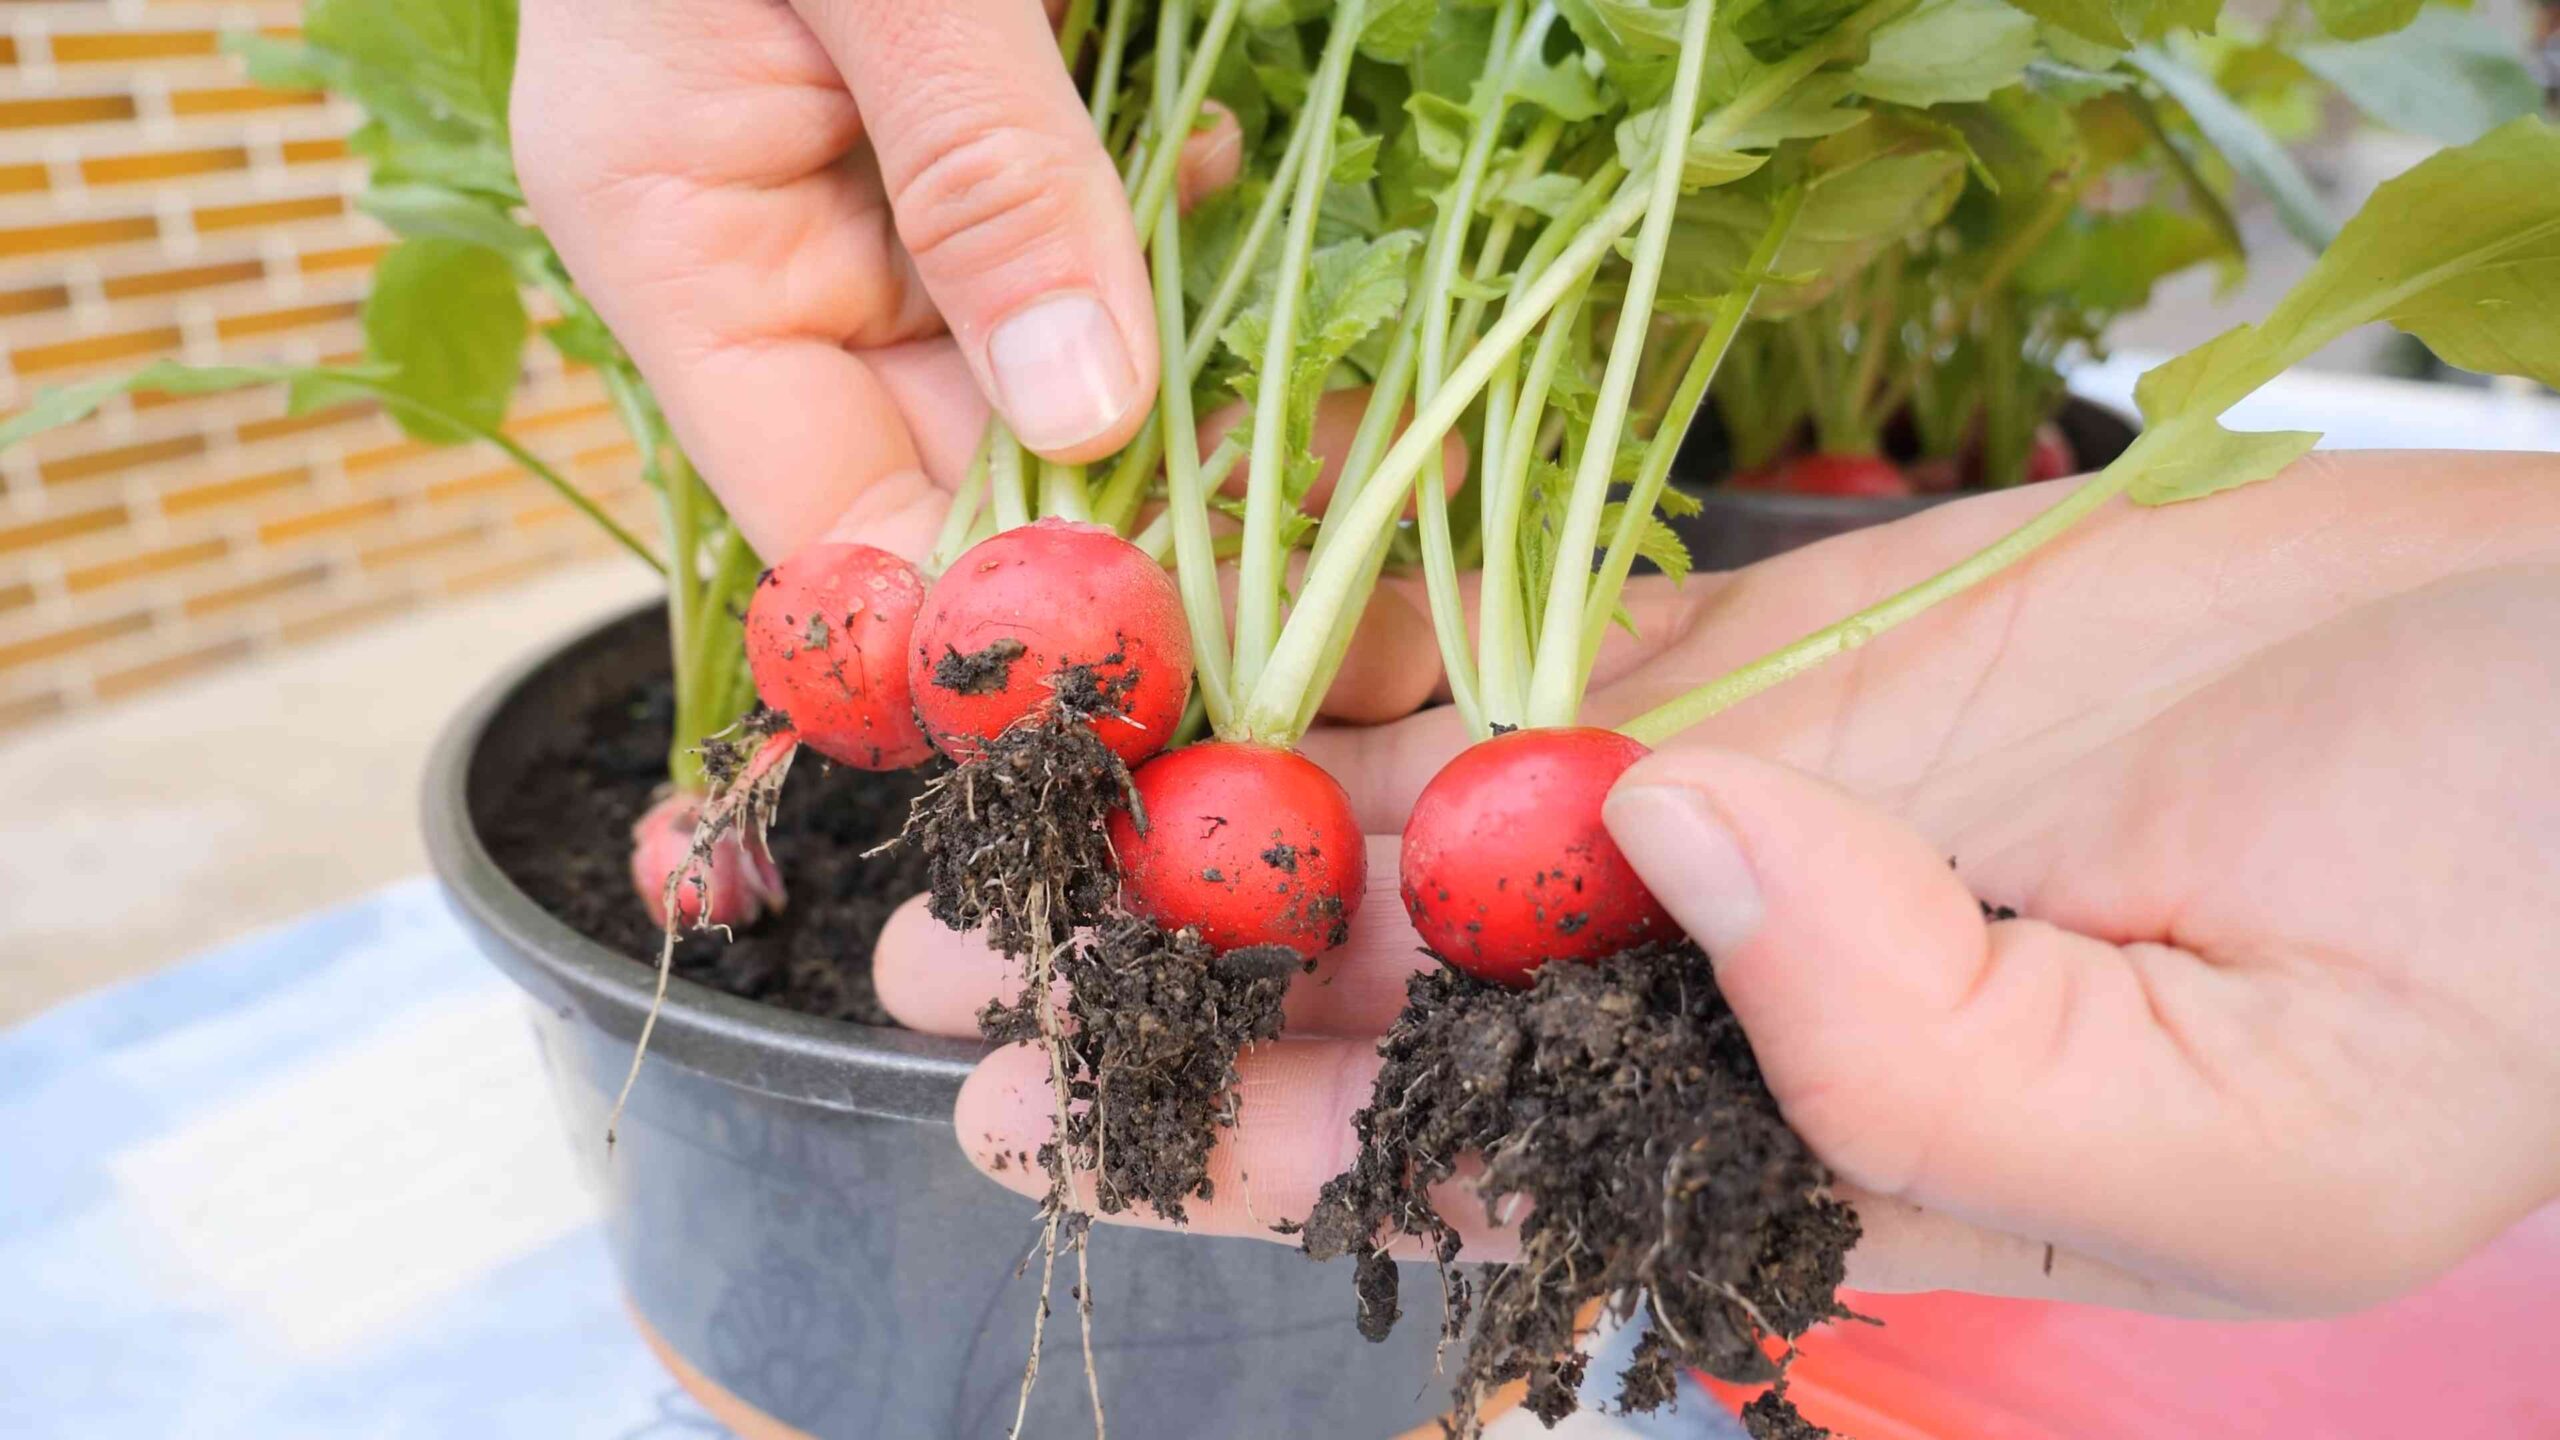
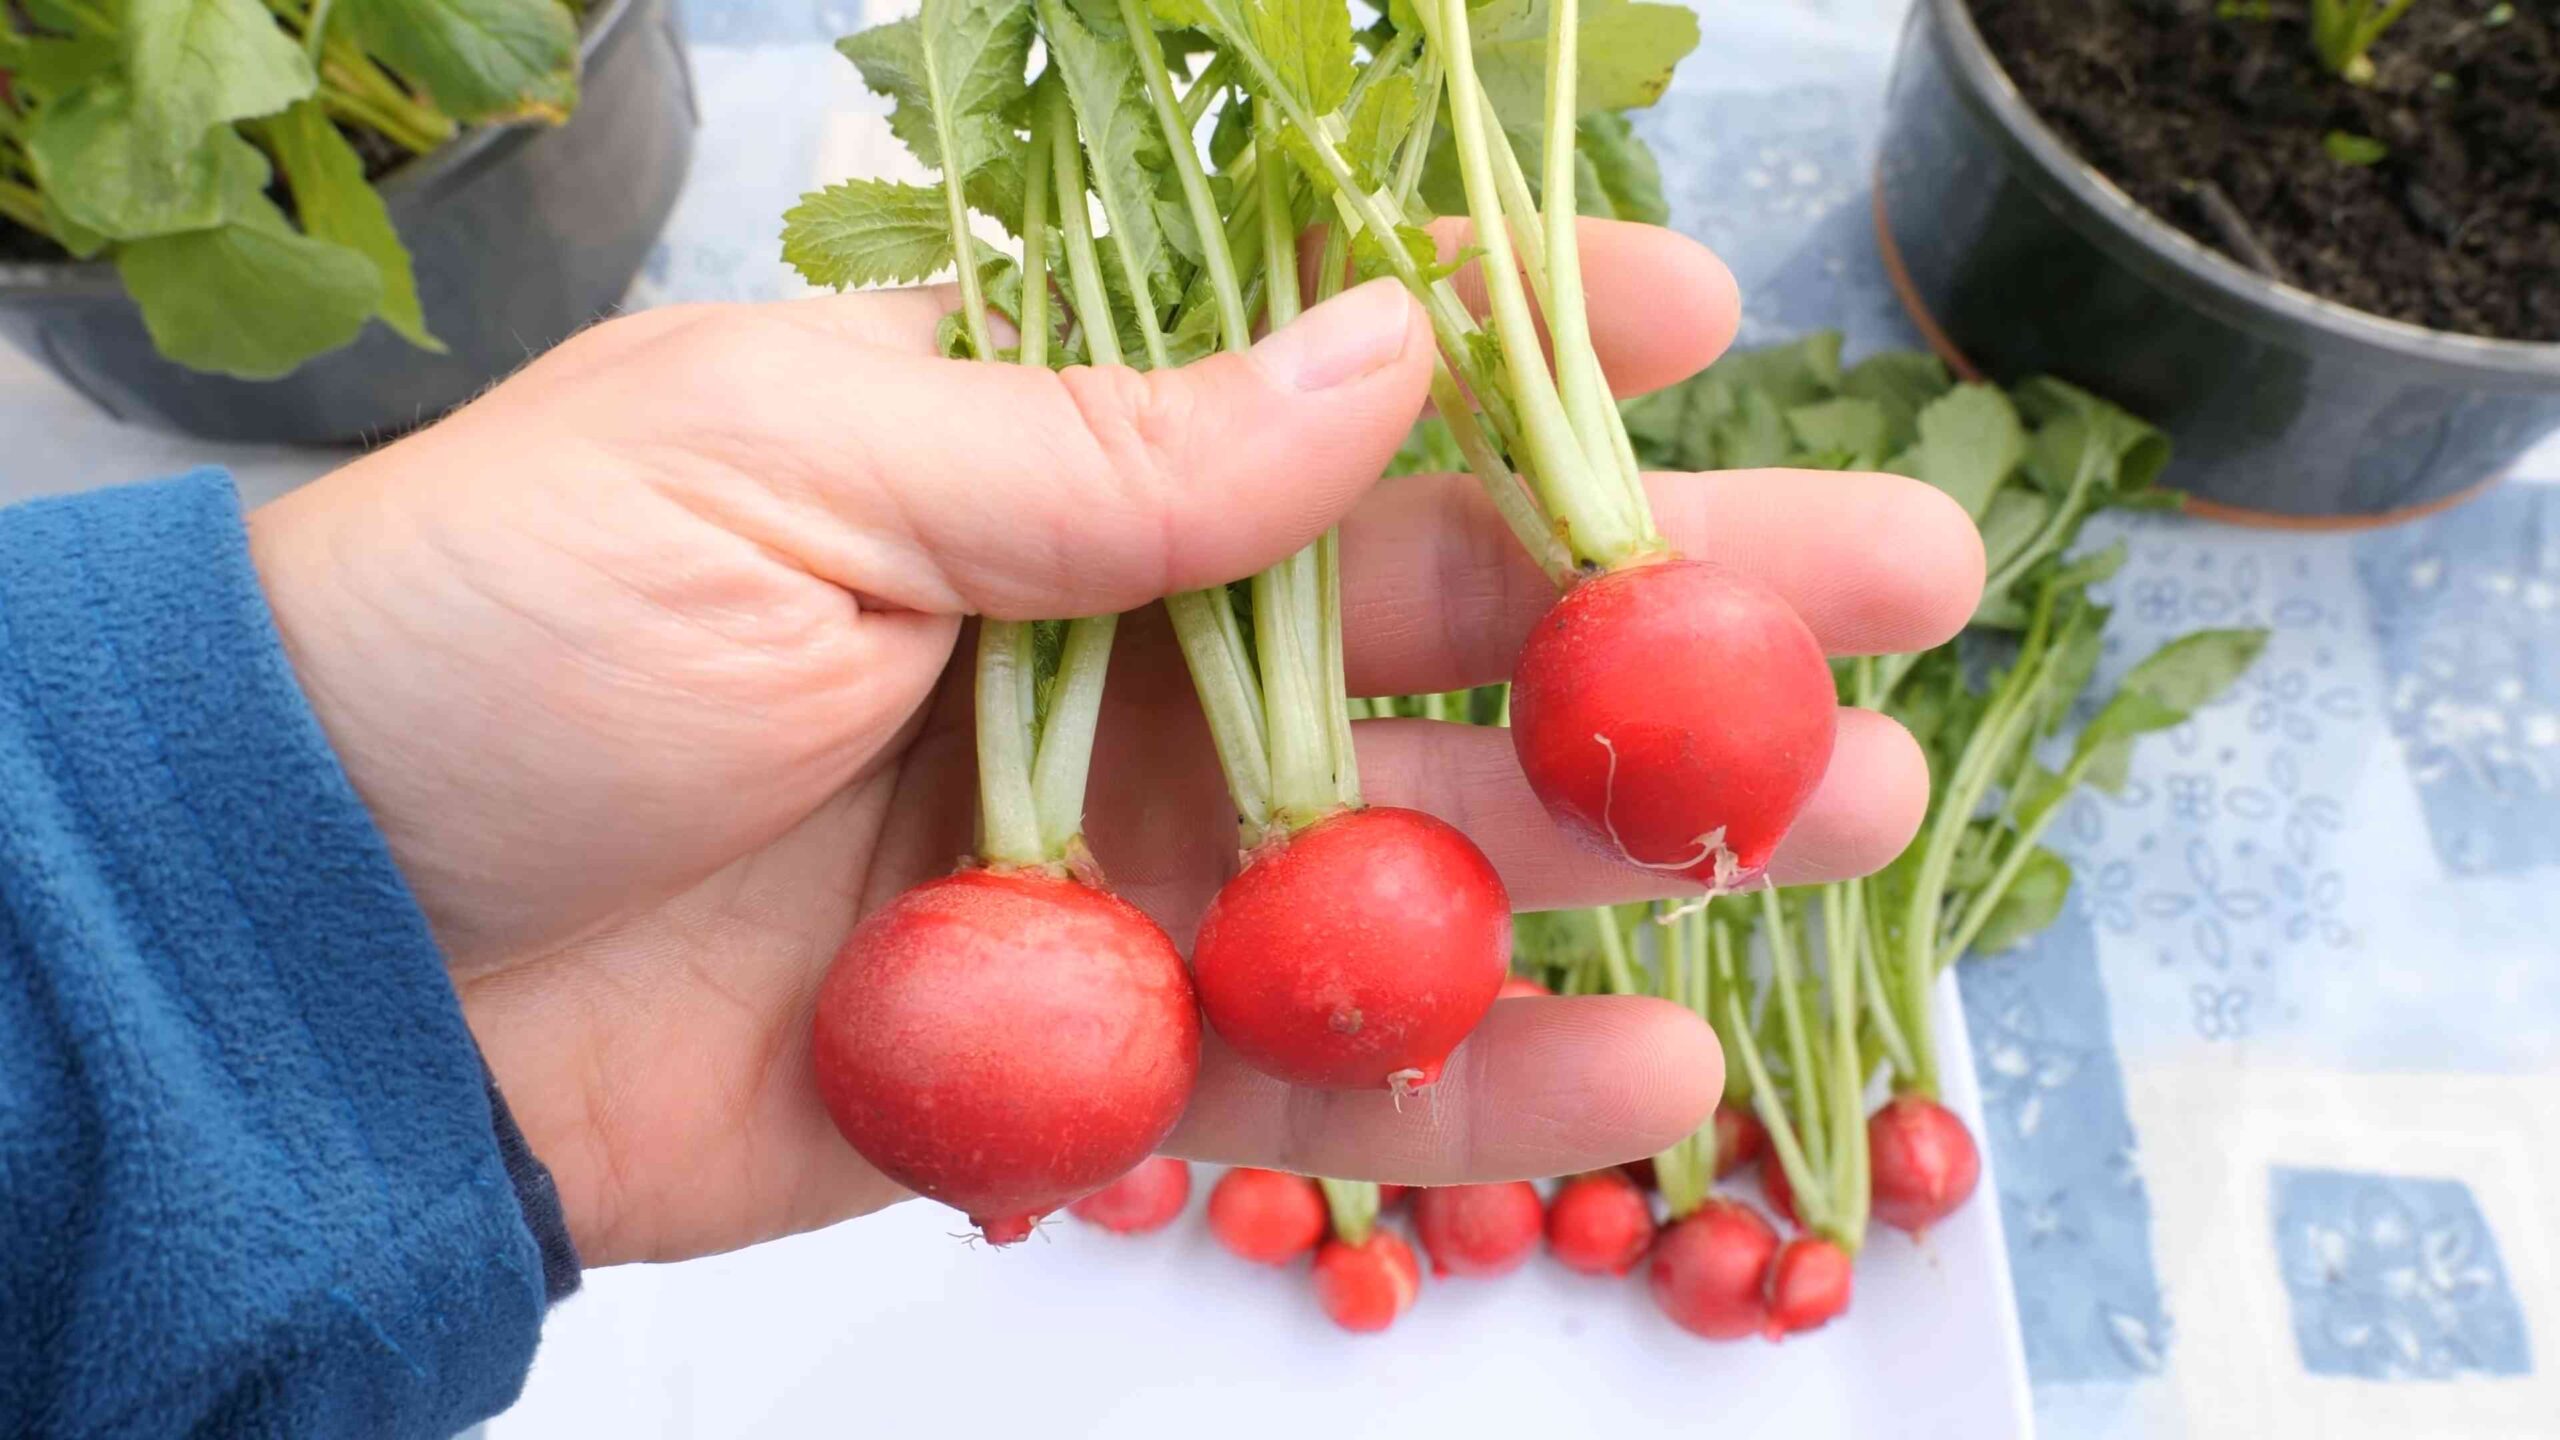
Harvesting Your Radishes
The best part! Harvesting radishes is so rewarding.
* Timing: Radishes are typically ready to harvest in 3-4 weeks, depending on the variety. Check the seed packet for specific maturity dates.
* Signs of Maturity: The tops of the radishes will start to peek out of the soil. You can also gently brush away some of the soil to check the size of the roots. They should be about 1 inch in diameter.
* Harvesting Technique: Gently pull the radishes out of the soil by the greens. If they’re difficult to pull, loosen the soil around them with a trowel.
* Enjoy! Wash the radishes and enjoy them fresh. They’re delicious in salads, sandwiches, or as a crunchy snack.
Troubleshooting
Even with the best care, sometimes things can go wrong. Here are a few common radish problems and how to fix them:
* Bolting (Going to Seed): This happens when radishes are exposed to hot weather or inconsistent watering. The plants will start to produce flowers and the roots will become tough and bitter. To prevent bolting, plant radishes in the spring or fall, and keep the soil consistently moist. If your radishes start to bolt, harvest them immediately.
* Root Maggots: These tiny white larvae can tunnel into the roots of radishes, causing them to become distorted and inedible. To prevent root maggots, cover your plants with row covers. You can also use diatomaceous earth to control them.
* Flea Beetles: These tiny beetles can chew holes in the leaves of radishes. To control flea beetles, use insecticidal soap or neem oil.
* Cracked Radishes: This is usually caused by inconsistent watering. The radishes grow too quickly after a period of drought, causing them to crack. To prevent cracked radishes, keep the soil consistently moist.
* Pithy Radishes: This means the radishes are hollow and spongy inside. This is usually caused by letting the radishes grow too large. Harvest them when they’re still relatively small.
Succession Planting for Continuous Harvest
Want to keep those radishes coming? Succession planting is your secret weapon!
* What it is: Succession planting simply means planting new seeds every 1-2 weeks. This ensures that you’ll have a continuous harvest of radishes throughout the growing season.
* How to do it: After you harvest a batch of radishes, simply replant the container with new seeds. You can even use the same soil, as long as you amend it with some fresh compost.
Extra Tips for Radish-Growing Success
* Companion Planting: Radishes are great companions for carrots, lettuce, and spinach. They can help to deter pests and improve the soil.
* Use Radish Greens: Don’t throw away the radish greens! They’re edible and nutritious. You can add them to salads, soups, or stir-fries.
* Experiment with Varieties: Try different radish varieties to find your favorites.
* Have Fun! Gardening should be enjoyable. Don’t be afraid to experiment and learn from your mistakes.
Radish Recipes to Try
Now that you’ve got a bounty of radishes, let’s talk about how to use them! Here are a few of my favorite radish recipes:
* Radish and Butter Sandwiches: This is a classic for a reason! Thinly slice radishes and spread them on buttered bread. Sprinkle with sea salt and enjoy.
* Radish Salad: Combine sliced radishes with cucumbers, tomatoes, and a vinaigrette dressing.
* Roasted Radishes: Toss radishes with olive oil, salt, and pepper, and roast them in the oven until tender.
* Radish Greens Pesto: Use radish greens in place of basil to make a unique and flavorful pesto.
* Pickled Radishes: Preserve your radishes by pickling them. They’re great on tacos, sandwiches, or as a snack.
So there you have it! Everything you need to know to grow radishes in small spaces. With a little bit of care and attention, you’ll be enjoying fresh, homegrown radishes in no time. Happy gardening!
Conclusion
So, there you have it! Growing radishes in small spaces is not only achievable, but it’s also incredibly rewarding. We’ve walked you through the simple steps, from choosing the right container and soil to ensuring proper watering and sunlight. The beauty of this DIY trick lies in its accessibility. Whether you have a sprawling garden or just a tiny balcony, fresh, peppery radishes are within your reach.
Why is this a must-try? Because it’s fast, fun, and fulfilling. Radishes are one of the quickest vegetables to mature, meaning you can enjoy a harvest in as little as three weeks. Imagine the satisfaction of adding your own homegrown radishes to salads, sandwiches, or even enjoying them as a crunchy, refreshing snack. Plus, it’s a fantastic way to introduce children to the joys of gardening and healthy eating.
But don’t stop there! Experiment with different radish varieties. French Breakfast radishes offer a milder flavor, while Watermelon radishes provide a stunning visual contrast with their vibrant pink interiors. You can also try companion planting. Carrots and radishes are excellent companions, as radishes help to break up the soil, making it easier for carrots to grow. Consider interplanting radishes with lettuce or spinach for a continuous harvest. Another variation is to use vertical gardening techniques. Stacked planters or hanging baskets can maximize your space and add a touch of visual appeal to your small garden.
Growing radishes in small spaces is a gateway to a more sustainable and flavorful lifestyle. It’s a chance to connect with nature, even in the heart of the city. It’s a way to reduce your reliance on store-bought produce and enjoy the unparalleled taste of freshly harvested vegetables.
We wholeheartedly encourage you to give this DIY trick a try. Don’t be intimidated by the prospect of gardening. Radishes are incredibly forgiving and easy to grow, making them perfect for beginners. Start small, learn as you go, and most importantly, have fun!
Once you’ve harvested your first batch of homegrown radishes, we’d love to hear about your experience. Share your photos, tips, and tricks in the comments below. Let’s create a community of small-space radish growers and inspire others to embrace the joys of urban gardening. What varieties did you try? What challenges did you face? What successes did you celebrate? Your insights can help others on their radish-growing journey. So, grab your seeds, get your hands dirty, and get ready to enjoy the delicious rewards of growing your own radishes! Happy gardening!
Frequently Asked Questions (FAQ)
What kind of container is best for growing radishes in small spaces?
The ideal container for growing radishes should be at least 6 inches deep to allow the roots to develop properly. A wider container is generally better than a narrow one, as it provides more surface area for planting multiple radishes. Good options include plastic pots, terracotta pots, raised garden beds, and even repurposed containers like buckets or crates. Ensure the container has drainage holes to prevent waterlogging, which can lead to root rot. The material of the container isn’t as crucial as the size and drainage, so choose one that fits your aesthetic and budget.
What type of soil should I use for growing radishes?
Radishes thrive in loose, well-draining soil that is rich in organic matter. A good potting mix specifically designed for vegetables is an excellent choice. You can also create your own soil mix by combining equal parts of compost, peat moss (or coconut coir), and perlite or vermiculite. Avoid using heavy clay soil, as it can compact and hinder root development. The soil pH should be slightly acidic to neutral, ideally between 6.0 and 7.0. Adding compost to the soil will improve its fertility and drainage.
How much sunlight do radishes need?
Radishes need at least 6 hours of direct sunlight per day to grow properly. If you don’t have a sunny spot, you can supplement with grow lights. Insufficient sunlight can result in leggy plants with small, underdeveloped roots. Place your container in the sunniest location available, such as a south-facing balcony or windowsill. Rotate the container regularly to ensure that all sides of the plants receive adequate sunlight.
How often should I water my radishes?
Radishes need consistent moisture to grow quickly and develop crisp, flavorful roots. Water deeply whenever the top inch of soil feels dry to the touch. Avoid overwatering, as this can lead to root rot. Check the soil moisture regularly, especially during hot or dry weather. A good rule of thumb is to water every 2-3 days, but adjust the frequency based on the weather conditions and the moisture level of the soil.
How long does it take for radishes to mature?
One of the best things about radishes is their quick growth rate. Most varieties mature in just 3-4 weeks from planting. Check the seed packet for the specific maturity time of the variety you are growing. You can start harvesting radishes as soon as they reach the desired size, which is typically about 1 inch in diameter.
What are some common pests and diseases that affect radishes?
Radishes are generally pest-resistant, but they can be susceptible to certain pests and diseases. Common pests include flea beetles, root maggots, and aphids. Flea beetles can create small holes in the leaves, while root maggots can damage the roots. Aphids can suck the sap from the plants, weakening them. Diseases that can affect radishes include damping-off, clubroot, and white rust. To prevent pests and diseases, practice good garden hygiene, such as removing weeds and debris, and avoid overwatering. You can also use organic pest control methods, such as insecticidal soap or neem oil.
Can I grow radishes in the winter?
Yes, you can grow radishes in the winter, especially in mild climates. In colder climates, you can grow radishes indoors under grow lights or in a greenhouse. Choose varieties that are specifically bred for winter growing. Provide adequate light, moisture, and ventilation to ensure healthy growth.
How do I know when my radishes are ready to harvest?
Radishes are ready to harvest when the roots reach the desired size, which is typically about 1 inch in diameter. Gently loosen the soil around the radish and pull it out of the ground. If the roots are too small, leave them in the ground for a few more days. If the roots are too large, they may become woody and bitter. Harvest radishes promptly once they are ready to prevent them from becoming overgrown.
Can I eat the radish greens?
Yes, radish greens are edible and nutritious. They have a peppery flavor similar to the roots. You can add them to salads, soups, or stir-fries. Harvest the greens when they are young and tender. Avoid eating greens that are yellowed or damaged.
What are some good companion plants for radishes?
Radishes are excellent companion plants for many other vegetables. They help to break up the soil, making it easier for other plants to grow. Good companion plants for radishes include carrots, lettuce, spinach, peas, and beans. Avoid planting radishes near hyssop, as it can inhibit their growth.
Leave a Comment