

Life hacks that work – we all crave them, don’t we? Those little nuggets of wisdom that make our lives easier, more efficient, and just plain better. I’m always on the lookout for clever solutions to everyday problems, and I’m thrilled to share some of my favorite DIY tricks with you!
From ancient times, people have sought ways to simplify tasks and improve their surroundings. Think of the Roman aqueducts, ingenious solutions to water management, or the simple lever, a tool that revolutionized construction. This spirit of innovation lives on in the modern world, manifesting in the form of life hacks that address everything from household chores to personal organization.
In today’s fast-paced world, time is a precious commodity. We’re constantly juggling work, family, and personal commitments, leaving little room for unnecessary stress or wasted effort. That’s where these life hacks that work come in. They’re designed to streamline your routines, save you time and money, and ultimately, give you more freedom to enjoy the things you love. Whether it’s a clever way to organize your closet, a simple cleaning solution, or a genius kitchen shortcut, these DIY tricks are guaranteed to make a positive impact on your daily life. So, let’s dive in and discover some amazing ways to make your life a little bit easier and a whole lot more enjoyable!
DIY Magic: Turning Old T-Shirts into Stylish Reusable Shopping Bags
Hey there, fellow DIY enthusiasts! Are you drowning in old t-shirts you can’t bear to part with but never wear? Or maybe you’re just looking for a fun and eco-friendly way to reduce your plastic bag consumption? Well, you’ve come to the right place! Today, I’m going to walk you through a super simple, no-sew method for transforming those forgotten tees into trendy and durable reusable shopping bags. Trust me, it’s easier than you think, and the results are surprisingly chic!
What You’ll Need: Your DIY Shopping Bag Arsenal
Before we dive in, let’s gather our supplies. The beauty of this project is that it requires minimal materials, most of which you probably already have lying around:
* An Old T-Shirt: The bigger the shirt, the bigger the bag! Look for sturdy cotton or cotton-blend tees. Avoid thin, flimsy fabrics as they won’t hold much weight. Graphic tees are fantastic for adding a pop of personality!
* Sharp Scissors: A good pair of fabric scissors will make your life much easier. Dull scissors will just make the process frustrating.
* A Ruler or Measuring Tape: This is optional, but it helps ensure your fringe is even and your bag is symmetrical.
* A Plate or Bowl (Optional): For tracing a rounded neckline, if desired.
* Permanent Marker (Optional): For marking cutting lines.
Step-by-Step: From Tee to Tote
Alright, let’s get started! Follow these steps carefully, and you’ll have your own custom-made shopping bag in no time.
1. Prepare Your T-Shirt: Lay your t-shirt flat on a clean, even surface. Smooth out any wrinkles to ensure accurate cutting.
2. Cut Off the Sleeves: Using your scissors, carefully cut off both sleeves of the t-shirt. You can cut straight across from the shoulder seam to the armpit, or you can create a slightly curved armhole for a more stylish look. I usually eyeball it, but if you’re a perfectionist, feel free to draw a guideline with a marker first.
3. Widen the Neckline (Optional): This step is optional, but I find that widening the neckline makes the bag easier to carry over your shoulder. You can either cut a deeper U-shape or create a wider, more rounded neckline. To create a rounded neckline, place a plate or bowl on the shirt with the edge aligned with the existing neckline. Trace around the plate with a marker, then carefully cut along the traced line. Remember, you can always cut more later, so start small!
4. Create the Fringe: This is where the magic happens! Turn the t-shirt inside out. Now, we’re going to create a fringe along the bottom edge of the shirt. The fringe will be used to tie the bottom of the bag together, creating a secure base.
* Using your ruler or measuring tape, measure approximately 3-4 inches up from the bottom hem of the shirt. Mark this line with your marker. This line will be the stopping point for your fringe cuts.
* Now, begin cutting strips of fabric from the bottom hem up to the marked line. Each strip should be about 1 inch wide. Try to keep the strips as even as possible for a neater look. This part takes a little patience, but it’s worth it!
5. Tie the Fringe: This is the most important step! This is what will create the bottom of your bag.
* Take two adjacent strips of fringe and tie them together in a tight, secure knot.
* Continue tying each pair of adjacent strips together until you’ve tied all the way around the bottom of the shirt.
* For extra security, tie a second knot on top of the first knot. This will help prevent the knots from coming undone when you’re carrying heavy items.
6. Reinforce the Knots (Optional): For added durability, you can apply a small dab of fabric glue to each knot. This will help prevent the knots from fraying or coming undone over time. Let the glue dry completely before using the bag.
7. Turn it Right Side Out: Carefully turn your bag right side out. And there you have it! Your very own reusable shopping bag made from an old t-shirt!
Adding Your Personal Touch: Customization Ideas
Now that you’ve mastered the basic technique, let’s explore some ways to personalize your bags and make them truly unique:
* Fabric Paint: Use fabric paint to add designs, patterns, or even your name to your bag. Stencils can be helpful for creating more intricate designs.
* Iron-On Transfers: Iron-on transfers are a quick and easy way to add images or text to your bag.
* Embroidery: If you’re feeling crafty, you can embroider designs onto your bag. This is a great way to add a touch of elegance and sophistication.
* Beads and Sequins: Add beads and sequins to your bag for a touch of sparkle and glamour.
* Different Fringe Styles: Experiment with different fringe styles. You can try cutting the fringe at an angle, or you can create a braided fringe for a more decorative look.
* Use Different T-Shirt Types: Try using different types of t-shirts, such as tie-dye shirts, striped shirts, or shirts with interesting textures.
Tips and Tricks for Success
Here are a few extra tips to help you create the perfect t-shirt shopping bag:
* Choose the Right T-Shirt: The type of t-shirt you choose will greatly affect the durability and appearance of your bag. Look for sturdy cotton or cotton-blend tees. Avoid thin, flimsy fabrics as they won’t hold much weight.
* Use Sharp Scissors: Dull scissors will make the cutting process much more difficult and will result in uneven cuts.
* Take Your Time: Don’t rush the process. Take your time and pay attention to detail. The more careful you are, the better your bag will turn out.
* Practice Makes Perfect: Don’t be discouraged if your first bag isn’t perfect. The more you practice, the better you’ll become.
* Get Creative: Don’t be afraid to experiment with different designs and techniques. The possibilities are endless!
* Test the Knots: Before using your bag, give the knots a good tug to make sure they are secure.
* Wash Carefully: When washing your bag, turn it inside out and wash it on a gentle cycle. Avoid using bleach or fabric softener. Hang it to dry.
Troubleshooting: Common Issues and Solutions
Sometimes, things don’t go exactly as planned. Here are some common issues you might encounter and how to fix them:
* Knots Coming Undone: If your knots are coming undone, try tying a second knot on top of the first knot. You can also apply a small dab of fabric glue to each knot for added security.
* Fringe Fraying: If your fringe is fraying, you can trim the frayed edges with scissors. You can also apply a small amount of fabric glue to the ends of the fringe to prevent further fraying.
* Bag Stretching Out of Shape: If your bag is stretching out of shape, it may be because the fabric is too thin or the knots are not tight enough. Try using a thicker t-shirt or tying the knots tighter.
* Uneven Fringe: If your fringe is uneven, you can trim the longer strips with scissors to even them out.
Why This Hack Rocks: Benefits Beyond the Bag
This DIY project isn’t just about creating a cool shopping bag; it’s about so much more!
* Eco-Friendly: You’re giving old t-shirts a new life and reducing your reliance on plastic bags.
* Cost-Effective: You’re saving money by not having to buy reusable shopping bags.
* Creative Outlet: You’re expressing your creativity and personal style.
* Sustainable Living: You’re contributing to a more sustainable lifestyle.
* Unique and Personalized: You’re creating something that is truly one-of-a-kind.
So, what are you waiting for? Grab those old t-shirts and get crafting! I promise you’ll love the results. Happy DIY-ing!
Conclusion
So, there you have it! This simple yet incredibly effective DIY trick is more than just a fleeting internet trend; it’s a game-changer for anyone looking to simplify their life and save money. We’ve explored how to create your own [Life hacks that work], and hopefully, you’re already envisioning the endless possibilities this opens up.
Why is this a must-try? Because it empowers you to take control. Instead of relying on expensive, store-bought solutions, you can craft something tailored to your specific needs and preferences. It’s about resourcefulness, creativity, and a touch of self-sufficiency – all qualities that make life a little richer and more rewarding. Plus, let’s be honest, there’s a certain satisfaction that comes from saying, “I made this myself!”
But the beauty of this DIY approach lies in its adaptability. Feel free to experiment with variations to suit your unique circumstances. For example, if you’re dealing with particularly stubborn stains, consider adding a bit of baking soda to your mixture for extra cleaning power. Or, if you prefer a more natural scent, infuse your solution with a few drops of essential oils like lavender or lemon. The possibilities are truly endless!
Don’t be afraid to get creative and personalize this [Life hacks that work] to fit your lifestyle. Think about the areas in your home or routine where you could benefit from a simple, homemade solution. Maybe you need a better way to organize your closet, or perhaps you’re looking for a more eco-friendly cleaning product. Whatever your needs, this DIY trick can be a powerful tool in your arsenal.
We genuinely believe that this DIY trick can make a positive impact on your daily life. It’s cost-effective, environmentally friendly, and surprisingly easy to implement. So, what are you waiting for? Gather your supplies, follow the steps outlined above, and prepare to be amazed by the results.
But the journey doesn’t end here! We’re eager to hear about your experiences with this DIY trick. Did you find it helpful? Did you discover any clever variations that worked particularly well for you? Share your thoughts, tips, and photos in the comments section below. Your feedback will not only help us improve this guide but also inspire other readers to embrace the power of DIY.
We encourage you to try this [Life hacks that work] and share your experience with us! Let’s build a community of resourceful individuals who are passionate about simplifying their lives and making the most of what they have. Together, we can unlock the potential of DIY and create a more sustainable and fulfilling future. So go ahead, give it a try, and let us know what you think! We can’t wait to hear from you.
Frequently Asked Questions (FAQ)
What are some common mistakes people make when trying this DIY trick, and how can I avoid them?
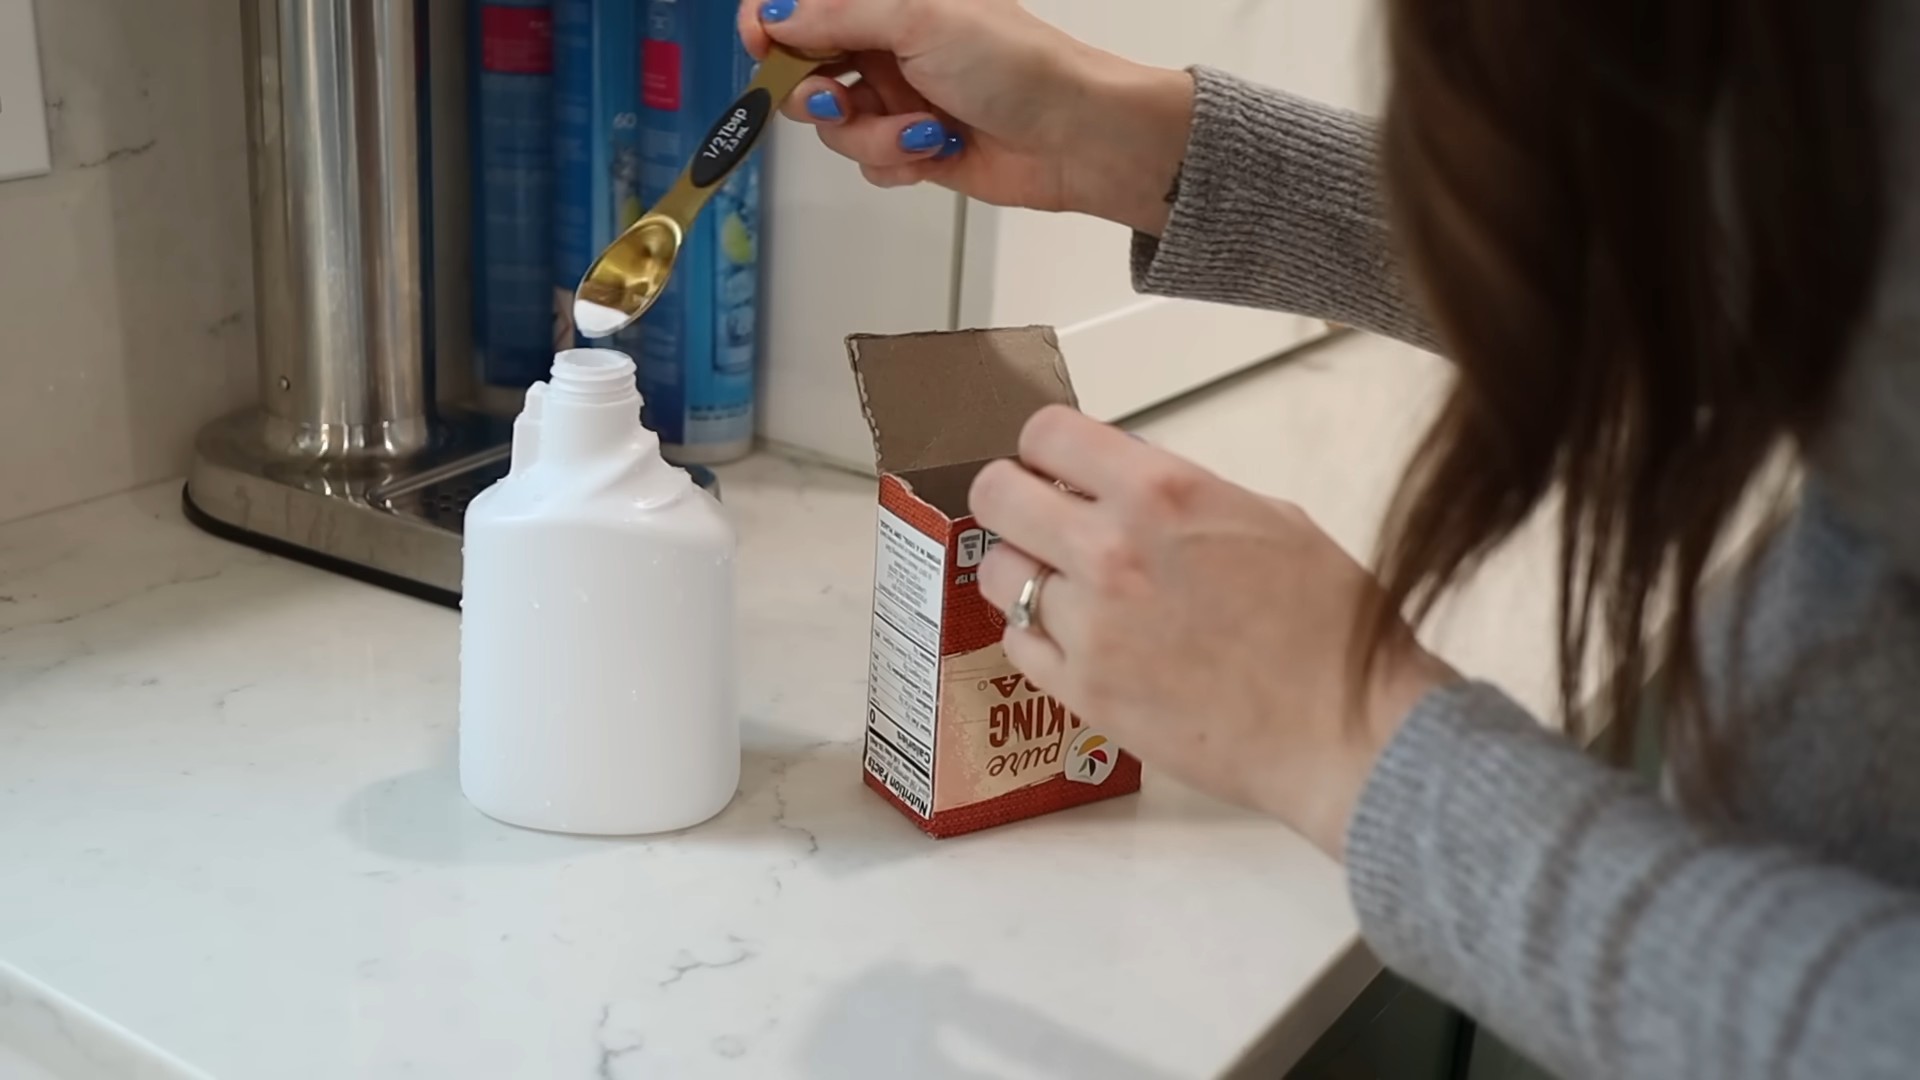
One of the most common mistakes is not properly measuring the ingredients. Accuracy is key to achieving the desired results. Use measuring cups and spoons to ensure you’re using the correct proportions. Another mistake is not thoroughly mixing the ingredients. Make sure everything is well combined before using the solution. Finally, some people may use the wrong type of container for storing the mixture. Choose a container that is airtight and made of a material that won’t react with the ingredients. Glass or food-grade plastic containers are generally good choices.
Can I use different types of essential oils for different purposes?
Absolutely! Essential oils can add a wonderful fragrance and therapeutic benefits to your DIY solution. Lavender is known for its calming properties, lemon for its cleansing and uplifting scent, and tea tree oil for its antibacterial properties. Experiment with different combinations to find what works best for you. Just be sure to use high-quality, pure essential oils and to dilute them properly before adding them to your mixture. A few drops are usually sufficient. Also, be mindful of any allergies or sensitivities you may have to certain essential oils.
How long will this DIY solution last, and how should I store it?
The shelf life of your DIY solution will depend on the ingredients you use. In general, solutions made with water-based ingredients will have a shorter shelf life than those made with oil-based ingredients. To maximize the shelf life, store your solution in an airtight container in a cool, dark place. This will help prevent the growth of bacteria and mold. You can also add a preservative, such as vitamin E oil, to help extend the shelf life. If you notice any changes in the color, smell, or texture of the solution, discard it immediately.
Is this DIY trick safe to use around children and pets?
While most of the ingredients used in this DIY trick are generally considered safe, it’s always a good idea to exercise caution when using any homemade solution around children and pets. Keep the solution out of reach of children and pets, and avoid using it in areas where they may come into contact with it. If you’re using essential oils, be sure to research their safety for children and pets, as some essential oils can be toxic to them. When in doubt, consult with a veterinarian or healthcare professional.
Can I use this DIY trick on all types of surfaces?
It’s important to test the solution on a small, inconspicuous area before using it on a larger surface. This will help you ensure that it doesn’t damage or discolor the surface. Avoid using the solution on delicate or sensitive surfaces, such as leather, silk, or unfinished wood. For these surfaces, it’s best to use a specialized cleaning product. Also, be careful when using the solution on painted surfaces, as it may strip the paint.
What are some other creative ways to use this DIY trick?
The possibilities are endless! You can use this DIY trick to create a variety of different products, such as air fresheners, fabric softeners, and even beauty products. For example, you can add a few drops of essential oil to a spray bottle filled with water to create a natural air freshener. Or, you can mix the solution with vinegar to create a powerful cleaning solution for your bathroom. Get creative and experiment with different ingredients and combinations to find what works best for you. Remember to always research the safety of any new ingredients before using them.
What if I don’t have all the ingredients listed in the recipe? Can I substitute them?
In some cases, you can substitute ingredients, but it’s important to understand how the substitution will affect the final product. For example, if you don’t have white vinegar, you can use apple cider vinegar instead. However, apple cider vinegar has a stronger smell, so you may want to use less of it. If you don’t have baking soda, you can use washing soda instead. However, washing soda is more alkaline than baking soda, so you should wear gloves when handling it. When in doubt, it’s always best to stick to the original recipe.
How can I make this DIY trick more eco-friendly?
There are several ways to make this DIY trick more eco-friendly. First, use organic and sustainably sourced ingredients whenever possible. Second, use reusable containers for storing the solution. Third, avoid using disposable wipes or paper towels when cleaning with the solution. Instead, use reusable cloths. Finally, dispose of any leftover solution properly. Do not pour it down the drain, as it may contaminate the water supply. Instead, dilute it with water and pour it onto your garden or lawn.


Leave a Comment