

Living Room Cleaning Tips: Let’s face it, our living rooms often bear the brunt of daily life. From movie nights with spilled popcorn to impromptu playdates with scattered toys, it’s a space that quickly accumulates clutter and grime. But what if I told you that achieving a sparkling clean living room doesn’t require hours of back-breaking work or a cabinet full of harsh chemicals?
Historically, maintaining a clean and inviting living space has been a cornerstone of hospitality and well-being across cultures. Think of the meticulously swept floors of a Japanese home or the brightly polished furniture in a Victorian parlor. While our modern lifestyles may differ, the desire for a comfortable and clean living room remains universal.
That’s why I’m so excited to share these simple yet effective DIY living room cleaning tips and hacks! In today’s busy world, who has time to spend an entire weekend scrubbing? These tricks are designed to save you time, money, and energy, allowing you to reclaim your living room as a sanctuary for relaxation and connection. We’ll cover everything from tackling stubborn stains to organizing clutter, ensuring your living room is always ready to welcome guests or simply provide a peaceful retreat for you and your family. Get ready to transform your living room into a haven of cleanliness and comfort with these easy-to-follow DIY solutions!
Transform Your Living Room: A Deep Clean DIY Guide
Hey there! Ready to breathe new life into your living room? I know, cleaning isn’t always the most exciting task, but trust me, a sparkling clean living room can do wonders for your mood and overall home vibe. This guide is packed with tips and tricks to help you tackle even the toughest living room messes. Let’s get started!
Phase 1: Prepping for the Deep Clean
Before you dive headfirst into scrubbing and dusting, a little preparation goes a long way. This phase is all about setting yourself up for success.
- Gather Your Supplies: Nothing’s worse than realizing you’re out of glass cleaner halfway through! I always make sure I have everything I need within reach. Here’s my go-to list:
- Microfiber cloths (lots of them!)
- All-purpose cleaner
- Glass cleaner
- Wood polish (if you have wood furniture)
- Upholstery cleaner (for sofas and chairs)
- Vacuum cleaner with attachments
- Dusting spray or furniture polish
- Bucket
- Warm water
- Rubber gloves (protect those hands!)
- Old toothbrush (for those hard-to-reach spots)
- Magic Eraser (for scuff marks)
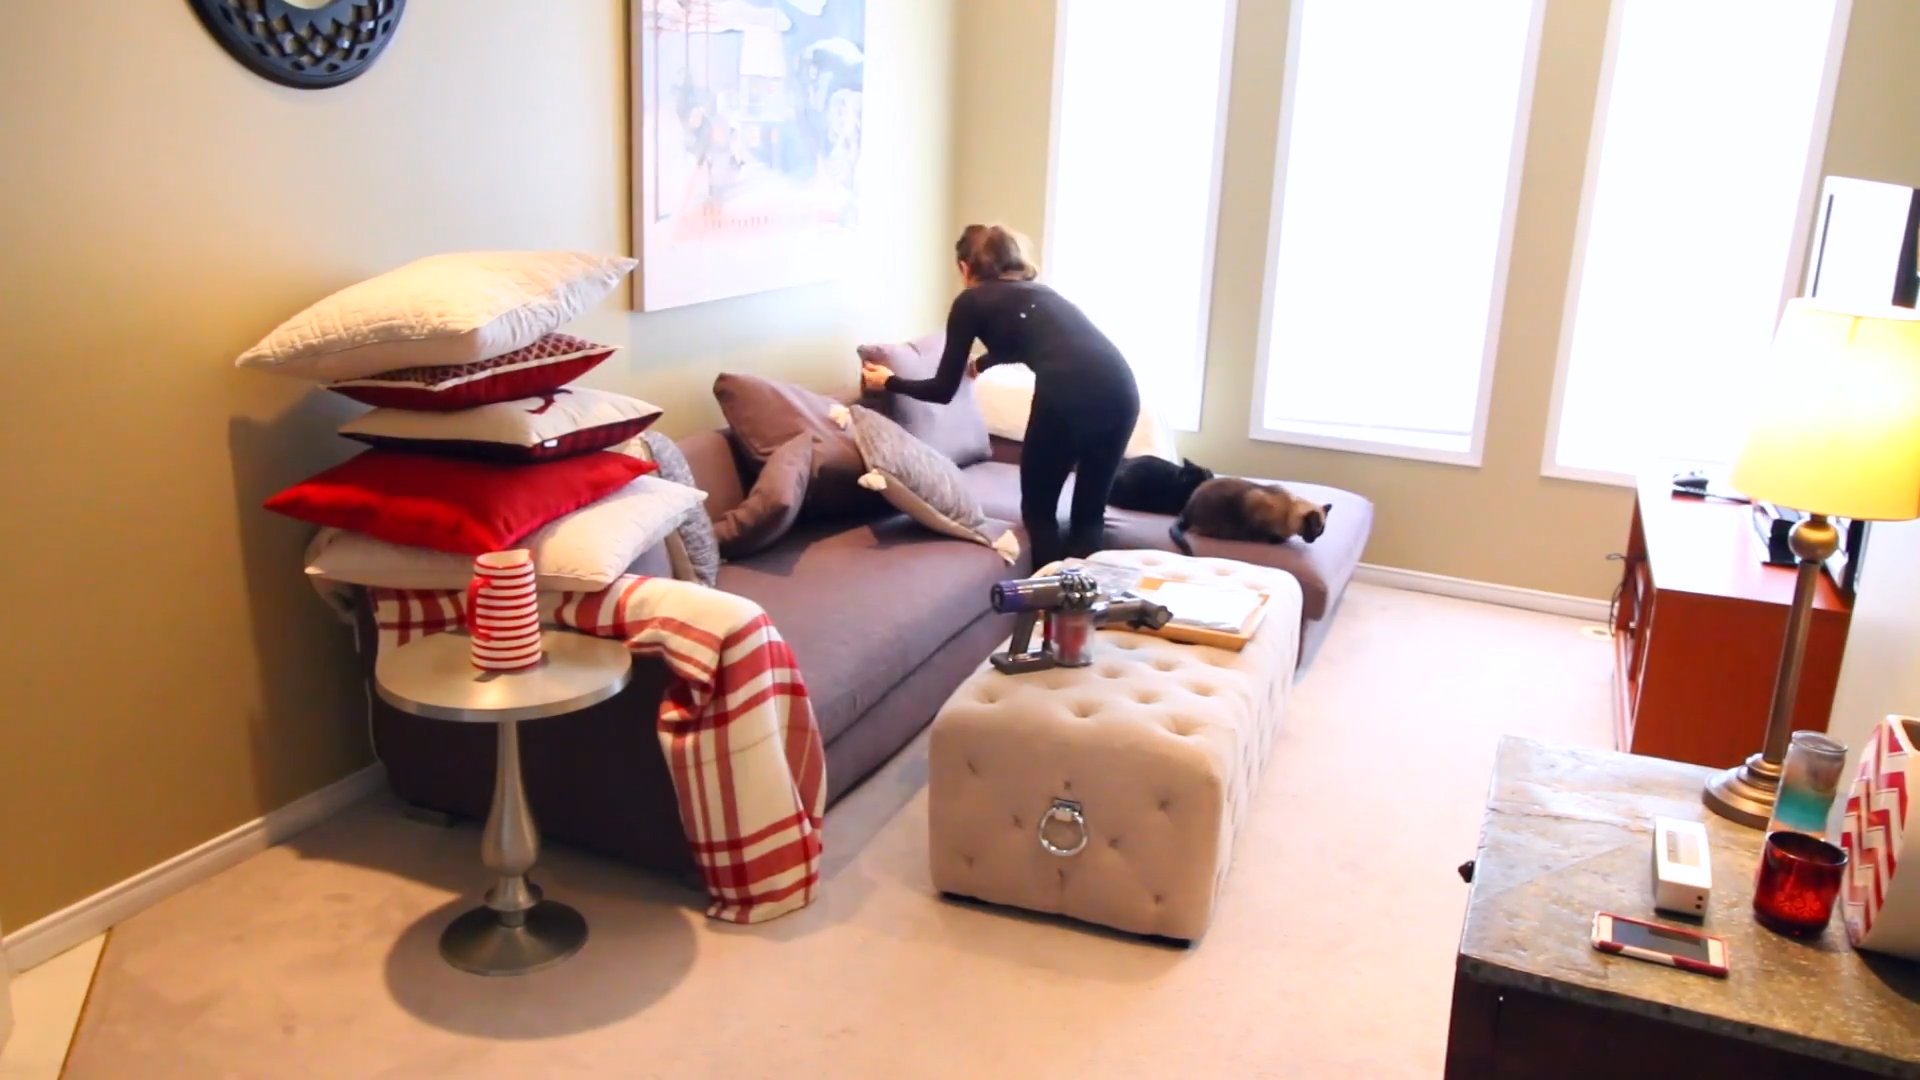
- Declutter First: This is crucial! Before you even think about cleaning, remove all the clutter. Put away toys, books, magazines, remote controls, and anything else that doesn’t belong in the living room. I like to grab a laundry basket and do a quick sweep. You can sort through the contents later.
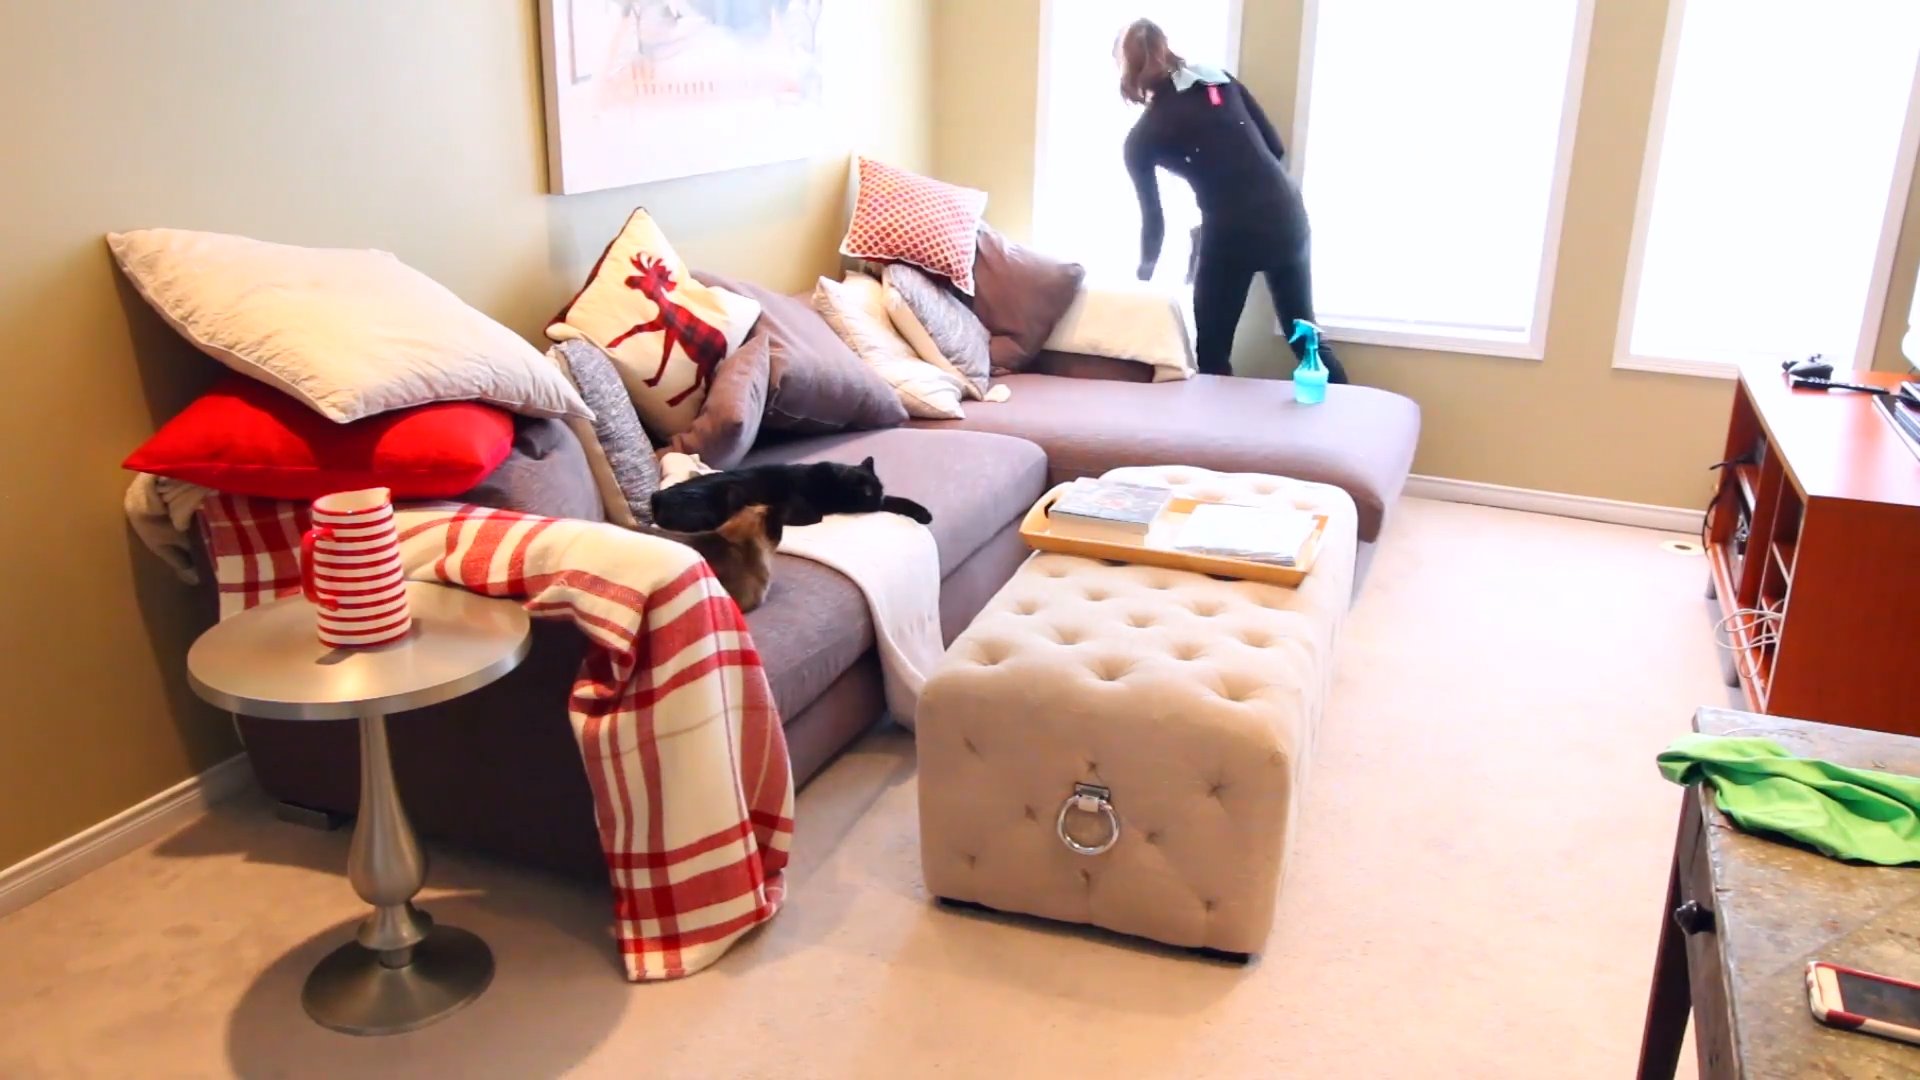
- Open the Windows: Fresh air is your friend! Open the windows to ventilate the room. This will help dissipate any cleaning odors and allow everything to dry faster.
- Protect Your Floors: If you’re using any harsh chemicals, consider laying down a drop cloth or old towels to protect your flooring.
Phase 2: Tackling the Dust and Dirt
Now for the fun part (okay, maybe not *fun*, but definitely satisfying!). This is where we get rid of all that pesky dust and dirt that’s been accumulating.
- Dust High to Low: Always start with the highest surfaces and work your way down. This prevents dust from falling onto areas you’ve already cleaned.
- Ceiling Fans: Use a duster with an extension pole to reach ceiling fans. You can also use an old pillowcase to trap the dust. Simply slide the pillowcase over each blade and wipe.
- Light Fixtures: Turn off the lights and let the bulbs cool down before dusting. Use a dry microfiber cloth to wipe the fixtures. For more intricate fixtures, you might need a small brush.
- Shelves and Bookcases: Remove everything from the shelves and dust them thoroughly. Don’t forget to dust the items you removed before putting them back.
- Picture Frames and Wall Decor: Use a soft cloth to dust picture frames, mirrors, and other wall decor.
- Vacuum Everything: Vacuum the entire living room, including the floors, rugs, and upholstery.
- Floors: Use the appropriate vacuum setting for your flooring type. For hardwood floors, use a soft brush attachment to avoid scratching.
- Rugs: Vacuum rugs thoroughly, paying attention to high-traffic areas. You might need to vacuum rugs multiple times to remove all the dirt and debris.
- Upholstery: Use the upholstery attachment to vacuum sofas, chairs, and other upholstered furniture. Pay special attention to crevices and seams where dust and crumbs tend to accumulate.
- Dust Furniture: Use a dusting spray or furniture polish to dust all furniture surfaces.
- Wood Furniture: Use a wood polish specifically designed for your type of wood. Follow the manufacturer’s instructions.
- Other Furniture: Use a damp microfiber cloth to wipe down other furniture surfaces.
- Clean Windows and Mirrors: Use a glass cleaner and a clean microfiber cloth to clean windows and mirrors.
- Spray the cleaner onto the cloth, not directly onto the glass. This will prevent streaks.
- Wipe the glass in a circular motion, then buff dry with a clean, dry cloth.
Phase 3: Deep Cleaning Upholstery and Fabrics
This is where we tackle those stubborn stains and odors that can linger in your living room furniture.
- Spot Clean Stains: Before you start cleaning the entire piece of furniture, spot clean any stains.
- Identify the Stain: Different stains require different cleaning methods. For example, a water-based stain can often be removed with just water and a cloth, while an oil-based stain might require a solvent-based cleaner.
- Test the Cleaner: Before applying any cleaner to the entire stain, test it on an inconspicuous area of the fabric to make sure it doesn’t damage or discolor the material.
- Apply the Cleaner: Apply the cleaner to the stain according to the manufacturer’s instructions.
- Blot the Stain: Blot the stain with a clean cloth, working from the outside in. Avoid rubbing the stain, as this can spread it.
- Repeat as Necessary: Repeat the process until the stain is removed.
- Clean Upholstery: Once you’ve spot cleaned any stains, you can clean the entire piece of upholstery.
- Check the Cleaning Code: Look for a cleaning code on the furniture tag. This code will tell you what type of cleaner you can use.
- W: Use a water-based cleaner.
- S: Use a solvent-based cleaner.
- WS: Use either a water-based or solvent-based cleaner.
- X: Professional cleaning only.
- Use an Upholstery Cleaner: Follow the manufacturer’s instructions for the upholstery cleaner you’re using.
- Apply the Cleaner: Apply the cleaner to the upholstery, working in small sections.
- Agitate the Cleaner: Use a soft brush or sponge to agitate the cleaner.
- Remove the Cleaner: Use a clean cloth or a wet/dry vacuum to remove the cleaner.
- Allow to Dry: Allow the upholstery to dry completely before using it.
- Check the Cleaning Code: Look for a cleaning code on the furniture tag. This code will tell you what type of cleaner you can use.
- Freshen Up Fabrics: To freshen up fabrics, you can use a fabric refresher spray or sprinkle baking soda on the fabric, let it sit for 30 minutes, and then vacuum it up.
Phase 4: The Finishing Touches
Almost there! This is where we add those final touches that will make your living room truly shine.
- Clean Electronics: Don’t forget to clean your electronics!
- TV Screen: Use a microfiber cloth specifically designed for cleaning TV screens. Avoid using harsh chemicals or abrasive cleaners.
- Remote Controls: Remove the batteries and use a damp cloth to clean the remote controls. Use a cotton swab to clean between the buttons.
- Speakers: Use a soft brush to dust the speakers.
- Clean Baseboards and Trim: Use a damp cloth to wipe down baseboards and trim. You can also use a Magic Eraser to remove scuff marks.
- Arrange Furniture: Once everything is clean, arrange the furniture to create a comfortable and inviting space.
- Add Accessories: Add accessories such as throw pillows, blankets, and plants to personalize the space.
- Enjoy Your Clean Living Room! Take a step back and admire your hard work. You deserve it!
Pro Tip: To keep your living room clean longer, make it a habit to do a quick tidy-up every day. This will prevent clutter from accumulating and make your deep cleaning sessions less frequent.
And that’s it! I hope this guide has helped you transform your living room into a clean and inviting space. Happy cleaning!
Conclusion
So, there you have it! Transforming your living room into a haven of cleanliness and comfort doesn’t require a small fortune or an army of cleaning professionals. By embracing these simple yet effective DIY living room cleaning tips, you can achieve a sparkling space that invites relaxation and joy. The beauty of these methods lies in their adaptability. Feel free to tweak them to suit your specific needs and preferences.
Why is this a must-try? Because a clean living room is more than just aesthetically pleasing; it’s a sanctuary for your well-being. It’s a space where you unwind after a long day, connect with loved ones, and create lasting memories. A cluttered and dirty living room can contribute to stress and anxiety, while a clean and organized one promotes a sense of calm and clarity. Plus, let’s be honest, who doesn’t love the feeling of accomplishment that comes with a freshly cleaned space?
Consider these variations to personalize your cleaning routine:
* Scent Sensations: Infuse your cleaning solutions with essential oils like lavender for relaxation, lemon for a burst of freshness, or eucalyptus for a revitalizing aroma. Just a few drops can transform your cleaning experience into an aromatherapy session.
* Fabric Focus: For delicate fabrics on your furniture, always test your cleaning solution in an inconspicuous area first. You can also use a specialized upholstery cleaner designed for your specific fabric type.
* Dusting Diversions: Instead of just wiping surfaces, try using a microfiber duster with an extendable handle to reach high places like ceiling fans and light fixtures. This will prevent dust from settling back down on your freshly cleaned surfaces.
* Decluttering Detours: Before you even start cleaning, take a few minutes to declutter. Remove items that don’t belong in the living room, like shoes, toys, or paperwork. This will make the cleaning process much more efficient and enjoyable.
* Natural Power Boost: For stubborn stains, consider using a paste of baking soda and water. Apply it to the stain, let it sit for a few minutes, and then gently scrub with a soft cloth. This is a natural and effective way to remove many common stains.
We wholeheartedly encourage you to give these DIY living room cleaning tips a try. You’ll be amazed at the difference they can make in your home and your overall well-being. Don’t be afraid to experiment and find what works best for you.
And most importantly, we want to hear about your experience! Share your before-and-after photos, your favorite cleaning hacks, and any variations you’ve tried in the comments below. Let’s create a community of clean living enthusiasts and inspire each other to maintain beautiful and inviting living spaces. Your insights could be invaluable to someone else who’s just starting their cleaning journey. Remember, a clean living room is a happy living room!
FAQ
Frequently Asked Questions About Living Room Cleaning
Q: How often should I deep clean my living room?
A: A deep clean, which includes tasks like cleaning upholstery, washing curtains, and cleaning carpets, is generally recommended every 3-6 months. However, this depends on factors like how often the room is used, whether you have pets or children, and your personal preferences. If your living room sees heavy traffic, you might want to deep clean it more frequently. Regular maintenance cleaning, such as dusting, vacuuming, and wiping down surfaces, should be done weekly or bi-weekly to prevent dirt and grime from building up.
Q: What’s the best way to remove pet hair from my living room furniture?
A: Pet hair can be a persistent problem, but there are several effective solutions. A rubber glove or a damp sponge can be used to wipe down upholstery and collect pet hair. You can also use a lint roller or a specialized pet hair remover tool. For carpets and rugs, a vacuum cleaner with a strong suction and a brush attachment is essential. Consider investing in a vacuum specifically designed for pet hair removal. Regularly brushing your pets can also significantly reduce the amount of hair they shed in your living room.
Q: How do I clean stains on my upholstery without damaging the fabric?
A: The key to cleaning upholstery stains is to act quickly and use the appropriate cleaning solution for the fabric type. Always test the cleaning solution in an inconspicuous area first to ensure it doesn’t damage or discolor the fabric. For water-based stains, blot the stain with a clean, white cloth. For oil-based stains, sprinkle baking soda on the stain to absorb the oil, then vacuum it up. You can also use a specialized upholstery cleaner designed for your fabric type. Avoid using harsh chemicals or abrasive cleaners, as they can damage the fabric. If you’re unsure about how to clean a particular stain, it’s best to consult a professional upholstery cleaner.
Q: What’s the best way to get rid of dust in my living room?
A: Dust can accumulate quickly, but regular dusting can help keep it under control. Use a microfiber duster to wipe down surfaces, as microfiber cloths are excellent at trapping dust. Pay attention to often-overlooked areas like ceiling fans, light fixtures, and baseboards. When dusting, start from the top and work your way down to prevent dust from settling on already cleaned surfaces. Consider using an air purifier to help remove dust and allergens from the air. Regularly vacuuming carpets and rugs can also help reduce the amount of dust in your living room.
Q: How can I make my living room smell fresh and clean?
A: There are many ways to freshen up your living room. Open windows to air out the room regularly. Use air fresheners, essential oil diffusers, or scented candles to create a pleasant aroma. You can also simmer a pot of water with citrus peels and spices on the stove to create a natural air freshener. Regularly clean your carpets and upholstery, as they can trap odors. Place bowls of baking soda around the room to absorb odors. And don’t forget to empty your trash can regularly!
Q: What are some eco-friendly cleaning solutions I can use in my living room?
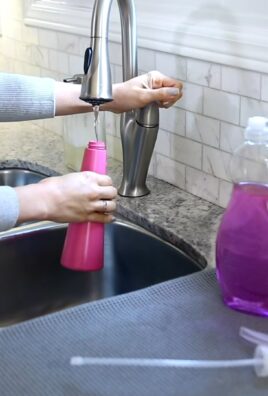
A: There are many eco-friendly cleaning solutions you can use in your living room. Vinegar is a versatile cleaner that can be used to clean windows, floors, and countertops. Baking soda is a natural deodorizer and can be used to scrub surfaces. Lemon juice is a natural disinfectant and can be used to clean cutting boards and other surfaces. You can also purchase eco-friendly cleaning products from your local grocery store or online retailer. Look for products that are made with natural ingredients and are free of harsh chemicals.
Q: How can I organize my living room to make it easier to clean?
A: Organization is key to keeping your living room clean and tidy. Start by decluttering and removing items that don’t belong in the living room. Invest in storage solutions like shelves, baskets, and ottomans to keep clutter out of sight. Create designated areas for different activities, such as reading, watching TV, or playing games. Put things back in their place after you use them. And make it a habit to tidy up your living room for a few minutes each day to prevent clutter from building up.
Q: What are some quick and easy living room cleaning tips for busy people?
A: Even if you’re short on time, you can still keep your living room relatively clean. Focus on the most important tasks, such as vacuuming, dusting, and wiping down surfaces. Use a multi-surface cleaner to quickly clean multiple surfaces. Keep cleaning supplies readily available so you can quickly tackle messes as they happen. Enlist the help of family members to share the cleaning responsibilities. And don’t be afraid to break down the cleaning tasks into smaller, more manageable chunks. Even just spending 15 minutes a day cleaning your living room can make a big difference.
Leave a Comment