

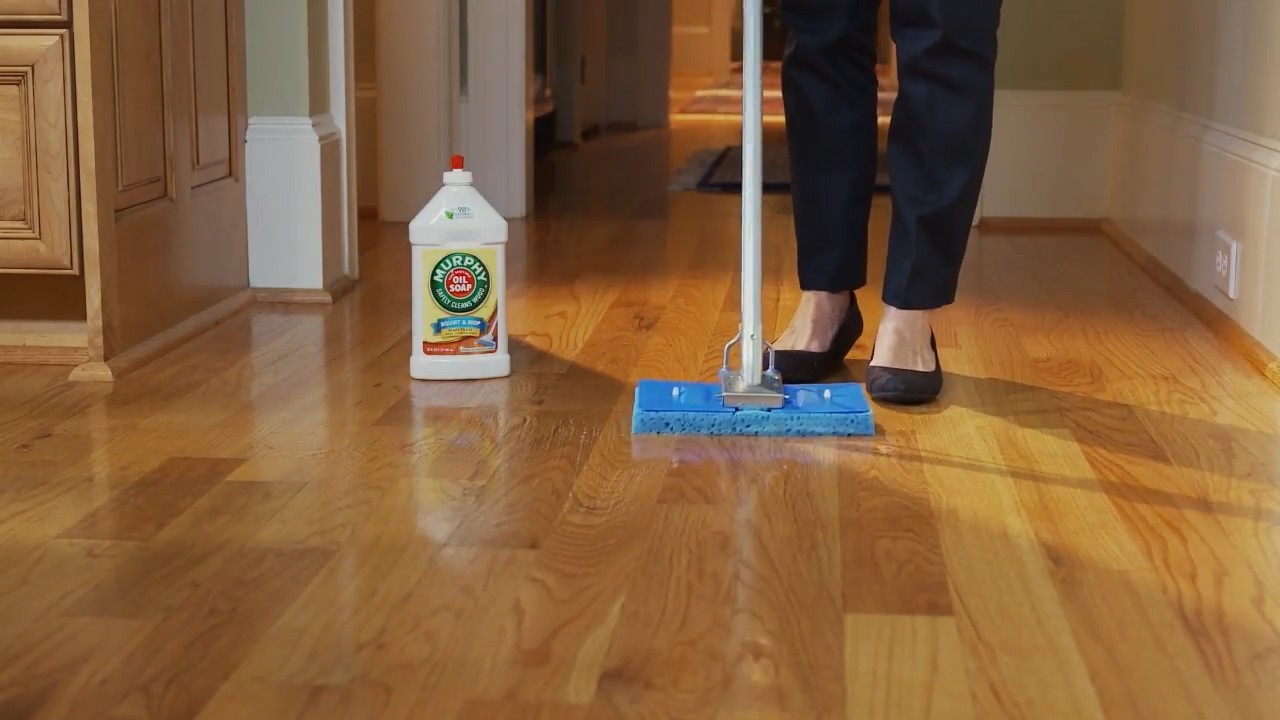
Murphy’s Oil Soap Home Cleaning: Unlock the secrets to a sparkling home with a time-tested cleaning solution! Have you ever wondered how our grandmothers kept their homes so impeccably clean with seemingly simple ingredients? The answer often lies in the power of natural cleaners, and Murphy’s Oil Soap is a shining example. This iconic product, with its rich history dating back to the late 19th century, has been a staple in households for generations, prized for its gentle yet effective cleaning abilities.
But why should you, in this age of countless cleaning products, consider using Murphy’s Oil Soap for your home cleaning needs? Well, for starters, it’s incredibly versatile! From wood floors and furniture to leather and even certain types of metal, Murphy’s Oil Soap can tackle a wide range of surfaces. Plus, it’s a fantastic option for those looking to reduce their reliance on harsh chemicals and embrace a more eco-friendly cleaning routine. I’m excited to share some amazing DIY tricks and hacks using Murphy’s Oil Soap that will not only save you money but also leave your home smelling fresh and naturally clean. Get ready to discover the magic of this classic cleaner and transform your home cleaning routine!
DIY All-Purpose Cleaner with Murphy’s Oil Soap: A Natural Cleaning Powerhouse
Hey there, fellow DIY enthusiasts! I’m so excited to share one of my favorite cleaning hacks with you: creating an amazing all-purpose cleaner using Murphy’s Oil Soap. This stuff is seriously a game-changer. It’s gentle on surfaces, smells fantastic, and is surprisingly versatile. Plus, making your own cleaner is not only cost-effective but also allows you to control exactly what ingredients you’re bringing into your home. Let’s get started!
Why Murphy’s Oil Soap?
Before we dive into the recipe, let’s talk about why Murphy’s Oil Soap is such a great base for a DIY cleaner. It’s primarily made from vegetable oil, making it a more natural and less harsh alternative to many commercial cleaners. It’s designed to clean wood, but its gentle formula also works wonders on other surfaces like tile, linoleum, and even some plastics. The oil helps to lift dirt and grime without stripping away finishes, leaving your surfaces clean and conditioned.
Gathering Your Supplies
Okay, let’s get organized. Here’s what you’ll need to make your own all-purpose cleaner:
* Murphy’s Oil Soap: This is the star of the show! You can find it at most grocery stores, hardware stores, or online.
* Water: Distilled water is best to prevent mineral buildup, but tap water works just fine too.
* White Vinegar (Optional): Vinegar adds extra cleaning power and helps to cut through grease and grime. However, be cautious using it on natural stone surfaces like marble or granite, as it can etch them.
* Essential Oils (Optional): For a lovely scent and added antibacterial properties. My favorites are lemon, lavender, tea tree, and eucalyptus.
* Spray Bottle: A clean, empty spray bottle to store and dispense your cleaner.
* Measuring Cup or Spoons: For accurate measurements.
* Funnel (Optional): Makes pouring liquids into the spray bottle much easier.
The Basic Recipe: Murphy’s Oil Soap All-Purpose Cleaner
This is the foundation. We’ll build on this with variations later.
1. Prepare Your Spray Bottle: Make sure your spray bottle is clean and dry. This will prevent any unwanted contamination or mixing of old cleaning products.
2. Measure the Murphy’s Oil Soap: Add 1-2 tablespoons of Murphy’s Oil Soap to the spray bottle. Start with 1 tablespoon for lighter cleaning and increase to 2 tablespoons for tougher messes. Remember, a little goes a long way!
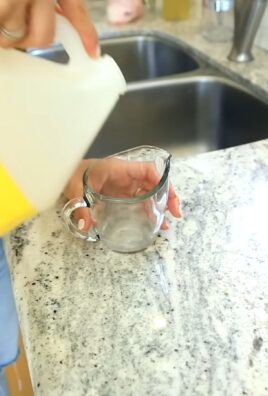
3. Add Water: Fill the rest of the spray bottle with water, leaving a little space at the top.
4. Add Essential Oils (Optional): If you’re using essential oils, add 10-20 drops to the mixture. Start with a smaller amount and adjust to your preference.
5. Shake Well: Secure the spray nozzle and shake the bottle vigorously to combine all the ingredients.
6. Test Before Use: Before cleaning an entire surface, test the cleaner in an inconspicuous area to ensure it doesn’t damage or discolor the material.
Variations for Specific Cleaning Needs
Now that you have the basic recipe down, let’s explore some variations to tackle different cleaning challenges.
For Extra Grease-Cutting Power: Adding Vinegar
Vinegar is a fantastic natural degreaser and disinfectant.
1. Follow Steps 1 & 2 of the Basic Recipe: Prepare your spray bottle and add the Murphy’s Oil Soap.
2. Add White Vinegar: Add 1/4 cup of white vinegar to the spray bottle.
3. Add Water: Fill the rest of the spray bottle with water, leaving a little space at the top.
4. Add Essential Oils (Optional): Add your favorite essential oils for fragrance and added benefits.
5. Shake Well: Secure the spray nozzle and shake the bottle well to combine all the ingredients.
6. Test Before Use: Always test in an inconspicuous area first, especially on delicate surfaces.
For a Refreshing Citrus Scent: Lemon Infusion
Lemon essential oil not only smells amazing but also has antibacterial and degreasing properties.
1. Follow Steps 1 & 2 of the Basic Recipe: Prepare your spray bottle and add the Murphy’s Oil Soap.
2. Add Water: Fill the rest of the spray bottle with water, leaving a little space at the top.
3. Add Lemon Essential Oil: Add 15-20 drops of lemon essential oil to the mixture.
4. Optional: Add Lemon Peel: For an extra boost of lemon scent, add a few small pieces of lemon peel to the bottle. Just be sure to remove them after a week or so to prevent them from decomposing.
5. Shake Well: Secure the spray nozzle and shake the bottle well to combine all the ingredients.
6. Test Before Use: As always, test in an inconspicuous area first.
For a Calming Lavender Clean: Relaxation in a Bottle
Lavender essential oil is known for its calming and relaxing properties, making it perfect for cleaning before bedtime or creating a more peaceful atmosphere.
1. Follow Steps 1 & 2 of the Basic Recipe: Prepare your spray bottle and add the Murphy’s Oil Soap.
2. Add Water: Fill the rest of the spray bottle with water, leaving a little space at the top.
3. Add Lavender Essential Oil: Add 15-20 drops of lavender essential oil to the mixture.
4. Shake Well: Secure the spray nozzle and shake the bottle well to combine all the ingredients.
5. Test Before Use: Test in an inconspicuous area first.
How to Use Your DIY Murphy’s Oil Soap Cleaner
Using your homemade cleaner is super easy!
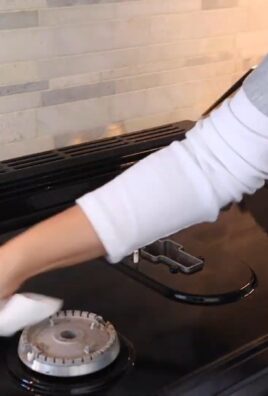
1. Spray: Spray the cleaner directly onto the surface you want to clean.
2. Wipe: Use a clean cloth or sponge to wipe the surface. For tougher messes, let the cleaner sit for a few minutes before wiping.
3. Dry (Optional): If desired, dry the surface with a clean, dry cloth. This is especially helpful on shiny surfaces to prevent water spots.
Surfaces You Can Clean with Murphy’s Oil Soap
This cleaner is incredibly versatile and can be used on a variety of surfaces, including:
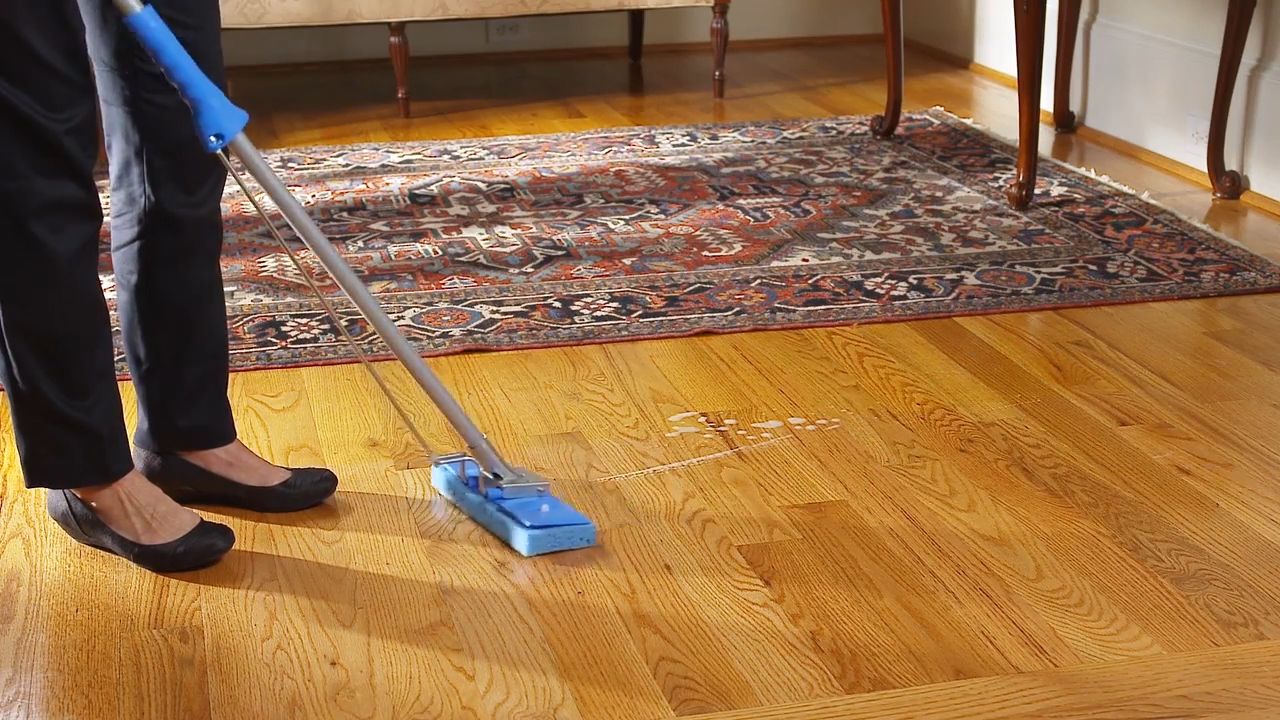
* Wood Floors: Murphy’s Oil Soap is specifically designed for wood, making it a safe and effective choice for cleaning wood floors. Just be sure to use a diluted solution and avoid excessive moisture.
* Wood Furniture: Clean and condition your wood furniture with this gentle cleaner.
* Tile Floors: Works great on tile floors, leaving them clean and shiny.
* Linoleum Floors: A safe and effective option for linoleum floors.
* Cabinets: Clean kitchen and bathroom cabinets without stripping away the finish.
* Walls: Remove dirt and grime from painted walls.
* Baseboards: Clean those often-neglected baseboards with ease.
* Some Plastics: Test in an inconspicuous area first, but it often works well on plastic surfaces.
Surfaces to Avoid
While Murphy’s Oil Soap is generally gentle, there are some surfaces you should avoid:
* Natural Stone (Marble, Granite): Vinegar can etch these surfaces, so avoid using the vinegar variation on natural stone. Even the basic recipe should be tested first.
* Unsealed Wood: Unsealed wood can absorb too much moisture, so avoid using this cleaner on unsealed wood surfaces.
* Electronics: Never spray cleaner directly onto electronics. Instead, spray a cloth and then wipe the electronic device.
Tips and Tricks for Success
* Always Test First: I can’t stress this enough! Always test your cleaner in an inconspicuous area before cleaning an entire surface.
* Use Clean Cloths: Using clean cloths will prevent spreading dirt and grime around.
* Don’t Over-Saturate: Avoid over-saturating surfaces with the cleaner, especially wood.
* Shake Before Each Use: The ingredients may separate over time, so shake the bottle well before each use.
* Store in a Cool, Dark Place: Store your cleaner in a cool, dark place to prolong its shelf life.
* Adjust the Recipe to Your Needs: Feel free to experiment with the recipe to find what works best for you and your cleaning needs.
Troubleshooting
* Streaky Surfaces: If you’re experiencing streaky surfaces, try using less Murphy’s Oil Soap or drying the surface with a clean, dry cloth.
* Cloudy Solution: A cloudy solution is usually nothing to worry about. It’s just the oil emulsifying in the water. Shake well before use.
* Strong Odor: If the
Conclusion
So, there you have it! Transforming your cleaning routine with this simple, yet incredibly effective, Murphy’s Oil Soap home cleaning solution is not just a cost-effective alternative to commercial products; it’s a pathway to a healthier, more sustainable home. We’ve explored how this classic cleaner, when used correctly, can breathe new life into your wood surfaces, leaving them gleaming and revitalized without the harsh chemicals often found in modern cleaners.
But the benefits extend beyond just wood. Remember, the versatility of Murphy’s Oil Soap allows you to tackle a multitude of cleaning tasks around your home. From gently cleaning leather furniture to adding a touch of shine to your tile floors, this DIY solution proves its worth time and time again.
Don’t be afraid to experiment! While we’ve provided a solid foundation for creating your own Murphy’s Oil Soap cleaning solution, feel free to adjust the dilution ratios to suit your specific needs. For heavily soiled areas, you might opt for a slightly stronger concentration, while delicate surfaces may benefit from a more diluted approach. Consider adding a few drops of your favorite essential oil, like lavender or lemon, for an extra boost of freshness and a pleasant aroma that lingers long after you’ve finished cleaning.
And speaking of experimentation, why not try using Murphy’s Oil Soap to clean your paint brushes? It’s a fantastic way to remove dried paint and keep your brushes in top condition for future projects. Or, if you’re feeling adventurous, explore its potential for cleaning your car’s interior – just be sure to test it on an inconspicuous area first.
The key takeaway here is that Murphy’s Oil Soap home cleaning is all about finding what works best for you and your home. It’s about embracing a more natural and eco-friendly approach to cleaning without sacrificing effectiveness. It’s about rediscovering the power of simple, time-tested solutions.
We truly believe that once you experience the difference this DIY cleaning solution can make, you’ll never look back. The gentle yet powerful cleaning action, the subtle and pleasant scent, and the peace of mind knowing you’re using a safer alternative – it all adds up to a truly rewarding cleaning experience.
So, what are you waiting for? Gather your ingredients, mix up a batch of this amazing cleaning solution, and prepare to be amazed. We’re confident that you’ll love the results.
And most importantly, we want to hear about your experience! Share your tips, tricks, and before-and-after photos with us. Let us know how you’re using Murphy’s Oil Soap to clean your home and what kind of results you’re seeing. Your feedback is invaluable and helps us to continue providing the best possible cleaning advice. Join the conversation and let’s create a community of happy, healthy, and sparkling clean homes!
Frequently Asked Questions (FAQ)
What exactly *is* Murphy’s Oil Soap, and why is it good for cleaning?
Murphy’s Oil Soap is a cleaning product formulated with vegetable oil, specifically designed to clean wood and other surfaces. Its gentle formula helps to dissolve dirt and grime without stripping away the natural oils, which is especially important for maintaining the integrity and beauty of wood furniture and floors. Unlike harsh chemical cleaners, Murphy’s Oil Soap is less likely to cause damage or discoloration, making it a safer and more sustainable option for your home. The key ingredient, vegetable oil, acts as a natural solvent, lifting away dirt and leaving behind a subtle shine.
Can I use Murphy’s Oil Soap on *all* types of wood?
While Murphy’s Oil Soap is generally safe for most wood surfaces, it’s always a good idea to test it on an inconspicuous area first, especially if you’re dealing with antique or delicate wood finishes. Avoid using it on unfinished wood, as the soap can penetrate the wood and cause staining. For waxed wood, use sparingly, as it can sometimes soften the wax. Always follow the manufacturer’s instructions and dilute the soap properly to prevent any potential damage. If you’re unsure about a particular wood type, consult a professional furniture restorer.
How do I dilute Murphy’s Oil Soap for general cleaning?
The recommended dilution ratio for general cleaning is typically around 1/4 cup of Murphy’s Oil Soap per gallon of water. However, you can adjust this ratio depending on the severity of the dirt and grime. For light cleaning, you can use a more diluted solution, while for heavily soiled areas, you might need a slightly stronger concentration. Always start with a diluted solution and gradually increase the concentration if needed. Remember to always test the solution on a small, hidden area before applying it to the entire surface.
Is Murphy’s Oil Soap safe for pets and children?
When used as directed and properly diluted, Murphy’s Oil Soap is generally considered safe for pets and children. However, it’s always best to keep them away from the cleaning solution and the surfaces being cleaned until they are completely dry. While the formula is less harsh than many commercial cleaners, it’s still important to store it out of reach of children and pets to prevent accidental ingestion. If ingestion occurs, contact a medical professional or veterinarian immediately.
Can I use Murphy’s Oil Soap on surfaces other than wood?
Yes! One of the great things about Murphy’s Oil Soap is its versatility. You can use it to clean a variety of surfaces, including leather, tile, and even some types of plastic. However, it’s always important to test it on an inconspicuous area first to ensure it doesn’t cause any damage or discoloration. For leather, use a very diluted solution and apply it with a soft cloth, followed by a dry cloth to remove any excess moisture. For tile, you can use a slightly stronger solution, but be sure to rinse thoroughly with clean water to prevent any soap residue from building up.
How often should I use Murphy’s Oil Soap to clean my wood floors?
The frequency of cleaning your wood floors with Murphy’s Oil Soap depends on the amount of traffic they receive and how dirty they get. In general, cleaning them once or twice a month is sufficient for most households. However, if you have pets or children, or if your floors are exposed to a lot of dirt and grime, you may need to clean them more frequently. Avoid over-cleaning, as this can strip away the natural oils and damage the finish.
What are some common mistakes to avoid when using Murphy’s Oil Soap?
One of the most common mistakes is using too much soap, which can leave a sticky residue on the surface. Always dilute the soap properly and avoid using excessive amounts. Another mistake is not testing the solution on an inconspicuous area first, which can lead to damage or discoloration. It’s also important to avoid using Murphy’s Oil Soap on unfinished wood, as it can penetrate the wood and cause staining. Finally, be sure to rinse thoroughly with clean water after cleaning to remove any soap residue.
Can I add essential oils to my Murphy’s Oil Soap cleaning solution?
Yes, adding a few drops of your favorite essential oil can enhance the cleaning experience and leave your home smelling fresh and clean. Lavender, lemon, and tea tree oil are all popular choices. However, be sure to use pure essential oils and avoid using synthetic fragrances, as they can contain harmful chemicals. Start with a small amount and gradually increase the amount until you achieve the desired scent. Remember to store your essential oils in a dark, cool place to preserve their potency.
Where can I buy Murphy’s Oil Soap?
Murphy’s Oil Soap is widely available at most grocery stores, drugstores, and home improvement stores. You can also purchase it online from various retailers. Be sure to check for sales and discounts to save money on your purchase. You can also find it in various sizes, from small bottles to large jugs, depending on your needs.
Leave a Comment