

One hour home deep clean – sounds impossible, right? I get it! The thought of deep cleaning your entire home can feel overwhelming, like climbing Mount Everest in flip-flops. But what if I told you that a sparkling clean home is achievable in just 60 minutes? No, it’s not a magic trick, but a collection of clever DIY strategies and hacks that I’m excited to share with you!
Throughout history, a clean home has been more than just aesthetically pleasing; it’s been linked to health, well-being, and even social status. From ancient Roman bathhouses to the minimalist homes of modern Scandinavia, the desire for a tidy and organized living space is deeply ingrained in our human experience. But in today’s fast-paced world, who has the time for a full-blown, day-long cleaning marathon?
That’s where these DIY cleaning tricks come in. We all crave a clean and comfortable sanctuary, but often, the sheer magnitude of the task prevents us from even starting. This article is designed to break down the deep cleaning process into manageable, bite-sized chunks, allowing you to achieve a significant level of cleanliness in just one hour home deep clean. I’ll show you how to prioritize, focus on high-impact areas, and utilize simple, readily available tools and ingredients to maximize your cleaning efforts. Get ready to reclaim your weekends and enjoy a fresher, happier home!
One-Hour Home Deep Clean: My Speedy Guide to a Sparkling Space
Okay, let’s be honest, sometimes the thought of a deep clean is just… overwhelming. But what if I told you that you could tackle a significant portion of it in just one hour? I’ve developed a system that focuses on high-impact areas, leaving your home feeling refreshed and much cleaner in a surprisingly short amount of time. This isn’t about perfection; it’s about making a noticeable difference and feeling good about your space.
The Strategy: Prioritize and Conquer
The key to this one-hour deep clean is prioritization. We’re not going to get to every nook and cranny, but we *are* going to hit the spots that make the biggest impact on the overall cleanliness and feel of your home. This means focusing on surfaces, floors, and those areas that tend to accumulate clutter quickly.
Here’s the breakdown of how I divide my hour:
* **10 Minutes: Quick Tidy & Declutter:** A rapid sweep to pick up obvious clutter and put things back where they belong.
* **20 Minutes: Kitchen Blitz:** Focus on the sink, countertops, stovetop, and a quick microwave clean.
* **20 Minutes: Bathroom Refresh:** Scrub the toilet, wipe down the sink and mirror, and quickly clean the shower/tub.
* **10 Minutes: Floor Focus:** A quick vacuum or sweep of high-traffic areas.
What You’ll Need
Before we dive in, gather your supplies. Having everything within reach will save you precious time. I recommend keeping a cleaning caddy stocked with these essentials:
* All-purpose cleaner
* Glass cleaner
* Toilet bowl cleaner
* Scrub brush or sponge
* Microfiber cloths (a must-have!)
* Vacuum cleaner or broom and dustpan
* Trash bags
* Rubber gloves (optional, but I prefer them!)
Step-by-Step Instructions: Let’s Get Cleaning!
Phase 1: The 10-Minute Tidy & Declutter
This is all about creating a clean slate. Don’t get bogged down in details; just focus on the obvious clutter.
1. **Grab a Trash Bag:** Walk through your main living areas and quickly collect any trash. Empty wastebaskets as needed.
2. **The Quick Put-Away:** Scan each room for items that are out of place. Return books to shelves, toys to their bins, and mail to its designated spot. Don’t overthink it; just get things off surfaces and onto their proper homes.
3. **Surface Scan:** Quickly clear off any remaining clutter from countertops, tables, and desks. Pile it into a basket or box if you don’t have time to deal with it immediately. The goal is to have clear surfaces for cleaning.
Phase 2: The 20-Minute Kitchen Blitz
The kitchen is often the heart of the home, and a clean kitchen instantly makes the whole house feel fresher.
1. **Sink Scrub:** Start by clearing the sink of any dishes. If you have a dishwasher, load it up. If not, quickly wash the most essential items. Then, scrub the sink thoroughly with your all-purpose cleaner and rinse well. Don’t forget to clean around the faucet and drain.
2. **Countertop Wipe-Down:** Spray your countertops with all-purpose cleaner and wipe them down with a microfiber cloth. Pay special attention to areas where food is prepared.
3. **Stovetop Shine:** If your stovetop has baked-on food, spray it with cleaner and let it sit for a minute or two to loosen the grime. Then, scrub with a sponge or scrub brush and wipe clean. For stubborn stains, a paste of baking soda and water can work wonders.
4. **Microwave Magic:** Heat a cup of water in the microwave for a few minutes until it steams up. This will loosen any splatters. Then, carefully remove the cup and wipe down the inside of the microwave with a damp cloth.
5. **Quick Floor Sweep (If Needed):** If there are any obvious spills or crumbs on the kitchen floor, quickly sweep them up. We’ll tackle the floors more thoroughly later.
Phase 3: The 20-Minute Bathroom Refresh
A clean bathroom is essential for a feeling of overall cleanliness.
1. **Toilet Time:** Squirt toilet bowl cleaner into the toilet bowl and let it sit while you tackle other tasks. Then, scrub the bowl thoroughly with a toilet brush and flush. Wipe down the exterior of the toilet, including the seat, lid, and base, with all-purpose cleaner.
2. **Sink & Mirror Sparkle:** Spray your sink and mirror with glass cleaner and wipe them down with a clean microfiber cloth. Pay attention to any toothpaste splatters or water spots.
3. **Countertop Cleanse:** Wipe down the bathroom countertop with all-purpose cleaner, removing any makeup residue or other debris.
4. **Shower/Tub Scrub:** Spray the shower or tub with all-purpose cleaner. If you have time, let it sit for a few minutes to loosen soap scum. Then, scrub with a sponge or scrub brush and rinse thoroughly. A squeegee can help prevent water spots.
5. **Towel Tidy:** Hang up any damp towels and replace them with fresh ones. This small touch makes a big difference.
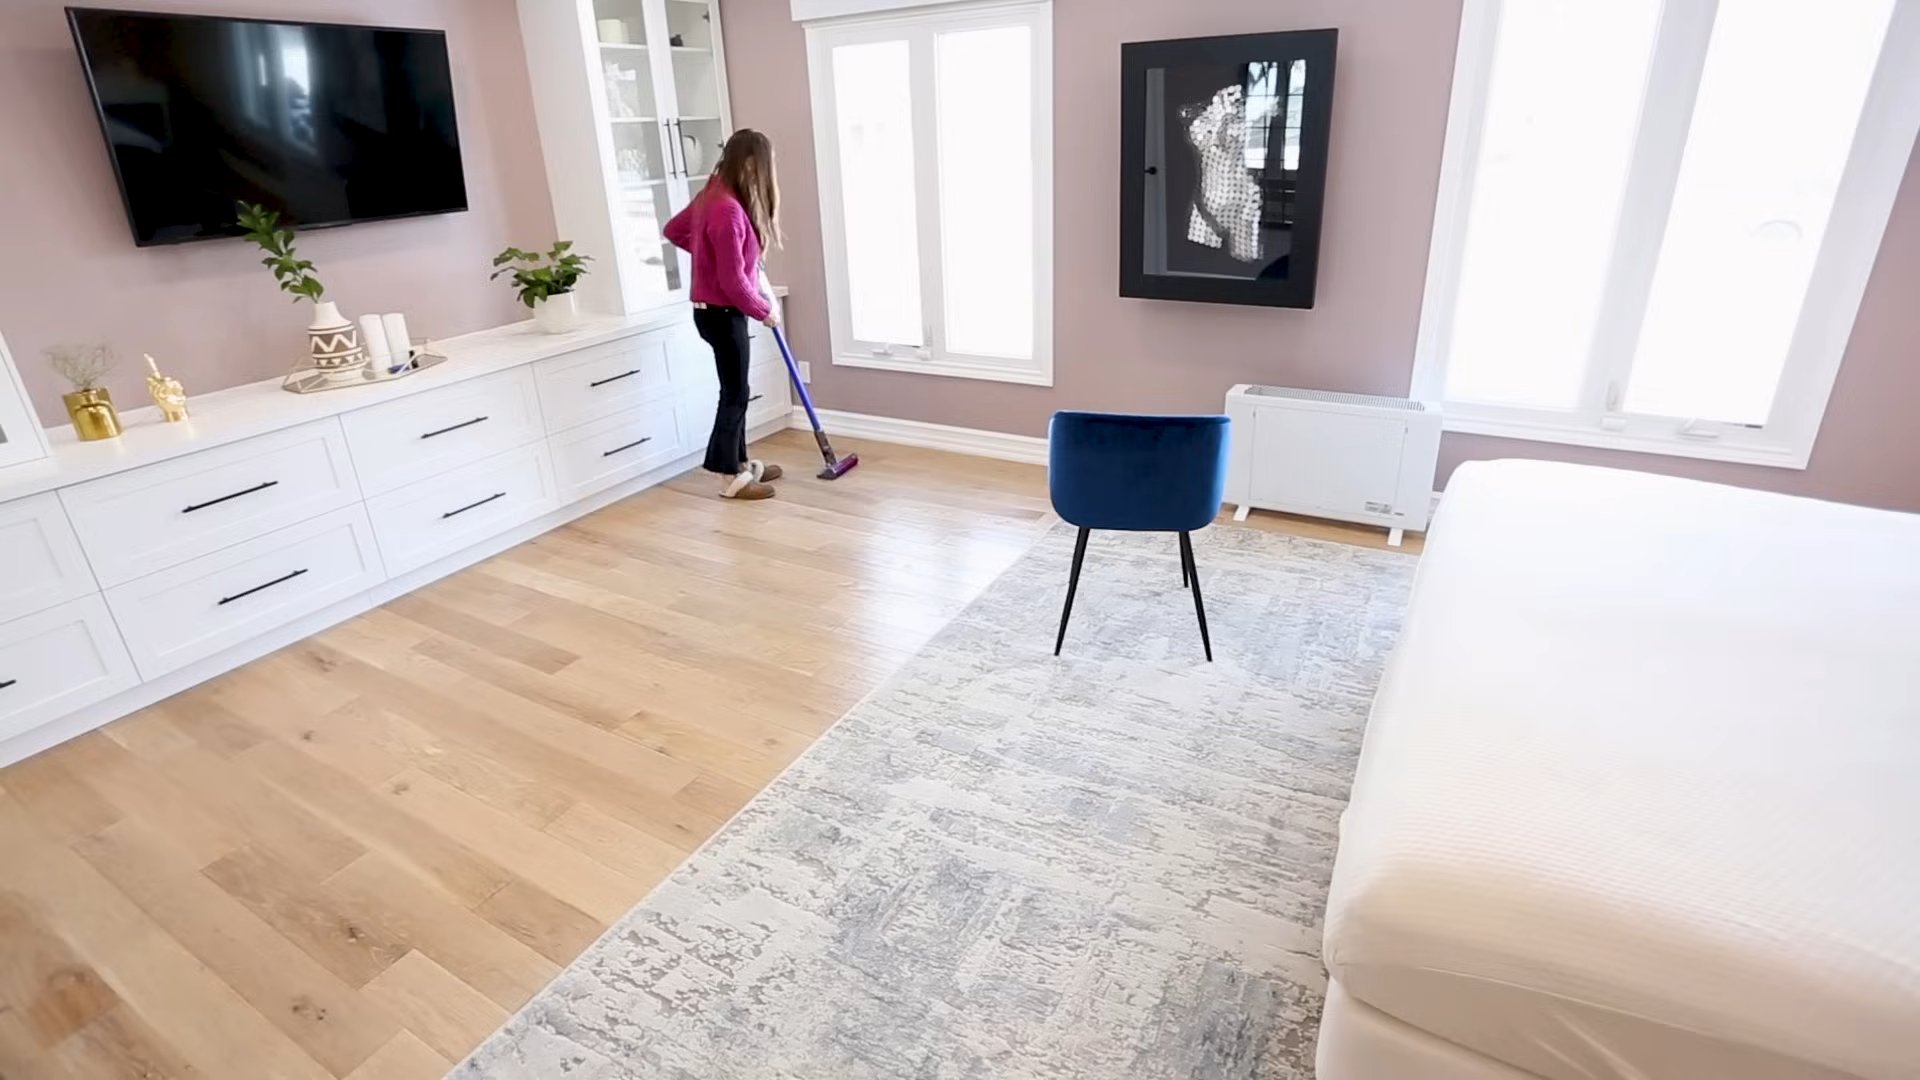
Phase 4: The 10-Minute Floor Focus
This is the final stretch! A quick floor clean will tie everything together.
1. **High-Traffic Areas First:** Focus on the areas where you walk the most, such as hallways, entryways, and the kitchen.
2. **Vacuum or Sweep:** Vacuum or sweep these areas thoroughly, paying attention to corners and edges.
3. **Spot Clean (Optional):** If you notice any specific stains or spills, spot clean them with a damp cloth and appropriate cleaner.
Tips and Tricks for Maximum Efficiency
* **Music Makes it Better:** Put on some upbeat music to keep you motivated and energized.
* **Open Windows:** Fresh air can make a huge difference in how clean your home feels.
* **Don’t Get Distracted:** It’s easy to get sidetracked, but try to stay focused on the task at hand.
* **Delegate (If Possible):** If you have family members, enlist their help! Even small tasks can make a big difference.
* **Embrace Imperfection:** Remember, this is a quick clean, not a deep dive. Don’t strive for perfection; just aim for improvement.
* Use a timer! Setting a timer for each task helps you stay on track and avoid spending too much time in one area.
* Have a “dump zone.” Designate a basket or box as a temporary holding place for items that don’t have a home. You can sort through it later when you have more time.
* Pre-soak tough stains. If you know you have a stubborn stain on your stovetop or in your shower, spray it with cleaner and let it soak while you’re working on other tasks. This will make it easier to remove later.
* Keep cleaning supplies handy. Store your cleaning caddy in a central location so it’s easy to grab whenever you need it.
* Don’t forget the details. While you’re wiping down surfaces, take a moment to dust picture frames, lamps, and other decorative items.
* Empty the vacuum or change the broom head regularly. A full vacuum bag or a worn-out broom head won’t clean as effectively.
* Use microfiber cloths. Microfiber cloths are super absorbent and great for trapping dirt and dust.
* Rinse your cleaning tools. After each use, rinse your sponges, cloths, and scrub brushes to prevent them from spreading dirt and bacteria.
* Reward yourself! After you’ve finished your one-hour deep clean, treat yourself to something you enjoy, like a cup of tea or a relaxing bath.
By following these steps and tips, you can achieve a surprisingly clean and refreshed home in just one hour. It’s not about perfection, it’s about making a noticeable difference and feeling good about your space. Happy cleaning!

Conclusion
So, there you have it! Transforming your living space from chaotic to clean in just one hour might sound like a pipe dream, but with this structured approach, it’s absolutely achievable. This isn’t just about surface-level tidying; it’s about creating a system that allows you to maintain a consistently cleaner and more organized home, leading to reduced stress and increased productivity.
This one-hour home deep clean method is a must-try for anyone feeling overwhelmed by the prospect of tackling a messy house. It’s perfect for busy professionals, parents juggling multiple responsibilities, or anyone who simply wants to reclaim their weekends. The beauty of this system lies in its adaptability. Feel free to tweak the checklist to suit your specific needs and priorities. For example, if your bathroom tends to accumulate clutter faster than your kitchen, allocate a few extra minutes to that area.
Consider these variations to personalize your one-hour cleaning blitz:
* Focus on a Specific Room: If you don’t have time for a whole-house clean, dedicate your hour to a single room that needs the most attention. This is especially helpful if you’re expecting guests or need to create a more functional workspace.
* Themed Cleaning: Assign a theme to your cleaning session, such as “decluttering” or “dusting.” This can help you stay focused and avoid getting sidetracked.
* Power Hour Challenge: Turn your cleaning session into a fun challenge by setting a timer and trying to beat your previous record. This can be a great way to motivate yourself and make the task more enjoyable.
* Family Affair: Enlist the help of your family members to divide and conquer the cleaning tasks. This can significantly reduce the workload and make the process more efficient.
Remember, the key to success with this one-hour home deep clean is consistency. Aim to incorporate this routine into your weekly schedule, and you’ll be amazed at how much easier it becomes to maintain a clean and organized home. The initial investment of time and effort will pay off in the long run, freeing up your time and energy for the things you truly enjoy.
We encourage you to give this DIY cleaning trick a try and share your experience with us! Let us know in the comments how it worked for you, what modifications you made, and any tips you have for others. Your feedback is invaluable and helps us refine and improve this method for everyone. Don’t forget to share before and after photos – we’d love to see your amazing transformations!
FAQ
What if my house is extremely messy? Will one hour really be enough?
That’s a great question! If your house is significantly messier than usual, one hour might not be enough for a complete deep clean. However, even in those situations, this method can be incredibly beneficial. Think of it as a “jumpstart” to get you moving in the right direction. Focus on the most visible and impactful areas first, such as clearing clutter from countertops, making the beds, and wiping down surfaces. You can then schedule additional cleaning sessions to tackle the remaining tasks. The key is to break down the overwhelming task into manageable chunks. Even a small amount of progress can make a big difference in how you feel about your home. Consider doing a pre-clean decluttering session to remove excess items before attempting the one-hour clean.
Can I adapt this method for smaller apartments or larger houses?
Absolutely! The beauty of this one-hour home deep clean is its adaptability. For smaller apartments, you might find that you can complete all the tasks on the checklist in less than an hour. In that case, you can either spend the extra time on more detailed cleaning or simply enjoy your newly cleaned space! For larger houses, you might need to prioritize certain areas or extend the cleaning time slightly. You could also divide the house into zones and focus on one zone per cleaning session. The important thing is to tailor the method to your specific needs and the size of your home.
What cleaning supplies do I need for this one-hour clean?
Having the right cleaning supplies readily available is crucial for maximizing your efficiency. We recommend gathering the following essentials before you start:
* All-purpose cleaner
* Glass cleaner
* Bathroom cleaner
* Dusting spray or wipes
* Microfiber cloths
* Paper towels
* Vacuum cleaner
* Mop and bucket (optional)
* Garbage bags
* Cleaning caddy or basket to carry your supplies
Consider using eco-friendly cleaning products to reduce your environmental impact. Also, make sure you have a good supply of fresh microfiber cloths, as these are excellent for cleaning various surfaces without leaving streaks or residue.
How often should I do this one-hour home deep clean?
The frequency of your one-hour home deep clean will depend on your lifestyle and how quickly your house tends to get messy. For most people, a weekly cleaning session is sufficient to maintain a reasonably clean and organized home. However, if you have children or pets, or if you entertain frequently, you might need to clean more often. You can also adjust the frequency based on your personal preferences and the amount of time you have available. Even a quick 30-minute clean every few days can make a significant difference.
What if I get interrupted during my cleaning session?
Interruptions are inevitable, especially if you have children or a busy schedule. If you get interrupted, try to minimize the disruption by quickly addressing the issue and then returning to your cleaning as soon as possible. Don’t let the interruption derail your entire cleaning session. If you know you’re likely to be interrupted, try to schedule your cleaning session during a time when you’re less likely to be disturbed, such as when the kids are napping or during a quiet period in the evening.
How can I make cleaning more enjoyable?
Cleaning doesn’t have to be a chore! There are several ways to make the process more enjoyable:
* Listen to music or a podcast: Put on your favorite tunes or an engaging podcast to keep you entertained while you clean.
* Reward yourself: Promise yourself a small reward after you finish cleaning, such as a relaxing bath or a cup of your favorite tea.
* Make it a game: Turn cleaning into a game by setting a timer and trying to beat your previous record.
* Focus on the benefits: Remind yourself of the positive benefits of cleaning, such as a more relaxing and productive home environment.
* Use pleasant-smelling cleaning products: Choose cleaning products with scents that you enjoy to make the experience more pleasant.
What are some tips for staying motivated to clean?
Staying motivated to clean can be challenging, but here are a few tips to help you stay on track:
* Set realistic goals: Don’t try to do too much at once. Break down the task into smaller, more manageable steps.
* Create a cleaning schedule: Having a set cleaning schedule can help you stay organized and avoid feeling overwhelmed.
* Make it a habit: The more you clean, the easier it will become. Try to incorporate cleaning into your daily or weekly routine.
* Find a cleaning buddy: Cleaning with a friend or family member can make the task more enjoyable and help you stay motivated.
* Celebrate your accomplishments: Take a moment to appreciate your hard work and enjoy your newly cleaned space.
Is this one-hour home deep clean suitable for people with disabilities or mobility issues?
This method can be adapted for people with disabilities or mobility issues, but it may require some modifications. Focus on tasks that you can comfortably perform and delegate other tasks to family members or hire a cleaning service. Consider using assistive devices, such as long-handled dusters or lightweight vacuum cleaners, to make cleaning easier. It’s also important to prioritize safety and avoid tasks that could put you at risk of injury. Remember to listen to your body and take breaks when needed.

Leave a Comment