

Overlooked places to clean – we all have them! Those sneaky spots in our homes that seem to magically evade our cleaning radars. Let’s be honest, we’ve all been there, focusing on the obvious messes while dust bunnies multiply in the shadows. But what if I told you that tackling these forgotten areas could dramatically improve your home’s overall cleanliness and even your well-being?
Cleaning, in its essence, is an age-old practice. From ancient civilizations meticulously maintaining their dwellings to modern-day Marie Kondo-inspired decluttering, the desire for a clean and organized space is deeply ingrained in human nature. But somewhere along the way, we’ve become hyper-focused on surface-level cleaning, often neglecting the nitty-gritty details.
That’s where this DIY guide comes in! I’m going to share some simple yet effective tricks and hacks to help you conquer those overlooked places to clean. Think about it: a cleaner home means fewer allergens, less dust, and a more inviting atmosphere. Plus, the satisfaction of knowing you’ve truly deep-cleaned your space is incredibly rewarding. So, grab your cleaning supplies, and let’s dive into the forgotten corners of your home!
Overlooked Places to Clean: A Deep Dive into DIY Home Refreshing
Hey there, fellow cleaning enthusiasts! We all have those spots in our homes that seem to magically evade our cleaning radar. You know, the places where dust bunnies gather, grime accumulates, and general ickiness thrives. Well, fear not! I’m here to guide you through a comprehensive cleaning blitz, targeting those often-forgotten areas and leaving your home feeling truly refreshed. Let’s get started!
Cleaning the Kitchen Culprits
The kitchen, the heart of the home, is also a breeding ground for hidden dirt. Let’s tackle those sneaky spots:
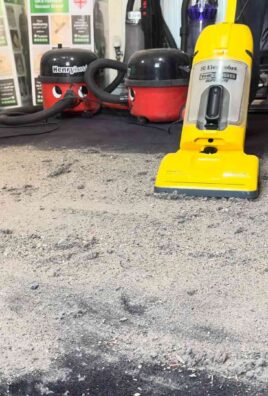
* Underneath Appliances: Crumbs, spills, and dust bunnies galore!
* Inside the Dishwasher: Food particles and mineral buildup can affect its performance.
* The Range Hood Filter: Grease and grime accumulate quickly.
* Spice Rack: Sticky residue and expired spices are common culprits.
* Cutting Boards: Bacteria can linger even after washing.
Step-by-Step Kitchen Cleaning Guide
1. Underneath Appliances (Refrigerator, Oven, Dishwasher):
* Safety First: Unplug the appliance before you begin! This is crucial to avoid electrical shock.
* Gather Your Supplies: You’ll need a vacuum cleaner with a hose attachment, a long-handled duster, a microfiber cloth, warm soapy water, and a flat tool (like a spatula or butter knife) wrapped in a cloth.
* Clear the Area: Move any items that might be blocking access to the sides and back of the appliance.
* Vacuum the Debris: Use the vacuum hose attachment to suck up loose crumbs, dust, and pet hair from underneath and around the appliance. Pay special attention to corners and crevices.
* Dust the Back: Use the long-handled duster to reach the back of the appliance and remove any accumulated dust.
* Wipe Down Surfaces: Dampen a microfiber cloth with warm soapy water and wipe down the sides and any exposed surfaces. For stubborn stuck-on messes, use the flat tool wrapped in a cloth to gently scrape them away.
* Dry Thoroughly: Use a clean, dry microfiber cloth to dry all surfaces.
* Plug Back In: Once everything is dry, plug the appliance back in.
* Repeat Regularly: Aim to do this at least every 3-6 months, or more frequently if you notice a lot of buildup.
2. Inside the Dishwasher:
* Empty the Dishwasher: Remove all dishes, utensils, and racks.
* Clean the Filter: Locate the dishwasher filter (usually at the bottom) and remove it. Rinse it thoroughly under running water to remove any food particles. Use a soft brush to scrub away stubborn debris.
* Clean the Spray Arms: Check the spray arms for any clogs. Use a toothpick or wire to clear any blocked holes.
* Wipe Down the Interior: Use a damp cloth with a mild detergent to wipe down the interior walls, door, and seals of the dishwasher.
* Run a Cleaning Cycle: Place a dishwasher-safe cup filled with white vinegar on the top rack. Run a normal cycle on the hottest setting. Alternatively, you can use a commercial dishwasher cleaner according to the product instructions.
* Dry Thoroughly: After the cycle is complete, leave the dishwasher door open to air dry.
3. The Range Hood Filter:
* Safety First: Turn off the range hood and allow it to cool completely.
* Remove the Filter: Consult your range hood’s manual for instructions on how to remove the filter.
* Soak the Filter: Fill a sink or tub with hot, soapy water. Add 1/2 cup of baking soda. Submerge the filter in the water and let it soak for at least 30 minutes.
* Scrub the Filter: Use a scrub brush to remove any remaining grease and grime.
* Rinse Thoroughly: Rinse the filter under hot running water until all traces of soap are gone.
* Dry Completely: Allow the filter to air dry completely before replacing it in the range hood.
* Consider Alternatives: For heavily soiled filters, you can also try cleaning them in the dishwasher (check your range hood’s manual first) or using a degreasing cleaner.
4. Spice Rack:
* Empty the Rack: Remove all the spices from the rack.
* Check Expiration Dates: Discard any expired spices. Spices lose their flavor over time, so it’s best to replace them regularly.
* Wipe Down the Rack: Use a damp cloth with a mild detergent to wipe down the spice rack. For sticky residue, use a solution of equal parts white vinegar and water.
* Organize the Spices: Arrange the spices in alphabetical order or by type (e.g., baking spices, savory spices). This will make it easier to find what you need.
* Consider Storage: If you have a lot of spices, consider using spice jars with labels to keep them organized and fresh.
5. Cutting Boards:
* Wash After Each Use: Wash cutting boards thoroughly with hot, soapy water after each use.
* Disinfect Regularly: To disinfect cutting boards, especially after cutting raw meat or poultry, use a solution of 1 tablespoon of bleach per gallon of water. Apply the solution to the cutting board, let it sit for a few minutes, and then rinse thoroughly with hot water.
* Deep Clean Wooden Boards: For wooden cutting boards, sprinkle coarse salt over the surface and rub it in with half a lemon. Let it sit for a few minutes, then scrape away the salt and rinse the board with hot water.
* Oil Wooden Boards: To prevent wooden cutting boards from drying out and cracking, oil them regularly with food-grade mineral oil. Apply a generous amount of oil to the board, let it soak in for a few hours, and then wipe away any excess oil.
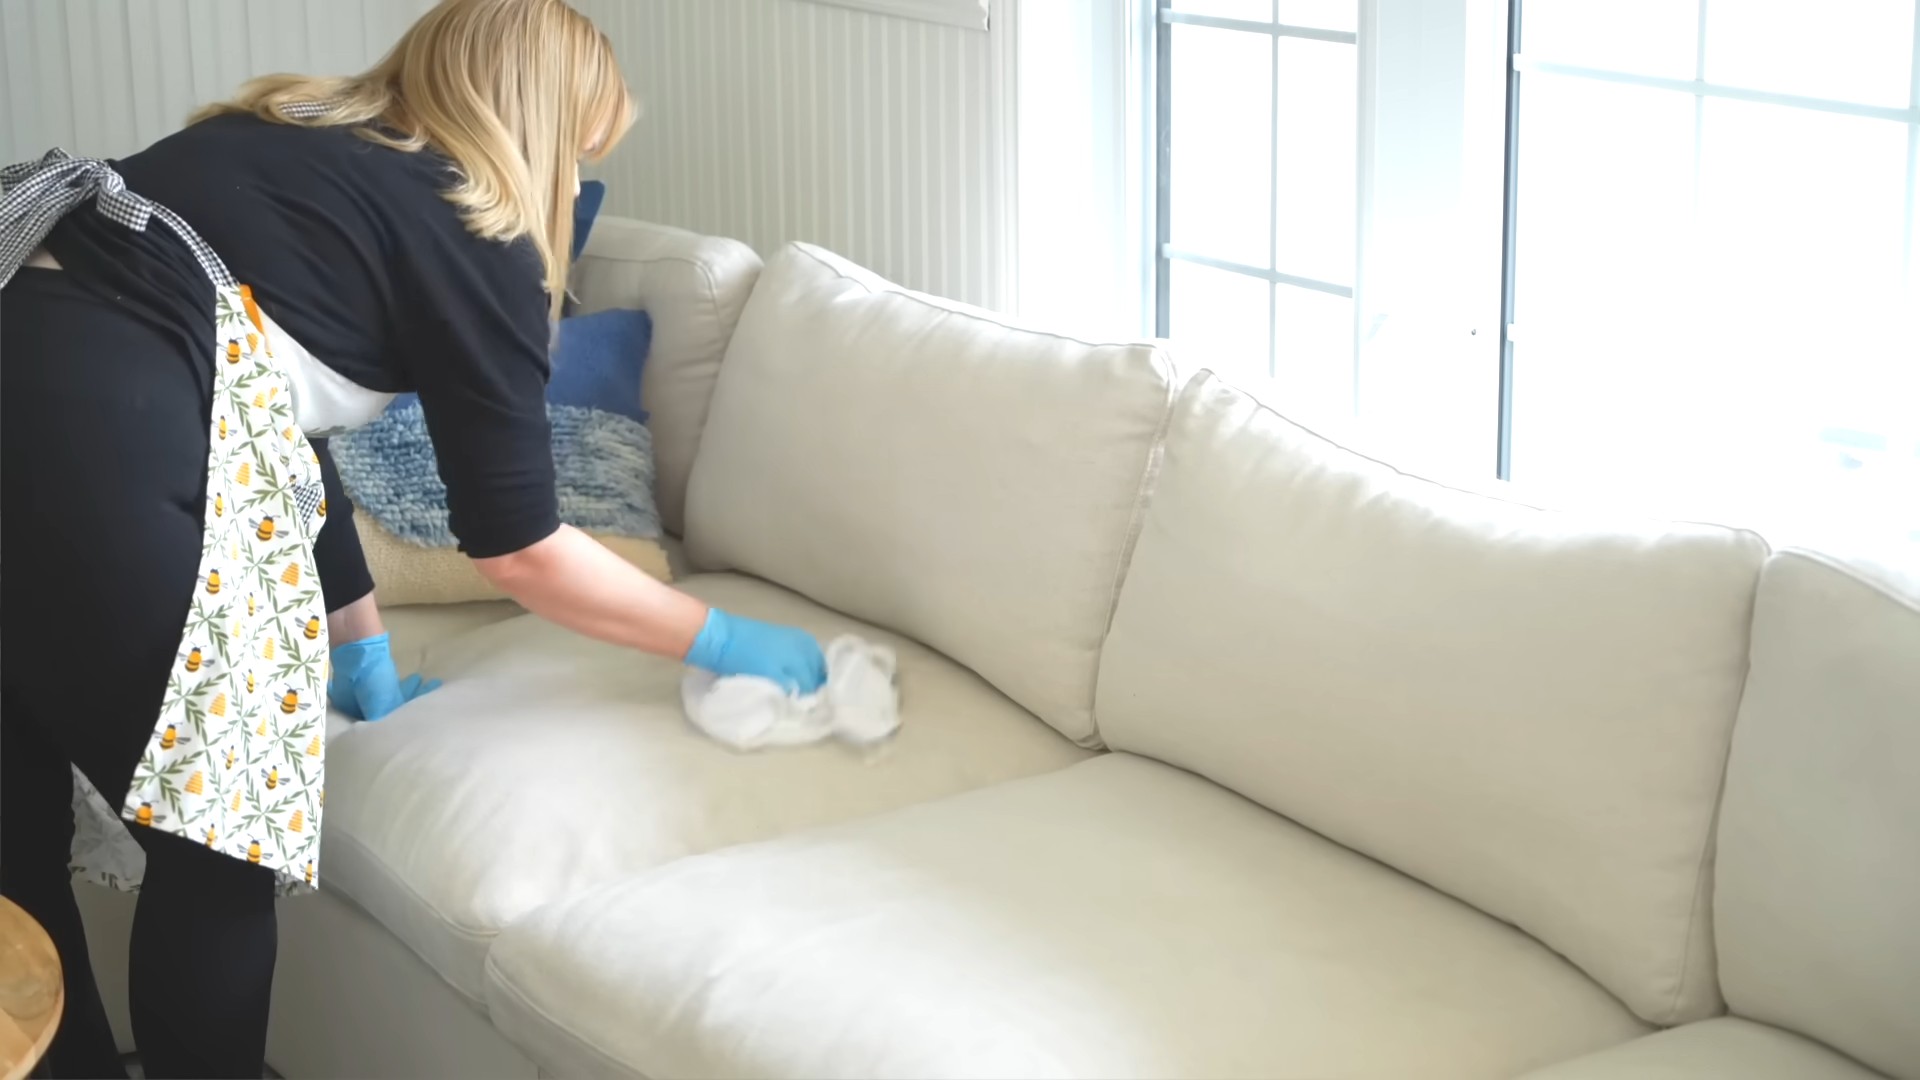
Bathroom Blind Spots: Cleaning for a Sparkling Sanctuary
The bathroom, our personal oasis, can also harbor hidden grime. Let’s target these often-overlooked areas:
* Showerhead: Mineral buildup can reduce water pressure and harbor bacteria.
* Grout: Mold and mildew love to grow in grout lines.
* Toilet Base: Dust and grime accumulate around the base of the toilet.
* Bathroom Vents: Dust and lint can clog vents and reduce their effectiveness.
* Behind the Toilet: A surprisingly dusty and often-missed area.
Step-by-Step Bathroom Cleaning Guide
1. Showerhead:
* Vinegar Soak: Fill a plastic bag with white vinegar. Secure the bag around the showerhead with a rubber band, ensuring the showerhead is fully submerged in the vinegar. Let it soak for at least 30 minutes, or preferably overnight.
* Remove Debris: After soaking, remove the bag and use an old toothbrush to scrub away any remaining mineral buildup.
* Rinse Thoroughly: Run the shower for a few minutes to flush out any remaining vinegar and debris.
* Alternative Method: If you can remove the showerhead, soak it in a bowl of vinegar instead.
2. Grout:
* Baking Soda Paste: Mix baking soda with a small amount of water to form a paste.
* Apply to Grout: Apply the paste to the grout lines.
* Scrub Vigorously: Use an old toothbrush or grout brush to scrub the grout lines.
* Rinse Thoroughly: Rinse the grout lines with water.
* Bleach Solution (For Stubborn Stains): For stubborn stains, you can use a solution of 1 part bleach to 10 parts water. Apply the solution to the grout lines, let it sit for a few minutes, and then scrub and rinse thoroughly. Be sure to ventilate the bathroom well when using bleach.
3. Toilet Base:
* Dust First: Use a duster or vacuum cleaner with a hose attachment to remove any loose dust and debris from around the base of the toilet.
* Wipe Down Surfaces: Use a damp cloth with a disinfectant cleaner to wipe down the base of the toilet, paying attention to crevices and corners.
* Clean the Floor: Mop the floor around the toilet base with a disinfectant cleaner.
4. Bathroom Vents:
* Safety First: Turn off the bathroom fan before you begin!
* Remove the Vent Cover: Carefully remove the vent cover.
* Vacuum the Vent: Use a vacuum cleaner with a hose attachment to
Conclusion
So, there you have it! Unveiling the secrets to cleaning those often-overlooked places in your home can truly transform your living space from simply “clean” to sparkling and revitalizing. We’ve journeyed through the forgotten corners, the hidden crevices, and the frequently neglected surfaces that, when addressed, contribute significantly to a healthier and more pleasant environment.
Think about it: a clean dishwasher filter means fresher-smelling dishes. A dust-free ceiling fan translates to cleaner air circulating throughout your home. And a spotless washing machine ensures your clothes are truly getting clean with every wash. These small acts of diligence add up to a big difference in the overall cleanliness and air quality of your home.
This isn’t just about aesthetics; it’s about creating a healthier living environment for you and your family. Dust and allergens accumulate in these overlooked areas, potentially triggering allergies and respiratory issues. By tackling these spots, you’re proactively improving the air quality and reducing the risk of health problems.
But the best part? You don’t need expensive cleaning products or specialized equipment. Most of these cleaning tasks can be accomplished with items you already have in your pantry: baking soda, vinegar, dish soap, and a little elbow grease. It’s a cost-effective and environmentally friendly way to maintain a clean and healthy home.
Now, let’s talk about variations. Feel free to adapt these techniques to suit your specific needs and preferences. For example, if you’re sensitive to strong smells, you can substitute lemon juice for vinegar in some cleaning solutions. Or, if you prefer a more natural approach, consider using essential oils like tea tree or eucalyptus for their antibacterial properties. You can add a few drops to your cleaning solutions for an extra boost of freshness and cleanliness.
Don’t be afraid to experiment and find what works best for you. The key is to be consistent and make these cleaning tasks a regular part of your routine. Even dedicating just 15-20 minutes each week to tackling one or two of these overlooked areas can make a significant difference.
We strongly encourage you to try these DIY cleaning tricks and experience the difference for yourself. You’ll be amazed at how much cleaner and fresher your home feels. And the satisfaction of knowing you’ve tackled those hidden dirt and grime is truly rewarding.
So, grab your cleaning supplies, roll up your sleeves, and get ready to transform your home. Remember, a clean home is a happy home, and by focusing on these overlooked places, you’re taking a significant step towards creating a healthier and more enjoyable living space.
And most importantly, we want to hear about your experiences! Share your before-and-after photos, your favorite cleaning tips, and any variations you’ve tried in the comments below. Let’s create a community of clean-home enthusiasts and inspire each other to maintain a sparkling and healthy living environment. Let’s make sure no corner is left uncleaned! Let’s conquer those **overlooked places to clean** together!
Frequently Asked Questions (FAQ)
1. How often should I clean these overlooked places?
The frequency of cleaning these areas depends on several factors, including the size of your home, the number of occupants, and your lifestyle. However, as a general guideline, we recommend cleaning these overlooked places at least once a month. Some areas, like the dishwasher filter or the microwave, may require more frequent cleaning, perhaps every two weeks. Others, like the tops of door frames or the undersides of furniture, can be cleaned less frequently, perhaps every two to three months. The key is to establish a routine and stick to it as much as possible. Consider creating a cleaning schedule that includes these overlooked areas to ensure they don’t get neglected.
2. What are the best cleaning products to use for these areas?
The best cleaning products for these areas are often simple and readily available. White vinegar is a fantastic all-purpose cleaner and disinfectant. Baking soda is excellent for scrubbing and deodorizing. Dish soap is effective for removing grease and grime. For tougher stains or buildup, you can use a commercial cleaning product specifically designed for the surface you’re cleaning. However, always test the product in an inconspicuous area first to ensure it doesn’t damage the surface. For a more eco-friendly approach, consider using natural cleaning products made with essential oils and plant-based ingredients.
3. Are there any safety precautions I should take when cleaning these areas?
Yes, safety should always be a priority when cleaning. Wear gloves to protect your hands from harsh chemicals and irritants. Ensure adequate ventilation, especially when using strong cleaning products. Avoid mixing different cleaning products, as this can create dangerous fumes. Always read and follow the instructions on the cleaning product label. If you have any allergies or sensitivities, be sure to choose cleaning products that are hypoallergenic and fragrance-free. And finally, keep cleaning products out of reach of children and pets.
4. How can I prevent these areas from getting so dirty in the first place?
Prevention is always better than cure. To prevent these areas from getting too dirty, try to incorporate some simple habits into your daily routine. Wipe up spills immediately to prevent stains and buildup. Regularly dust surfaces to prevent dust accumulation. Use a range hood when cooking to prevent grease from splattering on the walls and cabinets. Empty the dishwasher filter regularly to prevent food particles from clogging the drain. And encourage everyone in the household to be mindful of keeping these areas clean.
5. I’m short on time. Which of these overlooked places should I prioritize?
If you’re short on time, prioritize the areas that have the biggest impact on your health and hygiene. This includes the dishwasher filter, the washing machine, the microwave, and the garbage disposal. These areas can harbor bacteria and mold, which can pose a health risk. Also, prioritize areas that are visible and frequently used, such as the light fixtures and the kitchen backsplash. Cleaning these areas will make the biggest difference in the overall appearance of your home.
6. What if I encounter stubborn stains or buildup in these areas?
For stubborn stains or buildup, try using a paste of baking soda and water. Apply the paste to the affected area, let it sit for a few minutes, and then scrub with a brush or sponge. For hard water stains, try using vinegar. Soak a cloth in vinegar and apply it to the stain for a few minutes, then scrub. For greasy buildup, try using a degreasing cleaner or a mixture of dish soap and hot water. If all else fails, you may need to use a commercial cleaning product specifically designed for the type of stain or buildup you’re dealing with.
7. Can I use a steam cleaner to clean these overlooked places?
Yes, a steam cleaner can be a very effective tool for cleaning many of these overlooked places. Steam cleaners use hot steam to loosen dirt and grime, making it easier to wipe away. They’re particularly useful for cleaning grout, tile, and other hard surfaces. However, be careful when using a steam cleaner on delicate surfaces, such as wood or painted surfaces, as the heat can damage them. Always test the steam cleaner in an inconspicuous area first to ensure it’s safe to use.
8. How do I clean the inside of my washing machine effectively?
Cleaning the inside of your washing machine is crucial for maintaining its performance and preventing mold and mildew growth. Run an empty cycle with hot water and a cup of white vinegar. You can also add a half-cup of baking soda to the drum. For front-loading machines, pay attention to the rubber gasket around the door, as this area is prone to mold growth. Wipe it down regularly with a damp cloth and a mild detergent. Leave the door slightly ajar after each wash to allow the machine to air out.
9. What’s the best way to clean my ceiling fan blades?
Cleaning ceiling fan blades can be tricky, but there’s a simple trick that makes it much easier. Place an old pillowcase over each blade, then slide it off, trapping the dust inside. This prevents the dust from falling onto the floor. You can then wipe down the blades with a damp cloth and a mild detergent.
10. How can I make cleaning these overlooked places more enjoyable?
Cleaning doesn’t have to be a chore! Put on some music, listen to a podcast, or invite a friend to help you. Break the tasks down into smaller, more manageable chunks. Reward yourself after completing each task. And remember, the end result – a clean and healthy home – is worth the effort.


Leave a Comment