

Pet Hair Removal Tips: Ah, the joys of sharing our lives with furry companions! The unconditional love, the playful antics, and… the endless shedding. Sound familiar? If you’re a pet owner, you know the struggle is real. Pet hair seems to find its way onto every surface imaginable, clinging stubbornly to furniture, carpets, and even our clothes. It’s a battle as old as time, or at least as old as domestication itself! From ancient Egyptians who revered cats to modern-day dog lovers, we’ve always shared our homes with animals, and with that comes the inevitable fur fallout.
But fear not, fellow pet parents! I’m here to tell you that you don’t have to resign yourself to a life perpetually covered in pet hair. This DIY guide is packed with simple, effective, and often surprising pet hair removal tips and tricks that will help you reclaim your home. We’ll explore everything from everyday tools you probably already have to clever hacks that will make tackling pet hair a breeze. Imagine a home where you can wear black without fear, where guests don’t leave covered in fur, and where you can finally sit on your sofa without feeling like you’re wearing a fur coat. Let’s dive in and conquer that pet hair once and for all!
DIY Pet Hair Removal Hacks: Conquer the Fur!
Okay, fellow pet lovers, let’s be honest. We adore our furry companions, but the constant battle against pet hair? Not so much. It’s everywhere – clinging to our clothes, embedded in our carpets, and floating through the air like tiny tumbleweeds. But fear not! I’m here to share my tried-and-true DIY pet hair removal hacks that will help you reclaim your home (and your sanity!).
The Arsenal: Essential Tools for Pet Hair Warfare
Before we dive into the specific techniques, let’s gather our weapons. Having the right tools makes all the difference in the world. Here’s what I recommend:
* Rubber Gloves: The kind you use for washing dishes. Trust me, these are magic.
* Squeegee: Not just for windows! A squeegee is surprisingly effective on upholstery and carpets.
* Pumice Stone: Yes, the same one you use on your feet! It’s a secret weapon for stubborn pet hair on fabric.
* Lint Roller: A classic for a reason. Keep a few of these handy for quick touch-ups.
* Vacuum Cleaner with Attachments: A good vacuum is essential, especially one with a pet hair attachment.
* Microfiber Cloths: These are great for dusting and wiping down surfaces.
* Spray Bottle: For creating our DIY cleaning solutions.
* Baking Soda: A natural deodorizer and cleaning agent.
* White Vinegar: Another cleaning powerhouse that helps loosen pet hair.
* Fabric Softener: Helps to reduce static cling, which attracts pet hair.
* Old toothbrush: For getting into tight corners and crevices.
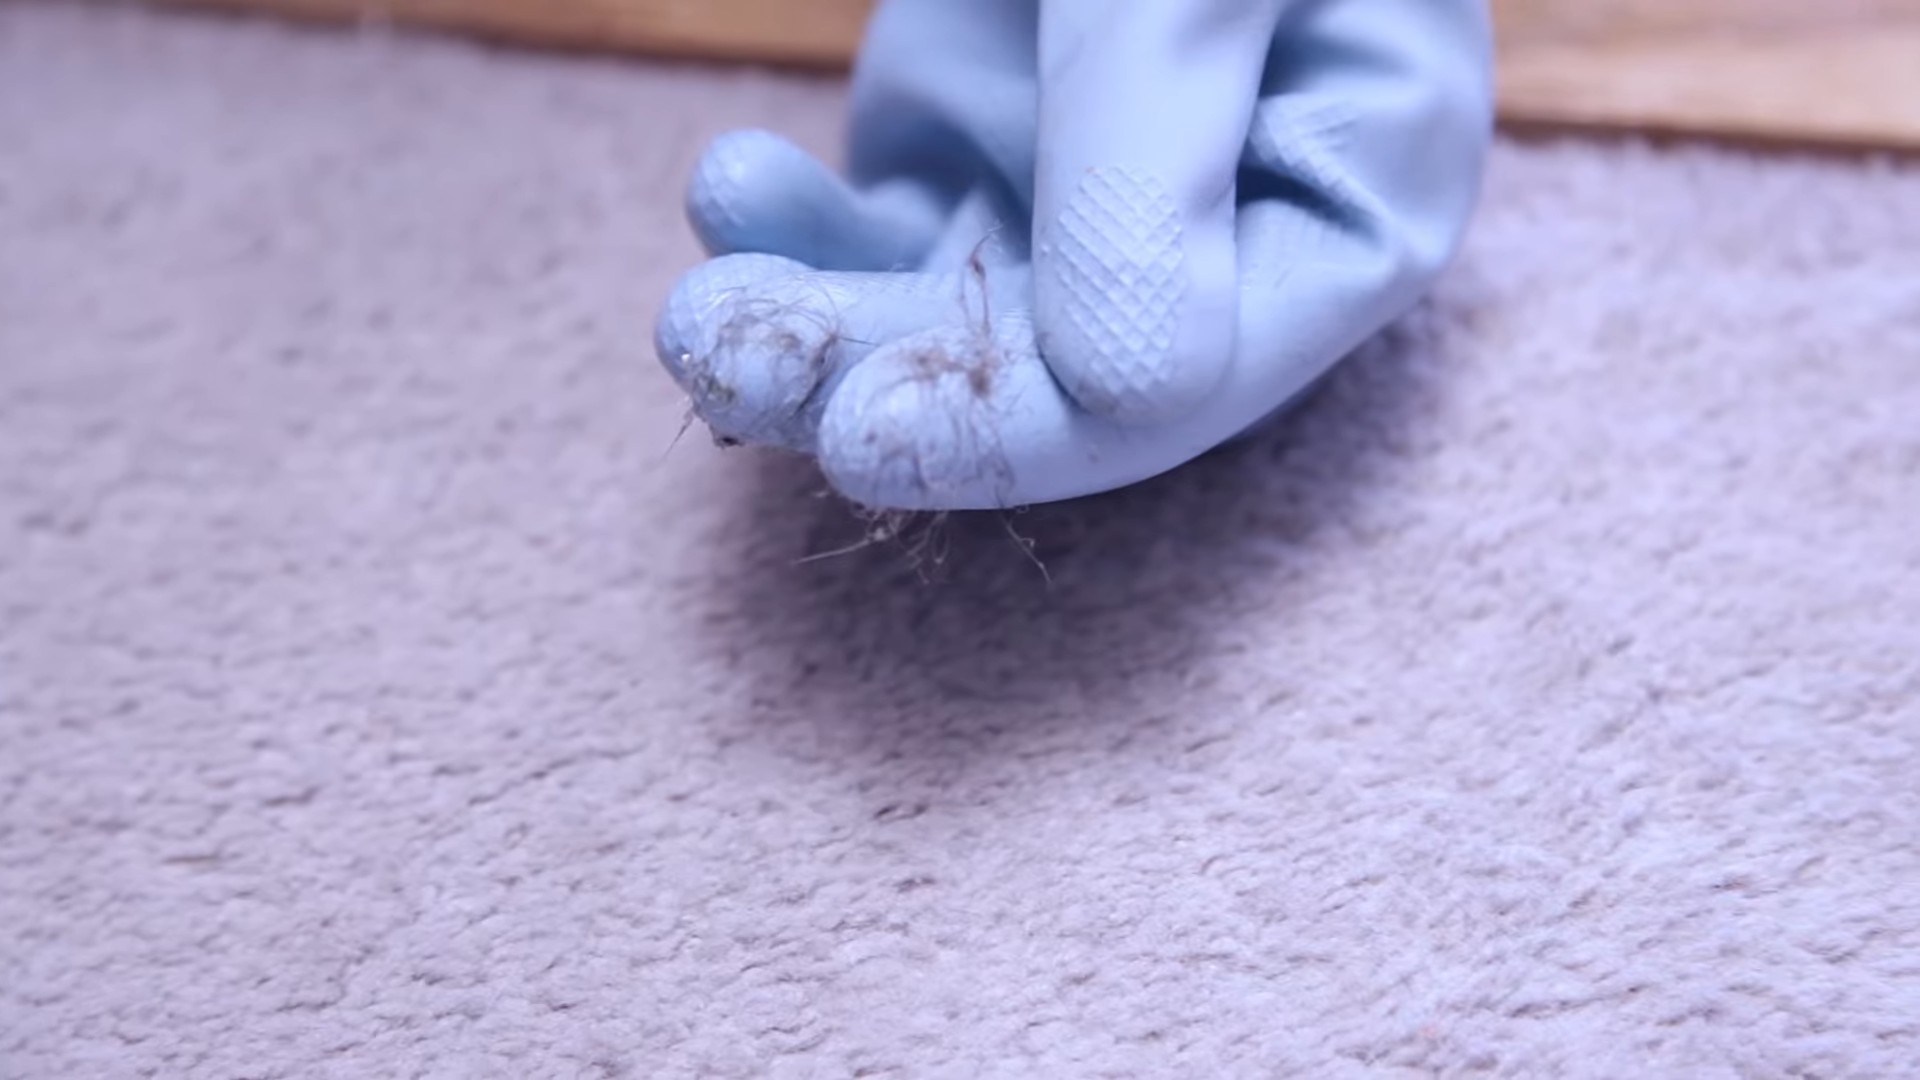
Hack #1: The Rubber Glove Grab
This is my go-to method for quickly removing pet hair from furniture, car seats, and even clothing.
Step-by-Step Instructions:
1. Put on your rubber gloves. Make sure they’re dry.
2. Lightly dampen the gloves. Just a little bit of moisture helps the hair cling to the rubber.
3. Run your gloved hand over the surface. Use a sweeping motion, applying gentle pressure. You’ll see the pet hair ball up as you go.
4. Collect the hair. Simply peel the hair off the gloves and discard it.
5. Repeat as needed. Continue until you’ve removed as much hair as possible.
Hack #2: Squeegee Power for Upholstery and Carpets
A squeegee is surprisingly effective at lifting embedded pet hair from fabric surfaces.
Step-by-Step Instructions:
1. Choose your squeegee. A standard window squeegee works well, but you can also find smaller, handheld squeegees designed for upholstery.
2. Hold the squeegee at a 45-degree angle. This is the optimal angle for lifting the hair.
3. Apply firm, even pressure. Drag the squeegee across the surface in short, overlapping strokes.
4. Observe the magic! You’ll see the pet hair being pulled up and collected in front of the squeegee.
5. Collect the hair. Pick up the clumps of hair and discard them.
6. Vacuum the area. This will remove any remaining loose hair.
Hack #3: Pumice Stone for Stubborn Hair on Fabric
This hack is for those truly stubborn hairs that seem to be woven into the fabric. Be careful with this method, as it can be abrasive on delicate materials. Always test it in an inconspicuous area first.
Step-by-Step Instructions:
1. Dampen the pumice stone. This helps to lubricate the surface and prevent scratching.
2. Gently rub the pumice stone over the affected area. Use short, circular motions. Apply light pressure.
3. Check your progress. Periodically lift the pumice stone to see how much hair you’ve removed.
4. Vacuum the area. This will remove any debris and loose hair.
5. Be cautious. Avoid using this method on delicate fabrics like silk or velvet.
Hack #4: The Baking Soda Boost for Carpets
Baking soda is a natural deodorizer and helps to loosen pet hair from carpet fibers.
Step-by-Step Instructions:
1. Sprinkle baking soda liberally over the carpet. Focus on areas with heavy pet hair accumulation.
2. Let it sit for at least 30 minutes. For heavily soiled carpets, you can leave it overnight.
3. Vacuum thoroughly. Use a vacuum cleaner with a strong suction and a pet hair attachment.
4. Enjoy your fresher, hair-free carpet!
Hack #5: Vinegar and Water Solution for Hard Surfaces
This solution is great for cleaning pet hair from hardwood floors, tile, and other hard surfaces. The vinegar helps to loosen the hair, and the water helps to wipe it away.
Step-by-Step Instructions:
1. Mix equal parts white vinegar and water in a spray bottle.
2. Spray the solution onto the affected surface.
3. Let it sit for a few minutes. This allows the vinegar to loosen the pet hair.
4. Wipe the surface with a microfiber cloth.
5. Rinse with clean water if necessary.
6. Dry the surface with a clean towel.
Hack #6: Fabric Softener Spray for Clothes and Furniture
Fabric softener helps to reduce static cling, which attracts pet hair. This spray can be used on clothes, furniture, and even car seats.
Step-by-Step Instructions:
1. Mix 1 part fabric softener with 2 parts water in a spray bottle.
2. Shake well to combine.
3. Lightly spray the solution onto the affected surface. Don’t saturate the fabric.
4. Let it air dry.
5. Wipe the surface with a microfiber cloth. This will help to remove any remaining pet hair.
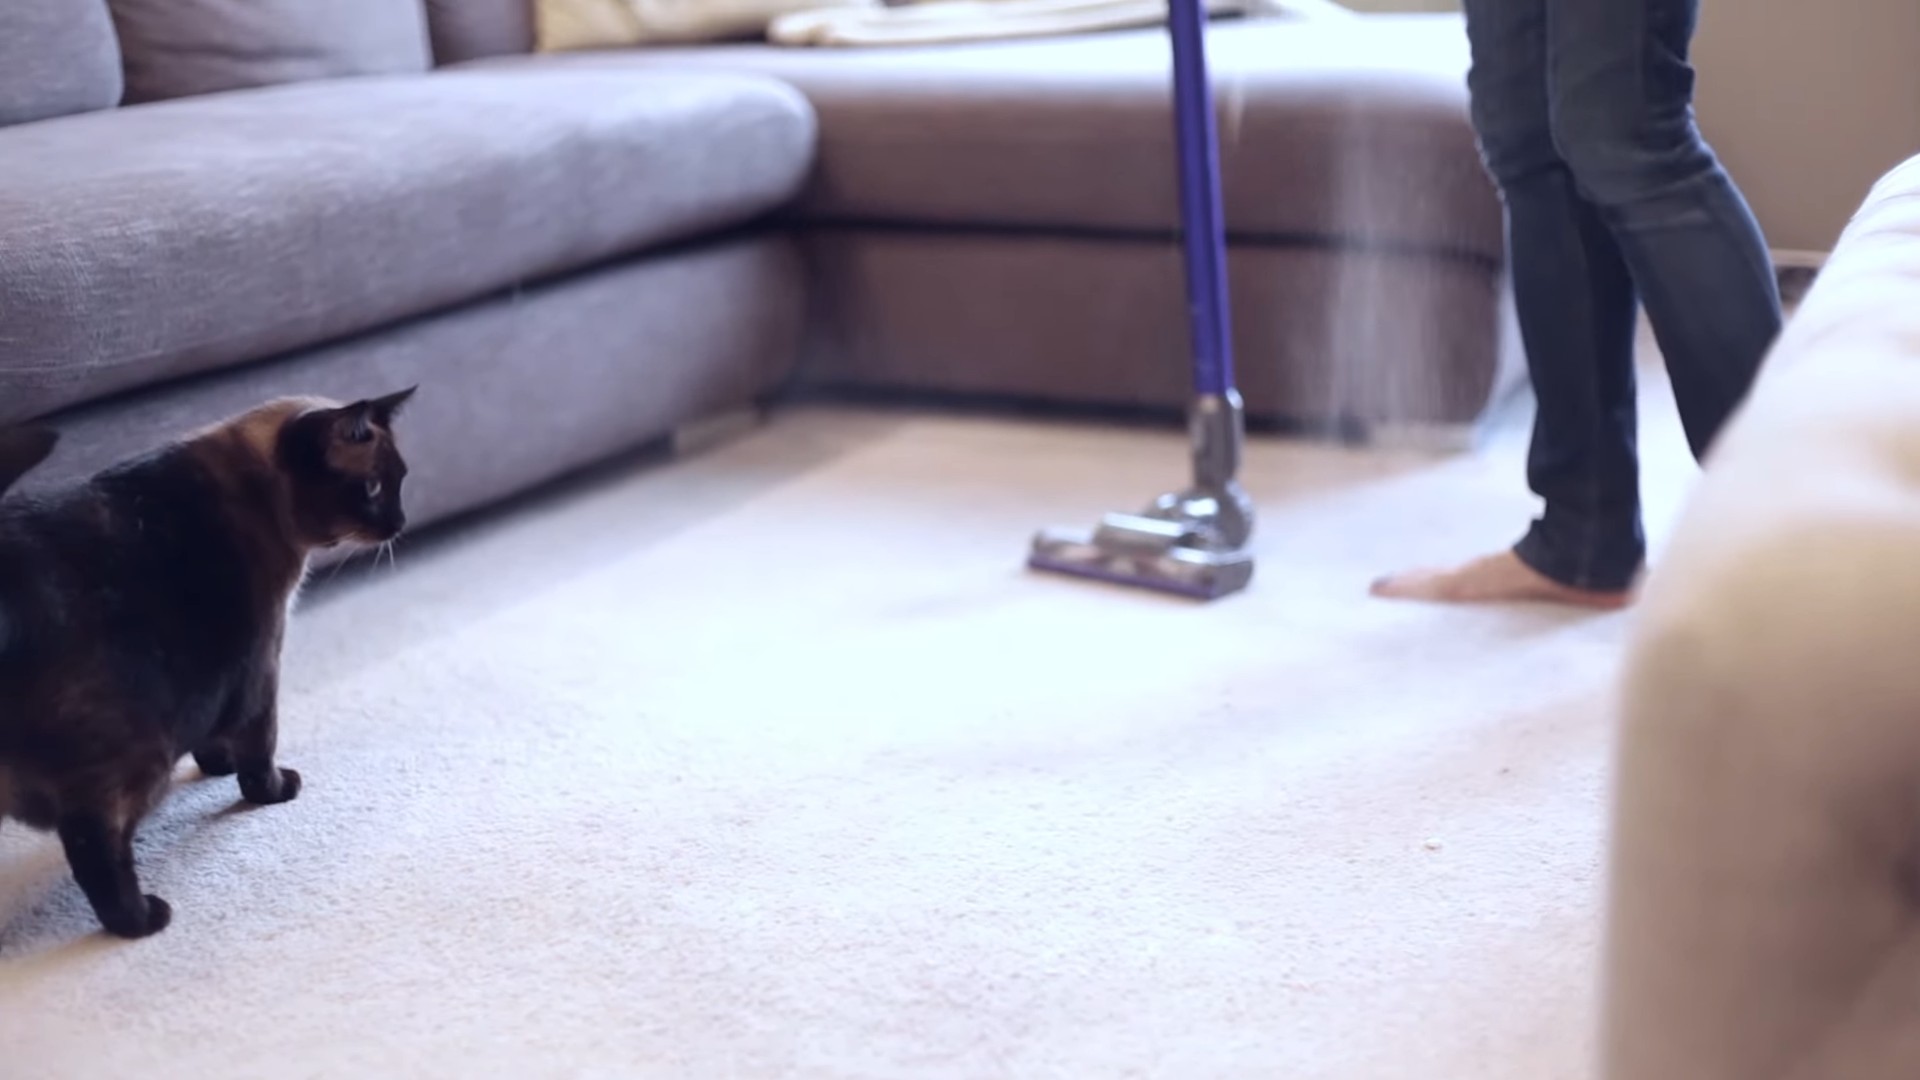
Hack #7: Vacuuming Like a Pro
Vacuuming is a crucial part of pet hair removal. But are you doing it right? Here are some tips to maximize your vacuuming efforts:
Step-by-Step Instructions:
1. Use the right attachments. A pet hair attachment with a rotating brush is ideal for carpets and upholstery. A crevice tool is great for getting into tight corners and along baseboards.
2. Vacuum slowly and deliberately. Don’t rush! Give the vacuum time to lift the pet hair.
3. Overlap your strokes. This ensures that you’re covering every inch of the surface.
4. Empty the vacuum bag or canister frequently. A full bag or canister reduces suction power.
5. Clean the vacuum filters regularly. Clogged filters also reduce suction power.
6. Vacuum high-traffic areas more often. These areas tend to accumulate more pet hair.
Hack #8: The Old Toothbrush Trick
An old toothbrush is perfect for getting into those hard-to-reach places, like seams in furniture or the edges of carpets.
Step-by-Step Instructions:
1. Lightly dampen the toothbrush.
2. Use the toothbrush to scrub the affected area. Use short, back-and-forth motions.
3. Wipe away the loosened hair with a damp cloth.
4. Repeat as needed.
Hack #9: Preventing Pet Hair Buildup: Proactive Measures
The best way to deal with pet hair is to prevent it from accumulating in the first place. Here are some proactive measures you can take:
* Brush your pet regularly. This is the most effective way to reduce shedding. Aim to brush your pet at least a few times a week, or even daily during shedding season.
* Bathe your pet regularly. Bathing helps to remove loose hair and dander. Use a pet-specific shampoo and conditioner.
* Use furniture covers. Protect your furniture from pet hair by using slipcovers or blankets.
* Train your pet to stay off furniture. This is easier said than done, but it can make a big difference.
* Air Purifier: Invest in a good air purifier with a HEPA filter to capture airborne pet dander and hair.
* Wash Pet Bedding Regularly: Wash your pet’s bedding frequently to prevent hair and dander from spreading.
Hack #10: Lint Roller on Steroids: Duct Tape!
Okay, this one is a bit unconventional, but it works wonders on certain fabrics. Use with caution and test in an inconspicuous area first!
Step-by-Step Instructions:
1. Wrap duct tape around
Conclusion
So, there you have it! This simple, yet incredibly effective, DIY pet hair removal trick is a game-changer for any pet owner constantly battling the fur tsunami. We’ve all been there, right? Clothes covered, furniture resembling a shedding beast, and the constant feeling that you’re breathing in more hair than air. But with this easy solution, those days can be significantly reduced.
What makes this method a must-try? It’s the sheer simplicity and affordability. You likely already have everything you need in your home. No need to buy expensive, specialized pet hair removal tools that might not even work as well. This DIY approach is gentle on your fabrics, unlike some harsh brushes or vacuums that can damage delicate materials. Plus, it’s surprisingly satisfying to see all that accumulated fur ball up and disappear!
But don’t just take our word for it. The beauty of this DIY pet hair removal technique is its adaptability. Feel free to experiment with different types of sponges or cloths to see what works best for your specific furniture and pet hair type. For instance, if you have particularly stubborn pet hair embedded in upholstery, try dampening the sponge slightly with a mixture of water and a few drops of fabric softener. This can help loosen the hair and make it easier to lift away. Another variation is to use a rubber glove instead of a sponge. The texture of the rubber creates excellent friction for grabbing onto pet hair.
Consider these variations for different surfaces:
* For clothing: A slightly damp microfiber cloth works wonders.
* For upholstery: A sponge with a textured surface can be more effective.
* For car interiors: A rubber glove is often the best choice for navigating tight spaces.
We’re confident that once you try this DIY pet hair removal method, you’ll wonder how you ever lived without it. It’s a quick, easy, and cost-effective way to keep your home looking and feeling clean, even with the most enthusiastic shedding companions.
So, go ahead, give it a try! We’re eager to hear about your experiences. Did you find a particular variation that worked exceptionally well for you? Did you discover a new surface that this trick conquered? Share your tips, tricks, and success stories in the comments below. Let’s build a community of pet owners who are winning the war against pet hair, one DIY solution at a time! Your insights could help other pet parents reclaim their homes and enjoy a fur-free (or at least fur-less-noticeable) living space. Don’t forget to share this article with your fellow pet-loving friends and family! Let’s spread the word about this amazing DIY pet hair removal secret and help everyone enjoy a cleaner, happier home.
FAQ
What kind of sponge works best for pet hair removal?
The best type of sponge for pet hair removal depends on the surface you’re cleaning. For general use on furniture and clothing, a regular household sponge with a slightly abrasive surface works well. However, for more delicate fabrics, a softer sponge or microfiber cloth is recommended to avoid damage. For upholstery with deeply embedded pet hair, a sponge with a textured surface or even a melamine sponge (like a Magic Eraser, used carefully) can be more effective. Experiment to see what works best for your specific needs.
Will this DIY trick work on all types of pet hair?
This DIY pet hair removal trick is generally effective on most types of pet hair, including short, fine hair and long, thick hair. However, the effectiveness may vary depending on the texture of the fabric and the amount of hair present. For particularly stubborn pet hair, you may need to repeat the process several times or try a variation, such as dampening the sponge or using a rubber glove.
Is this method safe for all types of fabrics?
While this DIY method is generally gentle, it’s always a good idea to test it on an inconspicuous area of the fabric first to ensure it doesn’t cause any damage or discoloration. Avoid using abrasive sponges or excessive pressure on delicate fabrics like silk or velvet. If you’re unsure, consult the fabric care label or a professional cleaner.
How often should I use this DIY pet hair removal trick?
The frequency of use depends on how much your pet sheds and how often you want to clean. For heavy shedders, you may need to use this trick daily or every other day to keep pet hair under control. For lighter shedders, once or twice a week may be sufficient. Regular maintenance will prevent pet hair from building up and becoming more difficult to remove.
Can I use this method on my car interior?
Yes, this DIY pet hair removal trick can be used on your car interior. A rubber glove is often the best choice for navigating tight spaces and removing pet hair from car seats and carpets. You can also use a slightly damp sponge or microfiber cloth. Be careful not to get the fabric too wet, as this can damage the upholstery.
What if the pet hair is really stuck in the fabric?
If the pet hair is deeply embedded in the fabric, try these tips:
* Vacuum first: Use a vacuum cleaner with an upholstery attachment to remove as much loose hair as possible.
* Dampen the sponge: Lightly dampen the sponge with water or a mixture of water and fabric softener.
* Use a textured sponge: A sponge with a textured surface can help to loosen the hair.
* Try a rubber glove: The texture of the rubber creates excellent friction for grabbing onto pet hair.
* Repeat the process: You may need to repeat the process several times to remove all the hair.
Is there anything else I can add to the water to help remove pet hair?
Adding a small amount of fabric softener to the water can help to loosen pet hair and make it easier to remove. You can also try adding a few drops of essential oil, such as lavender or eucalyptus, to freshen up the fabric. However, be sure to test the solution on an inconspicuous area first to ensure it doesn’t cause any discoloration.
How do I clean the sponge or cloth after using it to remove pet hair?
After using the sponge or cloth to remove pet hair, rinse it thoroughly with water to remove any accumulated hair. You can also wash it with soap and water or in the washing machine. Be sure to dry the sponge or cloth completely before storing it to prevent mildew growth.
Can this method be used on pet bedding?
Yes, this method can be used on pet bedding. However, it’s important to check the care label first to ensure that the fabric is compatible with water and cleaning solutions. You may also want to consider using a pet-safe laundry detergent when washing pet bedding to remove any lingering odors.
What are the benefits of using this DIY method compared to commercial pet hair removal products?
This DIY method offers several benefits compared to commercial pet hair removal products:
* Cost-effective: It uses readily available household items, saving you money.
* Gentle: It’s less likely to damage delicate fabrics compared to harsh brushes or vacuums.
* Environmentally friendly: It reduces the need for disposable cleaning products.
* Easy to use: It’s a simple and straightforward process that anyone can do.
* Customizable: You can adjust the method to suit your specific needs and preferences.
Leave a Comment