

Quick Home Cleaning Tips are a lifesaver, aren’t they? I know I’m always on the lookout for ways to tidy up my space without spending an entire weekend scrubbing! Let’s be honest, who has the time? From tackling unexpected spills to maintaining a generally presentable living area, efficient cleaning methods are essential for a stress-free life.
Throughout history, maintaining a clean home has been more than just aesthetics; it’s been linked to health, well-being, and even social standing. Think about the Victorian era, where meticulous housekeeping was a sign of respectability. While we might not be judged quite so harshly today, the desire for a clean and comfortable home remains a universal human need.
That’s why I’m so excited to share these quick home cleaning tips and DIY hacks with you. We’ll explore simple strategies that can dramatically reduce your cleaning time, allowing you to reclaim your weekends and enjoy your space. These aren’t just about surface-level tidiness; they’re about creating a healthier, happier, and more functional home environment. So, grab your cleaning supplies, and let’s get started!
DIY Deep Clean: Conquering Your Home, Room by Room!
Hey everyone! Let’s face it, cleaning isn’t exactly anyone’s favorite pastime. But a clean home is a happy home, right? I’m going to walk you through my tried-and-true method for a deep clean that’s manageable, even for the busiest of us. We’ll break it down room by room, so you can tackle it in stages. Get ready to roll up your sleeves and transform your space!
General Supplies Checklist: Your Cleaning Arsenal
Before we dive into specific rooms, let’s gather our supplies. Having everything ready beforehand will save you tons of time and frustration. Here’s what I always keep on hand:
* Microfiber cloths: These are my absolute go-to! They’re super absorbent, lint-free, and perfect for dusting and wiping surfaces. Get a bunch!
* All-purpose cleaner: Choose your favorite! I prefer a natural, eco-friendly option, but anything that works for you is great.
* Glass cleaner: For sparkling windows and mirrors.
* Bathroom cleaner: Specifically designed for tackling soap scum and grime.
* Toilet bowl cleaner: Essential for a sparkling clean toilet.
* Disinfectant wipes: Perfect for quick cleanups and sanitizing high-touch surfaces.
* Vacuum cleaner: A must-have for floors and carpets.
* Mop and bucket: For hard floors.
* Baking soda: A natural deodorizer and mild abrasive cleaner.
* White vinegar: Another natural cleaning powerhouse! Great for removing hard water stains and disinfecting.
* Rubber gloves: Protect your hands!
* Scrub brush: For tackling stubborn stains.
* Sponges: For general cleaning.
* Trash bags: For obvious reasons!
* Old toothbrush: Perfect for cleaning grout and tight spaces.
* Spray bottles: For diluting cleaners or making your own.
* Ladder or step stool: For reaching high places.
The Kitchen: Taming the Culinary Chaos
The kitchen is often the heart of the home, but it can also be a breeding ground for mess. Let’s get it sparkling!
Phase 1: Declutter and Prep
1. Clear the countertops: Remove everything from your countertops – appliances, utensils, mail, everything! This gives you a blank canvas to work with.
2. Load the dishwasher (or wash dishes): Get those dirty dishes out of the way! If you don’t have a dishwasher, fill the sink with hot, soapy water and get to scrubbing.
3. Empty the trash and recycling: Start fresh with empty bins.
4. Remove everything from the refrigerator: Yes, everything! Check expiration dates and toss anything that’s past its prime.
Phase 2: Deep Cleaning the Kitchen
1. Clean the refrigerator: Wipe down all the shelves and drawers with a warm, soapy water solution. For stubborn stains, use a paste of baking soda and water. Don’t forget to clean the door seals!
2. Clean the microwave: Heat a cup of water with a tablespoon of vinegar in the microwave for a few minutes. The steam will loosen any splatters, making them easy to wipe away.
3. Clean the oven: This is often the most dreaded task, but it doesn’t have to be! You can use a commercial oven cleaner (following the instructions carefully) or try a natural method. For a natural clean, make a paste of baking soda and water and spread it all over the inside of the oven. Let it sit overnight, then scrub it off with a damp sponge.
4. Clean the stovetop: Remove the grates and soak them in hot, soapy water. Wipe down the stovetop with all-purpose cleaner. For burnt-on food, use a scrub brush or a paste of baking soda and water.
5. Clean the countertops: Wipe down all the countertops with all-purpose cleaner. Pay special attention to areas where food is prepared.
6. Clean the sink: Scrub the sink with a scrub brush and all-purpose cleaner. For stainless steel sinks, use a stainless steel cleaner to remove water spots.
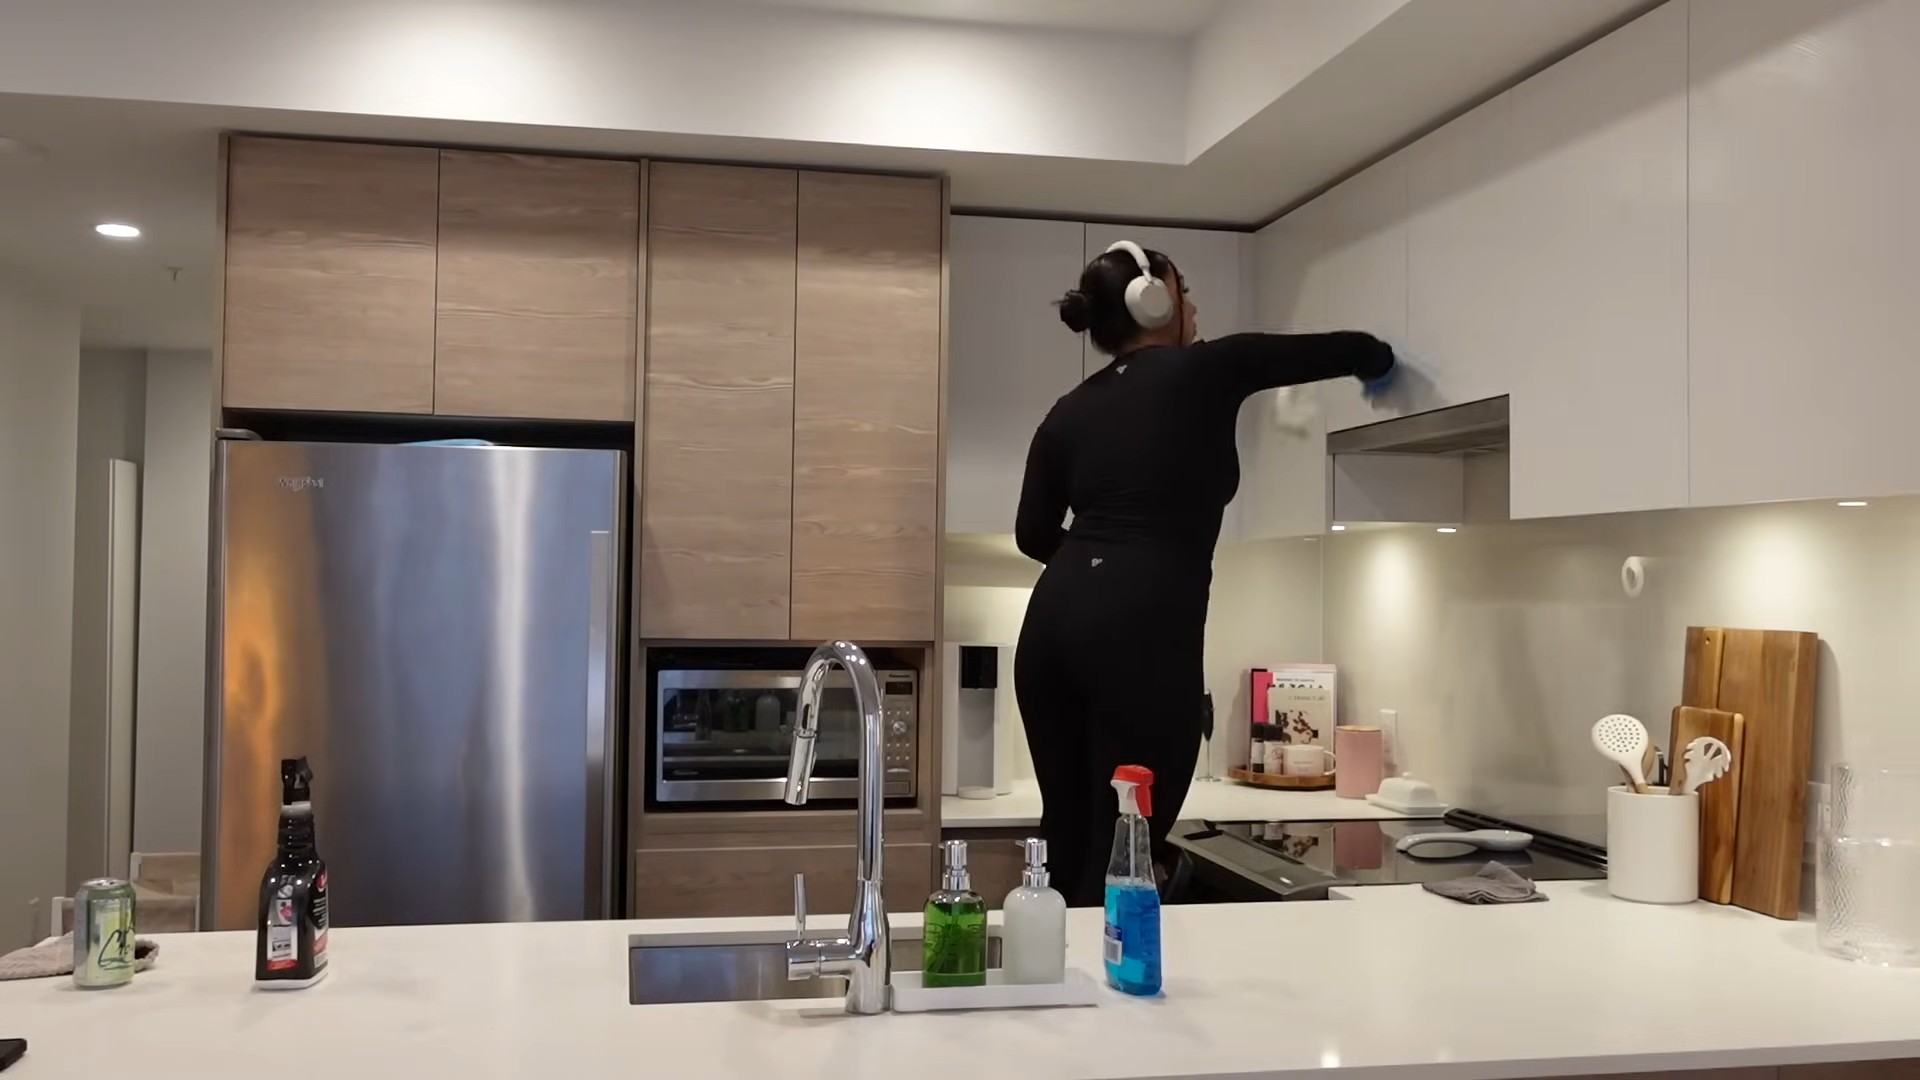
7. Clean the backsplash: Wipe down the backsplash with all-purpose cleaner. For greasy splatters, use a degreaser.
8. Sweep and mop the floor: Sweep the floor to remove any loose dirt and debris. Then, mop the floor with a mop and bucket filled with warm water and all-purpose cleaner.
9. Wipe down cabinets and drawers: Use a damp cloth and all-purpose cleaner to wipe down the exterior of your cabinets and drawers. Don’t forget to clean the hardware!
The Bathroom: Banishing Bacteria and Grime
The bathroom is another area that requires regular deep cleaning to keep it hygienic and fresh.
Phase 1: Prep and Declutter
1. Remove everything from the countertops: Just like in the kitchen, clear the countertops to give yourself room to work.
2. Remove bath mats and rugs: Toss them in the washing machine.
3. Open the windows: Ventilation is key when cleaning the bathroom.
Phase 2: Deep Cleaning the Bathroom
1. Clean the toilet: Flush the toilet and add toilet bowl cleaner to the bowl. Let it sit for a few minutes, then scrub with a toilet brush.
2. Clean the shower/tub: Spray the shower or tub with bathroom cleaner. Let it sit for a few minutes, then scrub with a sponge or scrub brush. Pay special attention to areas with soap scum or mildew. For stubborn stains, use a paste of baking soda and water.
3. Clean the showerhead: If your showerhead is clogged with mineral deposits, soak it in a bag filled with white vinegar overnight.
4. Clean the sink and countertops: Wipe down the sink and countertops with all-purpose cleaner. For hard water stains, use white vinegar.
5. Clean the mirror: Spray the mirror with glass cleaner and wipe with a microfiber cloth.
6. Clean the floor: Sweep or vacuum the floor to remove any loose dirt and debris. Then, mop the floor with a mop and bucket filled with warm water and all-purpose cleaner.
7. Wipe down cabinets and drawers: Use a damp cloth and all-purpose cleaner to wipe down the exterior of your cabinets and drawers.
The Living Room: Refreshing Your Relaxation Zone
The living room is where we relax and unwind, so let’s make sure it’s a clean and inviting space.
Phase 1: Declutter and Prepare
1. Pick up clutter: Gather any loose items like books, magazines, toys, and remote controls and put them away.
2. Fluff pillows and blankets: Give your pillows and blankets a good fluff to restore their shape.
3. Open the windows: Fresh air is always a good idea!
Phase 2: Deep Cleaning the Living Room
1. Dust everything: Use a microfiber cloth to dust all surfaces, including furniture, shelves, picture frames, and lamps. Don’t forget to dust ceiling fans!
2. Vacuum the furniture: Use the upholstery attachment on your vacuum cleaner to vacuum your sofas, chairs, and other upholstered furniture. Pay special attention to crevices where dust and crumbs can accumulate.
3. Clean the windows and mirrors: Spray the windows and mirrors with glass cleaner and wipe with a microfiber cloth.
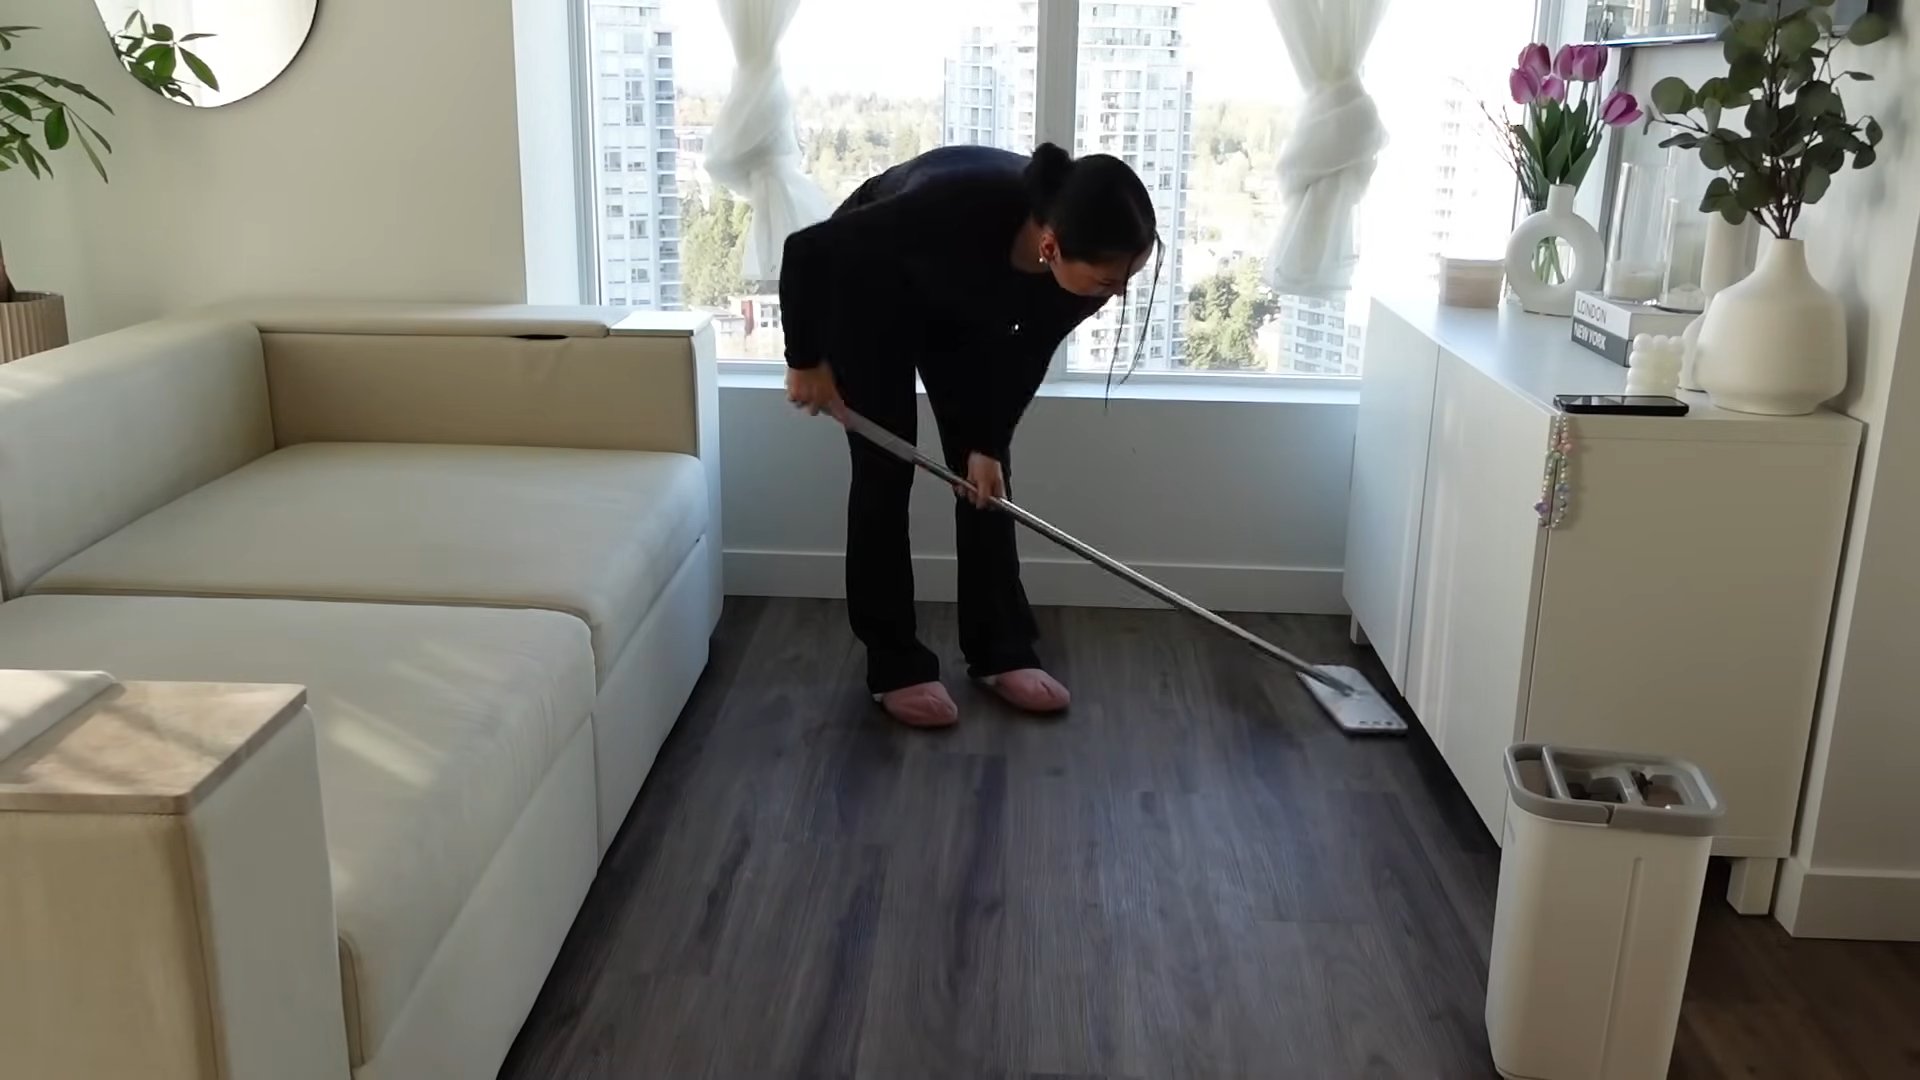
4. Vacuum or mop the floor: Vacuum carpets and rugs thoroughly. Mop hard floors with a mop and bucket filled with warm water and all-purpose cleaner.
5. Clean electronics: Use a dry microfiber cloth to wipe down your TV screen, computer monitor, and other electronic devices. Avoid using harsh chemicals or liquids.
The Bedrooms: Creating a Sanctuary of Clean
Your bedroom should be a peaceful and relaxing retreat. Let’s make sure it’s clean and clutter-free.
Phase 1: Declutter and Prepare
1. Make the bed: Start by making the bed. This instantly makes the room look tidier.
2. Pick up clutter: Gather any loose items like clothes, books, and personal belongings and put them away.
3. Open the windows: Let in some fresh air.
Phase 2: Deep Cleaning the Bedrooms
1. Dust everything: Use a microfiber cloth to dust all surfaces, including furniture, shelves, picture frames, and lamps.
2. Vacuum the furniture: Use the upholstery attachment on your vacuum cleaner to vacuum your upholstered furniture.
3. Clean the windows and mirrors: Spray the windows and mirrors with glass cleaner and wipe with a microfiber cloth.
4. Vacuum the floor: Vacuum carpets and rugs thoroughly. Pay special attention to areas under the bed and in corners.
5
Conclusion
So, there you have it! These quick home cleaning tips aren’t just about tidying up; they’re about reclaiming your time, saving money, and creating a healthier, happier living space. We’ve explored simple yet effective strategies, from the power of a daily tidy to the magic of vinegar and baking soda. The beauty of these methods lies in their accessibility – you likely already have most of the necessary ingredients in your pantry.
Why is this a must-try? Because life is too short to spend hours scrubbing and stressing over a messy home. These tips are designed to seamlessly integrate into your routine, making cleaning less of a chore and more of a natural part of your day. Imagine coming home to a sparkling kitchen after a long day at work, or enjoying a relaxing weekend without the looming dread of a massive cleaning project. That’s the promise of these quick home cleaning tips.
But don’t just take our word for it. We encourage you to experiment and find what works best for you. For example, if you’re not a fan of the smell of vinegar, try adding a few drops of your favorite essential oil to your cleaning solution. Lavender, lemon, and tea tree oil are all excellent choices with natural antibacterial properties. Or, if you’re dealing with stubborn stains on your carpet, create a paste of baking soda and water, apply it to the stain, let it dry completely, and then vacuum it up.
Consider these variations to personalize your cleaning routine:
* **For a natural air freshener:** Simmer a pot of water with citrus peels, cinnamon sticks, and cloves on the stove. The fragrant steam will fill your home with a warm, inviting scent.
* **To clean your microwave:** Place a microwave-safe bowl filled with water and lemon slices inside the microwave and heat for a few minutes until the water boils. The steam will loosen any grime, making it easy to wipe clean.
* **To refresh your mattress:** Sprinkle baking soda over your mattress, let it sit for a few hours, and then vacuum it up. This will help absorb odors and moisture.
The key is to find a system that fits your lifestyle and preferences. Don’t be afraid to tweak these tips to suit your needs. Remember, the goal is to make cleaning easier and more enjoyable, not to add more stress to your life.
We’re confident that these quick home cleaning tips will make a significant difference in your home and your overall well-being. So, go ahead, give them a try! We’d love to hear about your experiences. Share your before-and-after photos, your favorite cleaning hacks, and any variations you’ve discovered in the comments below. Let’s create a community of clean-living enthusiasts who are passionate about making their homes sparkle without spending hours on end. Your insights could inspire others to embrace these simple yet powerful cleaning strategies. Let us know which of these **quick home cleaning tips** worked best for you!
Frequently Asked Questions (FAQ)
Q: How often should I be doing these quick home cleaning tips?
A: The frequency depends on your lifestyle and how quickly your home gets messy. However, incorporating a few of these tips into your daily or weekly routine can make a big difference. For example, wiping down kitchen counters after each meal and doing a quick tidy-up each evening can prevent dirt and clutter from accumulating. Aim for a deep clean once a month, focusing on areas that don’t get regular attention, such as baseboards, windows, and appliances.
Q: Are these cleaning tips safe for all surfaces?
A: While most of these tips are safe for a variety of surfaces, it’s always a good idea to test them in an inconspicuous area first, especially when using homemade cleaning solutions. For example, vinegar can be too acidic for some natural stone surfaces like marble or granite. Baking soda can be abrasive, so avoid using it on delicate surfaces like polished wood. Always read the manufacturer’s instructions for cleaning specific items or surfaces.
Q: What if I have allergies or sensitivities to certain cleaning products?
A: If you have allergies or sensitivities, it’s best to stick to natural cleaning solutions like vinegar, baking soda, and lemon juice. These ingredients are generally less likely to cause allergic reactions than harsh chemicals. You can also wear gloves and a mask while cleaning to minimize exposure to potential allergens. If you’re unsure about a particular ingredient, consult with your doctor or allergist.
Q: Can these quick home cleaning tips really save me money?
A: Absolutely! By using common household ingredients like vinegar, baking soda, and lemon juice, you can significantly reduce your spending on expensive cleaning products. These natural alternatives are often just as effective, if not more so, and they’re much more affordable. Plus, by keeping your home clean and well-maintained, you can prevent costly repairs and replacements in the long run.
Q: I’m short on time. Which of these tips are the most effective for a quick clean?
A: If you’re pressed for time, focus on the following tips:
* **Make your bed every morning:** This simple act can instantly make your bedroom look tidier.
* **Wipe down kitchen counters and sinks after each use:** This prevents food and grime from building up.
* **Do a quick tidy-up each evening:** Put away clutter, fold blankets, and straighten pillows.
* **Sweep or vacuum high-traffic areas regularly:** This keeps dirt and dust at bay.
* **Use a multi-purpose cleaner for quick spot cleaning:** Keep a spray bottle of vinegar and water handy for tackling spills and messes.
Q: How can I get my kids involved in cleaning?
A: Make cleaning a family affair by assigning age-appropriate tasks to your children. Even young children can help with simple tasks like putting away toys, wiping down surfaces, or sorting laundry. Make it fun by playing music or turning it into a game. Reward them for their efforts with praise or small treats. Teaching children to clean from a young age instills good habits and helps them develop a sense of responsibility.
Q: What are some eco-friendly alternatives to traditional cleaning products?
A: There are many eco-friendly alternatives to traditional cleaning products. Here are a few ideas:
* **Use reusable cleaning cloths instead of paper towels:** This reduces waste and saves money.
* **Make your own cleaning solutions using vinegar, baking soda, and lemon juice:** These ingredients are natural, biodegradable, and effective.
* **Buy concentrated cleaning products and dilute them yourself:** This reduces packaging waste.
* **Look for cleaning products that are labeled as eco-friendly or biodegradable:** These products are made with sustainable ingredients and are less harmful to the environment.
* **Consider using steam cleaners:** Steam cleaners use only water to clean and sanitize surfaces, eliminating the need for harsh chemicals.
Q: How do I deal with stubborn stains on my carpets?
A: Stubborn carpet stains can be challenging, but here are a few tips:
* **Act quickly:** The sooner you treat a stain, the easier it will be to remove.
* **Blot the stain with a clean cloth:** Avoid rubbing, as this can spread the stain.
* **Use a carpet stain remover:** Follow the manufacturer’s instructions carefully.
* **Try a homemade stain remover:** A mixture of vinegar and water or baking soda and water can be effective for many stains.
* **For tough stains, consider hiring a professional carpet cleaner:** They have the equipment and expertise to remove even the most stubborn stains.
Q: What’s the best way to clean my bathroom without harsh chemicals?
A: You can effectively clean your bathroom without harsh chemicals using these methods:
* **Vinegar for cleaning showerheads and faucets:** Soak them in vinegar to remove mineral deposits.
* **Baking soda paste for scrubbing tiles and grout:** It’s a gentle abrasive that removes grime.
* **Lemon juice for disinfecting surfaces:** It has natural antibacterial properties.
* **Tea tree oil for mold and mildew:** Add a few drops to a spray bottle of water and spray on affected areas.
* **Regular ventilation:** Open windows or use a bathroom fan to prevent moisture buildup.

Leave a Comment