

Weekly cleaning overlooked areas – sound like a chore? I know, I know, cleaning isn’t always the most thrilling activity. But trust me, tackling those often-ignored spots in your home can make a HUGE difference in how fresh and inviting your space feels. Think about it: we diligently wipe down counters and vacuum floors, but what about the light switches, the remote controls, or even the inside of the microwave? These are the places where germs and grime love to accumulate, often unseen and unbothered.
Historically, a clean home has been a symbol of health and well-being across cultures. While the specific methods have evolved, the underlying principle remains the same: a clean environment contributes to a healthier and happier life. In our modern, fast-paced world, it’s easy to let these smaller cleaning tasks slide. But neglecting these weekly cleaning overlooked areas can lead to a build-up of dust, allergens, and bacteria, impacting your indoor air quality and potentially affecting your health.
That’s why I’ve put together this guide of simple DIY tricks and hacks to help you conquer those forgotten corners. We’ll dive into easy-to-follow steps that will make maintaining a sparkling clean home a breeze. Get ready to say goodbye to hidden grime and hello to a fresher, healthier, and more enjoyable living space! Let’s get started!
DIY Deep Clean: Tackling Those Overlooked Weekly Cleaning Spots!
Okay, let’s be honest, we all have those spots in our homes that we *meant* to clean last week, and the week before that… and maybe even the month before that! Life gets busy, and some areas just don’t make it onto the regular cleaning schedule. But don’t worry, I’m here to help you create a simple, effective routine to tackle those often-overlooked areas and keep your home sparkling! This isn’t about perfection; it’s about making a noticeable difference with a little focused effort each week.
The Overlooked Areas: A Checklist
Before we dive into the how-to, let’s identify those sneaky spots that often get missed. This list isn’t exhaustive, but it’s a great starting point:
* Light Fixtures & Ceiling Fans: Dust and grime love to accumulate here.
* Baseboards & Door Frames: These horizontal surfaces are dust magnets.
* Switch Plates & Doorknobs: High-touch areas that harbor germs.
* Window Tracks & Sills: Dirt, pollen, and even dead bugs can collect here.
* Microwave (Inside & Out): Splatters and spills are inevitable.
* Coffee Maker: Mineral buildup can affect the taste of your coffee.
* Dishwasher (Interior & Exterior): Food particles and hard water stains can linger.
* Garbage Disposal: A breeding ground for odors.
* Small Appliances (Toaster, Blender, etc.): Crumbs and spills are common.
* Showerhead: Mineral deposits can reduce water pressure.
* Bathroom Exhaust Fan: Dust and moisture can accumulate.
* Under Furniture: Dust bunnies galore!
* Behind Toilets: A often missed area that can get pretty gross.
* Inside Kitchen Cabinets (Periodically): Crumbs and spills happen.
* Refrigerator Coils: Dust buildup can reduce efficiency.
Creating Your Weekly Overlooked Areas Cleaning Schedule
The key to success is breaking down the tasks into manageable chunks. Don’t try to tackle everything at once! I recommend focusing on 2-3 areas each week. Here’s how I structure my schedule:
* Monday: Light Fixtures & Switch Plates
* Tuesday: Baseboards & Door Frames
* Wednesday: Microwave & Coffee Maker
* Thursday: Window Tracks & Sills
* Friday: Dishwasher & Garbage Disposal
* Saturday: Small Appliances & Showerhead
* Sunday: Bathroom Exhaust Fan & Under Furniture
Of course, you can customize this schedule to fit your own needs and preferences. The important thing is to be consistent!
Cleaning Supplies You’ll Need
Having the right tools makes the job much easier. Here’s a list of my go-to cleaning supplies:
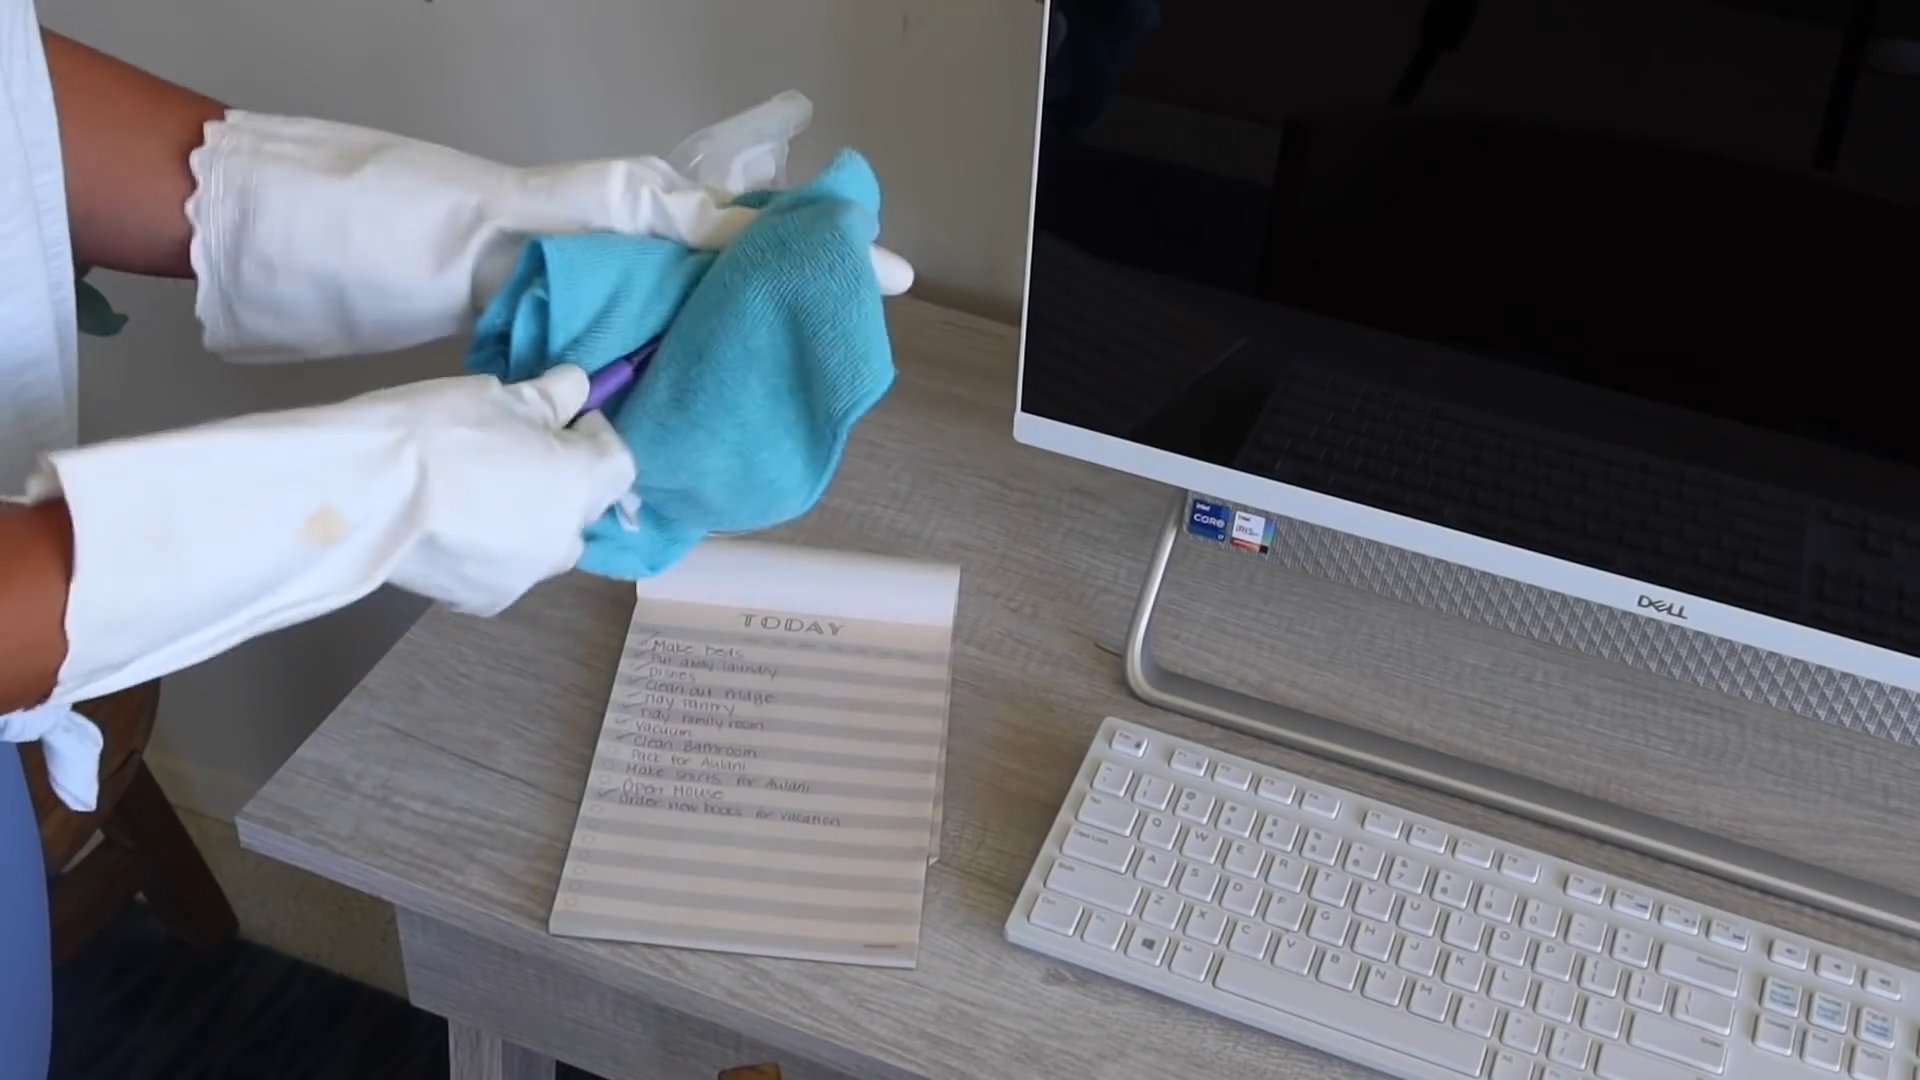
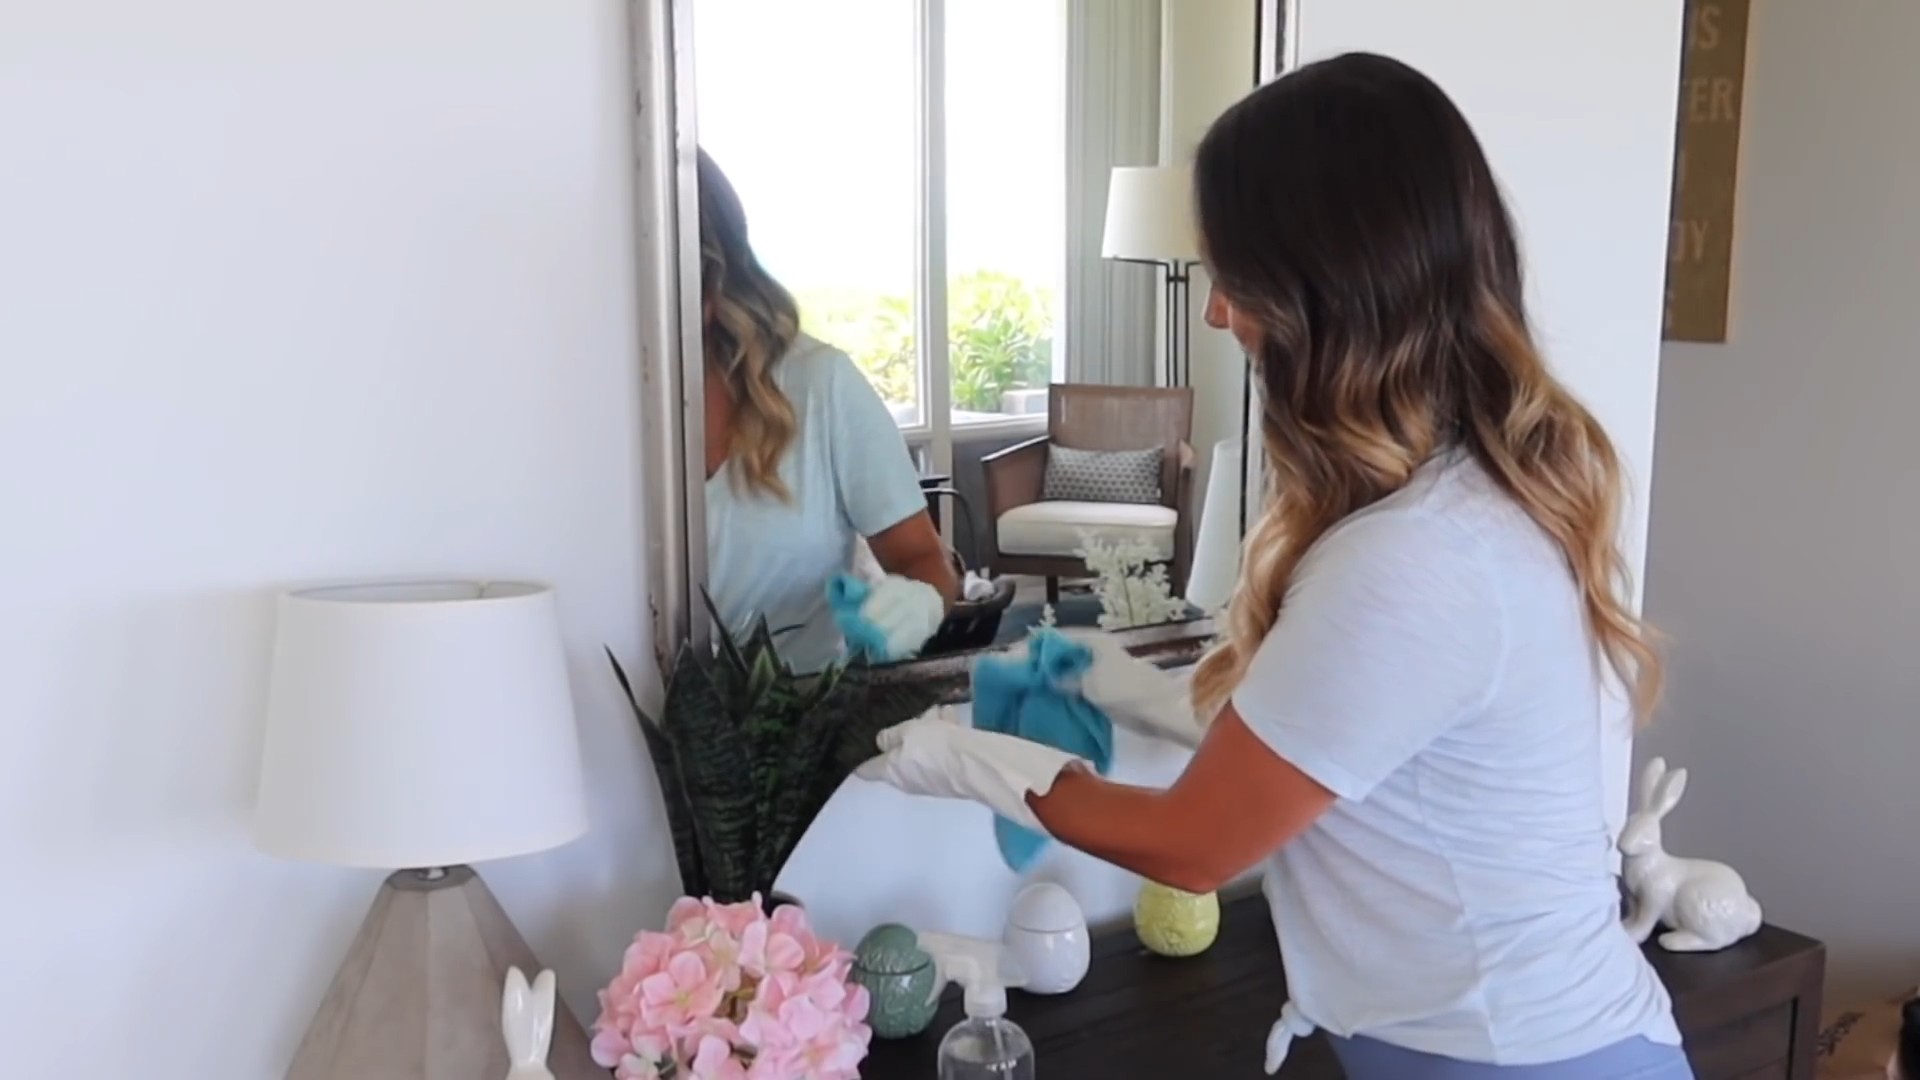
* Microfiber Cloths: These are essential for dusting and wiping surfaces.
* All-Purpose Cleaner: Choose a cleaner that’s safe for the surfaces you’ll be cleaning.
* Dish Soap: Great for cutting through grease and grime.
* White Vinegar: A natural cleaner and disinfectant.
* Baking Soda: A gentle abrasive cleaner and deodorizer.
* Spray Bottle: For diluting cleaning solutions.
* Old Toothbrush: Perfect for scrubbing tight spaces.
* Vacuum Cleaner with Attachments: For dusting and cleaning under furniture.
* Duster with Extension Pole: For reaching high places.
* Screwdriver (if needed): For removing light fixture covers or showerheads.
* Rubber Gloves: To protect your hands.
* Small Bowl or Bucket: For mixing cleaning solutions.
Step-by-Step Cleaning Instructions
Now, let’s get down to the nitty-gritty! I’ll walk you through how to clean each of those overlooked areas.
Cleaning Light Fixtures & Ceiling Fans
1. Safety First! Turn off the light fixture or ceiling fan before you start cleaning. This is crucial to prevent electric shock.
2. Dusting: Use a duster with an extension pole to remove loose dust from the fixture or fan blades. If you don’t have an extension pole, you can stand on a sturdy ladder or step stool.
3. Washing: For glass or plastic light fixture covers, carefully remove them (if possible) and wash them with warm soapy water. Rinse thoroughly and dry with a microfiber cloth.
4. Wiping: Use a damp microfiber cloth to wipe down the fixture or fan blades. For stubborn grime, you can use a mild all-purpose cleaner.
5. Reassemble: Once everything is dry, reassemble the light fixture or ceiling fan.
Cleaning Baseboards & Door Frames
1. Dusting: Use a vacuum cleaner with a brush attachment to remove loose dust from the baseboards and door frames. You can also use a dry microfiber cloth.
2. Washing: Fill a bucket with warm water and a squirt of dish soap. Dip a microfiber cloth into the soapy water, wring it out well, and wipe down the baseboards and door frames.
3. Rinsing: Use a clean, damp microfiber cloth to rinse off any soap residue.
4. Drying: Dry the baseboards and door frames with a clean, dry microfiber cloth.
Cleaning Switch Plates & Doorknobs
1. Wiping: Use a damp microfiber cloth to wipe down the switch plates and doorknobs.
2. Disinfecting: Spray the switch plates and doorknobs with a disinfectant spray and let it sit for the recommended time (usually a few minutes).
3. Wiping Again: Wipe off any excess disinfectant with a clean microfiber cloth.
Cleaning Window Tracks & Sills
1. Vacuuming: Use a vacuum cleaner with a crevice tool attachment to remove loose dirt and debris from the window tracks.
2. Scrubbing: Mix a paste of baking soda and water. Apply the paste to the window tracks and let it sit for a few minutes. Use an old toothbrush to scrub the tracks clean.
3. Wiping: Wipe away the baking soda paste with a damp microfiber cloth.
4. Drying: Dry the window tracks with a clean, dry microfiber cloth.
5. Cleaning the Sills: Wipe down the window sills with a damp microfiber cloth and all-purpose cleaner.
Cleaning the Microwave (Inside & Out)
1. Steam Cleaning: Fill a microwave-safe bowl with 1 cup of water and a few tablespoons of white vinegar. Microwave on high for 5 minutes. Let the steam sit inside the microwave for another 5 minutes.
2. Wiping: Carefully remove the bowl and wipe down the inside of the microwave with a damp microfiber cloth. The steam should have loosened any splatters and spills.
3. Cleaning the Exterior: Wipe down the outside of the microwave with a damp microfiber cloth and all-purpose cleaner.
Cleaning the Coffee Maker
1. Descaling: Fill the water reservoir with equal parts white vinegar and water.
2. Brewing: Run the coffee maker through a full brewing cycle.
3. Rinsing: Run the coffee maker through two full brewing cycles with fresh water to rinse away any vinegar residue.
4. Cleaning the Carafe: Wash the carafe with warm soapy water.
Cleaning the Dishwasher (Interior & Exterior)
1. Emptying: Remove any dishes or utensils from the dishwasher.
2. Cleaning the Filter: Remove the dishwasher filter (usually located at the bottom of the dishwasher) and rinse it under running water.
3. Vinegar Rinse: Place a dishwasher-safe cup filled with white vinegar on the top rack of the dishwasher.
4. Running a Cycle: Run the dishwasher on a hot water cycle.
5. Cleaning the Exterior: Wipe down the outside of the dishwasher with a damp microfiber cloth and all-purpose cleaner.
Cleaning the Garbage Disposal
1. Running Water: Run cold water into the garbage disposal for about a minute.
2. Adding Baking Soda: Pour 1/2 cup of baking soda down the drain.
3. Adding Vinegar: Pour 1 cup of white vinegar down the drain. Let the mixture fizz for a few minutes.
4. Running Water Again: Run cold water into the garbage disposal for another minute.
5. Citrus Refresh: Grind a few citrus peels (lemon, lime, or orange) in the garbage disposal to freshen the scent.
Cleaning Small Appliances (Toaster, Blender, etc.)
1. Unplugging: Unplug the appliance before you
Conclusion
So, there you have it! Mastering these often-overlooked areas with our simple, effective DIY cleaning tricks can truly transform your home from feeling just clean to feeling *deeply* clean. We’ve shown you how to tackle those forgotten corners, those grimy crevices, and those dusty depths that contribute to a general sense of unease, even after your regular cleaning routine.
Why is this a must-try? Because it’s not just about aesthetics; it’s about creating a healthier, more comfortable living environment. Dust and grime accumulating in these hidden spots can harbor allergens, bacteria, and even pests. By addressing these areas, you’re actively improving your indoor air quality and reducing potential health risks. Plus, a truly clean home is a more relaxing and inviting space to be in.
But the benefits extend beyond health and comfort. Regularly cleaning these overlooked areas can also prolong the lifespan of your belongings and fixtures. Think about it: dust buildup on electronics can cause overheating, grime on grout can lead to permanent staining, and neglected window tracks can become breeding grounds for mold. A little preventative maintenance goes a long way in saving you money and hassle in the long run.
Now, let’s talk variations and suggestions. Feel free to adapt these DIY cleaning tricks to suit your specific needs and preferences. For example, if you’re sensitive to strong smells, you can substitute essential oils like lavender or tea tree for the lemon juice in our all-purpose cleaner. If you have particularly stubborn grime, you might need to let your cleaning solution sit for a bit longer before scrubbing. And if you’re dealing with delicate surfaces, always test your cleaning solution in an inconspicuous area first.
Here are a few more ideas to get you started:
* For showerheads: Instead of using a plastic bag, try soaking your showerhead in a bowl of vinegar overnight for a more thorough cleaning.
* For baseboards: Use a microfiber cloth attached to a mop handle to easily reach and clean baseboards without bending over.
* For light fixtures: Always turn off the power before cleaning light fixtures, and be sure to use a dry cloth to avoid electric shock.
* For window tracks: A small brush, like an old toothbrush, is perfect for getting into those tight corners.
Ultimately, the key to success is consistency. Incorporate these DIY cleaning tricks into your weekly or monthly routine, and you’ll be amazed at the difference they make. Don’t feel like you have to tackle everything at once. Focus on one or two areas each week, and gradually work your way through the list.
We’re confident that these DIY cleaning tricks will help you achieve a truly clean and healthy home. But we want to hear from you! Try these methods out, experiment with different variations, and let us know what works best for you. Share your experiences, tips, and tricks in the comments below. We’re all in this together, and we can learn from each other’s successes (and even failures!). So, grab your cleaning supplies, roll up your sleeves, and get ready to transform your home, one overlooked area at a time. Let’s make **weekly cleaning** of these forgotten spots a habit!
Frequently Asked Questions (FAQ)
Why is it so important to clean these “overlooked” areas? I already clean my house regularly.
While regular cleaning addresses the visible dirt and grime, overlooked areas often accumulate dust, allergens, mold, and bacteria that can negatively impact your health and well-being. These hidden spots can also harbor pests and contribute to unpleasant odors. Cleaning them regularly improves indoor air quality, reduces allergy symptoms, and creates a healthier living environment overall. Furthermore, neglecting these areas can lead to long-term damage to your home and belongings, requiring costly repairs or replacements down the line. Think of it as preventative maintenance for your home.
How often should I be cleaning these overlooked areas?
The frequency depends on your lifestyle, the size of your home, and the number of occupants (including pets!). However, a good rule of thumb is to incorporate these tasks into your **weekly cleaning** routine. Some areas, like showerheads and kitchen sink disposals, might benefit from more frequent attention (perhaps every other week), while others, like window tracks and light fixtures, can be cleaned monthly or even quarterly. The key is to establish a schedule that works for you and stick to it as much as possible.
What are the best cleaning solutions to use for these areas? Are harsh chemicals necessary?
The beauty of these DIY cleaning tricks is that they often rely on simple, natural ingredients like vinegar, baking soda, lemon juice, and dish soap. These ingredients are effective at removing dirt, grime, and odors without the harsh chemicals found in many commercial cleaning products. In most cases, a solution of vinegar and water or baking soda paste will suffice. However, for particularly stubborn stains or mold growth, you might need to use a stronger cleaning agent, such as bleach or a commercial mold remover. Always follow the manufacturer’s instructions carefully and wear appropriate protective gear (gloves, mask, etc.) when using harsh chemicals.
I’m worried about damaging delicate surfaces. How can I avoid that?
Always test your cleaning solution in an inconspicuous area before applying it to the entire surface. This will help you ensure that the solution doesn’t cause discoloration, etching, or other damage. When cleaning delicate surfaces, use a soft cloth or sponge and avoid abrasive cleaners or scrub brushes. For example, when cleaning glass or mirrors, use a microfiber cloth and a glass cleaner specifically designed for delicate surfaces. When cleaning wood furniture, use a wood cleaner or polish and avoid using water or harsh chemicals.
I have allergies. Are there any specific cleaning tips I should keep in mind?
If you have allergies, it’s especially important to focus on removing dust and allergens from your home. Use a vacuum cleaner with a HEPA filter to trap dust mites, pollen, and pet dander. Dust surfaces with a damp cloth instead of a dry one to prevent dust from becoming airborne. Wash bedding and curtains regularly in hot water to kill dust mites. Consider using allergen-reducing cleaning products and avoid using scented cleaning products, as they can trigger allergic reactions. Wear a mask and gloves while cleaning to protect yourself from allergens.
What if I don’t have time to clean all of these areas myself?
If you’re short on time or simply don’t enjoy cleaning, consider hiring a professional cleaning service. Many cleaning services offer deep cleaning packages that specifically target overlooked areas. You can also break down the tasks into smaller, more manageable chunks and tackle one or two areas each week. Another option is to enlist the help of family members or roommates. Delegate tasks and make cleaning a team effort. Remember, even a little bit of cleaning is better than none at all.
How do I prevent these areas from getting dirty in the first place?
Prevention is key to keeping these overlooked areas clean. Use doormats to trap dirt and debris before they enter your home. Regularly vacuum or sweep floors to prevent dust buildup. Wipe up spills immediately to prevent stains. Use exhaust fans in bathrooms and kitchens to reduce moisture and prevent mold growth. Consider using furniture covers to protect upholstery from dirt and stains. By taking these preventative measures, you can significantly reduce the amount of cleaning required in the long run.


Leave a Comment