

Wooden Cutting Board Care: It’s more than just a chore; it’s an act of love for a kitchen essential! Have you ever wondered why your beautiful wooden cutting board seems to lose its luster, or worse, starts to harbor unwanted smells and stains? I have! We’ve all been there, scrubbing away, hoping to restore it to its former glory. But what if I told you there are simple, DIY tricks that can not only revive your board but also extend its lifespan significantly?
Wooden cutting boards have been a staple in kitchens for centuries, dating back to a time when they were crafted from single pieces of sturdy wood. They represent a connection to simpler times, a testament to natural materials, and a commitment to quality. But unlike their plastic counterparts, wooden boards require a little extra TLC.
In today’s fast-paced world, we often overlook the importance of proper maintenance. However, neglecting your wooden cutting board can lead to bacteria buildup, warping, and cracking. Nobody wants that! That’s why mastering wooden cutting board care is crucial. These DIY hacks will save you money, prevent the need for frequent replacements, and ensure your food preparation surface remains hygienic and beautiful for years to come. Let’s dive into some easy and effective methods to keep your wooden cutting board in tip-top shape!
Revive Your Beloved Wooden Cutting Board: A DIY Guide
Hey there, fellow DIY enthusiasts! I’m so excited to share my go-to method for keeping my wooden cutting boards in tip-top shape. A well-maintained wooden cutting board is a kitchen essential, not only is it gentler on your knives than plastic, but it also adds a touch of rustic charm to your cooking space. However, wood is a natural material, and it requires a little TLC to prevent it from drying out, cracking, or harboring bacteria. Don’t worry, it’s easier than you think! This guide will walk you through everything you need to know to clean, sanitize, and condition your wooden cutting board, ensuring it lasts for years to come.
What You’ll Need
Before we dive in, let’s gather our supplies. I like to keep everything organized so the process is smooth and enjoyable.
* **Coarse Salt:** This acts as a gentle abrasive to scrub away food particles. I prefer sea salt, but kosher salt works just as well.
* **Lemon (or White Vinegar):** Lemon juice is a natural disinfectant and deodorizer. White vinegar is a great alternative if you don’t have a lemon on hand.
* **Clean Cloth or Sponge:** You’ll need this for scrubbing and wiping.
* **Food-Grade Mineral Oil:** This is crucial for conditioning the wood and preventing it from drying out. Make sure it’s food-grade!
* **Beeswax (Optional):** Adding beeswax to your oil creates a protective barrier that repels water and helps the oil last longer.
* **Double Boiler or Heat-Safe Bowl and Saucepan (If using Beeswax):** For melting the beeswax.
* **Clean, Dry Cloths (for oiling):** I like to use lint-free cloths to avoid leaving any residue.
* **Scraper or Spatula (Optional):** For removing stubborn food residue.
* **Sandpaper (Optional, for deep cleaning):** If your board has deep scratches or stains, you might need sandpaper. I recommend 120-grit and 220-grit.
Cleaning and Sanitizing Your Cutting Board
This is the most important step to keep your cutting board hygienic. I always clean my board immediately after each use.
1. **Remove Food Debris:** Use a scraper or spatula to remove any loose food particles from the surface of the cutting board. This prevents them from getting ground in during the cleaning process.
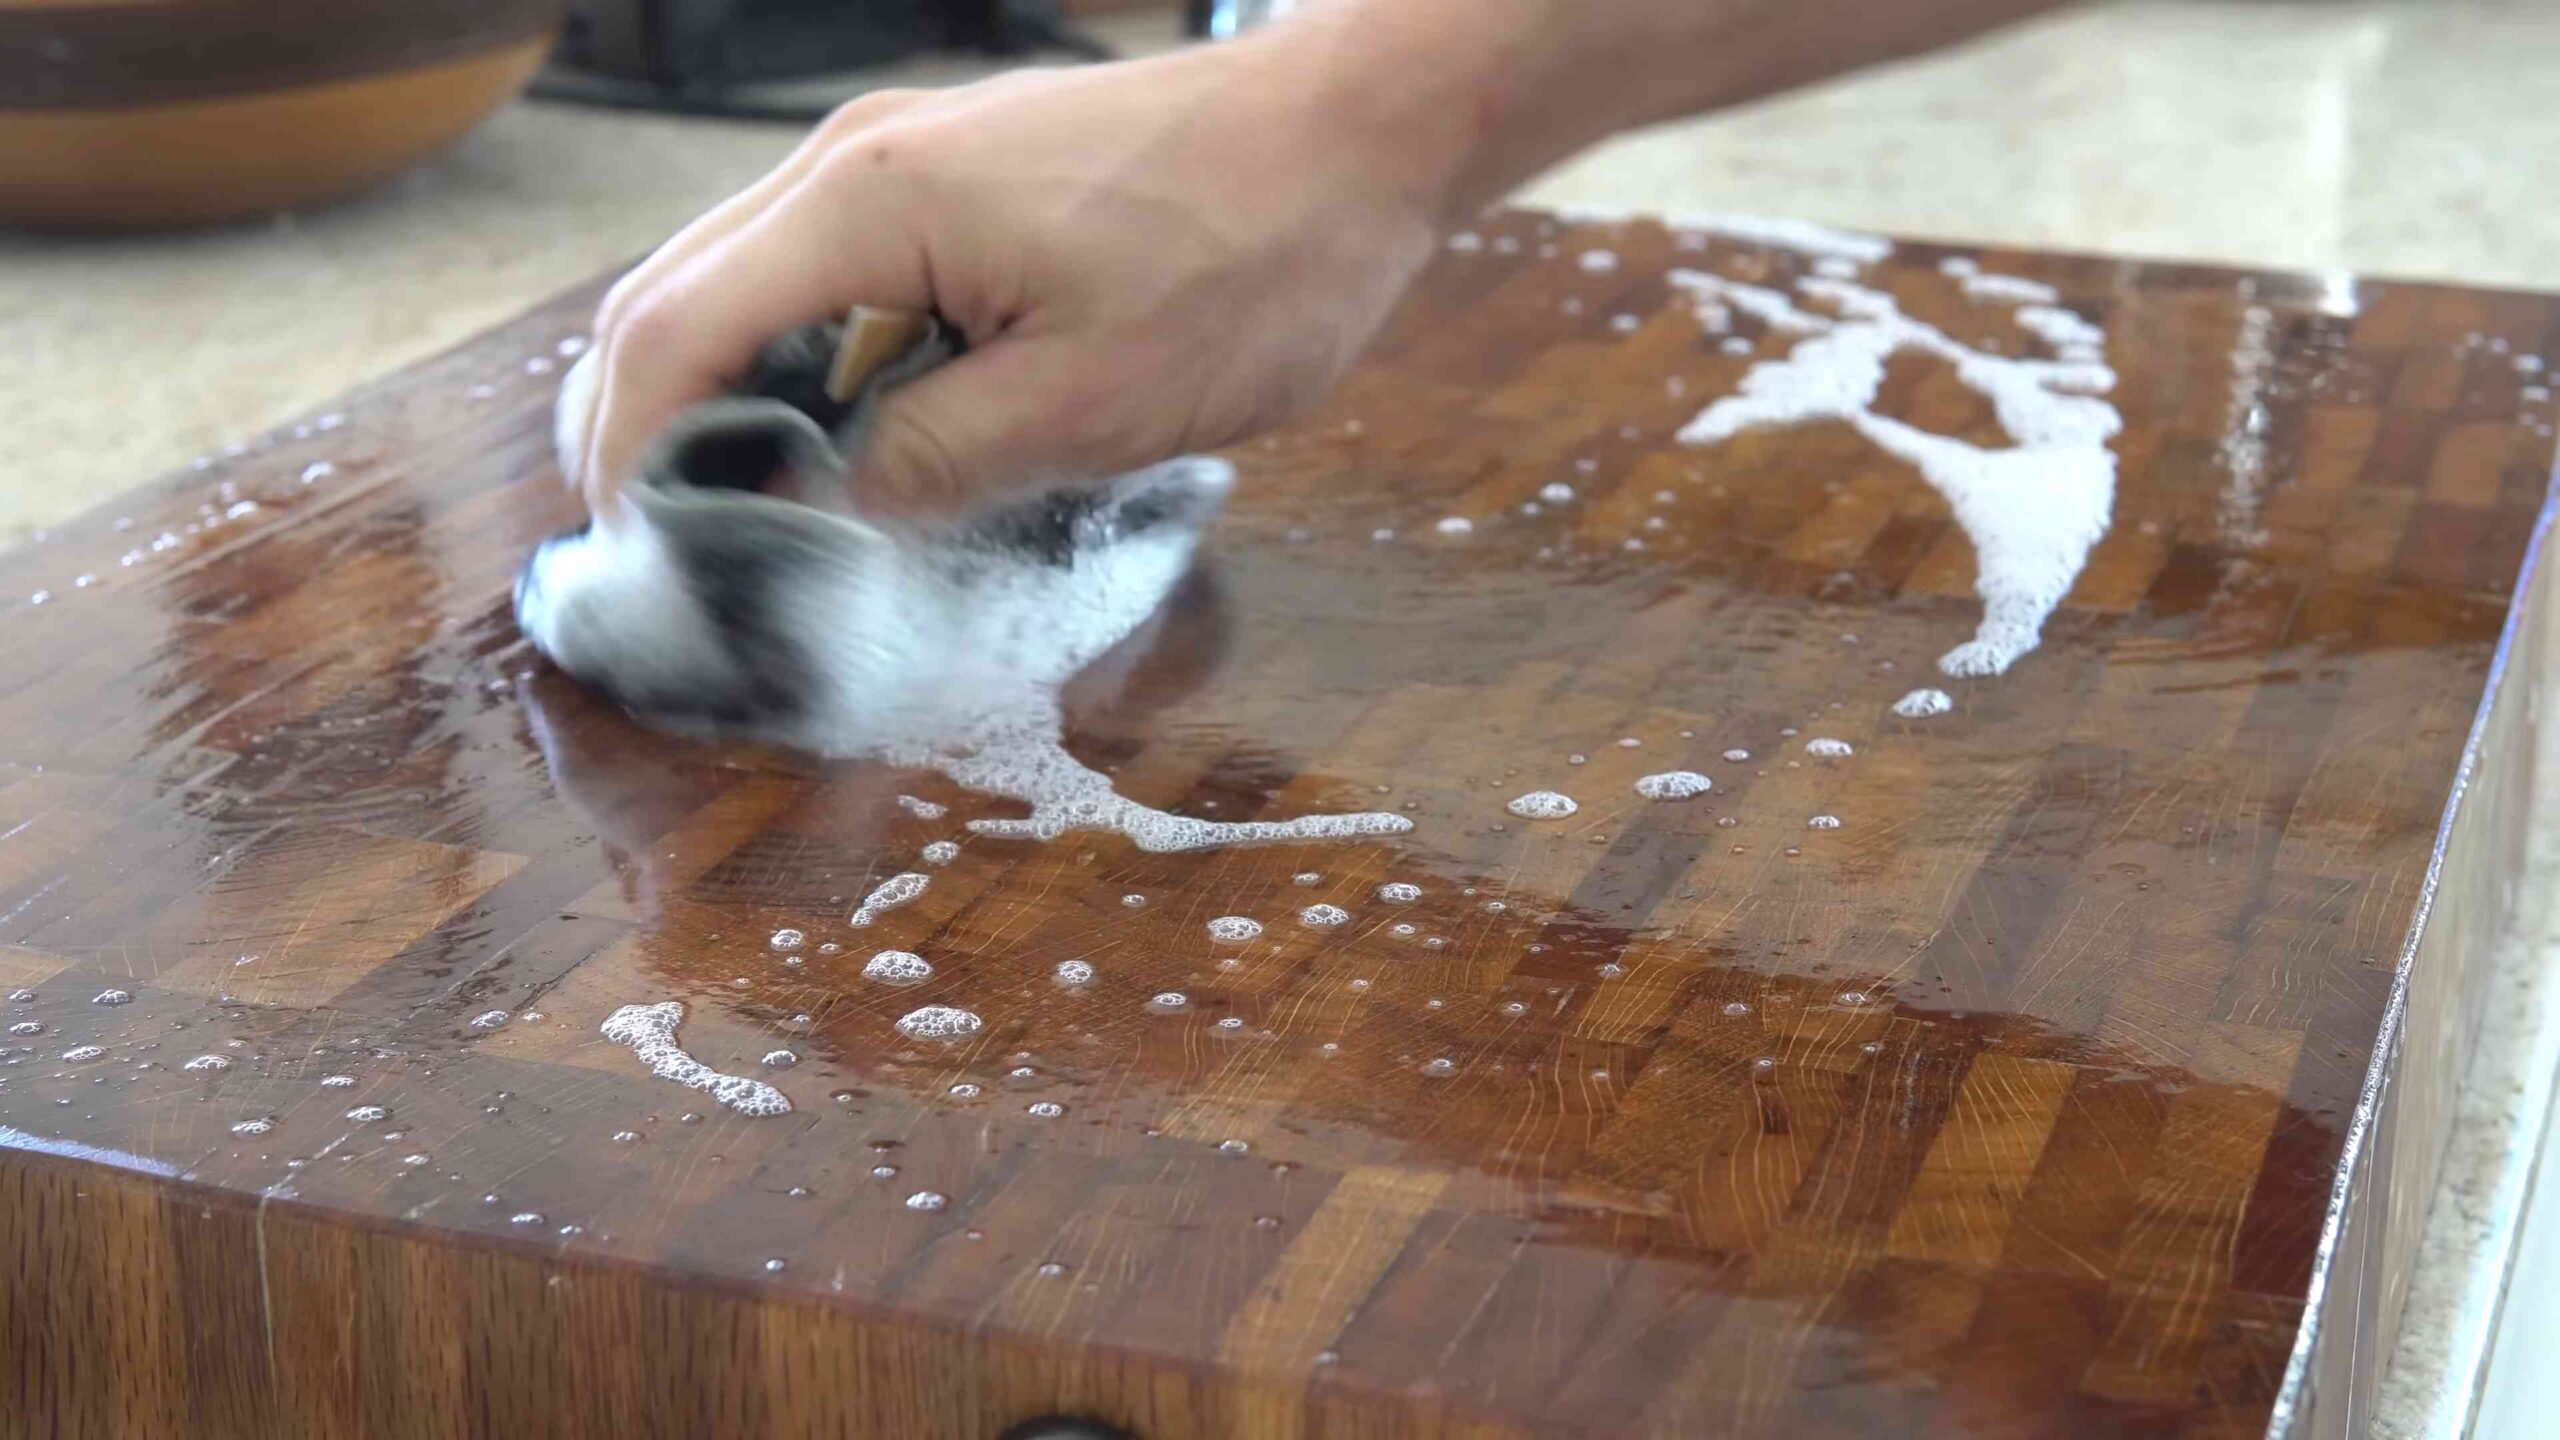
2. **Apply Salt and Lemon (or Vinegar):** Sprinkle a generous amount of coarse salt over the entire surface of the cutting board. Then, cut a lemon in half and use it to scrub the salt into the wood. If you’re using vinegar, pour a small amount directly onto the salt. The combination of the salt’s abrasive action and the lemon’s acidity will help to lift dirt and kill bacteria.
3. **Scrub Thoroughly:** Using the lemon half (or a clean cloth/sponge with vinegar), scrub the cutting board in a circular motion, paying attention to any areas with visible stains or food residue. Apply firm pressure to ensure you’re getting into all the nooks and crannies. I usually scrub for a good 2-3 minutes.
4. **Rinse with Hot Water:** Rinse the cutting board thoroughly with hot water, making sure to remove all traces of salt and lemon (or vinegar).
5. **Dry Completely:** This is crucial! Use a clean, dry cloth to wipe the cutting board dry. Then, stand it on its side to allow it to air dry completely. This can take several hours, so be patient. Never store a damp cutting board, as this can promote the growth of mold and bacteria.
Deep Cleaning (If Needed)
If your cutting board has deep scratches, stains, or a lingering odor, you might need to give it a deep cleaning. I only do this every few months, or when I notice it needs extra attention.
1. **Sand the Surface (Optional):** If your cutting board has deep scratches or stains, you can sand it down to reveal a fresh surface. Start with 120-grit sandpaper to remove the imperfections, then switch to 220-grit sandpaper to smooth the surface. Sand in the direction of the wood grain. Be sure to wear a mask to protect yourself from the dust.
2. **Clean as Described Above:** After sanding, clean the cutting board as described in the “Cleaning and Sanitizing Your Cutting Board” section. This will remove any sanding dust and prepare the surface for oiling.
Conditioning Your Cutting Board with Mineral Oil
This is the key to keeping your cutting board healthy and preventing it from drying out and cracking. I recommend oiling your board at least once a month, or more frequently if you use it often.
1. **Ensure the Board is Completely Dry:** Before applying mineral oil, make sure the cutting board is completely dry. Any moisture trapped under the oil can lead to mold growth.
2. **Apply Mineral Oil Generously:** Pour a generous amount of food-grade mineral oil onto the surface of the cutting board.
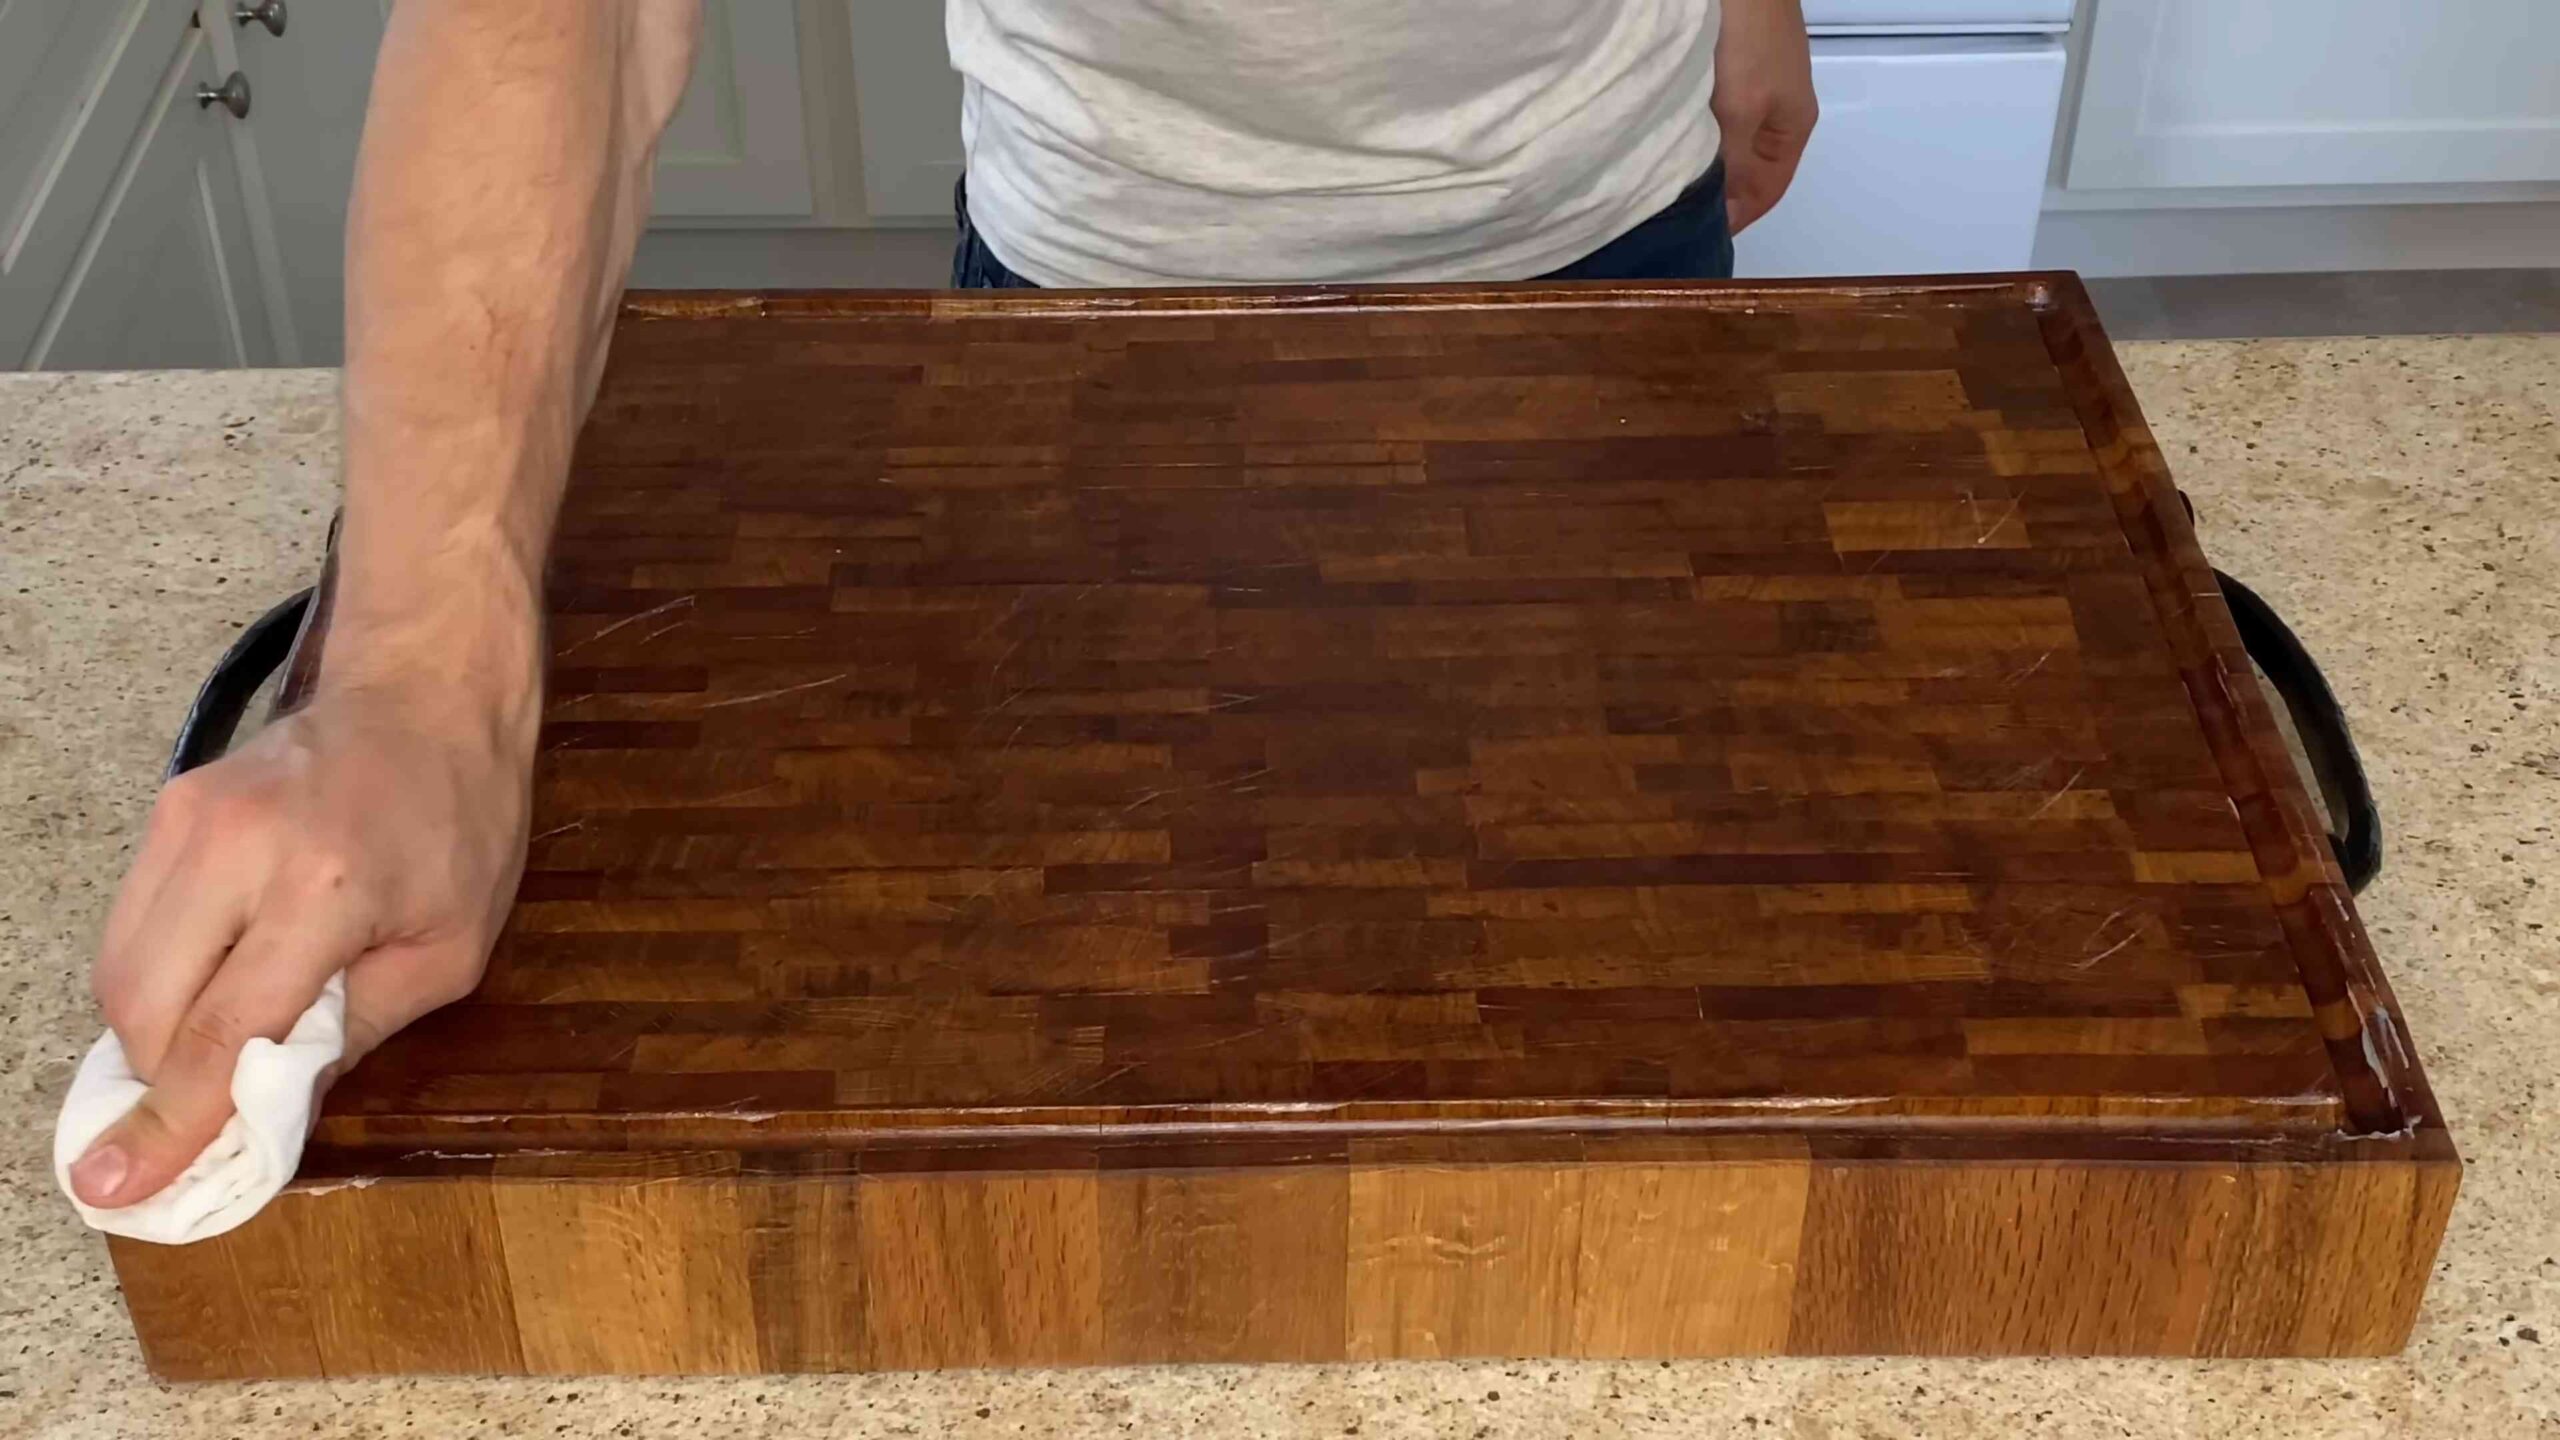
3. **Spread the Oil Evenly:** Use a clean, dry cloth to spread the oil evenly over the entire surface of the cutting board, including the edges and sides.
4. **Let the Oil Soak In:** Allow the oil to soak into the wood for at least a few hours, or preferably overnight. The longer the oil soaks in, the better protected the wood will be. I usually oil my board in the evening and let it sit overnight.
5. **Wipe Off Excess Oil:** After the oil has soaked in, use a clean, dry cloth to wipe off any excess oil. You want the board to feel nourished, not greasy.
Adding a Beeswax Finish (Optional)
Adding beeswax to your mineral oil creates a protective barrier that repels water and helps the oil last longer. This is a great option if you want to give your cutting board extra protection.
1. **Melt the Beeswax:** In a double boiler or heat-safe bowl set over a saucepan of simmering water, melt the beeswax. Use a ratio of approximately 1 part beeswax to 4 parts mineral oil.
2. **Combine with Mineral Oil:** Once the beeswax is completely melted, remove it from the heat and slowly stir in the mineral oil. Stir until the mixture is smooth and well combined.
3. **Let Cool Slightly:** Allow the mixture to cool slightly, but not so much that it solidifies. You want it to be warm and easy to apply.
4. **Apply to the Cutting Board:** Use a clean, dry cloth to apply the beeswax mixture to the entire surface of the cutting board, including the edges and sides.
5. **Let it Sit:** Allow the beeswax mixture to sit on the cutting board for at least 30 minutes.
6. **Buff the Surface:** Use a clean, dry cloth to buff the surface of the cutting board, removing any excess beeswax and creating a smooth, protective finish.
Tips for Maintaining Your Wooden Cutting Board
Here are a few extra tips to help you keep your wooden cutting board in great condition:
* Never put your wooden cutting board in the dishwasher. The high heat and harsh detergents can damage the wood and cause it to crack.
* Avoid cutting raw meat and poultry on your wooden cutting board. If you do, be sure to clean and sanitize it thoroughly afterwards. I prefer to use a separate cutting board for raw meats.
* Store your cutting board properly. Store it on its side in a dry place, away from direct sunlight and heat.
* Re-oil your cutting board regularly. As mentioned earlier, I recommend oiling your board at least once a month, or more frequently if you use it often.
* Address any cracks or splits promptly. If you notice any cracks or splits in your cutting board, repair them as soon as possible to prevent them from getting worse. You can use wood glue to fill small cracks.
By following these simple steps, you can keep your wooden cutting board clean, sanitized, and well-conditioned, ensuring it lasts for years to come. Happy cooking!
Conclusion
So, there you have it! Mastering the art of wooden cutting board care isn’t just about keeping your kitchen looking spick and span; it’s about extending the life of a valuable tool, preventing the spread of harmful bacteria, and ensuring your food preparation surface remains safe and reliable for years to come. We’ve walked you through the simple yet effective steps of cleaning, sanitizing, and oiling your wooden cutting board, transforming what might seem like a chore into a quick and rewarding routine.
Why is this DIY approach a must-try? Because it’s cost-effective, environmentally friendly, and gives you complete control over the products you use. Commercial cleaners and oils can be expensive and often contain harsh chemicals that you might not want coming into contact with your food. By using readily available ingredients like lemon, salt, vinegar, and food-grade mineral oil, you’re opting for a natural and sustainable solution that’s gentle on your board and safe for your family.
But the beauty of this DIY method lies in its adaptability. Feel free to experiment with variations to suit your specific needs and preferences. For instance, if you’re dealing with particularly stubborn odors, try creating a paste of baking soda and water and letting it sit on the board for a few minutes before scrubbing. You can also infuse your mineral oil with essential oils like rosemary or thyme for a subtle, natural fragrance that will leave your kitchen smelling divine. Just be sure to use food-safe essential oils and apply them sparingly.
Another variation involves using beeswax in combination with mineral oil to create a more durable and water-resistant finish. Simply melt beeswax in a double boiler and mix it with mineral oil in a ratio of approximately 1 part beeswax to 4 parts mineral oil. Apply the mixture to your board while it’s still warm, let it sit for a few hours, and then buff it with a clean cloth. This will provide an extra layer of protection against moisture and wear and tear.
Don’t be intimidated by the process. It’s far simpler than it sounds, and the results are well worth the effort. A well-maintained wooden cutting board is a joy to use, providing a stable and attractive surface for all your culinary creations. It’s also a testament to your commitment to quality and sustainability in the kitchen.
We wholeheartedly encourage you to give this DIY wooden cutting board care routine a try. You’ll be amazed at how easy it is to keep your board looking and performing its best. And more importantly, you’ll have the peace of mind knowing that you’re providing a safe and hygienic food preparation surface for yourself and your loved ones.
So, grab your lemon, salt, vinegar, and mineral oil, and get ready to transform your wooden cutting board. We’re confident that you’ll be thrilled with the results. And once you’ve experienced the satisfaction of a beautifully restored and well-maintained cutting board, we’d love to hear about it! Share your experiences, tips, and variations in the comments below. Let’s create a community of wooden cutting board enthusiasts who are passionate about preserving these essential kitchen tools. Happy chopping!
Frequently Asked Questions (FAQ)
Why is it important to care for my wooden cutting board?
Caring for your wooden cutting board is crucial for several reasons. First and foremost, it helps to prevent the growth of bacteria and other harmful microorganisms that can contaminate your food. Wood, being a porous material, can harbor bacteria if not properly cleaned and sanitized. Regular cleaning and oiling help to kill bacteria and create a protective barrier against future contamination. Secondly, proper care extends the lifespan of your cutting board. Wood can dry out and crack over time, especially with frequent use and washing. Oiling helps to keep the wood moisturized and prevents it from warping or splitting. Finally, a well-maintained cutting board is simply more pleasant to use. It provides a smooth and stable surface for chopping and slicing, making food preparation easier and more enjoyable.
How often should I clean my wooden cutting board?
You should clean your wooden cutting board after each use with warm, soapy water. Use a scrub brush or sponge to remove any food particles or residue. For a deeper clean, especially after cutting raw meat or poultry, sanitize the board with a solution of vinegar and water (1 part vinegar to 5 parts water) or a diluted bleach solution (1 tablespoon of bleach per gallon of water). Let the solution sit on the board for a few minutes before rinsing thoroughly with hot water.
How often should I oil my wooden cutting board?
The frequency of oiling depends on how often you use your cutting board and how dry the wood feels. As a general rule, you should oil your board at least once a month, or more often if it starts to look dry or feels rough to the touch. To test if your board needs oiling, sprinkle a few drops of water on the surface. If the water beads up, the board is still adequately oiled. If the water soaks in quickly, it’s time to apply another coat of oil.
What type of oil should I use on my wooden cutting board?
The best type of oil to use on your wooden cutting board is food-grade mineral oil. Mineral oil is non-toxic, odorless, and tasteless, making it safe for use on food preparation surfaces. It also penetrates the wood easily and helps to prevent it from drying out and cracking. Avoid using vegetable oils like olive oil or canola oil, as they can become rancid over time and leave an unpleasant odor. You can also use specialized cutting board oils that are a blend of mineral oil and beeswax.
Can I put my wooden cutting board in the dishwasher?
No, you should never put your wooden cutting board in the dishwasher. The high heat and harsh detergents can damage the wood, causing it to warp, crack, or split. Always wash your cutting board by hand with warm, soapy water.
How do I remove stains and odors from my wooden cutting board?
To remove stains and odors from your wooden cutting board, try scrubbing it with a paste of salt and lemon juice. The salt acts as a mild abrasive, while the lemon juice helps to disinfect and deodorize the wood. You can also use baking soda and water paste. Let the paste sit on the board for a few minutes before scrubbing and rinsing. For stubborn odors, try soaking the board in a solution of vinegar and water for a few hours.
How do I store my wooden cutting board?
Store your wooden cutting board in a dry place, away from direct sunlight and heat. Avoid storing it flat on a countertop, as this can trap moisture and promote the growth of mold and mildew. Instead, store it on its side or in a cutting board rack to allow air to circulate around it.
What if my wooden cutting board has cracks?
If your wooden cutting board has small cracks, you can try to repair them with wood glue. Apply a thin layer of glue to the cracks and clamp the board together until the glue dries. Once the glue is dry, sand the surface smooth and re-oil the board. However, if the cracks are large or numerous, it may be time to replace the board. Large cracks can harbor bacteria and make the board unsafe to use.
Is it safe to cut raw meat on a wooden cutting board?
Yes, it is safe to cut raw meat on a wooden cutting board, as long as you clean and sanitize it properly afterward. Use a separate cutting board for raw meat and poultry to prevent cross-contamination. After cutting raw meat, wash the board thoroughly with hot, soapy water and sanitize it with a solution of vinegar and water or a diluted bleach solution.
How do I know when it’s time to replace my wooden cutting board?
It’s time to replace your wooden cutting board when it becomes excessively worn, cracked, or warped. If the board has deep grooves or cuts that are difficult to clean, it’s also time to replace it. A well-maintained wooden cutting board can last for many years, but eventually, it will need to be replaced for safety and hygiene reasons.

Leave a Comment